Removing LED light strips from your wall can be a daunting task. However, it can be a quick and easy process with the right tools and instructions. This article will show you how to remove LED light strips from wall in just a few steps. So, if you are thinking about removing your LED light strips, make sure to read on for helpful tips and instructions.
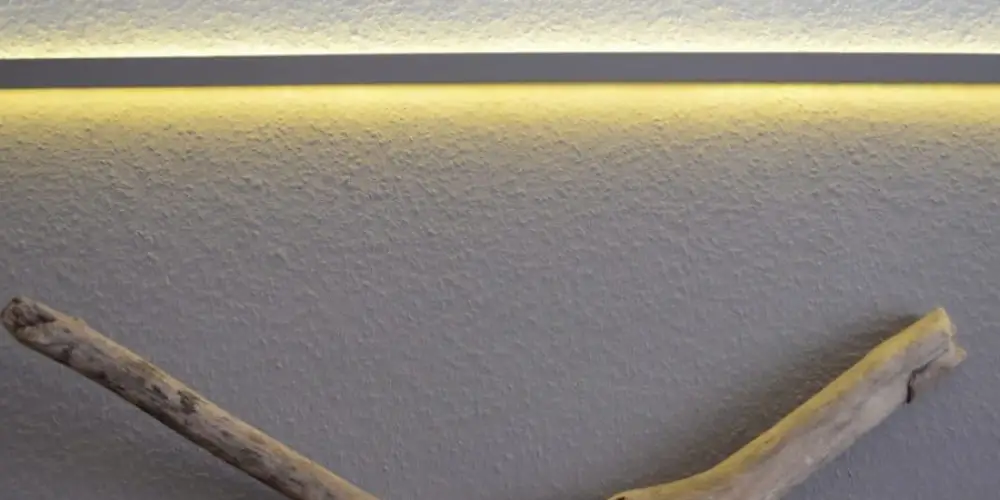
Led light strips are a relatively new way to light up rooms, hallways and even stairs. However, this new type of lighting can be a hassle to maintain. In addition, the lights may seem too bright for your liking or need a color change.
Summary: Removing LED light strips from a wall requires careful handling to avoid damaging both the strips and the wall surface. LED light strips typically come with adhesive backing that makes them easy to install, but removing them can be challenging, especially if they have been in place for an extended period. The process involves gently loosening and peeling the strips while ensuring the adhesive does not damage the wall’s paint or leave residue behind.
Begin by switching off the power supply to the LED light strip to ensure safety. Next, identify an edge or corner of the strip to start the removal process. Gently lift the edge using a plastic scraper, a flathead screwdriver with a taped tip, or your fingernail, taking care not to scratch the wall or damage the strip.
Slowly and carefully peel the strip away from the wall, working in small sections to minimize the risk of damage. If the adhesive is stubborn, use a hairdryer or heat gun on a low setting to warm the adhesive, making it easier to remove. Be cautious not to overheat the strip or the wall surface. Once the strip is removed, clean any remaining adhesive residue with a soft cloth dampened with rubbing alcohol or adhesive remover, then wipe the surface with a clean, dry cloth.
A Step by Step Guide on How to Remove Led Light Strips From Wall
Step 1 : Preparation
- Buy a screwdriver you think would be fit.
- Buy gloves to protect your hands against the rough edges of the LED strips. LED Strips are made up of several layers, one of which is metal. The metal layer can hurt your fingers if it comes in contact with them while removing the light strips from the walls.
Step 2 : Turn Off the Power
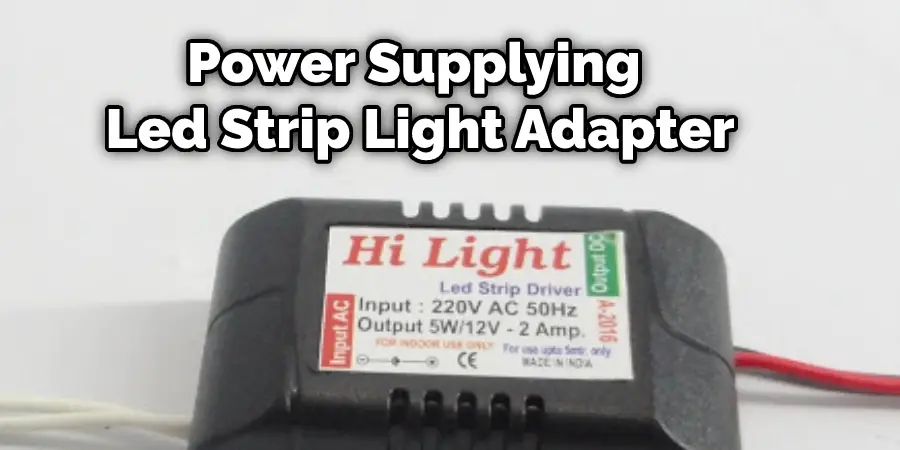
By law, you should never work on any electronic equipment while plugged in. Turn off the mains of power supplying the LED Strip Light so that no current runs through it when you work on it.
Step 3 : Prepare the Walls
If you have the wallpaper steamed off. If you cannot do this yourself, you can hire someone to steam it for you. The steamed-off wallpaper will make your work easier by making it possible to see where the LED light strips are stuck on. Use a sharp knife or blade to cut any cables preventing you from moving on with your task safely.
Step 4 : Remove Trimming & Border Strips
Find all trimming and border strips that are hiding glue on the wall behind them. Use pliers gently to peel off these border pieces without damaging them too much, as they have to be reused later on. This way, you will get clean cuts which give a nice finish when repainting the walls.
Step 5 : Remove a Single Strip From a Wall
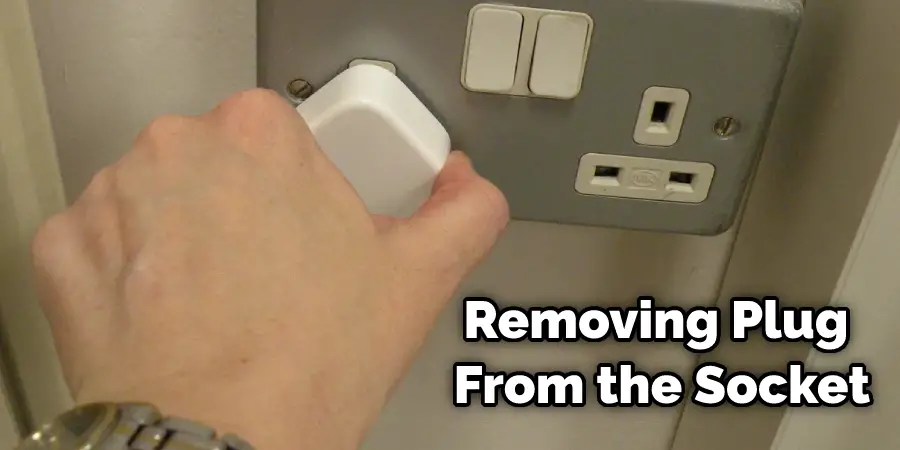
To avoid electric shock, unplug the main power supply or turn off the switch for hardwired light strips before working with any electricity. It is also advisable to not work on any electrical equipment while it is plugged in, as this could be dangerous and damage the LED strip.
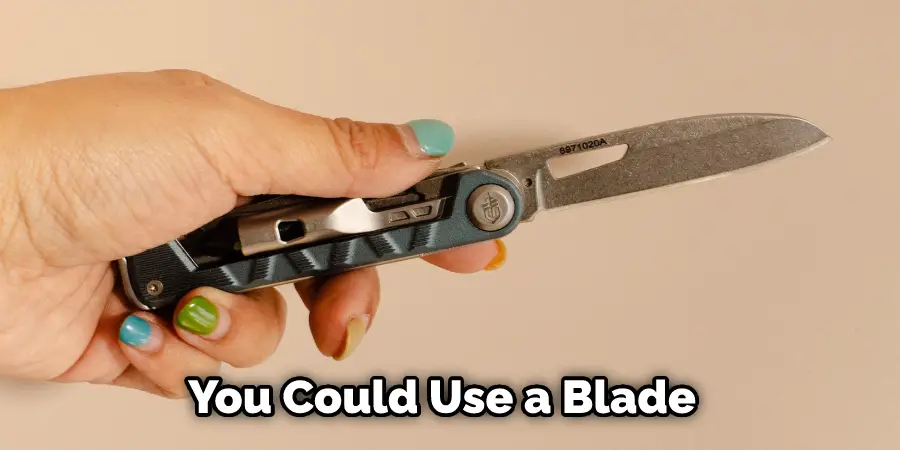
Use a sharp knife or blade to cut through any cable connections between each LED light strip section, carefully disconnecting them entirely from one another. Be careful not to cut too deeply, as this might damage individual LEDs in each area, rendering some parts unusable later on after being removed from the wall.
To remove your LED light strip from the wall, slowly and gently grab the edge of the strip with both hands and work your way from one end to the other. If there is a stubborn section, use a flat head screwdriver to give it a gentle but firm push down on either side of that section before pulling it off, as you did with other areas earlier. You can also use pliers for such regions if necessary.
Step 6 : Remove Multiple Light Strips From the Wall
Once you have disconnected all individual strips from one another, disconnect any remaining cables by cutting them using a blade or knife so that they cannot fall back onto each other once removed from the wall cavity.
To cut the glue, use a sharp blade. Depending on the type of glue, you may need to apply more pressure to make a clean cut. If you are cutting through bonds that are difficult to break, be extra careful not to damage the LEDs or other components in each section.
Peel off each LED light strip from the wall slowly and gently as you pull backward with both hands starting from one end to the other. If any stubborn sections are still stuck onto your walls, then use a blade or flat head screwdriver as earlier mentioned to push them down gently, then follow through with pulling them back until they come to loose completely from your walls. Be careful not to damage any cables as cutting too far may damage individual LEDs.
Remove all old glue and debris from the wall cavity before attaching new LED strips. This will ensure that the new strips don’t become difficult to attach. The method you use to remove the old glue and debris will depend on how the original LED strips were attached to the wall.
If hot glue was used, you could use a blade to clear away debris before wiping it down with a wet cloth and dry using a hairdryer or fan heater. If the double-sided tape was used, peel it off and clean up any remaining adhesive residue. Use isopropyl or alcohol (rubbing alcohol) mixed with denatured alcohol, commercial detergent cleaner, or some mineral turpentine/white spirit.
When mounting your LED light strips back onto the wall cavity, take care not to damage any sensitive components on them by accidentally cutting into cables or dropping them hard down on each other. It is recommended to first lay every strip down on a flat working surface for testing before mounting them up on the walls.
How you do this depends on the type of adhesive used to glue your strips to the wall. For example, if hot glue was used, slowly and gently slide each section starting at one end up against another while sliding two hands underneath to lift each section upward off the worktop without twisting or bending any areas.
Step 7 : Fix Led Light Strip

Finally, look for a small container to keep all the screws and other metal parts of your LED lights strip. This will come in handy if you plan to reattach them or use those parts in another piece of equipment. Plus, it’ll help you keep track of all the pieces so you don’t lose them before you need them. Just be sure to place the container away from any potential hazards that could damage it, like busy areas or sharp objects.
Step 8 : Fix Led Light Strip If Part Of It Is Damaged
If you find that your LED lights have some part of them damaged due to constant plugging, replace that part with another one using the same connector type. If the claim is not available, use electrical tape or other similar methods to cover up the gap/damage on your led light strip for future usage.
You can check out it to Remove a 4 Inch Recessed Light
Step 9 : Attach Your Led Lights Back On The Wall
When all the parts are ready, connect the connecting cord to the end opposite from where you pulled it. Then, plug the other end into your electrical outlet. If you used adhesive tape to attach the LED light strip, apply some of it to another clean surface and place the LED light strip back on it firmly for an instant bond.
If screws were used and you want them back, find a safe container where you can keep them until your next visit when they are needed again; finally, check if your led light is working fine by switching it back on and checking its functionality. These steps will help in how to remove led light strips from wall.
Precaution
- Make sure you work in an unplugged environment since this might shock you.
- Be careful not to cut your fingers with the wire cutter.
- If using a box cutter, do not press too hard, or else you might damage the surface of your wall.
- If you are removing rope lighting instead of LED strip lights, make sure there is no electricity running through it before removing them from the wall.
What Color Light Helps You Sleep?
A study conducted by the Loughborough University Sleep Research Center’s lighting department suggests that blue light is more effective at combating sleepiness than red, green, or white light. This makes sense, as sunlight – a source of blue light – usually alerts us in the morning and puts us in sleep mode at night.
During this study, researchers compared subjects’ self-rated alertness levels against their melatonin levels. It was found that blue wavelength had a powerful effect on suppressing melatonin, which may be why so many people find it easier to fall asleep under a blue-lit spectrum.
In addition, those exposed to blue light reported feeling less sleepy an hour before their usual bedtime, compared to when they experienced other colors of natural or artificial light.
You Can Check It Out to: Fix Led Lights when The Colors Are Wrong
Frequently Asked Questions
What Is a Way to Hang Up Led Lights Without Taking Paint Off the Walls?
One popular way is to use wallpaper hangers. These are thin, metal clips that allow you to easily and securely fasten led light panels onto the wall. Another option is to use LED brackets or holders. This system attaches LED lights directly to wall mounts so that they will not touch any paint or other surfaces.
The final method is using magnetic hooks instead of Wallpaper Hangers or Brackets/ Holders.
Would Removing Led Lights Damage Wall Painting?
Removing LED lights from a wall can damage your painting if not done properly. First, make sure to use an isolation transformer to reduce the voltage before removing the lights. Second, be very careful while unscrewing and remove all of the screws so that you don’t dent or scratch the surface.
Do Led Lights Peel Off Paint?
Some disagreement on this topic, but in general, it appears that Led lights can potentially cause damage to paint if left on for an extended period of time. The phosphor in these lights converts light into heat which may then cause the paint to peel or flake off. Some people also claim that high output LEDs are more likely to produce this effect than lower output variants. If you’re concerned about your painted surfaces, it would be best to avoid using Led lights altogether or test them out first before leaving them on for an extended period of time.
Why Do Led Lights Flicker When Turned Off?
One potential cause is that the light is being turned off too quickly, which can cause the current running through the LED to drop too low and create flickering. Another potential issue is that the voltage being used to power the LEDs is too high – this can cause damage to the LEDs and cause them to flicker. Finally, some devices may not be properly insulated from the ground, which can allow electricity to leak out and create flickering.
If you’re experiencing flickering with your LED lights, it may be helpful to test each of these solutions one by one to see which is causing the flickering. If you’re unable to identify the source of the flickering, it may be best to contact your manufacturer or supplier for assistance. In any case, taking care of your LED lights will help them last longer and provide more consistent illumination!
Conclusion
I hope you have gone through the article on how to remove led light strips from wall. It is time to enjoy the summer once again – but before you do, your led light strips must be removed from your walls.
We also recommend cleaning up any mess made during installation and packing up all of the items used in the process (including spackle). Led lights can be costly if they break or get damaged; make sure to take care of them, so they last for years!
You may read it also – How to Change Dome Light