Suppose you are trying to remove your bathroom fan light cover. It can be a little tricky, but you can do it with the right tools and some patience. This article will show you how to remove round bathroom fan light cover in a few simple steps. We’ll also provide tips on avoiding damaging the cover or the fan itself. So read on for all the info you need on removing your bathroom fan light cover!

Removing the bathroom fan light cover can be easy with the right tools and a little patience. Unfortunately, many people mistake using a flathead screwdriver or power drill to pry it loose but don’t do that. You could easily crack the cover and ruin the fan if you use such heavy-duty tools.
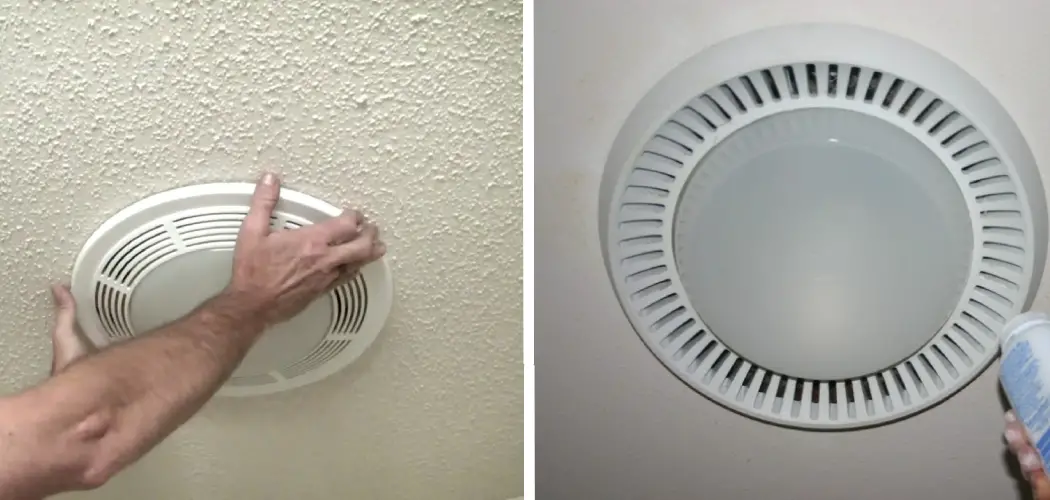
Summary: Removing a round bathroom fan light cover is a simple task that can be done without the need for professional assistance. Before starting, ensure that the fan and light are turned off to prevent any accidents. To remove the cover, first locate the area where the cover connects to the fan housing. Most round fan light covers are held in place by clips, screws, or a combination of both.
If the cover is secured with clips, gently press the cover towards the fan housing while turning it counterclockwise. This should release the clips and allow you to remove the cover. If the cover is held in place with screws, use a screwdriver to loosen and remove the screws, taking care not to lose them. Once the screws are removed, gently lift the cover away from the fan housing. With the cover removed, you can now proceed to clean or replace the light bulb, fan motor, or any other components as needed. Remember to reinstall the cover and secure it in place after completing any necessary maintenance.
Required Tools and Materials
- Screwdriver
- Pliers
- Wire Snips
- Wire Cutters
- Wire Strippers
A Stepwise Guide on How to Remove Round Bathroom Fan Light Cove
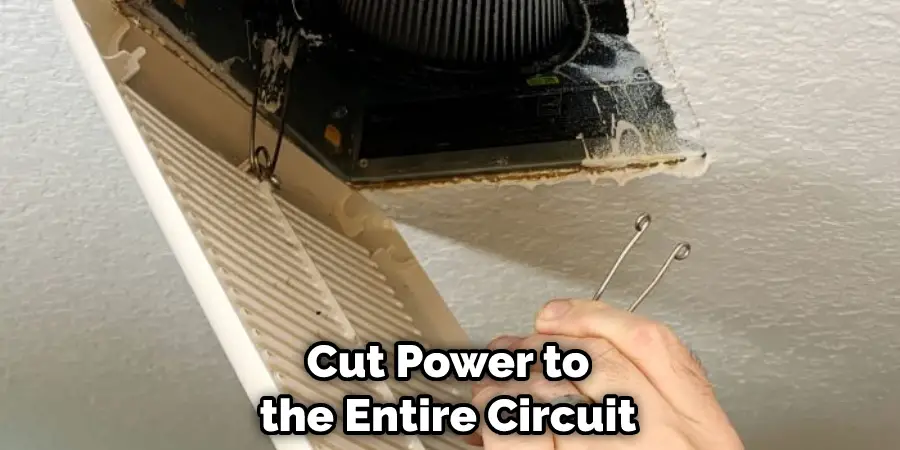
Step 1: Turn Off Power to Fan
To turn off your fan, you will need to find the switch box that controls power to the fan and light. If you cannot find the switch box in your bathroom, please check with an electrician before continuing this process. For safety reasons, it is highly recommended that you cut power to the entire circuit if there is no way of knowing which side of the breaker or fuse it is on.
Step 2: Identify the Exposed Wires
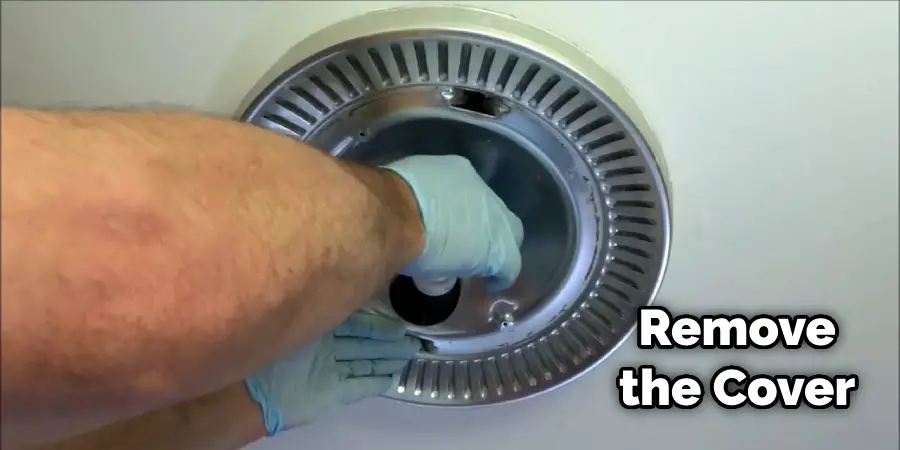
Turn off the power for your fan at the circuit breaker. You need to remove or pull out the cover of your fan or light first before you can access the wires inside. How do you know which ones are the exposed wire? Look on your light switch, and you will see a black, red, and white wire there. The black wire is your grounded conductor (neutral), the red one is for switched hot (it’s like an always-hot), and the white one is neutral (return path). If there’s no switch, then any color can be used.
Step 3: Remove Screws Holding Cover
To remove the cover of a switch, use a screwdriver to remove the screws. Turn the screwdriver counterclockwise to remove the screws. If the switch is an older model, you may need to use a flathead screwdriver and turn clockwise. When finished, pull the cover off gently.
To remove the screws from the cover, use a screwdriver and turn it counterclockwise. If your switch is an older model, you may need to use a flathead screwdriver and turn it clockwise. Once you have removed the screws, gently pull the cover off.
Step 4: Remove Fan Cage
Look for screws holding your ceiling fan to the electrical box–for most fans, two are located on either side of where the wires enter into the unit, while older fans may have them in different spots. Untwist all screws and remove them by turning counterclockwise.
You can then pull out/down on the metal cage surrounding the blades until it pulls away from its moorings–it’s usually a more manageable task if you push upward while pulling downward, but be gentle because it is still attached via wires inside of it. There will be some wire connector inside that slides when turned counterclockwise. Gently remove it and do not pull on any wire to disconnect.
Step 5: Remove the Fan Blades
Removing the screws holding the ceiling fan in place will allow you to gently lift the metal cage surrounding the blades. To separate the cage from its moorings, push upward while pulling downward. Be careful not to damage the wires still attached to the cage. The process for removing the blades will vary depending on your model, but most fans will have two screws holding each blade in place.
Once done, gently lift each fan blade off its motor and away from the ceiling fan body. Gently place them to the side, not touching anything metal. This is a crucial step in how to remove round bathroom fan light cover.
Step 6: Remove Fan Motor
Once all fan blades are removed, you can now safely unscrew any electrical wires connected to the motor itself. Don’t forget to turn the power back on for safety reasons before continuing this step! Depending on how advanced your particular model is, you may have three or four wires.
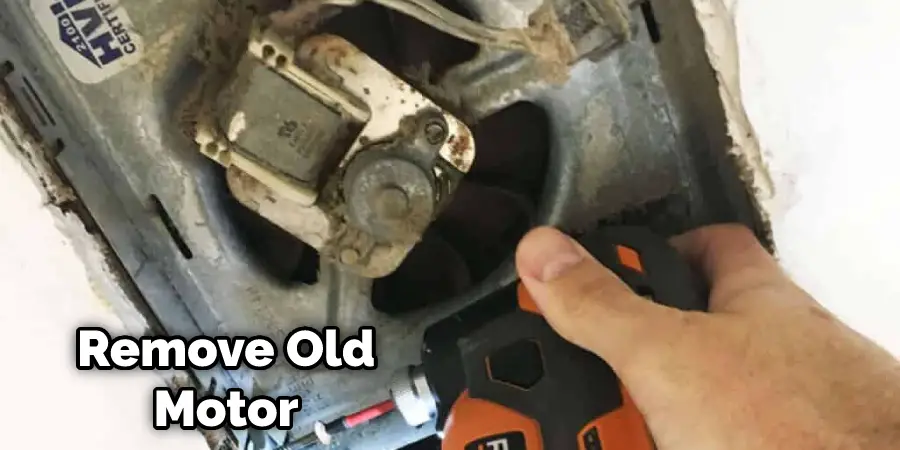
If you’re unsure which wire goes where, check your user manual. It should tell you what color wire attaches where. To remove the wires, unscrew the screws counterclockwise. Pinch each wire between your index and thumb and pull straight up. Be careful not to break any wires or lose connection with any of them.
Step 7: Replace Fan Cover Plate
In order to replace the fan light cover or ceiling fan check, you must first take off each wire from where it is connected to the motor’s housing. Next, you must slide the new one on by lining it up, so all three conductors match up with the ones already attached. The configuration of the wires depends on how the old plate was attached, so it is important to refer back to the user manual for a label showing each color wire attaches.
Once every wire is connected, twist each screw closed clockwise until tight and then placed the plate back over them before reattaching using screws as necessary–if there were more than two screws, they should be replaced as well. How many screws will vary depending on which model you’re working with, as each one has a particular style.
You can check it out to Light a Wooden Wick Candle
Step 8: Reattach Fan Blades & Cover Plate
Replace the fan blades and cover plate as needed. Depending on your ceiling fan model, the process for doing this may vary. However, for most fans, the steps are as follows: First, attach the blade with the longest metal pole to the motor shaft by lining up one side of it with a gap between two separate blades (it should go in smoothly, not at an angle). You’ll notice there is a tab near where it connects to one side; make sure that the tab slides into its corresponding gap before pushing down to seat it fully.
You can check it out to Move Bathroom Light Fixture
Step 9: Turn Power Back On & Enjoy
With all pieces in place, turn power back on to the ceiling fan at its outlet so it can begin running once again. Next, you’ll want to test the light by holding the light switch up and turning it off, and then bringing it down so that the light turns on–this way, you can see how far you’ve turned the knob if need be. With this done, enjoy your hard work! These steps will help in how to remove round bathroom fan light cover.
You Can Check It Out To Remove Bathroom Light Cover
Precautions
- Before removing the round bathroom fan light cover, you will need to turn off the power supply to the unit at the circuit breaker.
- Ensure that your hand is behind the grille or faceplate so that your fingers are protected if anything falls out of the housing assembly.
- After making sure that no one is using this housing for fan blades anymore, unscrew the screws on either side of the frame for it.
- Take note that some fans can just be pulled down because they are held in place by friction between them and the openings left around them.
- Use a putty knife or flathead screwdriver to lift on each corner of the cover panel. Pull all four tabs down toward you until you hear a snap sound.
You Can Check It Out to: Remove Round Rv Light Covers
Can You Replace the Light in a Bathroom Fan?
Replacing the light in a bathroom fan is easier than you might think! All you need is a screwdriver, some pliers and few other common tools. First, you will want to turn off the power to the fan at the main circuit breaker. Next, use a screwdriver to remove the cover of the fan and locate the light socket.
Unscrew the retaining screws that hold it in place. Now take out the bulb and replace it with one of the same wattage and size as the original. Before placing it back in, attach new wiring if necessary. Finally reconnect all of wires, making sure each connection is tight and secure. Put back on the light cover securely before restoring power to your fan.
Frequently Asked Questions
Are G9 Bulbs Banned?
They may be subject to certain regulations depending on the country or region you are in. In some cases, they may be considered hazardous and require special treatment or handling. So it’s important that you check with your local government before using them in order to avoid any potential problems.
What Is a G9 Capsule Bulb?
A G9 capsule bulb is a type of LED bulb that uses a nine-shaped light-emitting diode. This bulb was designed to provide a whiter and more natural-looking light. It is also designed to use less energy, which can save you money on your electricity bill.
Can You Swap G9 Halogen for Led?
The reason for this is that while LEDs emit near-white light, halogens produce a warmer and more yellow hue. This might not be ideal if you are looking for an attractive or matching lighting solution in your home.
Conclusion
We hope you have learned how to remove round bathroom fan light cover. The light cover is now removed! You should follow these steps for removing the round bathroom fan light cover. If you have any questions, feel free to contact us, and we will be happy to help. Thank goodness our old bathroom fan finally died so that I could do this project!
You may also check it out: How to Trace a Light Switch