There’s nothing quite like coming home to a warm and cozy house after a long day. And, with Govee intelligent lights, you can create the perfect ambiance for any occasion, no matter what time of year it is. Read on to learn how to connect Govee lights together so you can customize your lighting experience!
If you want to connect Govee Lights together, there are a few things you need to know. First, make sure all of the lights have the same type of connector. Second, match up the colored wires to the corresponding colors on the connector. Finally, twist the wires together and attach the connector.
Connecting govee lights can be the perfect way to get the lighting you love throughout your home. With Gove smart light, there are no hubs necessary, meaning your lights can work with any wireless network in your home. In addition, Govee smart bulbs connect automatically once they’re within range of one another, allowing you to control multiple govee lights simultaneously from your smartphone.
Summary: Connecting Govee lights together is a simple process that allows you to create a seamless and customizable lighting display across multiple Govee LED light strips. Before starting, ensure that you have compatible Govee LED light strips, Govee connectors or extension cables, and any necessary tools, such as scissors or a flathead screwdriver, depending on the specific Govee light strip model.
First, plan the layout and desired connection points of the Govee light strips, ensuring that the strips are compatible and can be connected using Govee connectors or extension cables. Turn off the power to the light strips before connecting them to avoid potential hazards.
Depending on the specific Govee light strip model, you may need to cut the light strip along the designated cut lines, ensuring that the strip is powered off and unplugged before doing so. After cutting the strip, use the appropriate Govee connector or extension cable to connect the light strips together. This may involve inserting the strip ends into the connector and securing them with a locking mechanism or using a screwdriver to tighten the connector’s terminals.
Once the light strips are connected, turn the power back on and test the connected strips to ensure they are functioning properly and providing the desired lighting effect. If necessary, make adjustments to the connections or strip positioning for a seamless lighting display.
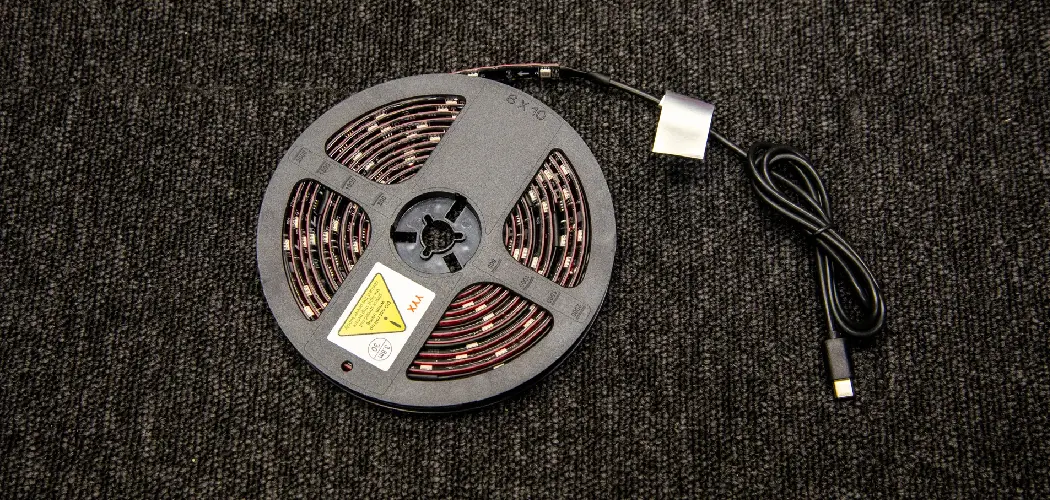
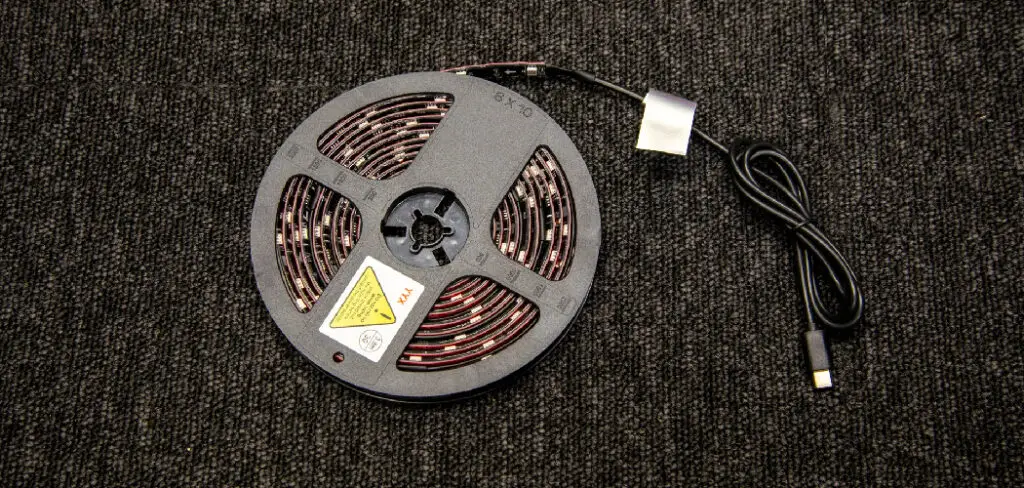
What Are Govee Led Strips
The Govee LED Strip Lights are easy to use and install. You can stick them anywhere you want with the adhesive backing, and they are easy to connect so you can control multiple strips of lights from one remote. The Govee LED Strip Lights also come with a free app for iPhone called ‘GO Smart’, which allows you to change the color of the LED strip with just your touch screen.
The app works by connecting through Bluetooth 4.0 on your phone, but more about that later!
Each strip is 16 feet long and has 40 LEDs per meter (so each foot has 13 red, green, and blue LEDs). The total length of each strip is 16.4 feet, which is 300 LEDs.
Govee’s addressable LED strips let you customize your lighting like never before. Each LED can be controlled independently, so you can cut and paste your strip lights anywhere without any hassle! The remote or app (GO Smart) lets you control all the action; more information later!
It takes around 5 minutes to put up every 5-foot section of light, so don’t worry; it’s easy enough for anyone to install.
What Are the Different Govee Led Strips
There are different Govee lights to give you just the right ambiance for your home. You might have seen them hanging in restaurants or even at home.
Govee’s Clip-on LED Bulb is the perfect choice if you’re looking for a low-wattage option with 7W of power consumption. Despite its low wattage, it produces an impressive 300 lumens, equivalent to a 40W bulb. Plus, it comes in the form of an Edison screw, which gives it a traditional, antique look that is chic and stylish. You can use it with any standard light fixture or lamp.
This LED strip light is flexible, bendable, and easy to install; however, before installation, make sure you have a Govee LED adapter to convert the 12V input to 5V output for this strip light. Govee Flexible LED Strip uses only 9 watts for power supply while producing 800 lumens equivalent to 100 watts, making it a great energy-saving lighting option.
Govee Lightstrip Plus uses 10 watts power supply, but it emits 1000 lumen brightness, similar to a 90-watt incandescent bulb. These are also flexible strips compared with other LED strips sold in the market today, making them easy to install. You can also use the sticky pads provided in the package to fix them on walls or other surfaces.
Tools and Materials
- Drill/Screwdriver
- Wire Cutters
- Electrical Tape or Heat Shrink Tube (Optional)

A Stepwise Guide on How to Connect Govee Lights Together
Step 1: Determine How Many Govee Lights You Want to Connect
First, determine how many bulbs you want to connect. For example, if you’re planning on building a three-bulb chandelier, you will need to buy at least 3 Elites because each Elite light bulb can only be activated by its remote control. On the other hand, if you’re looking into connecting four or more lights, it’s best to go for the masters equipped with their built-in wireless receivers, so it doesn’t require having one remote control multiple sets of lights.
Note: Just because there are masters in the box does not mean they will work as independent units without buying additional remotes. The same goes for Elites needing an extra remote.
Step 2: Buy the Correct Brightness for Your Light Set
The Govee light sets come in different Lumen (Brightness) levels. How bright you want your lights to dim will determine what brightness level you should be going for. If a lighting system isn’t bright enough, it doesn’t mean it’s a low-quality product, so do not try to upgrade the brightness if it is too dim or can’t light up a whole room.
Govee offers 3 Levels of Brightness:
- 800lm: This is perfect for Bedroom Lighting Setups
- 1600lm: This is perfect for Living Room Lighting Setups and Downlighting
- 2400lm: This is perfect for Up-Lighting/Accent Lights or Display Cases that have minimal lighting
f you need more than 2400lm, we recommend getting a professional electrician to install high wattage light fixtures. Please note that Govee cannot be held accountable for any accidents or incidents caused by using the products in ways other than what they intended.
Step 3: Connect the Lights
Now that you have chosen your desired lights, it’s time to connect them.
Take the wire and strip the ends off with the wire cutters, so there is metal exposed. It doesn’t matter which wire you choose to use as long as they can conduct electricity and touch each other (black or green).
Afterward, twist the stripped end of one wire around a strand of copper (copper strands should be protruding out from one end and single and not bound in a coil), then firmly tape it down with electrical tape/heat shrink tube or solder it depending on what your preference is. This should complete step 1. This is a crucial step in how to connect Govee lights together.
Step 4: Connect the Power Supply
Now it’s time to connect the power supply. There will be an open hole at one end of the light strand with a cap that you can attach the plug into and then another hole on the opposite end that you can insert and secure with a screw.
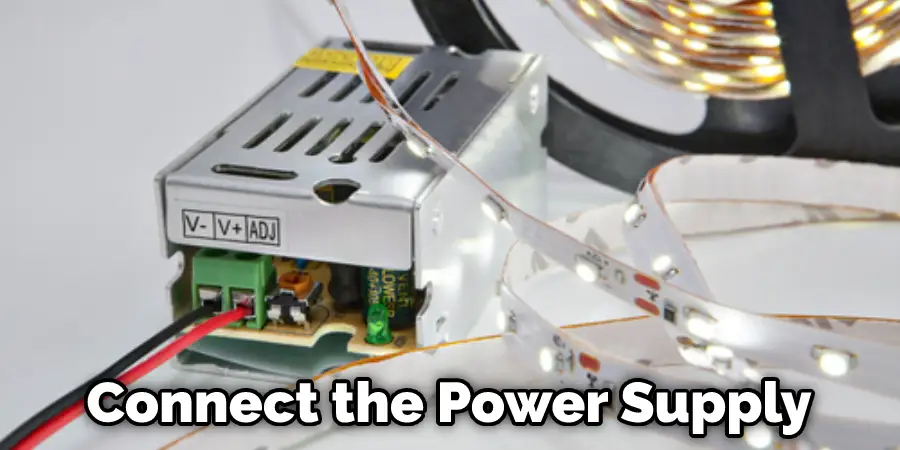
Again, how you choose to cut and strip your wires is up to you, but we recommend having all your lights plugged in before securing them in their respective places because you may have to rearrange some things depending on how crowded it gets when all three sets of lights are connected.
Step 5: Connecting Everything Together
Now that both ends are finished, make sure they don’t get wet, or they could be short. Then, connect one end to the power supply and leave the other end free. Afterward, take your new strand of lights and twist it into a circle until all three sets are connected securely. Then tape it down or solder it depending on your preference from step 3.
Step 6: Hang Your Lights
Now that all the hard work is done, you can begin hanging your lights! You will require a drill/screwdriver with a drill bit sized between 4mm-6mm (5mm recommended) and screws long enough to go through both the light strand and drywall. Start by drilling a hole where you want to place your first light set. Make sure you put your holes at least 2 inches apart to connect all three stages of lights.
Afterward, attach the first light strand by screwing it in place. Then screw the other two strands on top of that one to ensure they don’t un-twist themselves and expose the wires inside.
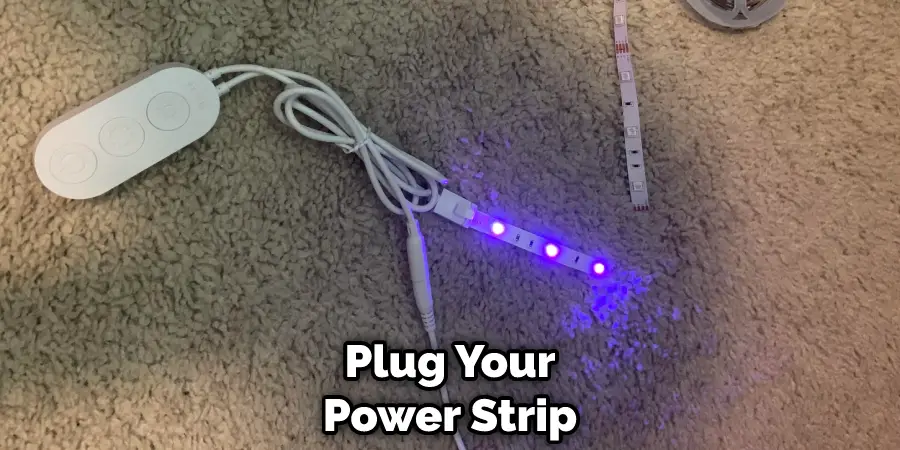
Step 7: Test Your Lights
Finally, you have to plug your power strip in and connect the other end to the power supply. Now turn your lights on by clicking them at their respective switches and ensuring they are all working correctly! If they are, congratulations because this completes step 5! these steps will help in how to connect Govee lights together.
You Can Check It Out To Make Govee Led Lights Flash
Precautions
- Ensure that both the transmitter and receiver are fully charged before use.
- When turning it off, press down on the power button for 3 seconds.
- When turning on, press down on the power button for 2 seconds.
- Ensure that no metal material blocks the light beams between the transmitter and receiver.
- Ensure that the receiver is within the 20-meter transmission range.
- Govee light system does not work with any other light systems.
- Ensure to turn off your lights before turning them on again, as doing otherwise may burn out the LED bulbs.
- Do not place anything near or block the transmitter and receiver, as this may interfere with the beams of light transmitted between them.
- Ensure that the receiver is not exposed to direct sunlight or any heat source, as this may malfunction.
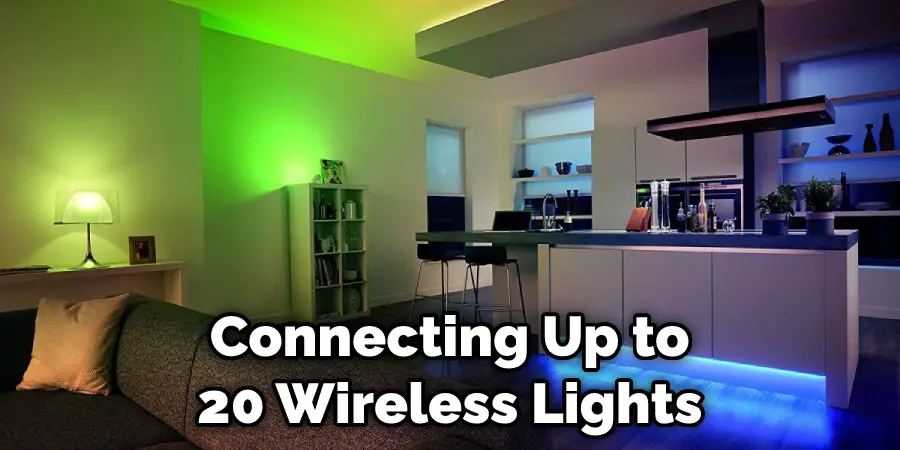
Govee LED light system allows you to create a colorful ambiance in your house by connecting up to 20 wireless lights. It’s simple. Get one of each Govee Light Transmitter and Receiver, connect the two using the included cables, and start creating your home lighting system! A rechargeable battery powered with a USB charging cable makes it easy for anyone to set up their wireless lighting system without long wires or fussing over hardwiring.
You Can Check It Out to: Install Govee Led Strip Lights on Ceiling
Frequently Asked Questions
Can You Connect Multiple Govee Lights Together?
This can be helpful if you want to create a large light display or if you want to use the lights as part of a larger project. Simply connect the lights using the included cables and then adjust the brightness and color settings to your liking.
Can You Extend Led Light Strips?
If the first light of your power bank is blinking when it should be charging, there may be a problem with the charger. If this is the case, you need to replace the charger.
Can I Control Multiple Govee Strip Lights With Only One Remote?
Yes, you can control multiple Govee Strip Lights with only one remote. Just make sure that the lights are connected to the same Govee controller and that the controller is connected to your home’s electrical outlet. Once you have verified these basic connections, you can start controlling the lights with your remote.
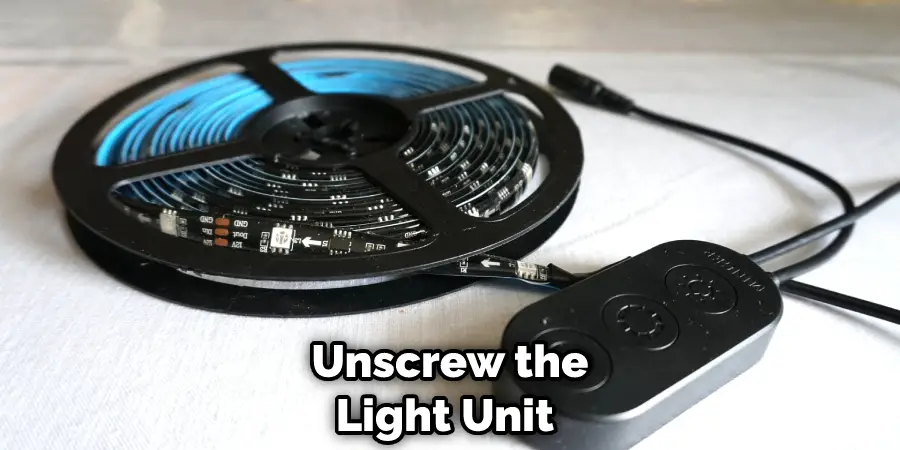
Can You Split Govee Lights?
Yes, you can definitely split Govee lights. Simply unscrew the light unit and remove the housing. Then, use a flathead screwdriver to pry off the two halves of the housing. Finally, toss the housing away and screw on the new light unit. Be sure to tighten the screws securely to make sure that the light stays in place.
Conclusion
If you want to create an incredible light show for your next party, learning how to connect Govee lights together is necessary. By following our simple guide, you can quickly join multiple Govee lights and create a fantastic display that will wow your guests. So Get started today and see just how impressive your light show can be!