There are a lot of things that go into being a homeowner. However, one of the most important but often overlooked is being able to do basic repairs and tasks around the house. One such task is changing a light switch. In this article, we will show you how to change a light switch without turning off the power. Keep reading for all the details!

Changing a light switch is something that practically anyone can do. It’s not difficult to do, and your wallet will thank you for it. But what many people have trouble with is changing a light switch without cutting the power off. It’s fairly straightforward to fix a tripped breaker, but it’s far more difficult if you don’t know how to do it properly.
Summary: Changing a light switch without turning off the power is not recommended due to the risk of electrical shock, injury, or damage to your electrical system. Working with live electrical wires can be extremely dangerous, and professional electricians always advise turning off the power at the circuit breaker before performing any electrical work. Ensuring your safety and the safety of others should always be the top priority when working with electricity.
If you absolutely must change a light switch without turning off the power, it is essential to take extreme caution and use proper safety equipment, such as insulated gloves and tools with insulated handles. However, it is strongly recommended that you avoid attempting this altogether and instead follow the proper safety procedures by shutting off the power at the circuit breaker. This ensures that the wires are not live during the process, minimizing the risk of electrical shock and potential damage to your home’s electrical system. If you are unsure about any part of the process or uncomfortable working with electricity, it is always best to consult with or hire a qualified electrician to perform the task safely and correctly.
A Stepwise Guide on How to Change a Light Switch Without Turning Off the Power
Step 1 – Choose The Right Light Switch
Before changing a light switch, you’ll want to pick the right type for your home. There are four common residential controls: toggle, rotary, push-button, and rocker.
Toggle and rotary light switches require two hands to turn on and off: one hand to press or rotate and another hand to hold the device in place. On the other hand, push-button light switches only need one hand to control them; they stay in place when not in use. You’ll find these types of switches in older homes.
Newer homes may have rocker-style light switches that allow you to control lights with one finger or flat paddle-style light switches that operate efficiently with just one hand.
Step 2 – Determine whether the Circuit is Live
Before you begin, make sure that the circuit is live. Here are a few ways to do it:
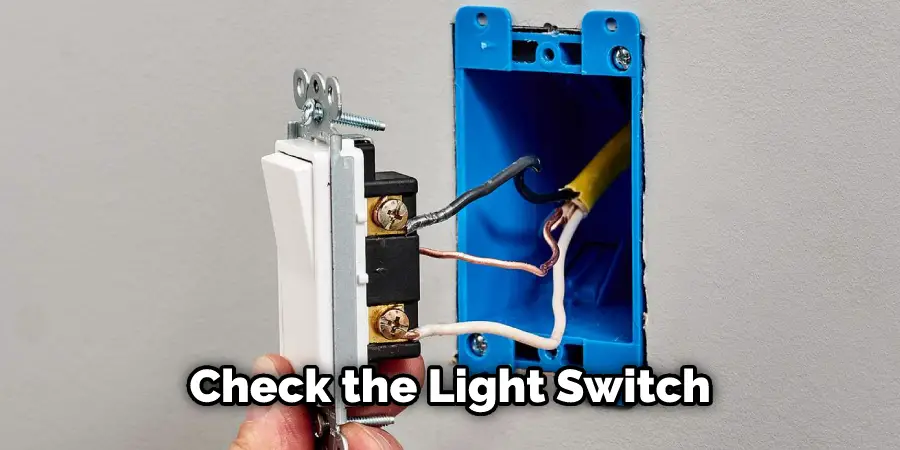
a) Check the light switch. If the light bulb blows when you flip the switch, there’s still power running through that line, eliminating this option from your list of possibilities.
b) Turn on another item plugged into the circuit at your breaker box (e.g., a lamp). If it works, either an appliance or a fuse has blown, and therefore the entire circuit isn’t dead after all. You can rule out this possibility as well.
c) Place a working flashlight next to a non-working flashlight and turn them both on at once without touching any part of their bodies. If one works while the other doesn’t, this confirms that there’s power going to the working flashlight and no power going to the non-working flashlight.
If a) you don’t have light in your room, b) you turn on a working light at the breaker box, or c) neither of them work when turned on simultaneously, then it is safe to say that the circuit containing your switch is dead. Proceed with Step 3.
Step 3- Turn off the power to the switch.
Before installing a new light switch, you must turn off the electric current. It’s easy to do this if only one switch controls the light. First, you have to use a circuit tester or voltage detector to determine how electricity flows through your home wiring at the panel box, where power enters your house. Once you’ve found out which breaker keeps the energy flowing to that light fixture, please turn it off at the breaker. If two switches control the same fixture, flip either one of them down or both up until they click into place without turning on any outside lights.
If you want to check if your light switch is working properly, you can use a circuit tester or a voltage detector. You can also ask an electrician to help you with this. Remember to turn off any breakers that are connected to the light switch before you start.
Step 4 – Remove Old Light Switch
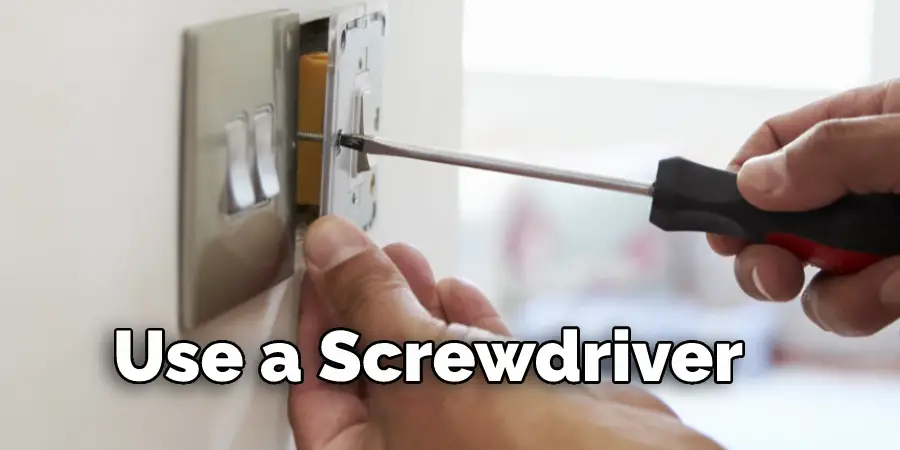
Once the power has been turned off at the breaker, unscrew the switch from its socket. You can use a screwdriver to remove the screws of your existing light switch or pull it out by hand if you have an older model without screws. To be on the safe side, push on the wires of your old switch so that they are away from it before pulling on it too hard.
Step 5 – Remove Covering on New Switch
If you want to check if your light switch is working properly, you can use a circuit tester or a voltage detector. You can also ask an electrician to help you with this. Remember to turn off any breakers that are connected to the light switch before you start.
Step 6 – Install New Light Switch
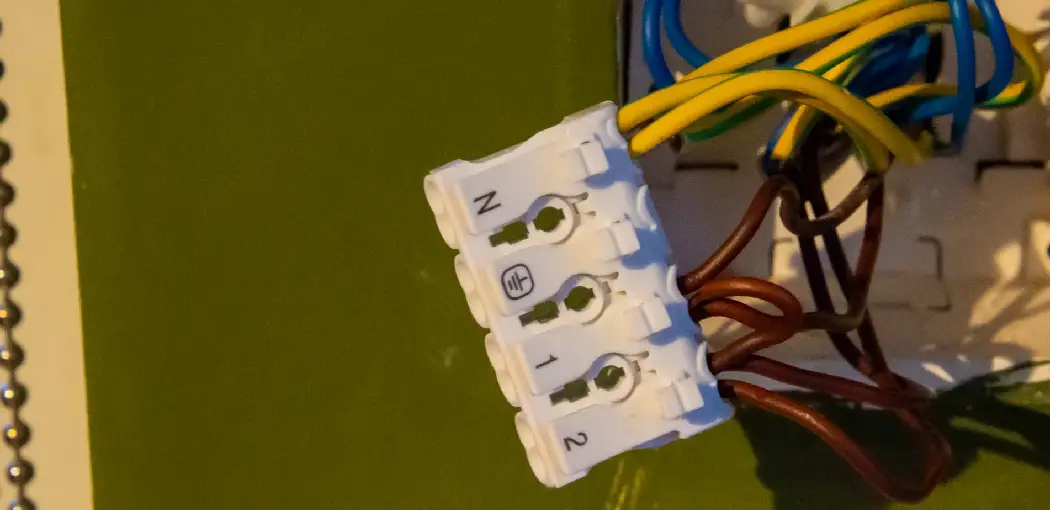
Attach the new switch by running its wires through the back of the electrical box. Make sure that the red wire (labeled “hot”) is on one side, wiring toward the brass screws, and that black (neutral) is on the other, wiring toward copper screws. Tighten these down carefully before you do anything else with them. The ground wire (green or bare by default) goes along with either one of these two wires, usually towards where they enter or exit. Some switches have green insulation; if yours isn’t green, it’s white instead, so make sure not to wire it wrong.
Once you’ve attached the switches bar, tighten its screws as well. Again, use a screwdriver or an Allen wrench to tighten these screws since their heads are too small to fit your fingers into the box.
Step 7 – Turn on Power and Test Your Work
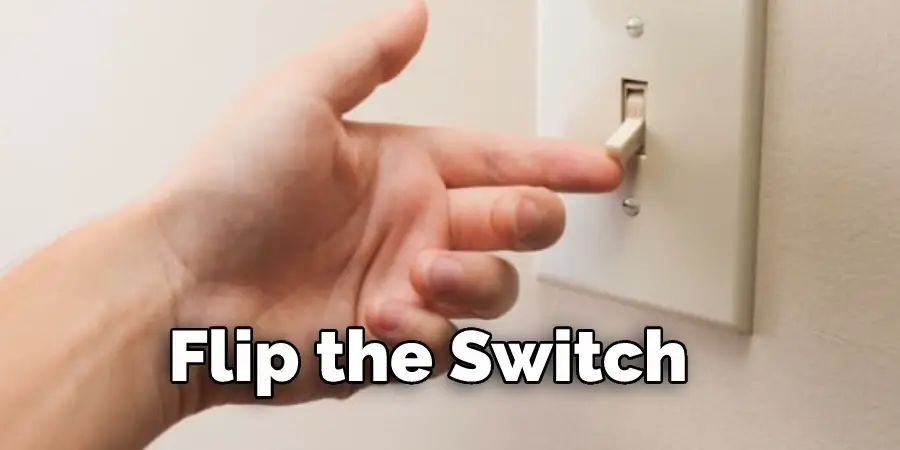
Turn on power at your breaker box one last time. Flip the switch up and down a few times, then flip it back off again before giving it a final test by flipping it up and then down quickly about ten or fifteen times in a row. If there’s no change from turning the switch off, check that your wiring is correct with a voltage detector; multiple lights nearby may have been affected by this one light being turned on or off, which is why you must flip the switch on and then off again at the power box before testing it. During this final test, check to see that the lights go out if the switch is in its “up” position and come back on when it’s moved down.
If all else fails, you may need to reset your circuit breaker by switching it ‘off’ for 5-10 seconds and turning it back on again.
Step 8 – Reattach Faceplate & Clean Up Your Wires
Reattach the faceplate by pushing it back into place (or screwing it around if you didn’t remove your old one.) You can also use electrical tape to wrap up any loose wires at this point neatly. Be sure to keep these neat so they won’t get caught in the door when you open and close it, accidentally ripping out your wiring.
Once all of your wiring looks nice and clean, flip the switch up and down a few times, then flip it off before plugging in your lamp or whatever else you want to control with this new light switch. If everything turns on/off correctly, congratulations! You just saved yourself some money by doing something simple.
There are other ways to change a switch, for instance, if it’s in a three-way circuit. The other two switches are up and down, respectively: turn off power at the power box, remove both of those switches and flip them both up so that they click into place without turning on any outside lights, then reattach them by flipping them both back down so that they click into place with their wires facing opposite directions from before, just like when you’re replacing a single light switch.
If this method doesn’t work for you for some reason, you may need to get an electrician to help you with your wiring or replace your existing light switch with the new model. These steps will help in how to change a light switch without turning off the power.
Precautions:
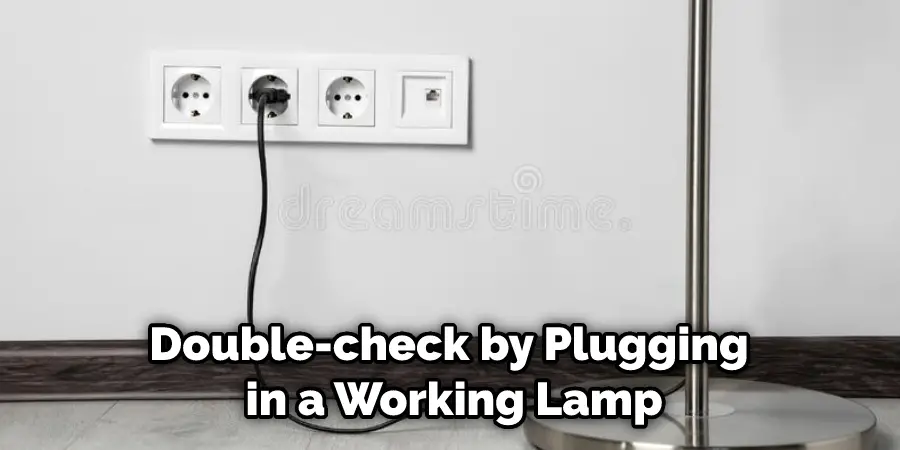
1. Be sure to turn off the power to the switch you are replacing before starting your work. Double-check by plugging in a working lamp, etc.
2. The outlets connected to this circuit will become live when the switch is turned on again after installation or repair, so be careful not to touch these outlets with anything metal until the new switch has been installed and turned on for a moment.
3. Ensure all exposed wires have been safely pushed back into their holes and out of the way before reinstalling the switch plate, particularly if they haven’t been colored appropriately with a permanent marker.
4. If you have a metal light switch plate, it will also become live when the power is restored. Be careful to contact only plastic or neutral surfaces when changing a front plate with a metal one attached.
5. After installation, use caution around the new light switch just in case something doesn’t work quite right, and there is still some residual power in the circuit from before your repair work began.
You Can Check It Out to: Use Leviton Light Switch Key
How Long Does It Take to Change a Light Switch?
Changing a light switch typically takes 10-15 minutes for a person with basic electrical knowledge and experience. However, it may take longer if the wiring is complicated or if additional repairs are needed. It’s always important to turn off the power source before attempting any electrical work and to follow proper safety protocols. If you are unsure about your ability to perform the task, hiring a licensed electrician is best.
Frequently Asked Questions
Can You Change a Light Switch Without Shutting Off the Power?
While changing a light switch without shutting off the power is technically possible, it is not recommended. Working with live electricity can be dangerous and should only be done by a licensed electrician. Even if you are familiar with electrical work, it is always better to err on the side of caution and turn off the power before making any changes to your home’s electrical system. Turning off the power ensures your safety and prevents damage to your electrical equipment. So, switching off the power before changing or replacing a light switch is highly recommended.
Can You Change a Light Switch Without Turning Off Circuit Breaker?
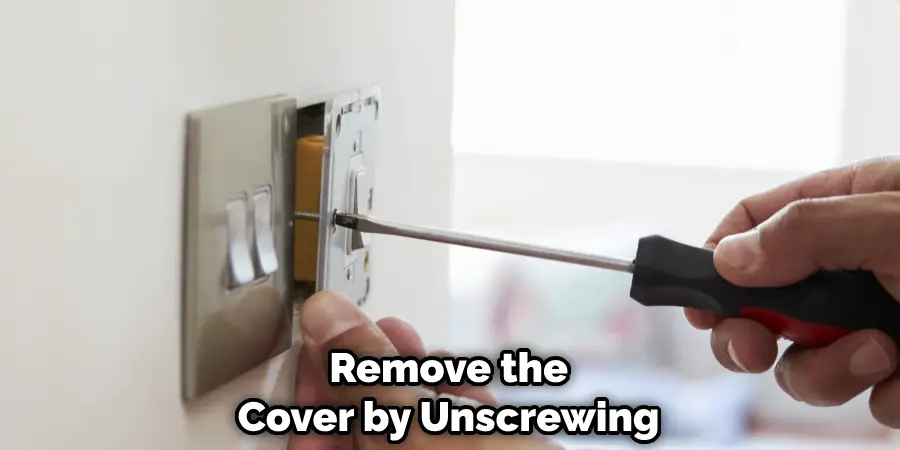
Yes, you can change a light switch without turning off the circuit breaker. To do this:
1. Remove the cover by unscrewing it from the wallplate
2. Locate and unlatch the light switch
3. remove it by pulling up on both sides
4. Disconnect wires using a standard wire stripper or crimping tool
Do You Have to Shut Off the Power to Change Light Switch?
No, you do not have to shut off the power to change light switches. In fact, this is typically a dangerous practice that can result in electrical shock.
If you are going to use your hands or feet to turn the switch on and off, it is recommended that you use an outlet cover instead.
Is It Safe to Change a Light Switch Yourself?
Although it may be tempting to change a light switch yourself, there are many dangers involved in doing so. If you don’t know what you’re doing, you could end up injuring yourself or even causing damage to your home.
Additionally, if the power goes out while you’re working on the switch, you could be left in darkness without any way of getting back into your home. Work with an experienced electrician to install your new light switch correctly.
If at all possible, seek professional help when changing a light switch. Local electricians are usually well-trained and can do the job quickly and safely.
Is It Safe to Replace an Outlet Without Shutting Off the Power?
No, it is not safe to replace an outlet without turning off the power. There is a high risk of electric shock or electrical fires if you attempt to replace an outlet while it is still getting electrical current. It is important to always shut off the power to the outlet or the entire circuit before attempting any electrical work. You can shut off the power by flipping the appropriate circuit breaker or removing the fuse. Once the power is off, you can safely replace the outlet or hire a qualified electrician to do it for you.
Can I Pull Power From an Outlet for a Light Switch?
There is no straightforward answer to this question. Depending on the type of outlet, and the electrical wiring in your home, you may or may not be able to power a light switch using an outlet. If you’re not sure, or if you have any questions, please contact a qualified electrician for assistance.
Conclusion
If you’re ever in a situation where you need to change a light switch but don’t want to turn off the power, follow these simple steps on how to change a light switch without turning off the power, and you’ll be able to do it without any trouble. Changing a light switch can seem like a daunting task, but with these instructions, it’s easy!