
Acrylic is a versatile material that can be used for various projects. One popular use for acrylic is as a material for light-up signs. By using LEDs, you can create an eye-catching display that will light up your room or business. This tutorial will show you how to light up acrylic with led. We will also provide tips on choosing the right LED lights and how to power them. So, if you want to create your own light-up sign, keep reading!
Summary: If you’re looking to light up your acrylics with led, there are a few things you’ll need. First, get yourself some led light strips. They come in a variety of colors and sizes, so find one that will fit the size of your canvas perfectly. Second, find a way to mount the led light strips to the canvas. You could use a wire frame, or affix them with adhesive. Last, find a way to control the intensity of the led light. You can do this by adjusting the speed of the light or by changing the color of the light.
What Causes Acrylic To Light Up?
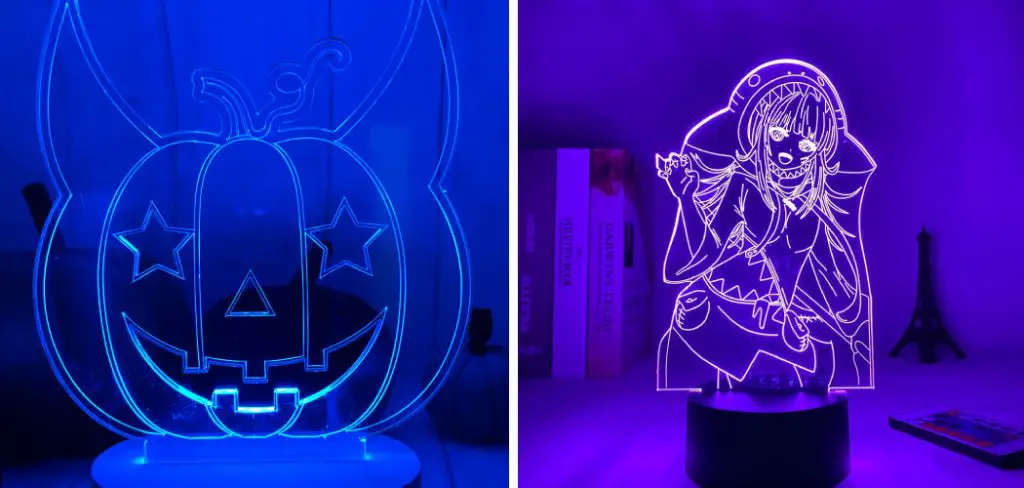
Acrylic is a material that is made up of small cells. When light hits these cells, it causes them to emit photons. The photons then travel through the acrylic and cause it to glow. This is why you will often see acrylic signs from behind. By using LEDs, you can create a sign that is lit up from the front. There are two main benefits to this. First, it makes your sign more visible. Second, it gives your sign a unique look that will make it stand out from the rest.
Additionally, LEDs are very energy-efficient, so you won’t have to worry about your sign running up your electric bill. Another benefit of using LEDs is that they last a long time. So, once you create your sign, you won’t have to worry about replacing the lights anytime soon. Finally, LEDs come in various colors, so you can choose the perfect shade to complement your sign.
Step by Step How to Light Up Acrylic With Led
1. Choose the Right Type of Led Light
The first step is to choose the right type of LED light. There are two main types of LEDs: surface-mount and through-hole. Surface-mount LEDs are the most popular type because they are easy to install and don’t require any soldering. Through-hole LEDs are a bit more difficult to install, but they are more durable.
Try to choose an LED that is rated for at least 50,000 hours of use. This will ensure that your sign will last for many years. Avoid LEDs that are not rated for outdoor use. These LEDs will not be as bright and may not last as long.
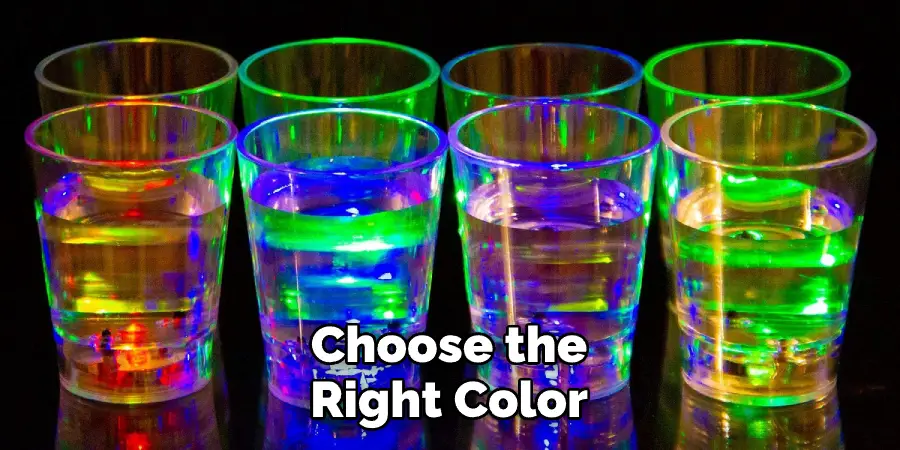
2. Choose the Right Color of Led Light
Once you have decided on the type of LED, you need to choose the right color. The most popular colors are white, blue, and green. However, you can find LEDs in just about any color. We recommend choosing a color that will complement the sign. For example, if your sign is red, you might want to choose a white LED.
You might want to choose a green LED if your sign is blue. Try to avoid using multiple colors in one sign. This will make your sign look cluttered and busy. Avoid using colors that will clash. For example, avoid using a green LED if your sign is red.
3. Measure the Acrylic
Now that you have chosen the right LED, it’s time to measure the acrylic. You will need to know the dimensions of your sign so that you can choose the right size LED. The LED should be small enough to fit inside the sign without being too large or too small. To measure the acrylic, use a ruler or a measuring tape.
Measure the length and width of the sign. First, measure the length. Then, measure the width. Once you have the dimensions, write them down so that you don’t forget. Avoid measuring the sign while it’s on the wall. The sign might not be perfectly square so you might get inaccurate measurements.
4. Cut the Acrylic to Size
Now that you have measured the acrylic, it’s time to cut it to size. If you’re using a pre-made sign, you can skip this step. However, if you’re making your own sign, you must cut the acrylic to the right size. You will need a glass cutter and a straight edge to do this. First, use the measuring tape to measure the length and width of the sign.
Then, use the glass cutter to score a line around the sign’s perimeter. Finally, use the straight edge to snap the acrylic along the score line. Be careful when cutting the acrylic. The edges of the sign will be sharp, so handle them with care.
5. Drill Holes in the Acrylic
Now that you have cut the acrylic to size, it’s time to drill holes for the LEDs. You will need a drill and a bit that is the same size as the LEDs. First, use the drill to make a hole in the center of the sign. Then, the drill makes two holes in the sign’s corners. The holes should be big enough for the LEDs to fit through. Avoid making the holes too big. Otherwise, the LEDs will be loose and might fall out of the sign. The holes might already be drilled if you’re using a pre-made sign.
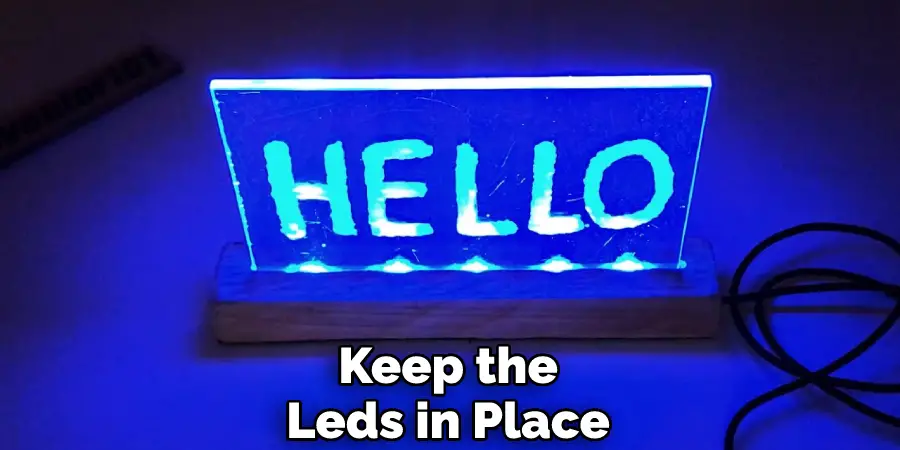
6. Inserting the Leds Into the Holes
Now that you have drilled the holes, it’s time to insert the LEDs. If you’re using surface-mount LEDs, you can skip this step. If your LEDs have two leads, you’ll need to insert them into the holes, so the leads are on the same side. If your LEDs have three leads, then you’ll need to insert them into the holes so that the leads are on opposite sides. Once the LEDs are inserted, gently bend the leads to touch the back of the sign. This will help keep the LEDs in place.
7. Apply the Adhesive
Now that the LEDs are in place, it’s time to apply the adhesive. You will need a strong adhesive to keep the LEDs in place. We recommend using a clear silicone adhesive. Apply a small bead of adhesive around the edge of the hole. Then, press the LED into place. The adhesive will help keep the LED in place and prevent it from falling out of the sign. Apply the adhesive to all of the holes.
8. Connecting the LEDs
Now that the LEDs are in place, it’s time to connect them. You will need a soldering iron and some solder. If you’ve never soldered before, don’t worry. It’s not difficult. First, in the leads of the LEDs. To do this, apply a small amount of solder to the tip of the soldering iron. Then, touch the soldering iron to the lead.
The heat will cause the solder to flow onto the lead. Repeat this process for all of the leads. Next, solder the LEDs together. Place the LEDs so that their leads are touching. Then, apply the soldering iron to the joint and add a small amount of solder. The heat will cause the solder to flow and create a joint. Repeat this process for all of the joints.
9. Testing the LEDs
Now that the LEDs are connected, it’s time to test them. First, connect the LED’s positive lead to the power supply’s positive terminal. Then, connect the LED’s negative lead to the power supply’s negative terminal. Finally, turn on the power supply. The LEDs should light up. If they don’t, then check the connection and make sure the leads are touching. You might also need to flip the switch on the power supply.
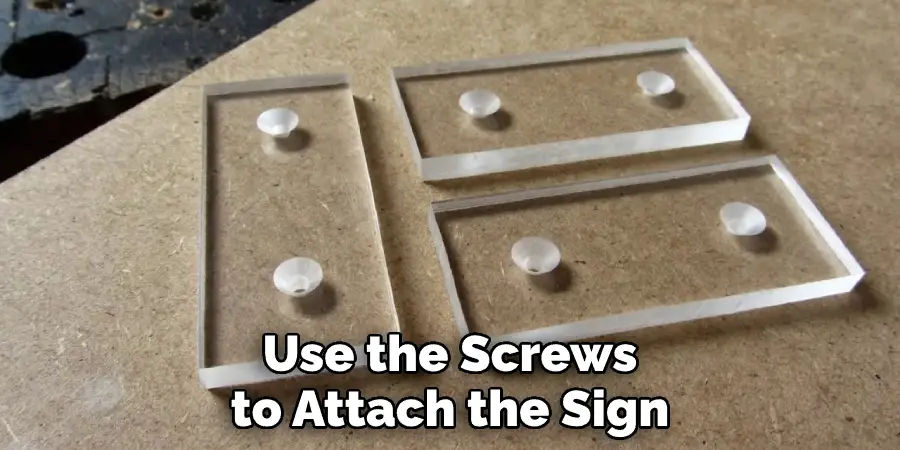
10. Mounting the Acrylic
Now that the LEDs are working, it’s time to mount the sign. You will need some screws and wall anchors. First, use the screws to attach the sign to the wall. The screws should be long enough to go through the sign and into the wall. Next, use the wall anchors to secure the screws. The wall anchors will help keep the sign in place. Finally, turn on the power supply and enjoy your new sign!
Tips and Warnings on How to Light Up Acrylic With Led
Tips
- Use a Diffuser– If you are using a spotlight, place a diffuser in front of it. This will help to distribute the light evenly and prevent hot spots.
- Avoid Using Halogen Bulbs– Halogen bulbs produce a lot of heat and can cause the acrylic to warp or discolor over time.
- Use Lower Wattage Bulbs– Higher wattage bulbs will produce more heat and can damage the acrylic. Stick to lower-wattage bulbs to avoid this.
- Consider Using Led Lights– LED lights to produce very little heat and are much more energy efficient than traditional bulbs. This makes them a great option for lighting up acrylic.
Warnings
- Always Handle Acrylic With Care– Acrylic is a delicate material and can easily be scratched or broken.
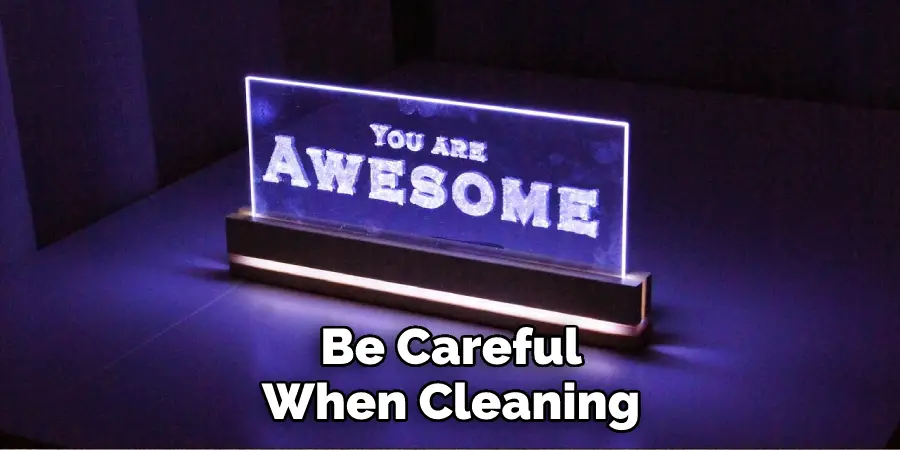
- Be Careful When Cleaning Acrylic– Harsh chemicals or abrasive cleaners can damage the acrylic. Stick to mild soap and water when cleaning it.
- Avoid Placing Hot Objects on Acrylic– Hot objects can cause the acrylic to warp or discolor.
- Keep Acrylic Away From Direct Sunlight– Direct sunlight can cause the acrylic to yellow over time.
Conclusion
So there you have it, a complete guide on how to light up acrylic with LEDs. By following these simple steps, you can create a beautiful, illuminated sign that will impress you. We hope you found this guide helpful. If you have any questions, feel free to comment below. Thanks for reading!