
Suppose you want to add a touch of color to your LED light. In this article, we will show you how to make a DIY led light color using just a few supplies. This is a fun and easy project that anyone can do! So, grab your supplies and get started. You will be surprised at how simple it is to create a custom LED light color. Keep reading to learn more.
Led lights are a popular choice for many reasons. They are energy-efficient and long-lasting, and now you can even find them in various colors. You can use LED lights to add a splash of color to any room in your home. And, with a little bit of creativity, you can even create your custom colors. So, if you are looking for a way to add some personality to your space, this is it!
Summary: In this blog, you will learn how to make a DIY led light color. First, you will need some supplies: a LED light, resistor, wire, and a screwdriver. Next, you will need to unscrew the LED light’s housing. Once it is unscrewed, you will need to remove the LED light’s LED. Finally, you will need to solder the LED to the resistor and reattach the housing to the LED light.

A Detailed Guide on How to Make a Diy Led Light Color
Way 1: Use a CFL or LED Light Bulb
Tools That You Need:
- A CFL or LED light bulb
- A drill
- A 3/4 inch spade bit
- A 1/2 inch spade bit
- A screwdriver
- Wire cutters
- Electrical tape
This method is for you if you want to change the color of your light without spending a lot of money. You can use a regular CFL or LED light bulb to create different colors. A drill, some spade bits, and a screwdriver would be best to have.

First, take the 3/4 inch spade bit and drill a hole in the top of the light bulb. Ensure that the hole is big enough for the wire to fit through. Next, take the 1/2 inch spade bit and drill a hole in the side of the light bulb. Again, make sure that the hole is big enough for the wire to fit through.
Now, take the screwdriver and unscrew the metal plate on the bottom of the light bulb. Once you have removed the plate, you will see a glass tube inside the light bulb. Cut this tube in half with your wire cutters.
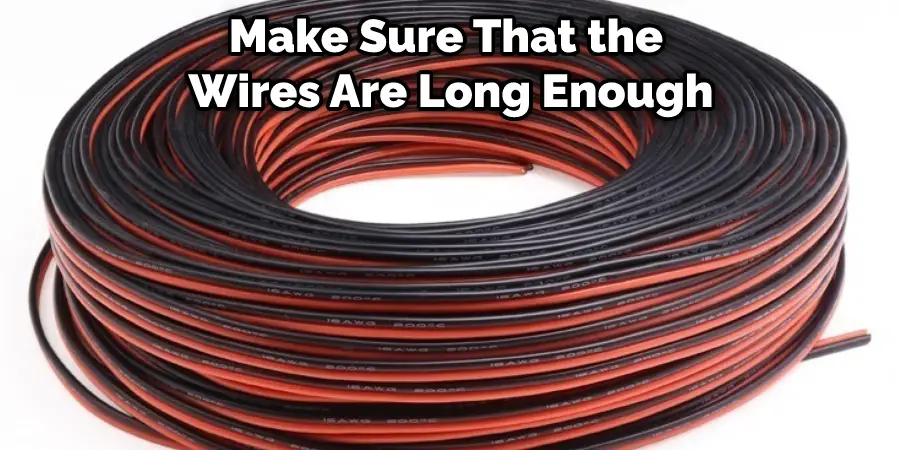
Next, take one of the wires and thread it through the top of the light bulb. Then, take the other wire and thread it through the hole in the side of the light bulb. Make sure that the wires are long enough to reach the outlet.
Finally, screw the metal plate back on and tape the wires to the light bulb with electrical tape. Then, you can plug your light bulb into any outlet and enjoy your new color!
Way 2: Use Gels
Tools That You Need:
- A regular light bulb
- A drill
- A 3/4 inch spade bit
- Wire cutters
- Electrical tape
- Gel lights
- A zip tie
- A small piece of wood
Ensure that you have all of the tools and materials you will need.
Use the drill to make a hole in the side of the light bulb. The hole should be big enough to fit the gel lights snugly.
Put the gel lights into the holes that you drilled. Make sure that they are tight so that they don’t fall out.
Use the zip tie to attach the small piece of wood to the top of the light bulb. This will help to diffract the light and make it more even.

Hang up your new light and enjoy the different colors that it casts. You can even change the gels out to create other effects. This is a crucial method in how to make a diy led light color.
Way 3: Use Colored Tape
Tools That You Need:
- A regular light bulb
- Wire cutters
- Electrical tape
- Colored duct tape
- A zip tie
The size of your colored light will be determined by the size of the regular light bulb that you are using. If you are using a standard-sized light bulb, then you will need to use a smaller piece of colored duct tape. If you are using a larger light bulb, then you will need to use a larger piece of colored duct tape.
After you have determined the size of your colored light, you will need to cut the colored duct tape to fit around the light bulb’s base. Make sure that the tape is cut evenly to wrap around the base of the light bulb smoothly.
Once you have cut the duct tape, you will need to wrap it around the light bulb’s base. Again, make sure that you wrap the tape tightly to stay in place.
After you have wrapped the duct tape around the base of the light bulb, you will need to cut a slit in the duct tape to insert the zip tie. The slit should be big enough to fit the zip tie through easily.
After you have cut a slit in the duct tape, you must insert the zip tie through the slit. Make sure that the zip tie is inserted through the duct tape to be in the middle of the light bulb.
After you have inserted the zip tie through the duct tape, you will need to wrap the electrical tape around the zip tie. This will secure the zip tie in place to not come loose.

After you have wrapped the electrical tape around the zip tie, you will need to trim the excess zip tie so that it is not hanging out. You can use a pair of scissors or wire cutters to do this.
After trimming the excess zip tie, you can turn on the light bulb. The colored light will now be visible.
Which Color Is Best for Bedroom?
While there is no one perfect color for a bedroom, there are certain shades that can create a calm and relaxing environment. Light blue, green, and lavender are all popular choices for bedrooms, as they evoke feelings of peace and tranquility. When choosing a color for your bedroom, it is essential to consider the overall tone you want to create.
For example, deep reds and purples can be effective if you aim for a more romantic atmosphere. On the other hand, try warm earth tones like yellow or orange for a cozy and inviting space. Ultimately, the best color for your bedroom is the one that makes you feel most at ease.
If you want to add some personality to your room, painting your walls is a great option. But with so many colors to choose from, it can be tough to decide which hue is right for you. To help narrow down the possibilities, we asked top interior designers to share their favorite bedroom paint colors. From bright and cheerful hues to calming shades of blue, there’s sure to be a color here that’s perfect for your space.
Do Led Lights Work on Colored Walls?
While white walls are excellent for reflecting light, colored walls can also be effective in certain situations. For example, if you have a dark room that you would like to brighten up, painting the walls a light color can help to reflect more light and make the space seem brighter.

In addition, painting accent walls or using wallpaper with reflective properties can also help to boost the light output of LED lights. However, it is essential to note that colored walls will absorb some of the light, reducing the overall brightness of the room. As a result, it is necessary to choose your colors carefully to maximize the effectiveness of LED lighting.
Led lights can bring artwork to life, brighten up shadowy corners, or add a splash of color to any room. While white walls are ideal for reflecting light, colored walls can also be effective in certain situations. For example, if you have a dark room that you would like to brighten up, painting the walls a light color can help to reflect more light and make the space seem brighter.
In addition, painting accent walls or using wallpaper with reflective properties can also help to boost the light output of LED lights. However, it is essential to note that colored walls will absorb some of the light, reducing the overall brightness of the room. As a result, it is necessary to choose your colors carefully to maximize the effectiveness of LED lighting. While choosing the right colors for your walls, you can also consider installing reflective wallpaper with a design that draws attention to the lights. For example, you could use wallpaper with geometric patterns to reflect light in an interesting way, and make it appear as if there are more lights in the room than there actually are.
Some people are concerned about the potential health effects of blue light, but there is no evidence that blue light from LED lights is harmful. On the contrary, blue light can have some benefits, such as improving alertness and mood. However, too much blue light can be disruptive, so it is essential to use it in moderation. If you are worried about the health effects of LED lights, you can always opt for warm white LEDs, which do not emit any blue light.
Frequently Asked Questions
Can You Color Led Light Bulbs With Sharpie?
Not necessarily, but you can try! Sharpie has a variety of colors that may be useful when painting light bulbs. Some of the most popular include black, blue, green, and brown. Just be sure to check with your local store first before doing anything permanent with your light bulbs.
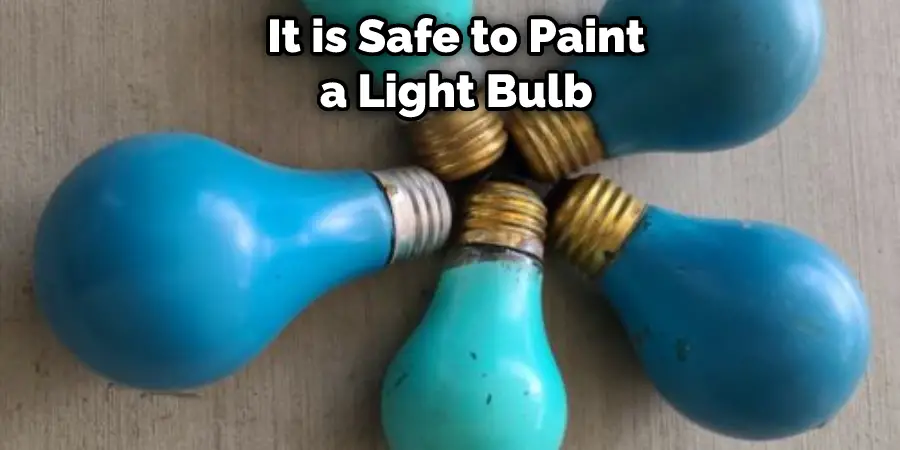
Is It Safe to Paint a Light Bulb?
If you are careful, yes, it is safe to paint a light bulb. However, there are some precautions that you should take in order to avoid any potential hazards. First and foremost, use gloves when painting the light bulb so that you don’t accidentally leave any paint on your hands or skin. Next, make sure to clean all of the excess paint from the surrounding area before putting the new lightbulb in place. Finally, if anything goes wrong (like the lightbulb burning out), be sure to call an electrician for repair services.
Is It Safe to Cover Led Lights?
the safety of covered led lights depends on a variety of factors, including the type of cover used, the condition of the light, and the environment in which it is used. That said, some general tips that may help include:
1. Make sure the cover is properly installed – A poorly installed cover can cause heat and light diffusion problems, which can lead to safety hazards.
2. Always test the cover before use – Always check to see if the cover has been properly installed and if there are any obstructions or gaps in it. If there are any problems, contact the manufacturer for a replacement.
3. Avoid covering led lights near flammable materials -Covering led lights with flammable materials like curtains or furniture can increase the risk of a fire.
4. Follow local regulations – Make sure to follow local regulations when using covered led lights, as some areas may have stricter standards than others.
Conclusion
So, there you have it, how to make a diy led light color! Everything you need to know to make your very own diy led light. By following these simple methods, you can create a colorful and stylish light that perfectly suits your needs. Have fun with it, and experiment with different colors and designs. Once you’ve got its hang, making a diy led light will be easy as pie. Thanks for reading!