If you’re looking for a way to make your LED light colors unique, then you’ve come to the right place. This article will show you how to make custom LED light colors. You can create any color you want with just a few simple steps! So let’s get started.

Led lights are a great alternative to traditional Christmas lights because of their energy efficiency and lifespan. These lights are a cost-effective way to add lighting to your home during the holidays, giving you more time to spend with family and friends. Though LED lights are a popular choice, they can be expensive. Instead of shelling out your hard-earned cash for lights, you’ll only use them once or twice; make them yourself!
Summary: There is no one definitive way to make custom led light colors, but there are a few techniques that can be useful. One way is to use a color wheel to mix different colors together to create the desired effect. Another approach is to use a colorimeter to measure the light wavelengths that are most visible to the human eye, and then use those colors in your design. There are also software programs available that allow you to create custom colors for your led lights.
What You’ll Need
- An RGB LED Module
- A soldering iron and solder
- Some wire (recommend solid core)
- Wire strippers
- Soldering Vise, Magnifying glass, or third hand (optional but recommended)
A Detailed Guide on How to Make Custom Led Light Colors
Step 1: Determine the Pinout of the LED
The first step is to identify which pins your RGB LED Module has. There are many different pinouts, and some LEDs will have more pins than others. Ultimately, you need to find the Ground (GND), Power (+Vin), and Data pin (Din/DI/DO). If you have trouble finding these, consult the datasheet for your specific module and compare it to one of the example modules below. Once you find the correct pins, make a note of them so you don’t forget.
Now that we’ve found our Ground(GND) Power (+5V) and Data(Data In, DI, or D0) pins, let’s make some wire leads. If you have a solder vise, this would be an excellent time to use it.
- Strip each end of the wire on both sides of the connector (about 1cm for headroom)
- Now, using either your soldering iron or solder vise, tin each wire by applying just enough solder to coat the wires. Keep in mind that the more you put on here, the harder it will be to work with
- Once this is done, you can insert one lead into the pinout of your LED and press them together so they stay in place
Step 2: Prepare for Soldering
Now that we’ve connected our GND, Data(DI), and +5V leads, let’s start preparing for soldering. To do this, first, take both ends of all four leads (red/green/blue) and give them a flat twist. This makes sure that no excess wire is sticking out, which could prevent the joint from getting good heat transfer to the wire. Now apply just enough solder so that the wires are all coated, but it’s not too much.

Too much solder can prevent heat transfer and short out your LED if it runs into the solder blob on the opposite side of a wire. You should see where each wire is soldered onto the board now.
Step 3: Soldering Time
There are two ways to solder an LED. The first way is to use a third-hand tool to hold the LED in place. The second way is to hold the LED in place with one hand and use needle-nose pliers or another holder to hold down each lead. The second way is much easier to work with, especially for beginners.
If you’re using a soldering iron to attach an LED module, you need to make sure the wires are tinned first. This means they already have a coating of solder on them. Once the wires are tinned, you can heat them up with the soldering iron and touch the solder blob on the other side of the LED module. The solder will melt and attach to both sides instantly. Just make sure you don’t let go of the LED until the solder has cooled and hardened.
Step 4: Cleaning up
Now that you’ve applied all the solder that needs to be applied, it’s time for cleanup! First, let’s remove any excess flux that might be still on our board using a Q-Tip and some rubbing alcohol. Once all the excess flux is gone, use another Q-Tip with some water-dampened with rubbing alcohol to remove any excess solder from the board as well as your iron tip. After you’re done with that, simply let it air dry for about 10 minutes and then move on to step 5.
Step 5: Add Sleeve/Heatshrink
To make your LED look a little more excellent, I recommend adding a sleeve around your soldered wires. This will cover up any messy-looking solder points, protect your LED from the strain that could break it if it gets pulled on, and make everything look a little more professional since you can’t always see what’s going on behind those LEDs.
To measure how much sleeve you’ll need to cover your LED, take a piece of your sleeve and cut it to be about 2cm longer than your LED on each side. Then, use a lighter to burn both ends of each wire (but only stop once for this one, since you’ll want to be able to slide it off later) as well as the base where the wires meet. This is an important step that will prevent fraying or, even worse, catching fire.
You should see some friendly molten plastic coming from where you’ve burnt, which means you’re doing it right. Now using your needle nose pliers, pull back and remove any excess wire (I like to use my other set of pliers for this part) until it fits perfectly into the base of your LED. This might take a few tries to get right, but you’ll get it eventually.

The last step is to slide your sleeve over the LED and solder point, use a little bit of super glue or hot glue if needed. Make sure to not leave it there for more than 5 minutes so you don’t melt the sleeve onto any other components since these can be kind of flimsy after being heated. This is a crucial step in how to make custom LED light colors.
Step 6: Wire it up & enjoy!
Please look at our LED Strip Tutorial to find out how to wire it all together. How you connect your LEDs will depend on what type of power supply you are using, the distance between each LED module, and where you are planning to mount this thing.
Suppose you’ve got everything wired up excellent and good, then it’s time for one final test just to make sure that every connection is solid and nothing is broken. Put some batteries in and cross your fingers that everything turns on. If everything works fine, attach your LED (or LEDs) to the designated housing and enjoy! These steps will help you create custom LED light colors.
Precautions

- Working with electricity can be very dangerous and even deadly if you don’t take the proper precautions. Always wear protective gear such as rubber gloves and safety glasses.
- ALWAYS make sure that you are working with the power to the lights OFF.
- If you don’t know how to safely wire light strands, please seek help from someone experienced.
- If possible, disconnect the power to the lights at the breaker and tape it so it cannot be turned back on.
- Never work with electricity when you are tired, upset, or not alert to what you’re doing.
- Don’t be afraid to ask for help if you’re not sure about something.
What Are the Advantages of Making Custom Led Light Colors
The flexibility of making custom-led light colors allows you to get the right color for your lighting. Most people choose LED lights because it is known that they save money in the long run, but there are other advantages as well. For example, some people prefer LED lights over different lights because it creates a better mood or atmosphere than conventional lighting.
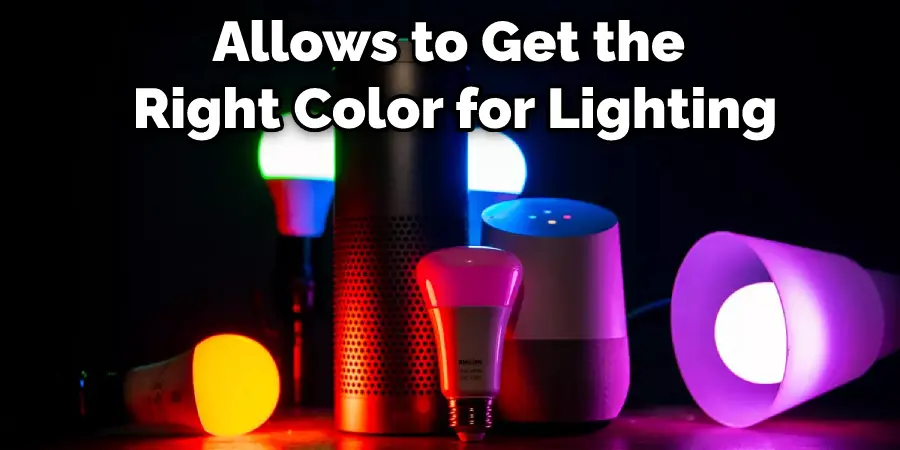
For example, some fluorescent lights produce harsh white light while LED lights can produce very soft, warm white light. Other people prefer LED light because it doesn’t contain mercury as halogen bulbs do, so it’s safer around children and pets.
Other reasons why people prefer LEDs include:
- Energy efficient (save up to 80% compared to conventional lighting)
- Long life span (50000 hours or more)
- Instant full brightness (no warm-up time needed like fluorescent or halogen lights)
You Can Check It Out to: Make Led Lights One Color
Frequently Asked Questions
Can You Mix Colors on Led Lights?
You might be wondering if you can mix colors on Led lights. The answer is yes, but it depends on the color of the light bulb and the paints used. For example, the white light will reflect all colors equally, so mixing any two colors together won’t create a different hue; however, using colored bulbs with paint will cause different hues to be created depending on how much red, green, or blue is present in the paint.
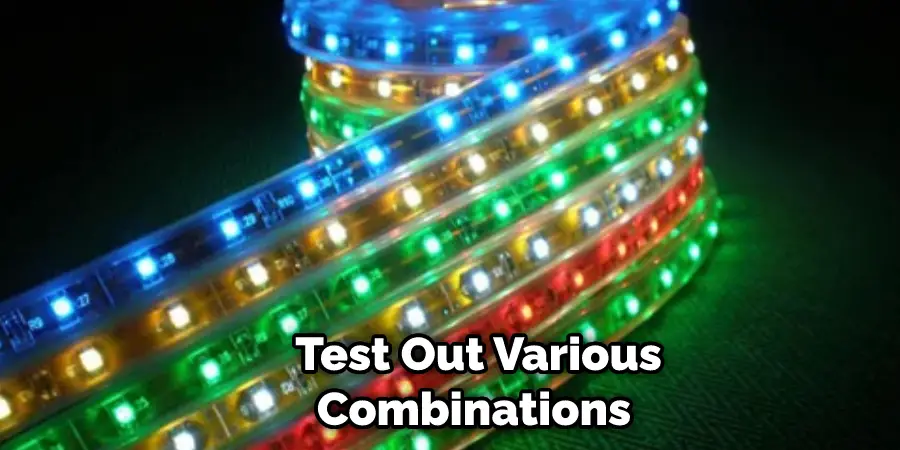
It’s important to test out various combinations before finalizing your painting scheme in order to ensure that everything looks great when complete. And don’t forget about safety: always wear eye protection when using Led lights and avoid touching delicate parts of the fixture with your hands!
Is There an App for Led Lights?
There are a few different apps that allow you to control LED lights, but the best one overall seems to be LED Light Controller. This app is easy to use, has a wide range of features, and is both cost-effective and reliable. It also has a great user interface and is very intuitive.
What Is the Rgb for Rainbow?
You might be wondering if you can mix colors on Led lights. The answer is yes, but it depends on the color of the light bulb and the paints used. For example, the white light will reflect all colors equally, so mixing any two colors together won’t create a different hue; however, using colored bulbs with paint will cause different hues to be created depending on how much red, green, or blue is present in the paint.
It’s important to test out various combinations before finalizing your painting scheme in order to ensure that everything looks great when complete. And don’t forget about safety: always wear eye protection when using Led lights and avoid touching delicate parts of the fixture with your hands!
Are There Black Led Lights?
Black LEDs have advantages over other colors when it comes to emitting light in the near-infrared spectrum. This is because it allows for better heat distribution and less glare, which makes them ideal for applications such as medical equipment or warning signs. Additionally, they can be used to emit brighter colors than traditional LEDs without compromising their lifespan or performance.
What Is a Black Led?
A black light is a type of lamp that emits radiation in the UV range, typically between 365 and 450nm. This gives it the ability to fluoresce different colors depending on the chemicals or elements present. Black lights are commonly used for performing theatrical effects, detecting latent prints, and examining artwork for damage.
Can Blacklight Hurt Eyes?
Some lights that emit black light, such as those used in photography or night vision goggles, are not particularly harmful to the eyes if they’re used moderately and sparingly. Others, like lasers pointers or flashlights used for gaming or other activities where quick movement is necessary, can be dangerous if applied excessively or aimed directly at the eye. Always follow instructions provided with any device you purchase to avoid injury.
Is It Ok to Sleep With a Black Light on?
Some people believe that sleeping with a black light can help to boost energy levels, improve sleep quality, and increase cognitive function. So, it’s definitely worth trying out if you’re looking for an energizing boost during the day!
Conclusion
We hope you’ve found this article on how to make custom LED light colors informative and exciting. If not, let us know in the comments below! LEDs have so many possibilities that it can be hard to choose just one color or design. But don’t worry- we’ve got your back with our free guide on everything there is about RGB lights to get you started. Again, we hope that you found this helpful article; we are now eager to learn about RGB lights and have already decided on which project you’re going to start with first!