
Blinking a light bulb is a common way to test it for functionality. You can do this by using a battery and some wire. This tutorial will show you how to make a light bulb blink. We will also discuss the components needed and how to create the circuit. Let’s get started.
Summary: In this short creative summary, we learn how to make a light bulb blink by following the instructions found in the text. First, we need some materials: a lightbulb, a wire, and a battery. Next, we need to cut the wire into two equal pieces. We then need to put one piece of the wire behind the lightbulb and the other piece of the wire in front of the lightbulb. Finally, we need to put the battery in the front piece of the wire and connect it to the back piece of the wire. Now, when we turn on the light, the light bulb will blink!

Why Make a Light Bulb Blink?
There are a few reasons why you might want to make a light bulb blink. Maybe you’re trying to build a basic circuit and want to see if it’s working. Or, you might be trying to create a blinking light effect for a Halloween decoration. Whatever the reason, it’s a simple process.
What You’ll Need
To make a light bulb blink, you’ll need:
- A light bulb
- A battery
- Some wire
- Something to strip the wire with (optional)
15 Ways How to Make a Light Bulb Blink:
1. Unscrew the Light Bulb.
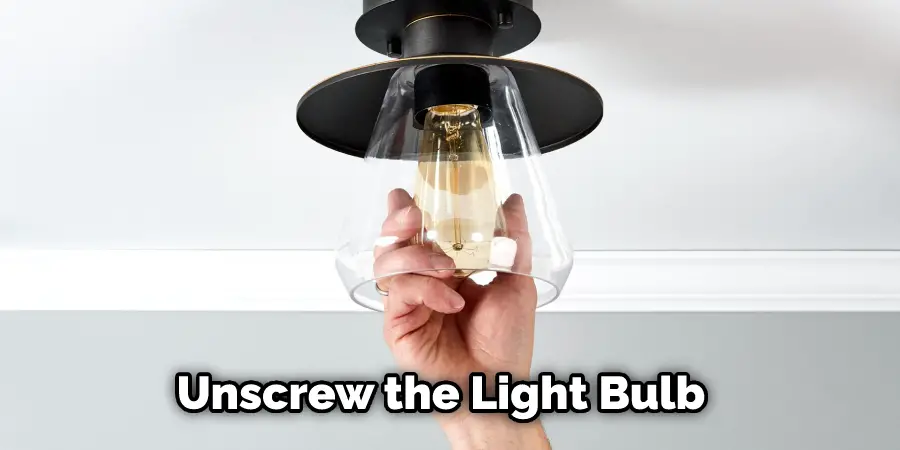
The first step is to unscrew the light bulb from the socket. Be careful not to break the glass. To do this, first, twist the bulb to loosen it. Then, pull it out of the socket. If the light bulb is difficult to remove, use a cloth to grip it and twist it.
2. Cut a Piece of Wire.
Next, cut a piece of wire that is long enough to reach from the battery to the light bulb. We recommend using insulated wire for this, as it will prevent any mistakes. To get the correct measurement, first measure the distance from the battery to the light bulb. Then, add a few extra inches to account for any mistakes. Once you have the measurement, cut the wire to size.

3. Strip the Wire.
Now, you need to strip the wire so that you can attach it to the battery and the light bulb. To do this, first, find the end of the wire that you just cut. Then, use a wire stripper or a knife to remove the insulation from the end of the wire. Again, be careful not to cut yourself. If you’re using a knife, you can also use the side of the blade to strip the wire.
4. Attach the Wire to the Battery.
You need to attach the wire to the battery by first finding the positive and negative terminals on the battery. The positive terminal is usually labeled with a + sign. Once you’ve found the terminals, twist the wire around the positive terminal. Then, twist the other end of the wire around the negative terminal.
5. Touch the Wire to the Light Bulb.
Now, you need to touch the wire to the light bulb. To do this, first, find the metal part of the light bulb. This is usually located near the base of the bulb. Once you’ve found it, touch the wire to the metal part of the light bulb.
6. Hold the Wire in Place.
Now, you need to hold the wire in place so that it doesn’t fall off. You can use a piece of tape or a clothespin to do this. If you’re using a piece of tape, just wrap it around the wire and the light bulb. If you’re using a clothespin, clip it onto the wire.

7. Screw in the Light Bulb.
Now, you need to screw in the light bulb. To do this, first, find the socket. Then, insert the light bulb into the socket. Finally, twist the light bulb to tighten it. If the light bulb is too loose, it won’t work.
8. Test the Circuit.
To test the circuit, first ensure that the battery is in the correct orientation. The positive terminal should be touching the wire. Then, touch the wire to the light bulb. If the circuit is working correctly, the light bulb should turn on.
9. Adjust the Wire.
You may need to adjust the wire if the light bulb doesn’t turn on. To do this, first, make sure that the battery is in the correct orientation. The positive terminal should be touching the wire. Then, try moving the wire around on the light bulb. If the light bulb doesn’t turn on, try moving the wire around on the battery.
10. Blink the Light Bulb.
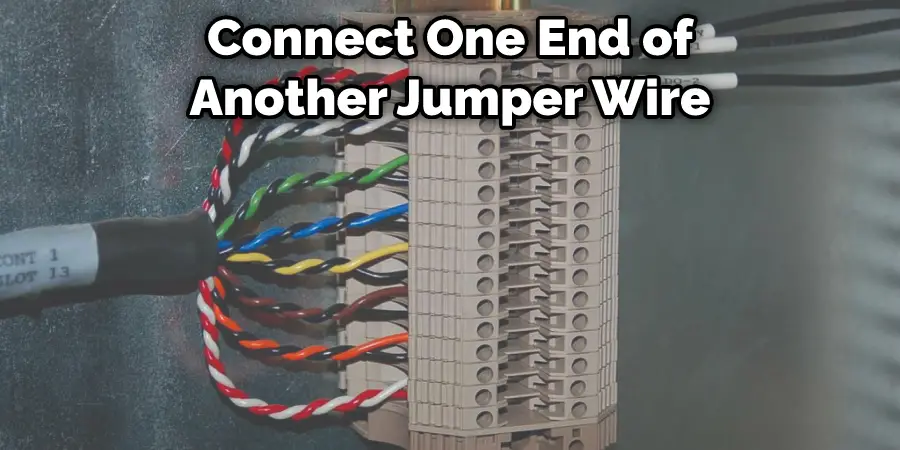
Now that the light bulb is working, you can make it blink! Just like with an LED, you must connect the light bulb to a power source and then ground it. You’ll need to use a breadboard and jumper wires to do this. First, connect the power source to one of the power rails on the breadboard. Then, connect the ground to one of the ground rails on the breadboard.
To make a light bulb blink, you need to connect two wires to it. One wire goes to the power rail and the other goes to the ground rail. The power rail makes the light bulb turn on and the ground rail makes it turn off. By changing the value of the resistor, you can make the light bulb blink faster or slower.
How Much Does it Cost to Make a Light Bulb Blink?
The cost of making a light bulb blink will depend on the materials you use. For example, if you use a breadboard and jumper wires, you’ll need to purchase those items. Similarly, the cost will be higher if you use a more expensive light bulb. However, the cost of making a light bulb blink should be less than $5.
What Are the Benefits of Making a Light Bulb Blink?
There are several benefits to making a light bulb blink, including:
It’s a Fun Way to Learn About Electronics.
Making a light bulb blink is a great way to learn about basic electronics. You can better understand how electronic devices work by understanding how to make a circuit.
It’s a Great Way to Test Out a New Light Bulb.
If you’re not sure if a light bulb is working correctly, making it blink is a great way to test it. By doing this, you can be sure that the light bulb is functioning properly.
It’s a Great Way to Show Off Your Skills.
Making a light bulb blink is a great way to show off your skills to your friends and family. They’ll be impressed by your knowledge of electronics and your ability to make a light bulb blink.
It Can Be Used as a Night Light.
If you want to use a light bulb as a night light, making it blink can be a great way to save energy. By doing this, you can ensure that the light bulb is only on when you need it.
It Can Be Used as a Signal.
If you want to use a light bulb as a signal, making it blink can be a great way to get attention. For example, you could use a blinking light bulb to signal that someone is at the door.
It Can Be Used as a Decoration.
If you want to use a light bulb as a decoration, making it blink can be a great way to add some flair. For example, you could use a blinking light bulb to decorate a Christmas tree.
Tips and Warnings on How to Make a Light Bulb Blink
Tips:
- Be sure to use the correct type of light bulb.
- Make sure the power is turned off before starting.
- Follow the manufacturer’s instructions.
Warnings:
- Do not use a higher wattage bulb than recommended.
- Do not touch the light bulb while it is on, as this can cause burns.
- Be careful not to drop the light bulb as this can break it.
- Do not look directly into the light bulb while it is on, as this can damage your eyesight.

Can Alexa Make Lights Blink?
Yes, Alexa can make lights blink. You’ll need to use an Amazon Echo and a smart light bulb to do this. First, you’ll need to connect the Amazon Echo to your home’s Wi-Fi network. Next, you’ll need to screw in the smart light bulb and turn it on. Once the light bulb is on, you can ask Alexa to make it blink. For example, you could say, “Alexa, make the light blink.” Alternatively, you could say, “Alexa, turn on the light.” If you want to make the light blink faster or slower, you can say, “Alexa, make the light blink faster” or “Alexa, make the light blink slower.”
Frequently Asked Questions
Do They Make Flickering Light Bulbs?
it seems that flickering light bulbs may be a problem in the future. This is because they tend to produce more heat than traditional incandescent or CFL lights, and this extra heat can cause them to flicker. Additionally, they might also release harmful toxins into the air over time.
So far, there have only been anecdotal reports of this phenomenon occurring with fluorescent light bulbs, but it’s something that needs to be monitored closely given how widespread these types of lamps are now. If you’re noticing any irregularities with your flickering light bulbs, then it might be a good idea to switch them out for more conventional ones right away.
What Causes Led to Flicker?
There are a few different causes of led to flicker, but the most common is power fluctuations. These can be caused by natural events such as weather changes and blackouts, or they can be caused by human activity such as switching off and on lights too quickly.
If you’re experiencing flickering in your LED lighting, there may not actually be any underlying problem with the light itself. Instead, it could simply be due to power fluctuations that are causing the LEDs to turn on and off repeatedly. In order for this issue to resolve, you will need to find an electrician who specializes in electrical installation and maintenance so that they can properly diagnose and fix the issue.
Do Led Lights Flicker Before They Burn Out?
there are some general tips to help you stay safe when using LED lights:
1. Make sure the light you’re using is properly rated – Many LED lights are rated for up to 100,000 hours of use. Make sure the light you’re using is up to par by checking its rating.
2. Always use caution when turning off or on lights – Always turn off lights by unplugging them or turning the switch off completely, and always turn on lights by plugging them in through the wall – never try to turn them on with the light switch!
3. Use timers or switches with protective covers – If you’re worried about your kids playing with lights and accidentally turning them on or off, consider using timers or switches with protective covers. This way, you can be sure they won’t be able to turn the lights on or off accidentally.
4. Educate yourself and your family – Finally, make sure to educate yourself and your family about LED lights and how to use them safely. This way, everyone will be aware of the risks and know how to take precautions for their safety.
How Long Do Led Bulbs Last?
LED bulbs typically last anywhere from 10,000 to 20,000 hours depending on the type and quality of the LED bulb. These types of bulbs are often considered more durable than traditional lightbulbs because they do not contain mercury or other dangerous chemicals that can damage your health.
Conclusion
This article has provided you with everything that you need to know about how to make a light bulb blink. In conclusion, we have seen that light bulbs can be made to blink using a transistor and some simple coding. We have also explored how transistors work and the different ways they can be used in digital circuits. Finally, we looked at some applications for blinking light bulbs and discussed a few possible projects that could be undertaken with this knowledge. With this information, you should now be able to make your own light bulb blink! So, have fun experimenting with transistors and code and see what else you can create.