If you want to make sure that your car is legal and safe, then you need to make sure that your tail lights are working properly. Unfortunately, many people don’t know how to fix this issue, but it’s actually a lot easier than you might think. In this blog post, we will teach you how to make clear tail lights in just a few simple steps. So stay safe on the roads and keep your car looking good with our tips!
Summary: If you want to make your car’s tail lights as clear as possible, follow these simple steps: 1. Clean the lenses of your tail lights with a cloth or a microfiber cloth. Make sure that any debris or dirt is removed. 2. Apply a light coating of clear sealant to the lenses. Let it dry for at least an hour. 3. Finally, polish the lenses with a clean cloth.
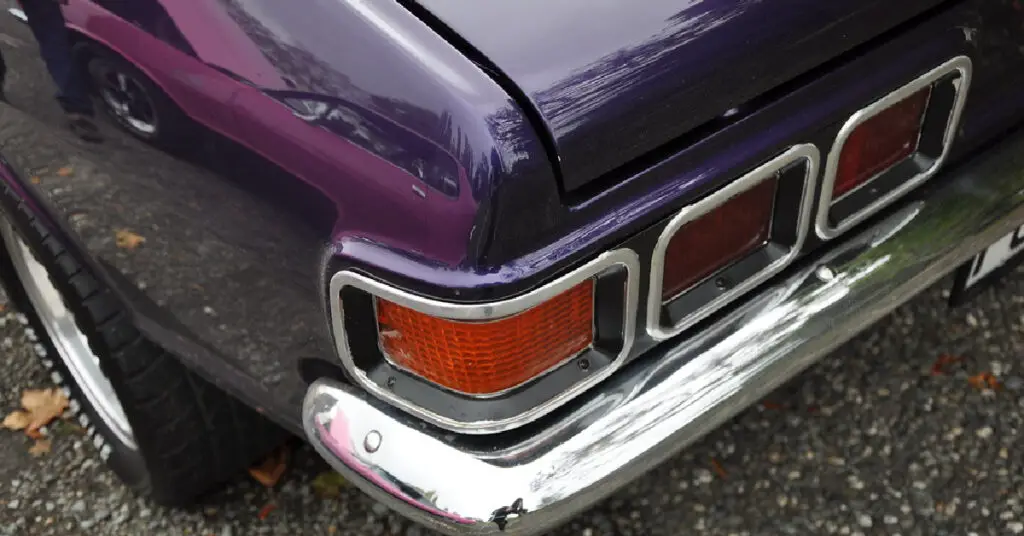
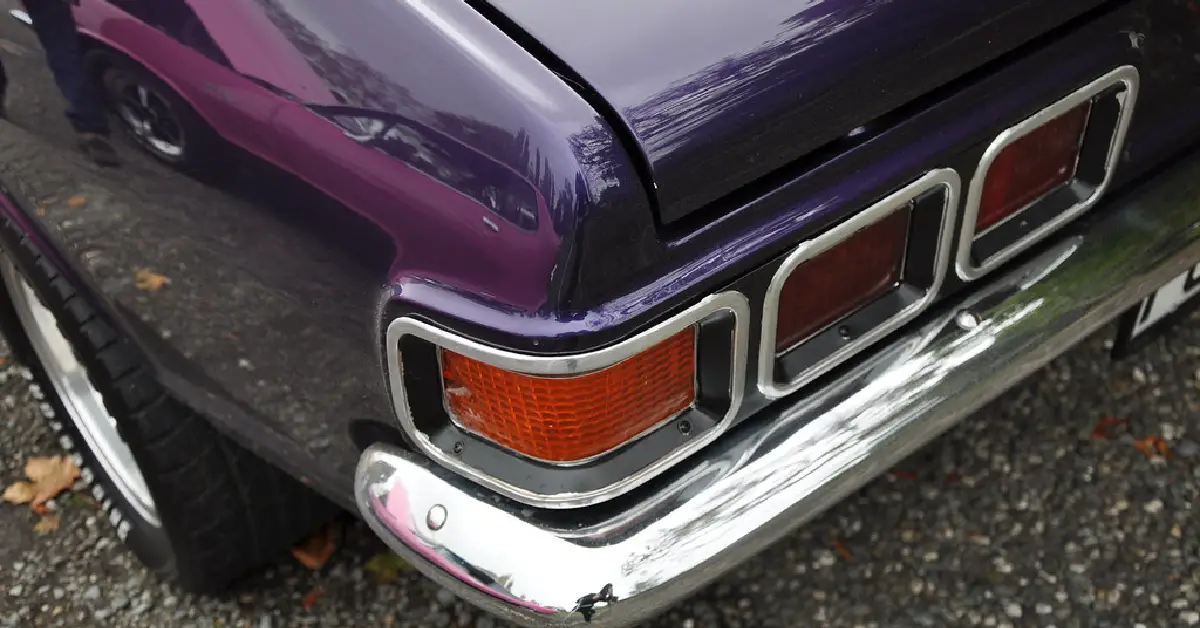
What Is a Tail Lights?
Tail lights are an important safety feature for any vehicle, helping to make the car more visible to other drivers on the road. There are two main types of tail lights: incandescent and LED. Both types are required by law in many jurisdictions, so it’s important to know the difference when choosing the right tail lights for your car.
For many years, incandescent tail lights have used a filament that glows when electrical current is applied. However, newer LED (light emitting diode) tail lights use less energy than incandescent bulbs. Both types of tail lights can be made to blink or pulsate, which is often used as a signal to drivers that the vehicle is stopping or turning.
In some jurisdictions, tail lights must be illuminated at all times when the vehicle’s engine is running, while in others, they must only be used when the vehicle is being driven at night.
Why Should You Make a Clear Tail Light?
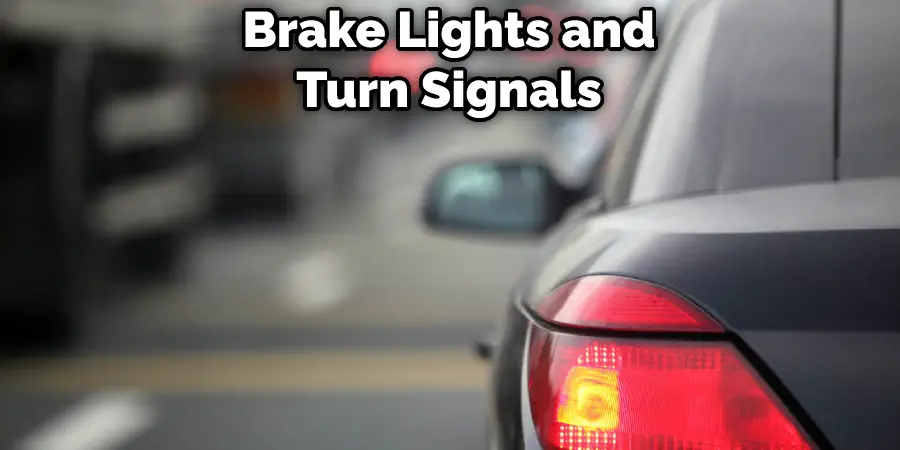
Clear tail lights are not only stylish, but they can also significantly improve your safety on the road. When driving at night or in inclement weather, your tail lights must be visible to other motorists. Unfortunately, standard red taillights can be difficult to see in these conditions.
Clear taillights are much more visible than regular taillights, making it easier for drivers behind you to see your brake lights and turn signals. Clear tail lights can also give your vehicle a unique look that will make it stand out from the crowd.
How to Make Clear Tail Lights Step by Step Guide
One of the easiest ways to customize your car’s look is to change the tail lights. While many aftermarket options are available, making your own clear tail lights is a relatively simple and inexpensive project. With a few supplies from your local hardware store, you can give your car a unique look in just a few hours.
Here’s what you’ll need to make clear tail lights:
1. Remove the Tail Light Lens
First, you will need to remove the lens from the taillight housing. In order to do this, you will need to locate the screws that are holding the lens in place. Once you have located the screws, simply remove them and pull the lens away from the housing. Next, you will need to locate the bulbs that are inside of the taillight housing. In order to do this, you will need to look through the lens. Once you have located the bulbs, simply pull them out of the housing.
2. Clean the Lens and The Area Around It
Once the lens is removed, you must clean the lens and the area around it. This is important because any dirt or debris on either the lens or the housing can cause problems when you are trying to apply the new paint.
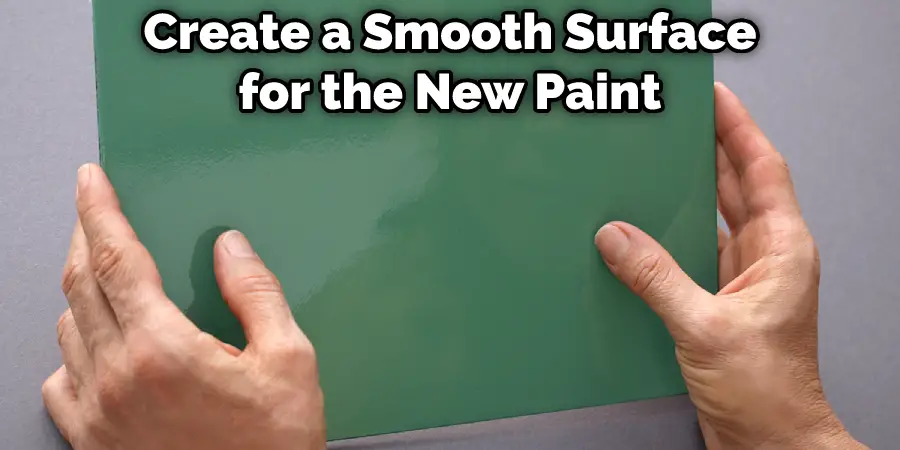
3. Sand and Prep the Surface
Next, you will need to sand and prep the surface of both the lens and the housing. This will help create a smooth surface for the new paint to adhere to. Begin by sanding the lens with medium-grit sandpaper. Once the lens is sanded, move on to the housing. Again, use medium-grit sandpaper for sanding the surface lightly.
4. Paint the Desired Color on The Lens
Once the surface is prepped, you can now paint the desired color on the lens. When choosing paint, it is important to use one that is specifically designed for use on plastic. This will ensure that the paint adheres well and does not peel or chip off over time.
5. Sealing the Paint Job
After the paint has dried, you must seal it to protect it from chips and scratches. There are many different types of sealant available, but you will want to choose one that is clear so that it does not affect the color of the paint.
6. Let It Dry
Once the sealant has been applied, you will need to let it dry completely before moving on to the next step. This can take anywhere from a few hours to a few days, depending on the type of sealant used.
7. Remove the Old Tail Light Bulb
Now that the paint is dry, you can remove the old tail light bulb from the housing. In order to do this, you will need to locate the screws that are holding the bulb in place. Once you have located the screws, simply remove them and pull the bulb out of the housing.
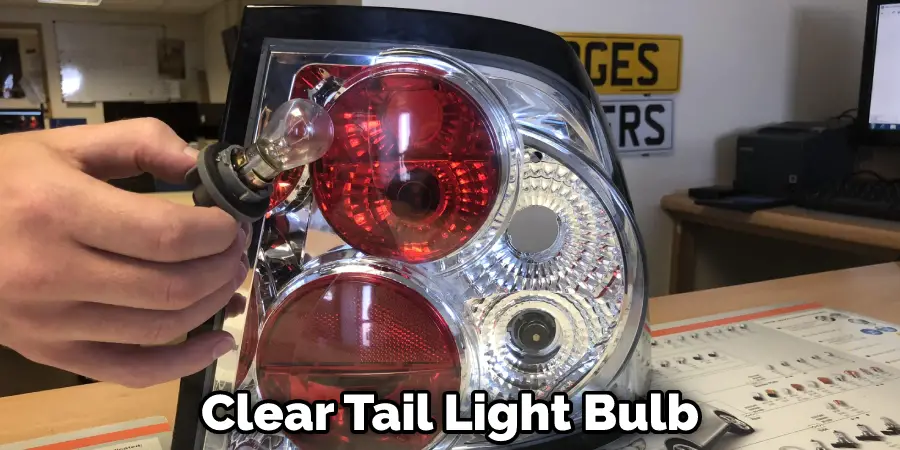
8. Install the New Clear Tail Light Bulb
Once the old bulb has been removed, take your new clear tail light bulb and insert it into the socket. Make sure that it is installed correctly and securely before moving on.
9. Test the New Tail Light Bulb
Before reinstalling the taillight housing, testing the new bulb is important. This will ensure that it’s properly seated in the socket and making contact. To do this, have a friend hold down the brake pedal while you turn on the tail lights. If the new bulb is working, both taillights should be illuminated.
10. Replace the Lens and Enjoy Your New Clear Tail Lights!
Once the new bulb is in place, screw the lens back. Be careful not to over-tighten, as this could cause the lens to crack. That’s it! You now have clear tail lights that will help you see and be seen while on the road.
That’s it! You’ve now learned how to make clear tail lights. This simple project can be completed in just a few hours, and it’s a great way to customize the look of your car. So what are you waiting for? Give it a try today!
How to Make Tail Lights Bright Again
Fading or yellowed tail lights can make your car look old, but more importantly, they can make it harder for other drivers to see you. If your tail lights are in need of a little TLC, there are a few easy ways to restore them to their original brightness.
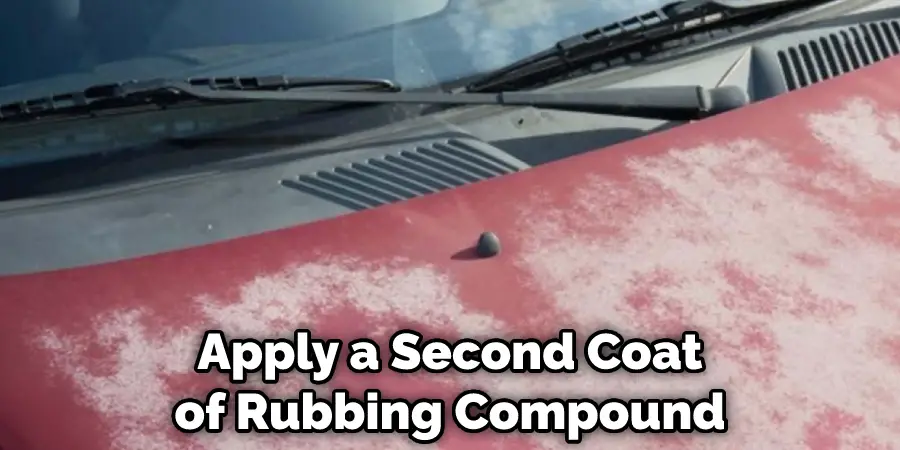
The first step is to clean the lenses with soapy water and a soft cloth. Be sure to dry the lenses thoroughly before moving on to the next step. Next, apply a generous amount of rubbing compound to the lenses and buff with a dry cloth until you see the desired results. For really stubborn stains, you may need to apply a second coat of rubbing compound.
Once you’re happy with how your tail lights look, be sure to protect them with a coat of wax. Then, with just a little time and effort, you can make your tail lights look new again.
How to Make Tail Lights From Clear Plastic
Clear plastic tail lights are a great way to add a unique touch to your car or truck. You can purchase clear plastic tail lights from most auto parts stores or make them yourself using clear plastic sheeting and clear Gorilla Tape. To make your own plastic tail lights, cut two pieces of clear plastic sheeting to the desired size and shape.
Then use the Gorilla Tape to attach the two pieces of plastic. Be sure to smooth out any wrinkles or bubbles in the tape so that your tail lights are completely smooth. Once you’re satisfied with the appearance of your tail lights, use a drill to make two small holes in each light. These holes will allow you to mount the lights on your vehicle.
Finally, use wire harnesses or zip ties to secure the lights in place. With a little effort, you can easily create custom tail lights that stand out on the road. Keep reading for more information about how to make clear tail lights.
How to Clean and Polish Tail Lights for a Showroom Shine
Your car’s tail lights are exposed to a lot of dirt, grime, and road debris, so it’s no surprise that they can become dull and discolored over time. However, there’s no need to live with dull tail lights. With a little elbow grease and the right supplies, you can clean and polish your tail lights until they shine like new. Here’s how:
1. Start by giving your tail lights a good wash with soapy water and a soft cloth. Be sure to rinse them well afterward.
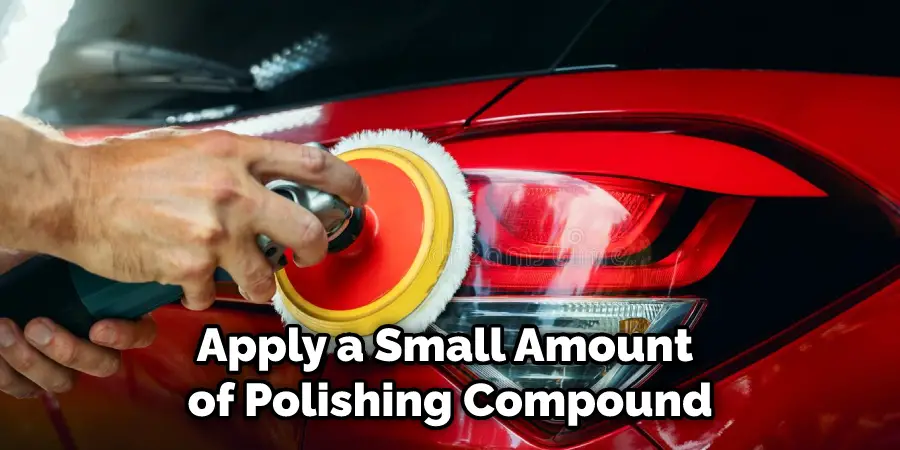
2. Once they’re clean, apply a small amount of polishing compound to a soft cloth and rub it into the surface of the taillights in a circular motion.
3. Rinse the polishing compound off with water and dry the tail lights with a clean towel.
4. Finally, apply a layer of wax or sealant to help protect the finish from future dirt and grime build-up.
With just a little bit of effort, you can restore your tail lights to their original showroom shine!
Frequently Asked Questions
Are Clear Tail Lights Dot Approved?
There is no definitive answer to this question, as the legality of Clear Tail Lights Dot varies from state to state. Some states have laws that prohibit using any devices or lights that emit bright light in excess of 500 lumens, while other states may not have any such restrictions. It is important to check with your local authorities before using these types of lights if you are concerned about breaking the law.
What Color Do Taillights Have to Be?
The answer to this question depends on the state in which you live. In some states, taillights must be red while in other states they can be any color that is not white or blue. It is important to check the laws of your state before making a purchase so that you are aware of any requirements.
Are Different Color Tail Lights Legal?
state laws vary from one location to the next. That being said, most authorities agree that changing the color of your tail lights is generally legal as long as you don’t go overboard with the colors (i.e. using all different colors). That being said, it’s always important to check with your local authorities before making any changes.
Why Are All Tail Lights Red?
All tail lights are designed to emit red light in order to warn other drivers of your presence. This is especially important when you’re driving at night or during inclement weather conditions.
Conclusion
If you want to make sure other drivers see your car, it’s important to have clear tail lights. Not only will this keep you safe while driving, but it can also help you avoid getting pulled over. Follow these tips to clean and protect your tail lights from staying bright and visible. Thanks for reading our post about how to make clear tail lights.