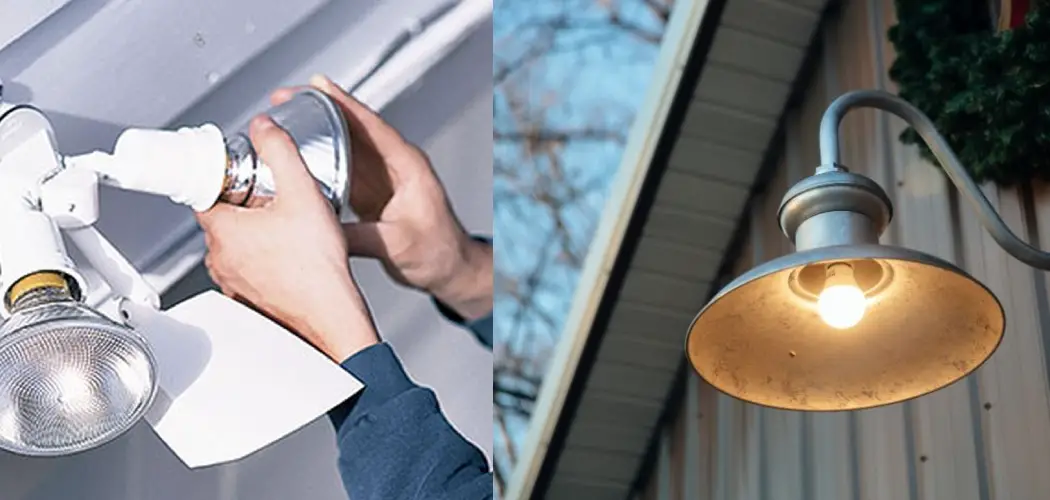
If you are looking for a way to mount lights on the outside of your pole barn, there are a few different options that you can consider. In this article, we will outline three of the most popular methods how to mount lights on outside of pole barn. We will also provide an overview of the pros and cons of each method. By the end of this article, you should better understand which method is best for your needs. keep reading.
Outside pole barn is a great space to use to store your tools and equipment, but it can also be a great place to hold parties, barbecues, and other outdoor events. However, if you want to make the most out of your pole barn by using it as an outdoor lighting hub, you will need to mount some lights on its exterior. Many different methods can be used, from simple screw-in lights to more sophisticated mounting techniques.

Summary: Mounting lights on the outside of a pole barn is an essential step for ensuring safety, functionality, and aesthetics. Before starting the installation process, plan your lighting layout, choose suitable light fixtures, and gather the necessary tools and materials. Consider factors such as the location, height, and type of lighting required to achieve the desired illumination.
Begin by marking the locations where you want to mount the lights on the exterior of the pole barn. Ensure that the locations are structurally sound and can support the weight of the light fixtures. Follow the manufacturer’s instructions for mounting the light fixtures, which typically involves attaching a mounting bracket or plate to the exterior of the pole barn using screws or other fasteners. Drill pilot holes if necessary to facilitate the installation of the fasteners.
Once the mounting hardware is securely attached, connect the wiring for the light fixtures, adhering to local electrical codes and safety guidelines. This may involve running conduit or armored cable from the main electrical panel or an existing junction box to the new light fixtures.
Finally, attach the light fixtures to the mounting hardware, ensuring they are properly aligned and secure. Turn the power back on and test the newly installed lights to ensure they are functioning correctly. Proper planning and installation of exterior lights on a pole barn will enhance safety and visibility while adding visual appeal to the structure.
A Detailed Guide on How to Mount Lights on Outside of Pole Barn
Method 1: Use Electrical Conduit Clamps
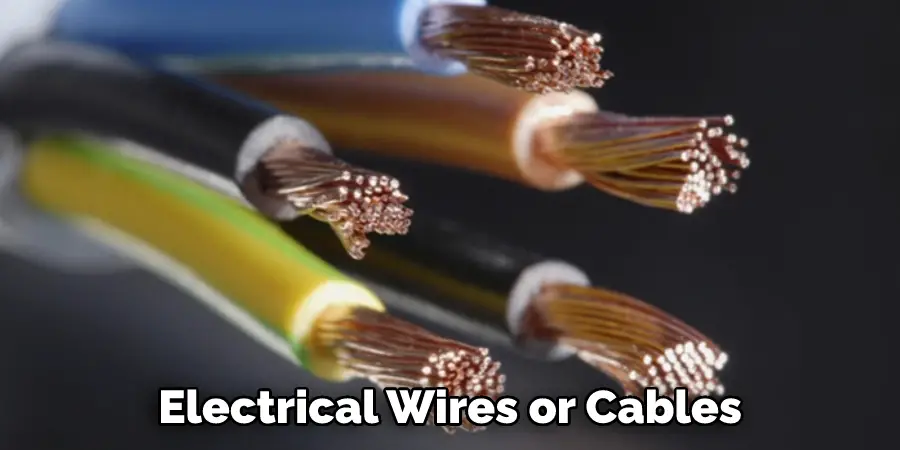
An electrical conduit clamp is a metal device used to hold electrical wires or cables. These clamps are usually installed outside buildings, poles, and other structures as an easy way to mount lights or other electrical equipment at the desired location. This makes it so that the electrical equipment can be easily and safely installed without having to worry about the wires or cables getting in the way.
There are several different electrical conduit clamps available, each with its own set of advantages and disadvantages. Some standard options include:
1. Clamp-on Brackets – This clamp uses threaded rods to secure it tightly around the pole or building surface. These clamps are generally easier to install than other options, but they may not be suitable for all applications due to their exposed nature.
2. Box-type Clamps – As their name suggests, this clamp features a hinged box that can be opened to access the wire or cable easily. While these clamps are generally easier to adjust than other options, they may not provide as much support and stability as other types of clamps.
3. Heavy-duty Clamps – These types of clamps are designed for more demanding applications, such as attaching lights to large poles or beams. They typically feature thicker materials and more robust fastening mechanisms for extra durability and security.
Tools and Materials Needed
- Electrical conduit clamps
- Drill
- 1/2″ drill bit
- Screwdriver
- Wrench
- Tape measure
- Level
- Conduit
Step 1: Determine the Placement of the Light Fixtures
The first step is to determine the placement of the light fixtures. It is essential to consider the following factors when deciding on the placement of the light fixtures:
- The size and shape of the area to be illuminated
- The height of the pole or building surface
- The wattage of the light bulbs
- The type of light bulbs (incandescent, fluorescent, LED, etc.)
Step 2: Measure and Mark the Drilling Locations
After you decide where to put the light fixtures, use a tape measure to find and mark the spots where you will drill holes. Make sure to mark both the top and bottom drilling locations so it will be easy to line up the clamps when you install the fixtures.
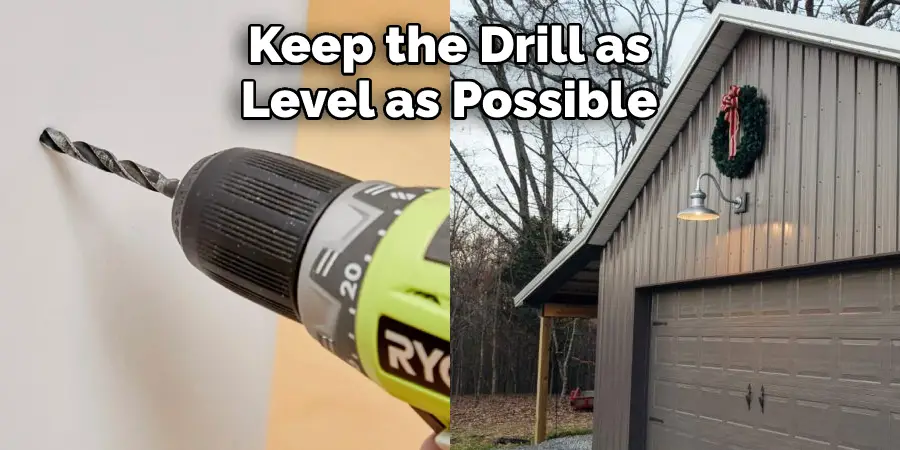
Step 3: Drill Holes at Measured Locations
Using a drill and 1/2″ drill bit, carefully drill holes at the marked drilling locations. Keep the drill as level as possible during this process to ensure that the clamps are securely attached to your pole or building surface.
Step 4: Insert Conduit Into Drilled Holes
In order to mount your light fixtures, you will need to insert a conduit into each drilled hole. First, use a wrench and screwdriver to loosen any existing screws on your electrical conduit clamp. Next, carefully slide the conduit through each of the drilled holes until it reaches the top edge of the clamp, then tighten down any screws again using a screwdriver and wrench.
Step 5: Attach Light Fixtures to Conduit
Once your light fixtures are attached to the conduit, use a screwdriver to secure them in place. You may also consider securing the clamps and conduit with additional screws or brackets for extra stability.
You will need to mount your lights on the outside of your pole barn and periodically check for any signs of wear or damage. If you see any damage, you can easily remove and replace your electrical conduit clamps using a few simple tools and materials.
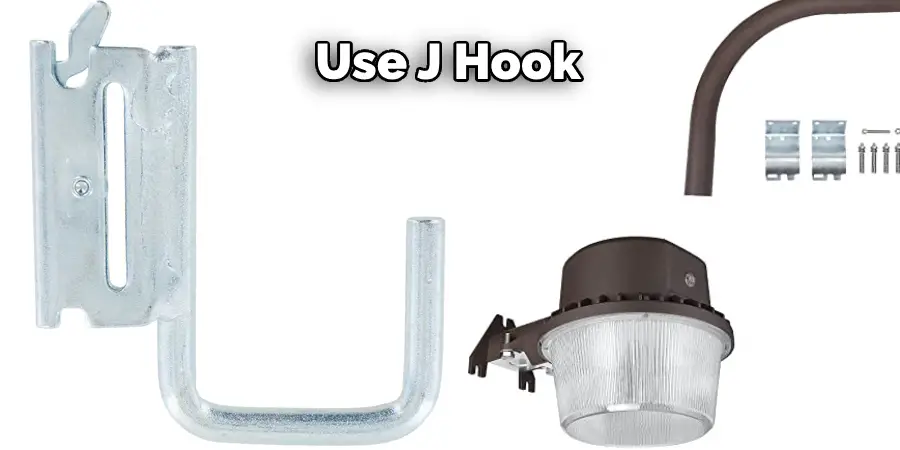
Method 2: Use a J-Hook
A J-Hook is a metal hook designed to be easily attached to the outside of a pole barn. This type of mounting hardware is ideal for lighting fixtures, as it allows you to position your lights in just the right spot without having to drill or bolt anything onto your building’s exterior.
Tools and Materials Needed:
- J-hook
- Drill
- 3/8″ drill bit
- Screwdriver
- Wrench
- Tape measure
Step 1: Choose the Location for Your J-Hook
You will need to decide where to mount your light fixture on the outside of your pole barn. It is important to choose a spot that is close to an electrical outlet so you can easily plug in your light, but not so close that it will be in the way or be a tripping hazard. Once you have found the perfect spot, use a tape measure to mark the location of the center of the J-Hook on the side of the pole barn.
Step 2: Drill a Pilot Hole
Next, take your drill and 3/8″ drill bit and create a pilot hole at the marked location. A pilot hole is simply a small hole that helps guide the screw into place so that you don’t damage the surrounding area.
Step 3: Attach the J-Hook
Now it’s time to attach the J-Hook to the side of your pole barn. Start by holding the hook in place with one hand, then use your other hand to screw the hook into the pilot hole. Once the hook is securely in place, you can use a wrench to tighten it down even further, if needed.
Step 4: Hang Your Light Fixture
Now all that’s left is to hang your light fixture from the J-Hook! Loop the cord over the hook and position your light in the desired spot. If you need to, you can use a screwdriver to adjust the position of your light until it’s shining directly on what you want lit, and then tighten the screws holding your fixture in place. With a J-Hook mounted on the outside of your pole barn, it’s easy to add lighting wherever you need it most!
Method 3: Use a Clip-on Shelf Bracket
Another simple and easy way to mount outdoor lighting fixtures outside a pole barn is by using a clip-on shelf bracket. This mounting hardware allows you to quickly secure your lights up near the ceiling without drilling any holes or using tools that could damage your building’s exterior.
Tools and Materials Needed:
- Clip-on shelf bracket
- Drill
- 3/8″ drill bit
- Screwdriver
Step 1: Measure and Mark Locations for Mounting Hardware
Using a tape measure, determine how high you want your light fixture to be mounted off the ground and make a small pencil mark at that location on the outside of your pole barn. Next, use the clip-on shelf bracket as a template to mark the two mounting holes that will need to be drilled.

Step 2: Drill Mounting Holes
Carefully drill pilot holes at the marks you made in Step 1 using a 3/8″ drill bit. Be careful not to drill too deeply and damage any wiring running inside your pole barn’s walls.
Step 3: Attach Clip-on Shelf Bracket
Now line up the holes in the clip-on shelf bracket with the pilot holes you just drilled and use a screwdriver to secure the bracket in place.
Step 4: Hang Light Fixture and Enjoy
All that’s left to do now is hang your light fixture from the bracket and enjoy your newly illuminated pole barn!
How Do You Attach Lights to a Metal Building?
Attaching lights to a metal building involves the following steps:
- Determine the location of the lights: First, you need to identify the places where you want to install the lights. This could be on the wall or ceiling of the metal building. Once you have identified the location, you also need to check if a power source is nearby.
- Choose the type of lights: Depending on the purpose and location, you may choose from different types of lights, such as fluorescent, LED lights, or incandescent bulbs. You should also consider the wattage and color temperature of the lights.
- Install a junction box: To connect the power source to your lights, you need to install a junction box. The junction box should be mounted securely to the metal studs or ceiling joists.
- Run electrical wires: Next, you need to run electrical wires from the power source to the junction box. You may need to use a conduit to protect the wires from exposure to the elements.
- Install the lights: Once the junction box and electrical wires are in place, you can proceed to install the lights. Make sure to follow the manufacturer’s instructions carefully. For example, some light fixtures require a mounting bracket to be installed before the light is attached.
- Test the lights: After installing them, it is important to ensure they are working properly. Turn on the power supply and check each light bulb for brightness and proper function.
Do You Need a Mounting Block for Exterior Lights?
There are a few things to consider when it comes to mounting exterior lights on the outside of your pole barn. One of the most important factors is whether or not you need a mounting block for your lights. Mounting blocks are typically made from either wood or concrete. They can help provide added stability to light fixtures that may otherwise be unstable when mounted directly onto a pole or other surface.
If you’re thinking about installing exterior lighting on your pole barn, here are some key things to consider. First, it’s essential to ensure that you have good lighting coverage throughout the entire space. This might mean using multiple smaller fixtures or one larger light fixture, depending on the size and layout of your building.
Second, it’s important to choose durable fixtures that withstand the elements. Most exterior lights are made from either metal or plastic, and both materials can stand up to the weather without issue. However, it’s always a good idea to double-check the manufacturer’s recommendations to ensure that the light you select is rated for outdoor use.

Finally, when it comes time to mount your lights, follow all instructions carefully. If you’re using a mounting block, level it off before attaching the light fixture. This will help ensure that your light is mounted evenly and won’t become crooked over time. If you’re not using a mounting block, be sure to use appropriate screws or nails that can securely hold your light in place without causing damage to the exterior of the pole barn.
You Can Check It Out To Mount Lights to Headliner
Frequently Asked Questions
Do You Need a Mounting Block for Exterior Lights?
Depends on your specific circumstances. If you do not have an exterior light attached to the wall or if the mounting block that is included with your light does not fit properly, then a mounting block may be necessary. However, if you are using a traditional outdoor light fixture and the mount provided by the manufacturer works fine, there is usually no need for a mounting block.
Where Should Outside Lights Be Placed?
some general tips that may be useful include:
- Place outdoor lights near the entrances and exits of your business to help guests find their way in and out.
- Place lights near the areas where customers will spend the most time – like the front desk, registers, or reception area.
- Lights can also be useful for highlighting special sales or events taking place at your business.
- Try to place lights in locations where they will be seen from a distance – for example, on a roof or near a window.
- Keep in mind that outdoor lights can add an extra level of security to your business by making it easier for customers to identify your location at night.
Does an Exterior Light Need a Box?
No, an exterior light does not need a box. By law, these lights must be placed at least 10 feet from any other obstruction and can come in many different shapes and colors to enhance your property’s appearance.
What Kind of Box Do You Use for Outdoor Lighting?
When it comes to outdoor lighting, you might want to consider using a porch light or yard light. Both of these types of lights are mercury-free and use LEDs instead of traditional incandescent bulbs. They are also weatherproof so you can put them out in the rain or snow without worry.
Porch lights typically come in either a round or rectangular shape and can be attached directly to the roofline with wires or installed into an existing railing system.

Conclusion
Always use caution when working with electricity and follow all safety guidelines to avoid injury. If you have any questions, please consult an electrician. Now that you know how to mount lights on outside of pole barn, get started on your project!