
There is something magical about bringing a handmade object to life. Whether it’s pottery, jewelry, clothing, or even lamps – when you make something that didn’t exist before your own two hands created it, it feels like you have accomplished the impossible.
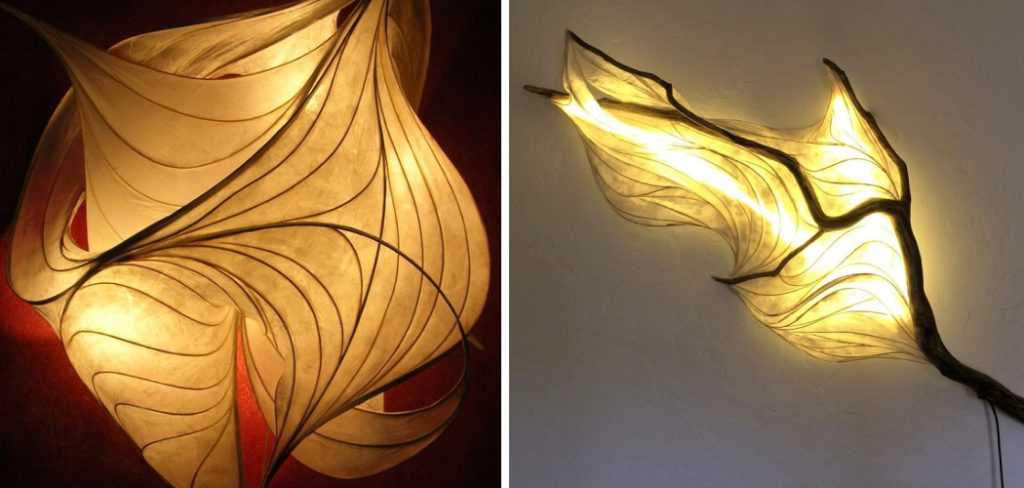
If you are looking for an easy and creative project to make your house feel like home, In this blog post we will discuss step by steps guidelines on how to make reed and paper tissue lamp.
Tools and Materials You Will Need to Make Reed and Paper Tissue Lamp
- Paper Tissue
- Reed
- Thread and needle
- Glue gun – Scissors
- Ribbon or lace (optional)
Step by Step Guidelines on How to Make Reed and Paper Tissue Lamp
Step 1: Gather Materials
To make a reed and paper tissue lamp, you will need the following materials: 10- reeds of the same size, scissors glue, clear silicon gel adhesive or any kind of strong adhesive, 1-meter long reel wire for lamp cord preparation, plastic sheeting (a polythene sheet or a cloth will do), paper tissue, thread and needle and ribbon or lace for the final touches.
Step 2: Cut the Reed
Using scissors, cut the reed into four equal parts. Make sure that all of the pieces are even in length and width so that your lampshade will be symmetrical. While cutting the reed, make sure to leave a few centimeters at the top for the lampshade base. Once you’ve finished cutting, use the thread and needle to make the reed into a circular shape.
Step 3: Assemble the Lampshade
Take one of the pieces of reed and start assembling your lampshade. Taking note of how the pieces fit together, start weaving them in a criss-cross pattern until you have formed a square shape. Secure each side with thread and needle to make sure that everything is in place. Assembling the lampshade is probably the trickiest part of this project, so take your time and be patient.
Step 4: Add the Paper Tissue
Take a piece of paper tissue and cut it into four even pieces. Take one piece at a time and glue it to the reed structure with a hot glue gun. Make sure that you cover all sides of the lampshade but leave some space in between so that the light can still pass through. Adding the paper tissue also gives your lampshade a pretty decorative look.
Step 5: Add the Ribbon or Lace
This step is optional, but it will give your lampshade an extra touch of sophistication. Take some ribbon or lace and attach it to the top part of the lampshade with hot glue. You can also use a thread and a needle to attach the ribbon securely. This step is entirely up to you, but it will definitely make your lampshade stand out.
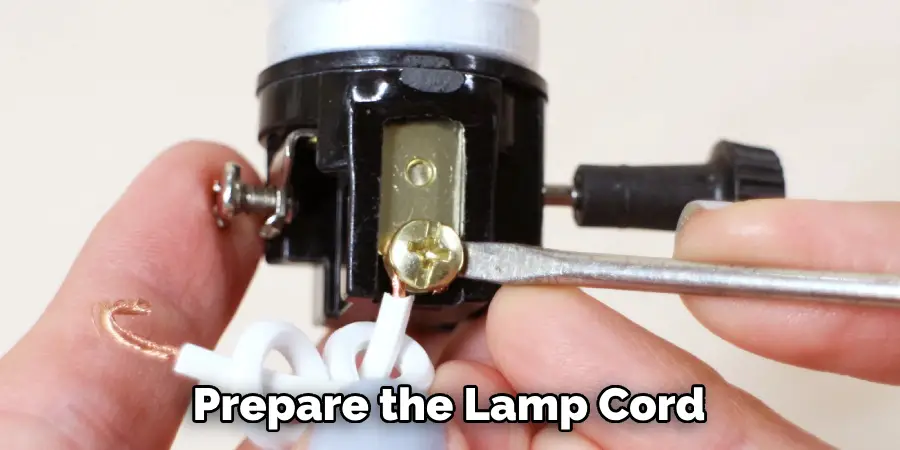
Step 6: Prepare the Lamp Cord
Now it’s time to prepare the lamp cord. Take a plastic sheeting and cut out six pieces. Next, fold each piece half lengthwise and then stitch them together with thread and needle. Finally, thread the prepared cord through the top of your lampshade and tie a knot to secure it in place.
And there you have it! Your very own handmade reed and paper tissue lamp. Hang your lampshade wherever you like in your home and bask in the warm glow of its light. Enjoy!
Additional Tips and Tricks to Make Reed and Paper Tissue Lamp
- To make the lamp even more visually interesting and ornate, you can use multiple layers of tissue paper or incorporate different colors of paper.
- Cleaning up any edges that have frayed from cutting is easier to do with tweezers instead of your fingers.
- To minimize wrinkles in the paper when gluing it to the reeds, apply a thin coat of glue directly onto the paper and wait for it to dry before attaching it.
- If you want to make your lamp more secure and stable, use extra cardboard or other materials as reinforcement for the base of your lamp.
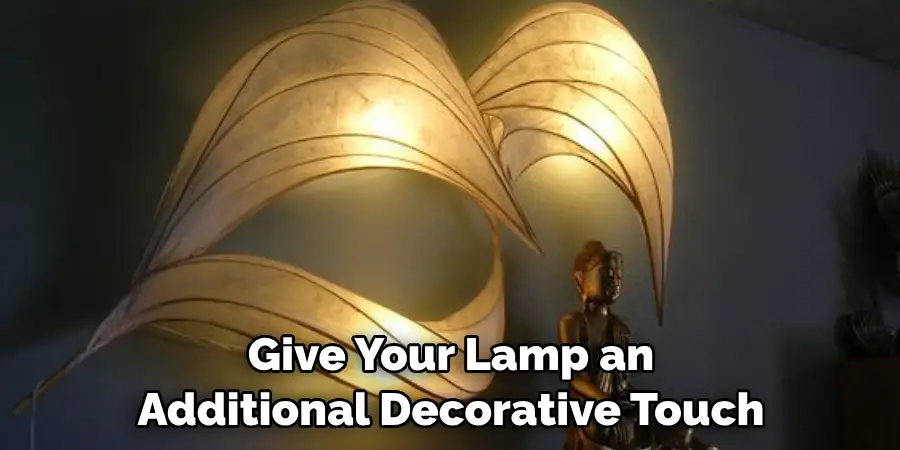
- To give your lamp an additional decorative touch, add beads, ribbons, or other embellishments to the reed frame.
- To give your lamp an extra touch of shine, add glitter or a coat of varnish to the finished product.
- To keep your lamp in good condition for longer, store it away from moisture and direct sunlight when not in use.
- If you need to clean your lamp, use a damp cloth and avoid using harsh detergents or chemicals.
With these tips and tricks, you can make a unique reed and paper tissue lamp that will last for years to come. Enjoy!
Things You Should Consider to Make Reed and Paper Tissue Lamp
1. Choose a lampshade frame that best suits your desired look and style. A simple, plain wooden frame will be perfect if you want to keep things traditional, while wireframes can give the lamp a more modern feel.
2. For an interesting effect, use two different kinds of reeds – one thicker and darker for the bottom and one thinner and lighter for the top. This will create an interesting color contrast when light is shone on the shade.
3. If using thinner paper tissue, it’s best to use multiple layers of tissue to form a strong base for your lamp shade. This will help ensure that your lamp is strong enough to hang and won’t tear easily.
4. Glue the reeds or paper tissue to your frame with a fine grade of craft glue, making sure that the edges are secure. Allow each layer to dry before adding additional layers for added stability.
5. When you’re happy with the shape and size of your lampshade, you can begin to add decorative elements. You can use different colors of tissue paper, fabrics, and ribbons to give the lamp a unique look.
6. Before attaching the shade to the light socket, make sure that it’s sealed properly. This will help protect against any heat or moisture damage and ensure that your lamp is safe to use.
7. Finally, choose a light bulb that’s compatible with your new shade and attach it to the socket. You can now enjoy your unique Reed and Paper Tissue Lamp!
With these considerations in mind, you’re now well on your way to creating a beautiful and unique Reed and Paper Tissue Lamp. Have fun with the process and don’t forget to share your creation with friends and family! Good luck!
Precautions Need to Follow for Making Reed and Paper Tissue Lamp
- Take necessary safety measures while working with tools. Protect your eyes and hands by wearing protective eyewear, ear protection, and gloves when cutting or hammering the reeds.
- Wear a dust mask to avoid inhaling any particles when cutting or sanding the paper tissue.
- Sew the paper tissue onto the reed frame carefully to avoid ripping or tearing.
- Make sure you set up the lamp in a well-ventilated area and away from any flammable objects, as it will be dealing with open flames when lit.
- Turn off the lamp whenever you’re not in the room, and never leave it unattended.
- Replace the lamp shade regularly to avoid the build-up of soot or grime.
- Carefully clean the frame and wiring with a dry cloth, making sure not to get any water on them.
Making reed and paper tissue lamps can be an enjoyable and safe experience with the right precautions. Following these steps will ensure that you can enjoy your handmade light fixture for years to come.
Frequently Asked Questions
What Type of Paper Should I Use?
It is best to use medium-weight cardstock paper for your reed and paper tissue lamp. If you find that the cardstock is too thick, you can always use thinner paper as long as it is sturdy enough to hold the shape of your lamp.
Can I Use Any Type of Bamboo for My Lamp?
Any type of bamboo will work when making a reed and paper tissue lamp, however, you should make sure that the strips are the same thickness and length so that the final product looks uniform.
How Do I Assemble the Lamp?
To assemble your reed and paper tissue lamp, begin by measuring out 10 bamboo strips that are all the same size with a metal ruler. Use a craft knife to cut each strip lengthwise down the center so that you have two strips of equal width.
Next, use twine or yarn to tie each of the strips together, making sure that you wrap it tightly enough so that the strips stay in place. After all of your strips are tied together, use a glue gun to secure them into place. Finally, cut out a piece of paper and fold it over the top of the lamp structure. Secure with a glue gun and trim the excess paper. Your lamp is now complete!
Conclusion
Knowing how to make reed and paper tissue lamp is an essential part of crafting with bamboo. With a few simple supplies, you can easily assemble your own lamp and add some extra style to your home décor. By following these steps, you should be able to create a unique and beautiful piece that will light up any room. Best of luck!