Are you looking for an alternative energy source that is affordable and easy to install? If so, solar power may be the solution for you. This blog post will teach you how to make solar light system at home using readily available supplies. Keep reading to learn more!
Summary: First, unscrew the light bulb from the electrical box. Next, remove the old battery pack from the light bulb. Finally, connect the new battery pack to the light bulb and screw it back in place.

What Causes Solar Power to be So Efficient?
There are two primary reasons solar power is such an efficient energy source. First, solar panels can absorb a large amount of sunlight, which is then converted into electrical energy. Second, solar panels have very few moving parts, meaning that there is very little energy lost during the conversion process. Solar power can be an ideal energy source for your home if you live in an area with lots of sunlight.
Additionally, solar power can be used to supplement your existing energy sources, such as electricity or natural gas. Another advantage of solar power is that it is a clean and renewable energy source, meaning that it does not produce harmful emissions. Solar power is a great option if you want to reduce your carbon footprint. Lastly, solar power systems are typically very low maintenance and can last many years with proper care.
Why Should You Make Your Own Solar Light System?
You might want to consider making your own solar light system for many reasons. One reason is that it can save you a lot of money in the long run. Commercial solar light systems can be quite expensive to purchase and install, so making your own can be a great way to save money. Also, making your own solar light system can be fun and rewarding.
If you are interested in learning more about renewable energy and solar power, this can be a great way to get started. Another reason to make your own solar light system is that you can customize it to meet your specific needs. For example, if you have a particular area that you want to light up at night, you can design your system to do just that.
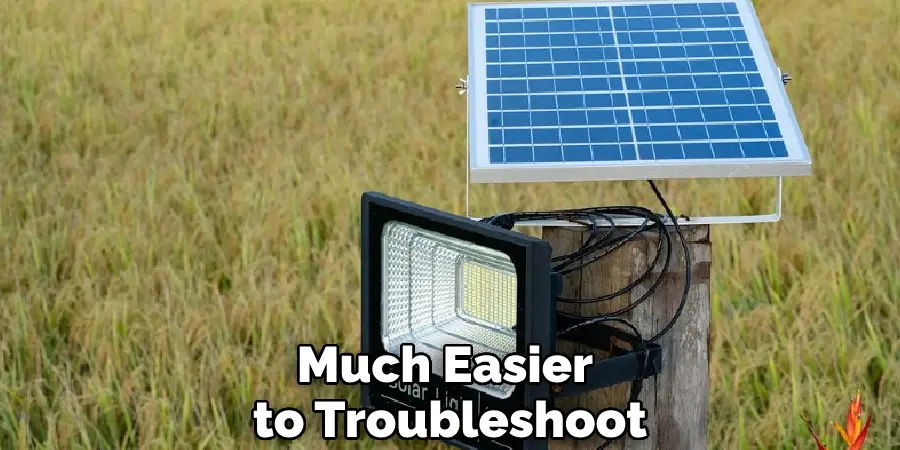
Additionally, if you want to add more lights or accessories to your system in the future, it will be much easier to do if you have made the system yourself. Finally, if you ever have any problems with your system, it will be much easier to troubleshoot and fix if you make it yourself.
Step by Step How to Make Solar Light System at Home
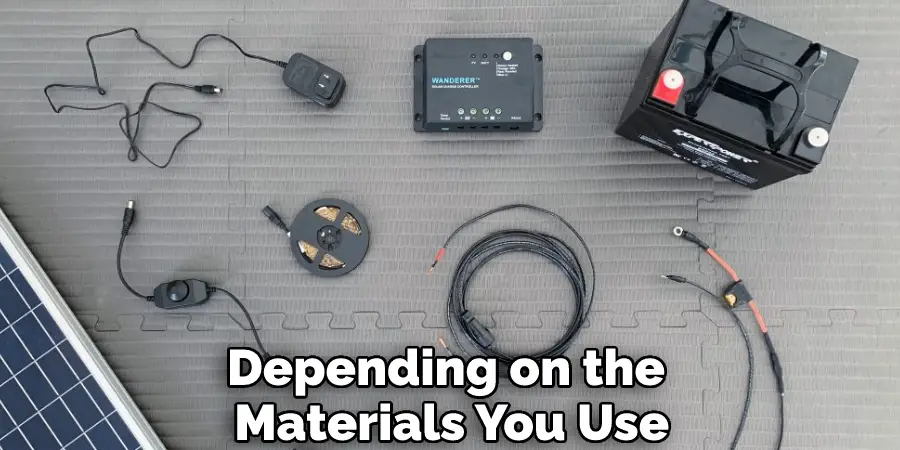
1. Gather Supplies
The first step is to gather all of the supplies you will need. For this project, you will need solar panels, batteries, LED lights, a charge controller, and a power inverter. You can find all of these supplies at your local hardware store or online. Gather all of your supplies before beginning the project to make sure you have everything you need. If you are unsure about what size solar panels or batteries you need, consult an expert or do some research online.
2. Choose a Location for Your Solar Panels
Once you have all your supplies, the next step is choosing a location for your solar panels. Your location should be in an area that receives full sun for at least six hours daily. If you live in a cloudy climate, you may need to choose a location that receives full sun all day. Once you have found the perfect location, mark it off with tape or flags to know where to put your panels. Avoid putting your panels in areas where trees or buildings will shade them throughout the day.
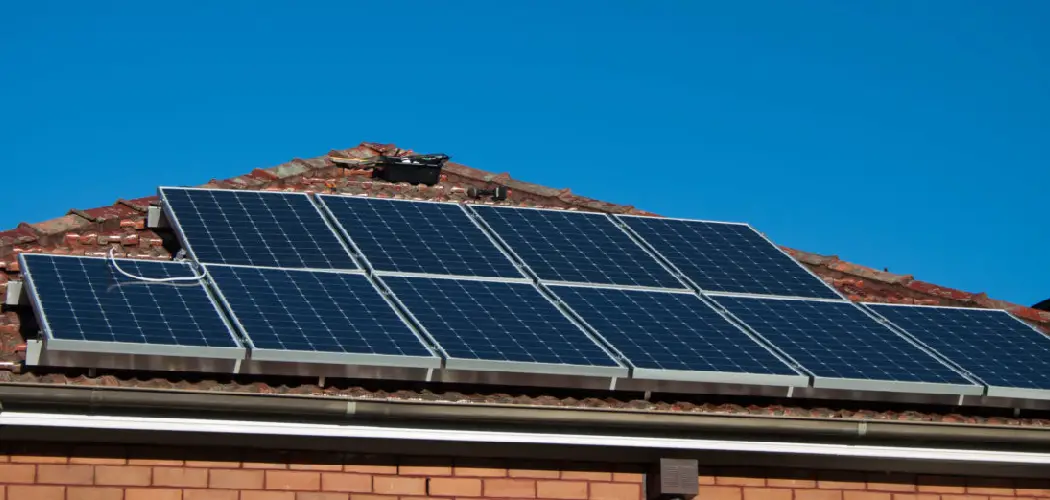
3. Set Up Your Solar Panels
After you have chosen a location for your solar panels, the next step is to set them up. First, lay out your solar panels in the desired location. Make sure they are facing the direction that will receive the most sunlight throughout the day. Once your panels are in place, use the clamps or brackets to secure them to the ground. Be sure to tighten the clamps so your panels will not move.
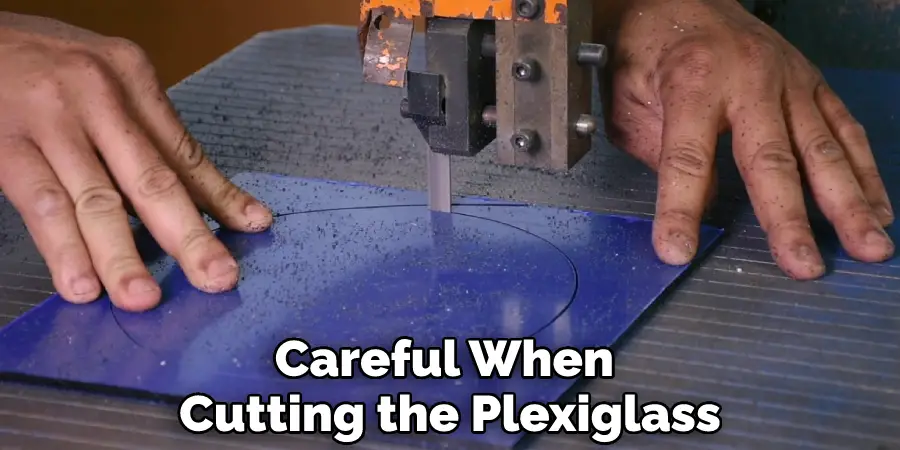
4. Cut Plexiglass to Size
The next step is to cut the plexiglass to size. Plexiglass is a clear material covering your solar panels to protect them from the elements. Use a measuring tape and a straight edge to measure and mark the plexiglass. Then, use a power saw to cut the plexiglass to size. Be very careful when cutting the plexiglass, so you do not crack or break it. If necessary, wear safety goggles to protect your eyes.
5. Attach Plexiglass to Solar Panels
After you have cut the plexiglass to size, the next step is to attach it to your solar panels. First, lay the plexiglass on top of your solar panels. Then, use the screws and washers to attach the plexiglass to the panels. Be sure to use enough screws, so the plexiglass is securely attached. Ask someone to help you hold the plexiglass in place while you attach it. Avoid touching the plexiglass too much, as fingerprints can affect how well it works.
6. Attach Solar Cells
After the plexiglass is in place, the next step is to attach your solar cells to the panels. Solar cells are what actually absorb the sunlight and convert it into electrical energy. Each solar cell must be connected to the other cells for the system to work properly. You can find solar cells online or at your local hardware store. To attach the solar cells, use a soldering iron and solder to connect each cell’s positive and negative terminals.
Once all the cells are connected, you can then attach them to your solar panels. Be sure to consult an expert or do some research online to make sure you are connecting the solar cells correctly.
7. Attach Batteries
After your solar cells are in place, the next step is to attach your batteries to the system. Batteries are used to store the electrical energy that is generated by solar cells. You will need to connect the batteries positive and negative terminals to the solar cells’ corresponding terminals. Once all the batteries are connected, you can then attach them to your solar panels. Be sure to consult an expert or do some research online to make sure you are connecting the batteries correctly.
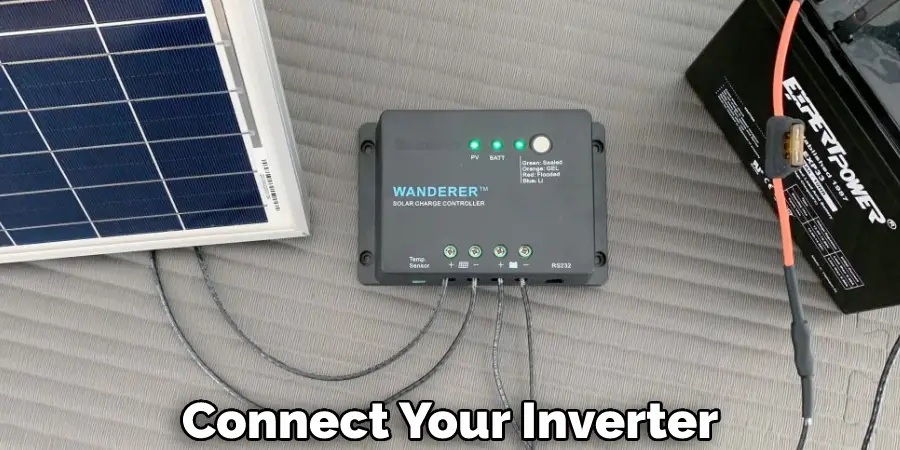
8. Connect inverter
After your batteries are in place, the next step is to connect your inverter. The inverter is what actually converts the electrical energy into usable household power. To connect the inverter, first consult the owner’s manual. Then, connect the inverter’s positive and negative terminals to the batteries’ corresponding terminals. Once the inverter is connected, you can then attach it to your solar panels.
9. Connect Wires
After your inverter is in place, the next step is to connect your wires. You will need to connect the inverter’s output terminals to the wires. The wires will then carry the electrical current to your home’s electrical panel. To connect the wires, first, strip about 1/2 inch of insulation from the end of each wire. Then, twist each wire around a terminal on the inverter. Finally, use a screwdriver or wrench to tighten the terminal onto the wire.
10. Mount Lights
After your wires are in place, the next step is to mount your lights. You can use any type of light that you want, but solar-powered lights are the most efficient. First, find a location that gets plenty of sunlight to mount the lights. Then, use screws or nails to attach the lights to a surface. Be sure to consult an expert or do some research online to make sure you are mounting the lights correctly. If necessary, ask someone to help you hold the lights in place while you mount them.
11. Add Reflective Tape (optional)
If you want, you can add reflective tape to your solar panels. The reflective tape will help increase the amount of sunlight absorbed by the panels. To add the tape, peel off the backing and attach it to the panel. Be sure to smooth out any bubbles or wrinkles.
12. Enjoy Your Solar Lights!
Now that your solar lights are installed, you can enjoy them! First, be sure to test them out to make sure they are working properly. If something isn’t working right, be sure to consult an expert or do some research online to troubleshoot the problem. With proper care, your solar lights should last for many years.
How Much Does it Cost to Make Solar Light System at Home?
The cost of making a solar light system at home will vary depending on the materials you use. However, you can expect to spend about $100-$200 on solar cells, batteries, an inverter, and other necessary components. Additionally, you will need to factor in the cost of labor if you hire someone to help you install the system you use. Again, however, you can expect to spend about $100-$200 on solar cells, batteries, an inverter, and other necessary components.
Conclusion
So there you have it! Now you know how to make solar light system at home. Just follow the steps outlined above, and you’ll be up and running in no time. Be sure to consult an expert if you have any questions or run into any problems. With proper care, your solar light system will provide years of enjoyment. Thanks for reading!
[url=https://goldbets.blog/]GOLDBET[/url] , casino online e bookmaker ADM italiano, pensato per utenti maggiorenni in Italia. L’operatore è collegato a una rete di più di 1.700 punti vendita.
Sezioni disponibili : scommesse sportive, casino, casino live, virtuali, poker e bingo. Il catalogo casino propone più di 600 titoli, tra slot, tavoli classici, game show e live dealer.
Sezione live : oltre 150 tavoli live, con croupier reali, adatti a roulette, blackjack, baccarat e format da studio.
Betting sportivo : più di 600 eventi al giorno, con quote prima dell’evento e in tempo reale. Propone campionati principali, tornei secondari e discipline di nicchia.
Offerte promozionali : offerte per nuovi utenti, promo ricorrenti e jackpot. Le condizioni possono cambiare e vanno controllati prima dell’attivazione.
Apertura conto : necessita di un conto gioco intestato a una persona maggiorenne. Il gioco è vietato ai minori.
Gestione saldo : con strumenti disponibili nel profilo utente. Prima di attivare un bonus conviene verificare commissioni, soglie minime e documenti richiesti.
Aspetti pratici : licenza ADM, ampia rete fisica, offerta multiservizio e casino live sviluppato.
Aspetti da verificare : promozioni non sempre uguali per tutti gli utenti; alcuni giochi o mercati possono non essere sempre disponibili.
Gioco responsabile : il gioco è vietato ai minori di 18 anni e può causare dipendenza. Usare strumenti di autolimitazione è consigliato prima di iniziare.