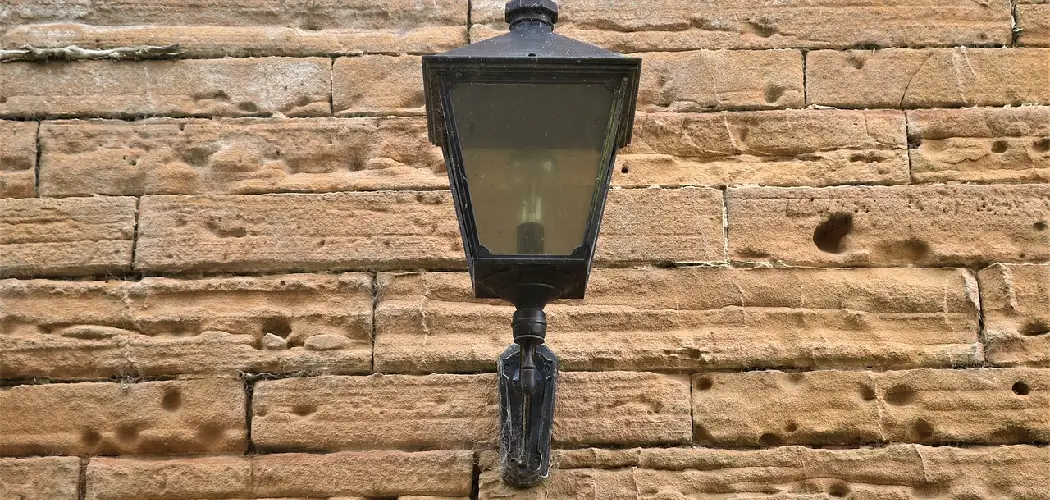
Lighting is an important part of any home. It can highlight specific features in a room or make a space feel more welcoming and inviting. However, if you have uneven stone walls, it can be difficult to find a light that will look good and stay in place. In this blog post, we will show you how to mount a light on uneven stone walls so you can enjoy all the benefits of lighting in your home.

There are a few reasons why it’s important to mount a light on uneven stone walls. First of all, it can be difficult to find a light that will look good and stay in place on uneven walls. Secondly, uneven stone walls can create shadows and make a room feel uninviting. By mounting a light on the wall, you can brighten the space and eliminate any shadows.
Summary: Mounting a light fixture on an uneven stone surface can be a challenging task, but with the right tools and techniques, it is possible to achieve a secure and aesthetically pleasing result. Begin by selecting a light fixture that is suitable for the outdoor environment and compatible with the stone surface.
Next, choose the mounting location and mark the spots where you will drill holes for the fixture’s mounting brackets or screws. To accommodate the unevenness of the stone, consider using a mounting plate or wooden shim to create a more stable and level base for the light fixture.
When installing the light fixture, use appropriate masonry drill bits and anchors specifically designed for stone surfaces. Carefully drill pilot holes into the stone at the marked spots, taking care not to apply excessive pressure, which could cause the stone to crack or chip. Once the holes are drilled, insert the appropriate anchors into the holes and secure the mounting plate or wooden shim to the stone surface.
Finally, attach the light fixture to the mounting plate or shim, following the manufacturer’s instructions. Make sure all connections are tight and secure. By using the correct tools and materials, along with a mounting plate or wooden shim to accommodate the uneven stone surface, you can successfully mount a light fixture on an uneven stone surface, providing a well-lit and attractive outdoor space.
Required Materials
- Light fixture
- Screws
- Drill
- Level
- Pencil
- Tape measure
- Stud finder
7 Methods to follow on How to Mount a Light on Uneven Stone
Method 1: Using a Stud Finder
Before you begin, you’ll want to make sure there’s no stud behind the wall. If there is, it will be difficult to mount your light and may damage the fixture. To do so, start by running your stud finder along the wall. Once you’ve found an area that registers empty, mark it with a pencil.
Here are a few tips for using a stud finder:
1. Check behind pictures and mirrors to ensure they’re not covering a stud.
2. Turn off all power in the house, so you don’t accidentally get a shock while using the stud finder.
3. Avoid placing your hand where it can get shocked if your stud finder comes into contact with a wire.
Once you’ve done this, you will be able to mount your light without fear of hitting a stud.
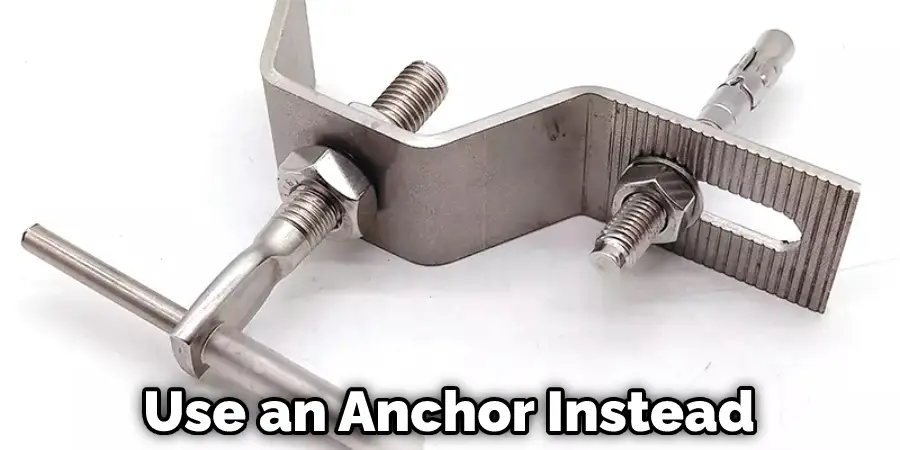
Method 2: Using an Anchor
If there is no stud behind your wall, you can use an anchor instead. An anchor is a screw that you put into the wall to hold up your light fixture. Make sure the anchor is screwed into the wall securely before adding any hardware to hold up your fixture.
Here are a few tips for using an anchor:
1. Make sure the anchor is attached to a wall stud.
2. Make sure the drill bit you use for this has a diameter less than or equal to your screw. It will be difficult to screw your fixture into place without damaging both the fixture and the wall if it’s too big.
3. To attach your light, screw in a lag bolt and washer.
Method 3: Using Drywall Anchors
If you don’t want to attach your light directly to the wall, you can use anchors. These will let you decide how high or low you want your light to be. To use them, you’ll need a drill and some screws. First, drill a hole in the wall where you want the light to be. Then, screw in the anchor.
Here are a few tips for using drywall anchors:
1. Make sure you use an anchor made specifically for drywall.
2. Drilling directly into the stud will make it a lot easier to secure your fixture.
3. Make sure you drill the hole at a 90-degree angle from how your light will be swiveled. For example, if your light fixture swivels vertically, make sure you drill at a 90-degree angle to how it will be turned clockwise or counterclockwise.
4. Once you screw in the anchor, turn it to how you’d like your light to face.
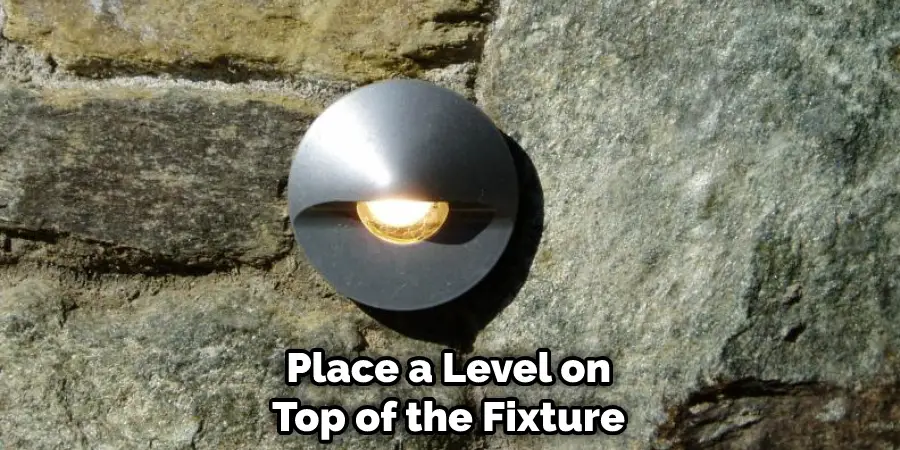
Method 4: Using a Level
If there is no stud behind the wall, you’ll need to position the light how you want it before marking where you will drill. To do this, place a level on top of the fixture and adjust its angle until straight.
Use a pencil to mark where you will drill holes for the screws. Make sure to place them somewhere that won’t cause the fixture to fall off the wall. We recommend using two screws on opposite sides of your light. However, if your light is round or has an especially small base, there’s a good chance it will fall over with only two screws. In this case, we recommend using four screws on each side of the light.
Once you’ve marked the holes, place your fixture and use a drill to create pilot holes for your screws.
Here are a few tips for using a level:
1. Place your level somewhere that’s not in the way of where you’ll be drilling.
2. Find a level spot to place the light while marking holes for your screws.
3. Use a pencil so you can erase any markings if necessary.
4. Read how-to instructions carefully before attempting this project yourself.
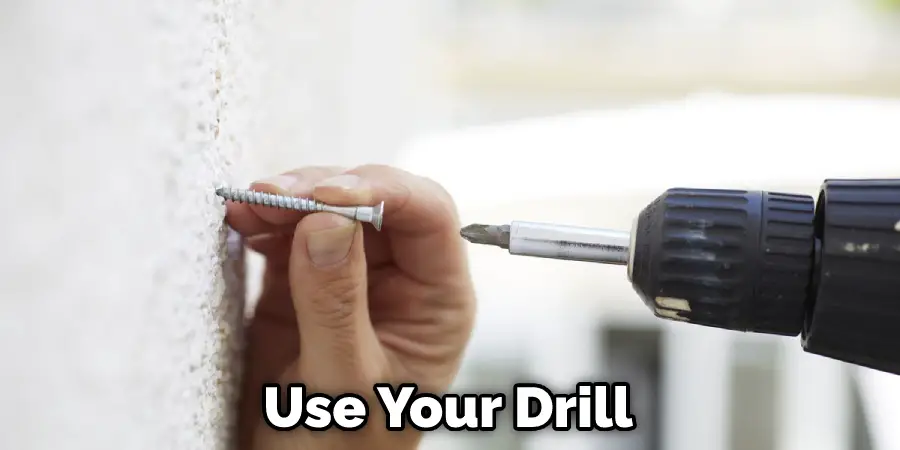
Method 5: Using a Drill
Use a drill to make pilot holes for your screws. Place the drill bit in the hole you’ve created and press down until you feel how deep it’s gone. Mark how deep it is with a pencil, so you know how far to screw the bolt into the wall. Put a little glue into the hole in the door handle.
Here are a few tips for using a drill:
1. Make sure power is turned off and that your drill is unplugged while using it.
2. Place a tape on the drill bit to mark how deep it’s gone into the wall.
3. Use a level before drilling to make sure you’re hitting where you want to go.
4. Read how-to instructions carefully before attempting this project yourself.
After marking how deep the screws should go, use your drill to screw them into place on the wall. Make sure they’re tightened securely before hanging your fixture.
Method 6: Hanging Your Light
Once you’ve got your screws in place, hang the fixture on them. If it’s wobbly or crooked, you may have to go back and tighten any loose screws. If necessary, you can also use anchors, but be sure they’ll hold how much weight your fixture requires. After you’ve hung your fixture how you want it, plug it in and enjoy how bright your wall is now!
Here are a few things to remember when hanging your light:
1. Double check how much weight your fixture requires before using anchors.
2. Be extra careful if you use wire instead of nails or screws for this project.
3. Read how-to instructions carefully before attempting this project yourself.
With these helpful tips, you’ll be able to mount any light fixture how you want it in no time. In case of damage or mistakes, visit our how-to section for many more how-to projects!
Method 7: Enjoy!
If you’re hanging a potted plant or something that doesn’t need to be up high, the simplest thing would be to place it on a book. Get yourself a stack of books equal in width and thickness to your object’s diameter and no more than half as tall as your desired mounting height.
Stack them neatly and tape or weigh down the center of the stack. The weight can be a small rock or pebble placed on top of the object to prevent it from being knocked over by cats, kids, or other unfriendly neighborhood creatures.
If you’ve got a particularly nice potted plant and want something fancier, there are many options. If you have some spare bricks or cinderblocks, you can stack them to make a stable platform without too much investment in time.
If you’d prefer something sturdier but don’t have any old bricks lying around, you can use the same method as the book technique and just add extra layers. Just be careful how high up it is so you don’t have to do a lot of climbing on some rickety-looking bricks or cinderblocks.
Mounting Light on Stone Exterior
Mounting a light on a stone exterior can add both style and functionality to your property. The challenge, however, lies in the installation process. Here are some steps you can follow to successfully mount light onto your stone exterior.
- Choose the Right Location: Before you select a spot to mount your light, consider the overall design of your property. The light should blend seamlessly with the exterior and be positioned in a practical location where it can serve its purpose effectively.
- Determine the Wiring: Once you’ve found the perfect spot for your light, you’ll need to determine how you’ll run the wiring. If you’re working with an existing light, shut off the power to the fixture at the breaker box. Then, inspect the wiring to ensure it’s not damaged. If you’re installing a new light, you’ll need to run new wiring through your exterior wall.
- Mark the Spot: Use a pencil to mark the spot where you want to mount the light fixture. Double-check that it’s at the right height and in the right location before you proceed.
- Drill the Holes: Next, you need to drill the holes for the mounting bracket. If you’re working with a hard stone like granite or marble, you’ll need to use a diamond-tipped drill bit. It’s essential to use a small amount of water to cool the drill bit and prevent any damage to the stone.
- Install the Mounting Bracket: After drilling the holes, insert wall anchors into the holes and secure them with screws. Once the anchors are in place, attach the mounting bracket to the wall with screws.
- Install the Light Fixture: Finally, install the light fixture onto the mounting bracket according to the manufacturer’s instructions. Be sure to test the light before finishing up the job.
Overall, mounting a light on a stone exterior requires careful planning and precision. However, with the right tools and technique, the end result can be a beautiful addition to your property that provides both style and functionality.
How Do You Hang Lights on A Stone Wall
You can use the same methods described above to hang lights on a stone wall. If you are using a book, stack the books so that they are equal in width and thickness to the diameter of your light. If you are using bricks or cinderblocks, stack them to make a stable platform without too much investment in time.
Just be careful how high up it is so you don’t have to do a lot of climbing on some rickety-looking bricks or cinderblocks. Keep reading for more information about how to mount a light on uneven stone.
Frequently Asked Question
Can Mount a Light on Uneven Stone?
Yes, you can mount a light on uneven stone. You can use books, bricks, or cinderblocks to create a stable platform.
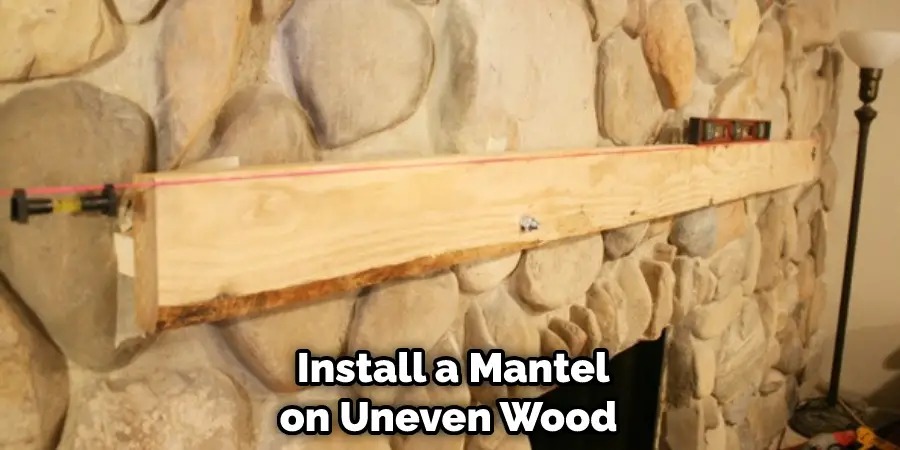
Can You Hire Someone to Install a Mantel on Uneven Wood?
Yes, you can hire someone to install a mantel on uneven wood. They will use a level to make sure it is even and then use screws or nails to secure it in place.
How Do You Hang Something on An Uneven Stone Wall?
If you have something that needs to be hung on an uneven stone wall, you can use one of several methods to create a stable platform. One option is to use books, bricks, or cinderblocks to create a level surface. You can also hire someone to install a mantel on uneven wood.
You Can Check It Out to: Fix Aquarium Light Hood
Conclusion Paragraph
Whether you’re mounting a light on uneven stone or some other surface, it’s important to make sure the light is stable and won’t fall off. With the right tools and patience, you can easily mount your light in just a few short minutes. Have you tried this method before? Let us know how it went in the comments below! Thanks for reading our post about how to mount a light on uneven stone.