Pendant light cords can be a bit of a pain to straighten, but with these simple tips, you’ll have it done in no time! Plus, you’ll be able to keep your cord nice and tidy – and free from kinks – for years to come. Read on for our top tips on how to straighten pendant light cord like a pro!

Pendant lights are a great way to add light and style to a room, but often the cords can be unsightly. Luckily, there are a few ways to hide them. Follow these simple steps, and you’ll have your light cord looking good as new in no time!
Summary: Straightening a pendant light cord can be a simple yet effective way to improve the overall appearance of your lighting fixture. Over time, cords can become twisted or kinked, causing them to hang unevenly and detract from the aesthetic of your space. To straighten the cord, start by turning off the power supply to the light, either by switching off the circuit breaker or unplugging the cord.
Next, carefully remove the light bulb and the shade, if applicable, to avoid damage during the straightening process. With the fixture ready, gently untwist the cord by hand, working your way from the ceiling mount down to the pendant light, and use a hairdryer to soften the cord material if needed.
To achieve a more permanent result, consider using the cord weight method. This involves attaching a small weight, such as a fishing sinker or a binder clip, to the bottom of the cord near the light fixture. The added weight will help straighten the cord and maintain its shape over time.
After attaching the weight, allow the cord to hang freely for a few hours or overnight, allowing gravity to work its magic in straightening the cord. Once the cord is satisfactorily straight, carefully remove the weight, replace the shade and light bulb, and turn the power back on. Your pendant light cord should now be straight and visually appealing, adding a polished touch to your space.
Steps on How To Straighten Pendant Light Cord
Step 1 : Straighten Cords
All you need to do this is a piece of cord and a paper clip. First, clip the paperclip onto the cord just under the twist. Then, slide the paperclip down the cord to straighten it out. You might need to use pliers if your paper clip is small, but it should work just fine as is. And that’s it! The cord is now straightened out.
Step 2 : Select a Fixture
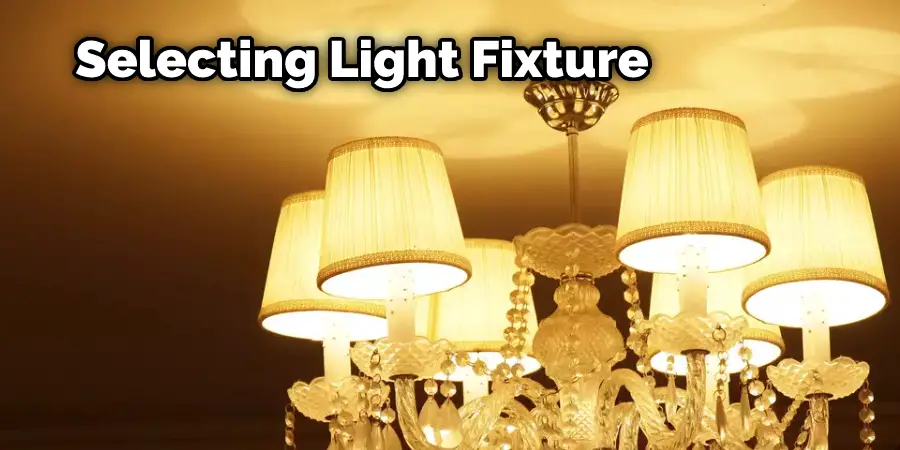
There are a variety of fixtures to choose from. They range in price, shape and depend on the type of cord you have.
Some may require you to buy them separately, or there might be brackets that come with them that would make using your old cord obsolete.
Step 3 : Cut and Strip a Cord
Each fixture you buy has its instructions on cutting and stripping the cord. First, however, this is what you need to know. If the new fixture requires that the wire be inserted, just cut your pendant light cord an inch or two from where it attaches to the ceiling.
Next, trip the insulation from the old cable to expose about an inch of bare wire. Finally, place it together with the new cord, ensuring you have enough length to increase it by at least an inch.
Step 4 : Prepare Junction Box
You would want to follow the instructions for this, but basically, it’s installing a junction box.
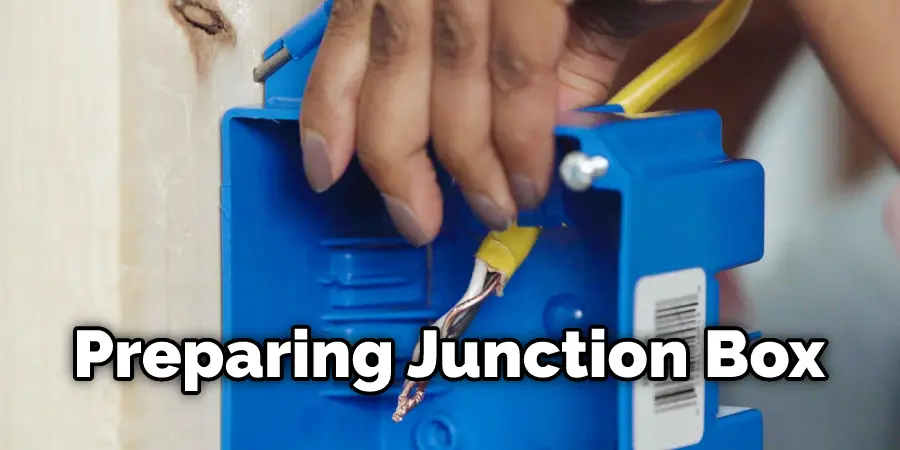
Cut and strip cords vary from fixture to fixture, so make sure your light pendant cord is correctly prepared before checking out the instruction guide.
Step 5 : Attach the Cord
This is where things may vary, but you want to make sure that your pendant light cord is securely attached. Do this is through screwing. How much? Gain, follow the instructions for proper installation.
If you’re only planning on using your new pendant light temporarily, you can secure it with nails or even tie it with wire. However, how you secure cords varies from fixture to fixture, so make sure your new pendant light cord is securely fastened before installing it.
Step 6 : Attach Mounting Bracket
You’re almost done! His too varies from fixture to fixture, but this would usually require you screwing it into the junction box. How much you screw in depends on your type of pendant light and its weight. Follow manufacturer’s instructions for maximum safety and effectiveness.
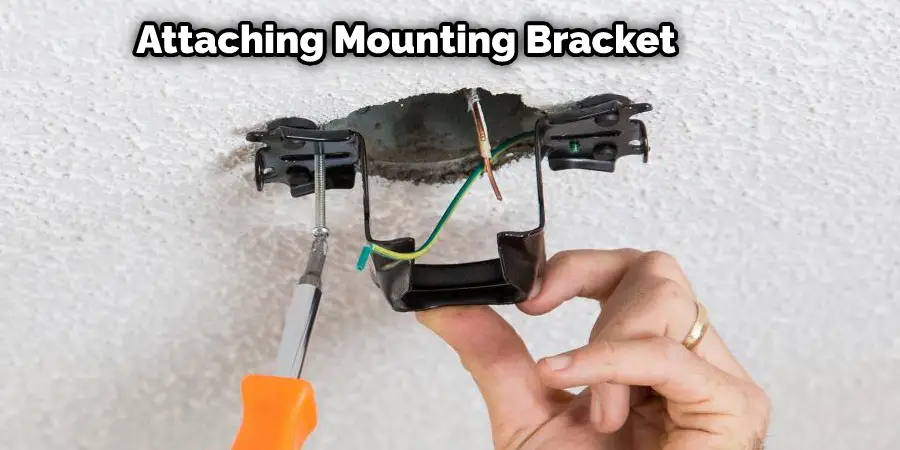
You don’t want your new pendant light falling after all your hard work! To attach a mounting bracket varies from fixture to fixture, but follow the instructions that come with it, and you should be good.
Step 7 : Adjust Hanging Height
This is somewhat optional, but if you want your pendant light to be at a certain height, then this might require you to cut the cord again and attach another junction box.
The cord you cut depends on how high or low you want it to hang. The material will also depend on what type of card you have, as some are thicker than others. Adjusting hanging height varies from fixture to fixture, so just follow the instructions for this, too.
Step 8 : Affix Cover
Your pendant light is now ready. This also varies from fixture to fixture, but hot glue is the most common adhesive that would do just fine.
The way you use your new pendant light depends on the type of cover it comes with, so follow the manufacturer’s instructions for best results. Attaching a cover varies from product to product depending on the fixture, but just follow the instructions that come with it for best results.
Step 9 : Selecting a Bulb
Your pendant light is now installed, and you’re ready to use it. Plan to use your new pendant light depending on which type of bulb you’ll be using.
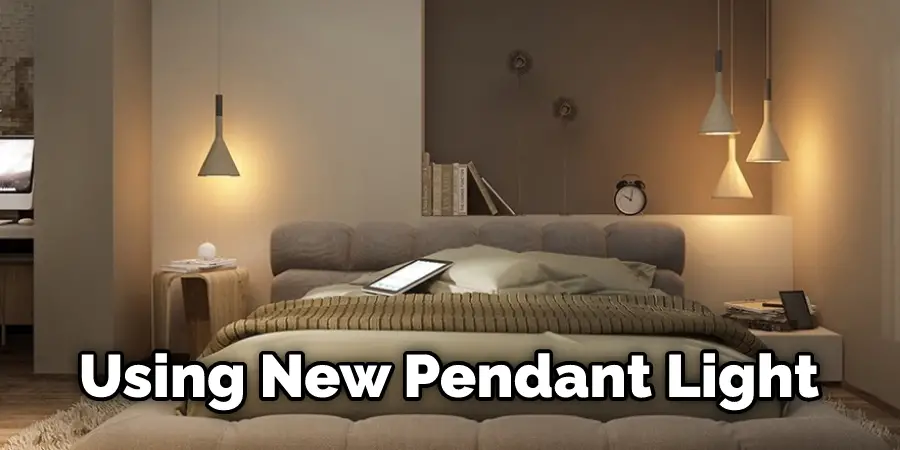
Pendant lights are a type of light fixture that hangs from the ceiling. The most common bulb types for pendant lights are halogen and fluorescent, but just remember that if the fixture doesn’t come with a cover, then the bare bulb will be exposed. This varies from fixture to fixture, so make sure you follow the manufacturers’ recommendations for best results.
You can check out it to Make Third Brake Light Flash
Frequently Asked Question
Can You Shorten Cord Length On A Pendant Light?
Yes, shortening the cord length on a pendant light is usually possible. Depending on the design of the pendant, you may need to remove the canopy and adjust the wires or chain that suspend the light, or you may simply be able to adjust the length of the cord itself by retying or cutting it to the desired length.
However, it is important to note that tampering with electrical wiring can be dangerous, so it is recommended that you consult with a licensed electrician or another qualified professional to ensure that the work is done safely and correctly.
Is It Safe to Make My Own Pendant Light Cord?
When making your own pendant light cord, a few things need to be taken into account. Firstly, using the right materials is important as well as being aware of electrical safety guidelines. Secondly, making sure the cord is securely fastened to the light fixture is key.
What Is the Best Way to Straighten the Pendant Light Cord?
There are a few different ways to straighten a light pendant cord. One way is to use a clothes iron. Another way is to use a hair straightener.
You Can Check It Out to: Shorten Pendant Light Rod
Conclusion
Straighten the cord by first unraveling it and then pulling on each end. You can also use a hairdryer to help straighten out your pendant light cords. Ensure not to make any sharp bends in the cord as you pull, but rather gently smooth them into place with your hands or some other material such as cloth or paper towel that won’t fray easily.
f this doesn’t work for you; we recommend replacing the wire inside of the cord with one size larger than what came originally (for example if you had 14 gauge wire before, try 16 gauge).
The diameter should be increased enough so there is no space between strands when laid flat against another strand; anything less will result in kinks. Thanks for reading our post how to straighten pendant light cord.