
When you hear the words “smart home,” what’s the first thing that comes to mind? For many people, it’s a futuristic house where everything is controlled by a single Amazon Echo or Google Home. While this may be true for some people, there are other ways to make your home smarter. One way is to add smart bulbs. Sengled is one company that makes affordable and easy-to-use smart bulbs.
If you’re looking for an affordable and easy way to add some extra ambiance to your home, consider using a Sengled bulb. Not only are they bright and colorful, but they also provide a great way to set the mood. In this guide, we’ll show you how to pair a Sengled bulb with your favorite music streaming service. So sit back, relax, and let us show you how it’s done.
Summary: To pair a Sengled bulb, first make sure that the bulb is properly installed in your light fixture. Once the bulb is installed, press and hold the “Mode” Button on the base of the bulb for two seconds. A blue light will start blinking and will continue to blink until you release the Mode button. Once you have released the Mode button, the light will turn green and the pairing process will be complete.

What is a Sengled Bulb?
First, let’s quickly go over what a Sengled bulb is and how it can make your life easier. The Sengled brand offers a variety of smart bulbs that can be controlled with an app or through Alexa or Google Home. These bulbs come in different styles – from traditional bulbs to strip lights and beyond.
Some of the features that make Sengled bulbs stand out include color changing options and even a built-in Bluetooth speaker. This means you can easily control your room’s ambiance and play music through the bulb itself.
10 Easy Steps on How to Pair a Sengled Bulb
Now that we’ve gone over what a Sengled bulb is, let’s dive into how to pair singled bulb.
Step 1: Download the Sengled App
First, you’ll need to download the Sengled Home app on your phone or tablet. This can easily be found in the App Store or Google Play Store. The app is free and only takes a few minutes to install.
Step 2: Create an Account
Once the app is downloaded, you’ll need to create an account. This can be done through the app itself or by linking your Google or Facebook account. Ensure your Wi-Fi password is on hand, as you’ll need it for the next step.
Step 3: Plug in and Turn on Your Sengled Bulb
Before pairing the bulb, make sure it is plugged into a working outlet and turned on. Now open the app and select “Add a device.”
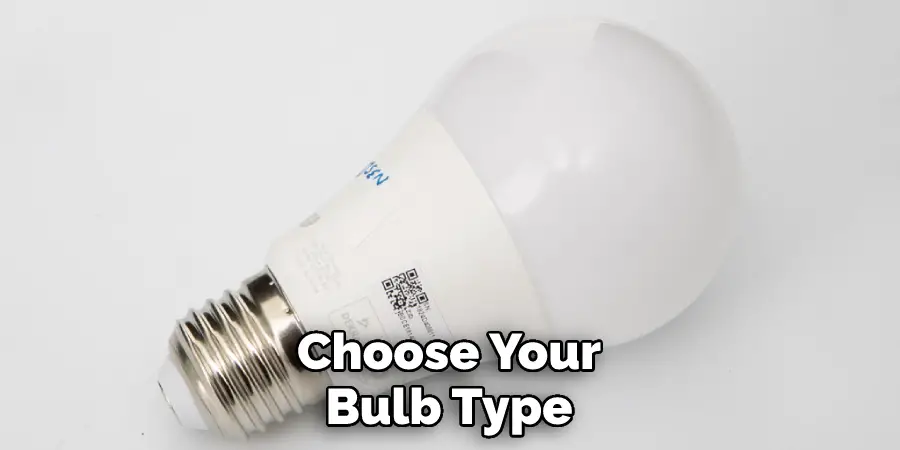
Step 4: Select Your Bulb Type
Once you select “Add a device,” you will be asked to choose your bulb type. Choose the specific model of Sengled bulb that you are attempting to pair.
Step 5: Connect to Your Wifi
Next, the app will ask you to connect your Sengled bulb to your WiFi. Follow the on-screen prompts and enter your WiFi password when prompted.
Step 6: Add the Bulb
Once your device is connected to Wi-Fi, it’s time to add a Sengled bulb. In the app, click on the “+” sign and select “Add Light.” The app will then prompt you to screw in the bulb and turn it on.
Step 7: Name Your Sengled Bulb
Once the bulb is connected to your WiFi, it’s time to give it a name. This can be anything you want – from “living room light” to “party bulb.” Make sure to remember the name, as you’ll use it to control the bulb in the future.
Step 8: Discover New Features
Now that your Sengled bulb is paired and named, it’s time to explore all of its features. In the app, click on the bulb and play around with different options, such as brightness and color. Moreover, if your bulb has a built-in Bluetooth speaker, you can also connect it to your preferred music streaming service. Once you’ve paired and explored the features of one Sengled bulb, consider adding more throughout your home. This can be done by repeating steps 3-8 for each additional bulb.
Step 9: Control With App or Voice Assistant
Now that your Sengled bulb is all set up, you can easily control it through the app or with a compatible voice assistant, such as Alexa or Google Home. Be careful not to get too relaxed and leave the lights on, as Sengled bulbs can also be controlled with scheduling options in the app. Use this feature to save energy and control when your lights turn on and off.
Step 10: Enjoy Your New Sengled Bulb
Now it’s time to sit back, relax, and enjoy the added ambiance and music capabilities of your new Sengled bulb. And there you have it – an easy guide on how to pair Sengled bulb.
In just ten steps, you can easily enhance your home with some extra ambiance and music capabilities. So what are you waiting for? Give it a try and see how Sengled can improve your daily life. Happy pairing!
5 Additional Tips and Tricks
- Make sure your Sengled bulb is within close proximity to your Wi-Fi router during the pairing process.
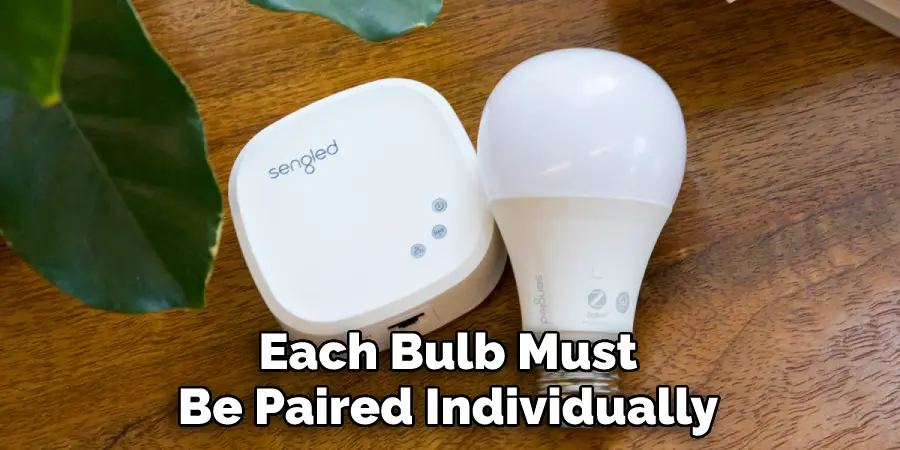
- Remember that each bulb must be paired individually, so make sure to repeat the steps for each new bulb you want to add.
- Check if your Wi-Fi network is compatible with Sengled bulbs by visiting their website and viewing the list of supported routers.
- Consider downloading the Sengled Home app for additional features such as scheduling and adjusting brightness levels.
- If you encounter any issues during pairing, try resetting your bulb by quickly turning it off and on three times before attempting to pair again.
These tips and tricks can help make your Sengled bulb pairing process even smoother. Happy pairing!
5 Precautions You Can Take While Pairing a Sengled Bulb
- Read through the user manual before starting the pairing process
- Make sure your Sengled bulb is compatible with your smart system or device
- Follow all safety precautions, such as ensuring the power is off before handling any electrical equipment
- Use caution when handling and installing the bulb to avoid breaking or damaging it
- Keep your Sengled bulb and smart system updated to ensure smooth operation and compatibility.
Taking the necessary precautions before pairing a Sengled bulb can ensure a successful and safe installation.
Frequently Asked Questions
Why is Your Sengled Bulb Not Pairing?
- The bulb may not be compatible with your smart system or device
- There could be interference from other devices on the same Wi-Fi network
- The Sengled Home app may need to be updated
- The bulb may need to be reset
- Your Wi-Fi network may not be compatible with Sengled bulbs.
If you encounter any issues during the pairing process, try troubleshooting by checking for compatibility and resetting the bulb before reaching out to customer support for assistance.

How Do You Reconnect Your Sengled Bulb to Wi-fi?
- Open the Sengled Home app on your device.
- Select the bulb that needs to be reconnected.
- Choose “Remove” and confirm.
- Then, select “Add” to re-pair the bulb with Wi-fi.
- Follow the on-screen instructions to complete the repairing process.
If you need to reconnect your Sengled bulb to Wi-fi, simply follow these steps using the Sengled Home app on your device. Keep in mind that you may need to reset the bulb before attempting to reconnect it.
Can You Use Sengled Bulbs Without a Hub?
Sengled bulbs can be used without a hub if they are connected directly to a compatible smart system or devices, such as Alexa or Google Home. However, a Sengled hub may be necessary for certain features and controls, such as scheduling and adjusting brightness levels.
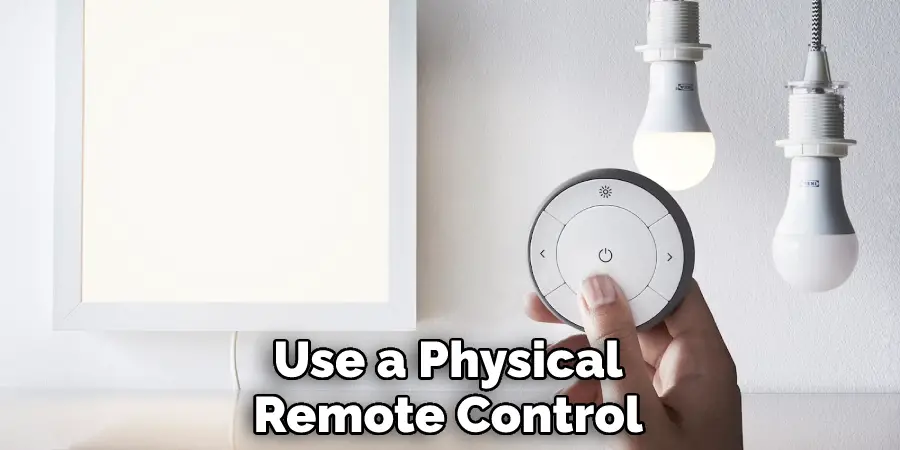
How Do You Change the Color of a Sengled Bulb?
- Use the Sengled Home app on your compatible device or system to adjust the color of the bulb.
- You can also use voice commands with a compatible smart system, such as Alexa or Google Home, to change the bulb’s color.
- Some Sengled bulbs may also have a physical remote control for adjusting colors and brightness levels.
Changing the color of your Sengled bulb can easily be done through the Sengled Home app or with voice commands on a compatible smart system. Depending on the bulb type, you may also have the option to use a physical remote control.
You Can Check It Out To Replace Light in Shower
Conclusion
We at Sengled believe in matching people with the right light for their space. With our simple guide, you can find the perfect LED bulbs for any room in your home. By considering both form and function, you can create a lighting experience that is uniquely yours. Once you’ve found the perfect match, be sure to follow our easy installation instructions so you can start enjoying your new light as soon as possible
Now that you have a better understanding of how to pair a sengled bulb, the process should be quick and easy. Whether you are using the app or manual method, following these steps will ensure that your bulb is successfully paired with your chosen device.
Hopefully, this guide has helped you in your search for the perfect lighting solution for your space. Happy shopping and happy pairing!
You Can Check It Out To Change a Spotlight Bulb With Glass Cover