
Christmas is a time to come together with family and friends and to celebrate the holiday season. Whether you’re decorating your home or going to a Christmas party, adding some festive lights can really add to the atmosphere. If you want to change up the color of your Christmas lights this year, here are some tips on how to recolor christmas lights.
Summary: If you’re looking to spruce up your Christmas decorations this year, but don’t know where to start, here are some tips on how to recolor your Christmas lights. First, decide what color you want to use. If you want to use a traditional color scheme, use white, green, and red. If you want to go with a more modern look, use colors like blue, purple, and yellow. Next, find the right light bulbs. Use incandescent or LED bulbs, whichever is best for your specific set of lights.
Why Should You Recolor Christmas Lights?
While the traditional red and green Christmas lights are undeniably festive, there’s no reason to limit yourself to those two colors. Many people have begun experimenting with other color combinations in recent years, and the results can be truly stunning.
Why not add some extra pizzazz to your holiday decorating with colored Christmas lights? With so many different colors to choose from, the possibilities are virtually endless. You might be surprised at just how beautiful they can be.
How to Recolor Christmas Lights Step by Step Guide
Looking to add some festive flair to your home this holiday season? Why not try recoloring your Christmas lights! It’s a quick and easy project that can really make a big impact. Plus, it’s a great way to use any leftover lights you may have from previous years. Here’s how to do it:
1. Gather Your Supply
In order to make your own colored Christmas lights, you will need to gather a few supplies. You will need some Christmas lights and a coloring agent. The coloring agent can be something like food coloring or spray paint. Just make sure that whatever you use is safe for plastics.
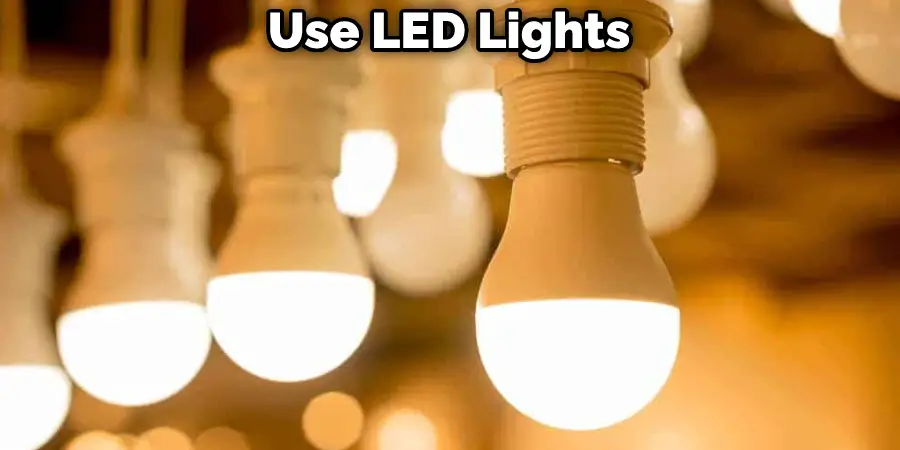
2. Choose the Right Lights
Not all Christmas lights are created equal. In fact, some are better suited for recoloring than others. If you’re using LED lights, for example, you’ll want to avoid using anything that could damage them. The same goes for any lights that are particularly delicate or expensive. When in doubt, it’s always best to err on the side of caution and test a small section before proceeding.
3. Remove the Old Paint
If you’re working with lights that have already been colored, then you’ll need to remove the old paint before applying the new color. This can be done with anything from a putty knife to sandpaper. Just make sure to go slowly and be careful not to damage the lights.
4. Tape Off the Areas that You Don’t Want to Be Colored
Once you’ve removed the old paint, it’s time to tape off the areas that you don’t want to be colored. This is important if you work with multiple colors or want a precise design. Use painters or Masking tape to create clean lines and avoid accidental coloring.
5. Paint the New Color On
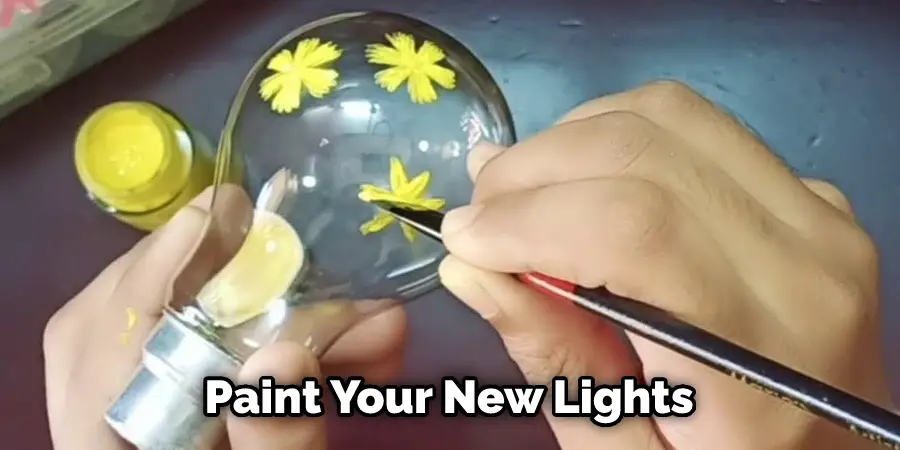
Now you get to paint your new lights! If you’re using multiple colors, make sure to wait for each one to dry before moving on to the next. Depending on the type of paint you’re using, this could take a few hours to a few days.
6. Let Them Dry
Once you’ve finished painting, it’s time to let the lights dry. This is an important step, as rushing could result in smudging or other damage. Allow the lights to dry for at least 24 hours before moving on to the next step.
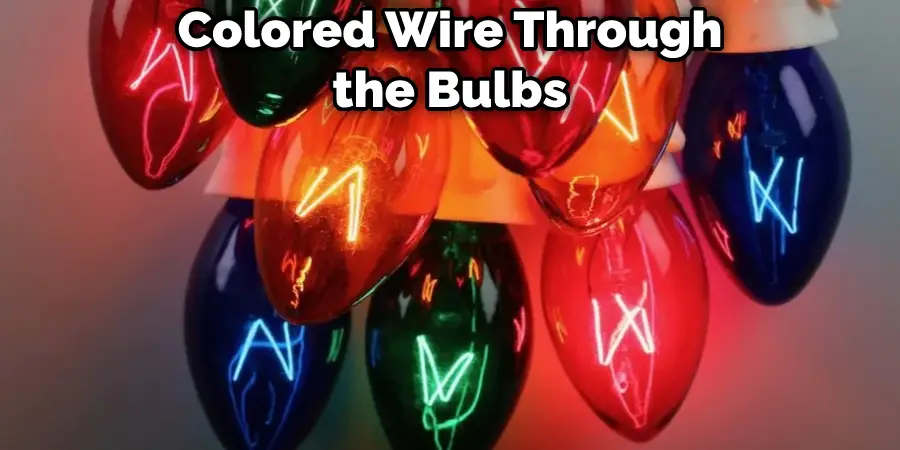
7. Put Them Back Together
Once the paint is dry, you can put the lights back together. Begin by threading the wire through the bulbs. Make sure each bulb is secure before moving on. Once all the bulbs are in place, twist the wires together, and your recolored Christmas lights are ready to be hung up!
8. Hang Them Up And Enjoy!
The final step is to hang up your newly recolored lights and enjoy! Whether you’re using them to decorate your home or add some extra festive flair to your Christmas tree, they will brighten up your holiday season. So go forth and spread some holiday cheer with your one-of-a-kind lights. Merry Christmas!
That’s it! You’ve now learned how to recolor christmas lights. By following these simple steps, you can create your own unique holiday decorations. So get creative and have fun!
You Can Check It Out to Make Clear Tail Lights
How to Choose the Right Colors for Your Christmas Lights
The holidays are a time for festivity, and one of the most important parts of creating a festive atmosphere is choosing the right Christmas lights. With so many options available, it can be difficult to know where to start. However, following a few simple guidelines can easily find the perfect lights for your home.
First, consider the overall look you are trying to achieve. For example, do you want a traditional look with classic red and green lights, or are you looking for something more unique? Once you have an idea of the overall aesthetic you’re going for, you can narrow down your options and start shopping around.
Another important factor to keep in mind is the placement of your lights. Indoor lights will require different brightness levels than outdoor lights, so make sure to choose bulbs specifically designed for your intended use. By taking the time to find the right Christmas lights, you can create a holiday display that is sure to dazzle your friends and family.

How to Create Customized Christmas Lights
Are you sick of the same old Christmas lights year after year? If you’re looking for a way to add some extra holiday cheer to your home this year, why not try creating your own customized Christmas lights? With a little creativity and some basic supplies, you can easily create unique lights that will make your home stand out from the rest. Here’s how:
First, gather your supplies. You’ll need a strand of clear Christmas lights, some colored cellophane, scissors, and tape. Once you have all of your materials, cut the cellophane into small squares. Make sure that each square is big enough to cover one of the bulbs on the strand of lights. Next, cut a small slit in the center of each cellophane square. Wrap the cellophane around one of the lights and tape it in place. Continue until all of the lights are wrapped.
Next, randomly place the cellophane squares over the bulbs on the strand of lights. Once all of the bulbs are covered, turn on the lights to see your handiwork in action! The multicolored light shining through the cellophane will create a beautiful and festive effect.
If you want to take things one step further, you can also use other materials to decorate your light strand. Try experimenting with different colors and patterns to see what looks best. You can also use glitter or sequins to add some extra sparkle. Just be sure to use non-flammable materials, so your lights are safe.
With a little bit of creativity, you can easily create personalized Christmas lights that will add some extra holiday cheer to your home. So get started today and see what you can come up with! Keep reading for more information about how to recolor christmas lights.
You Can Check It Out To Make Christmas Light Curtain
How Can I Use a Hair Dryer to Recolor My Christmas Lights?
If your Christmas lights have started to look a little dull, you can easily give them new life with a hair dryer. Just hold the hair dryer up to the light and watch as the heat causes the color to change. You can experiment with different colors and even create unique patterns.
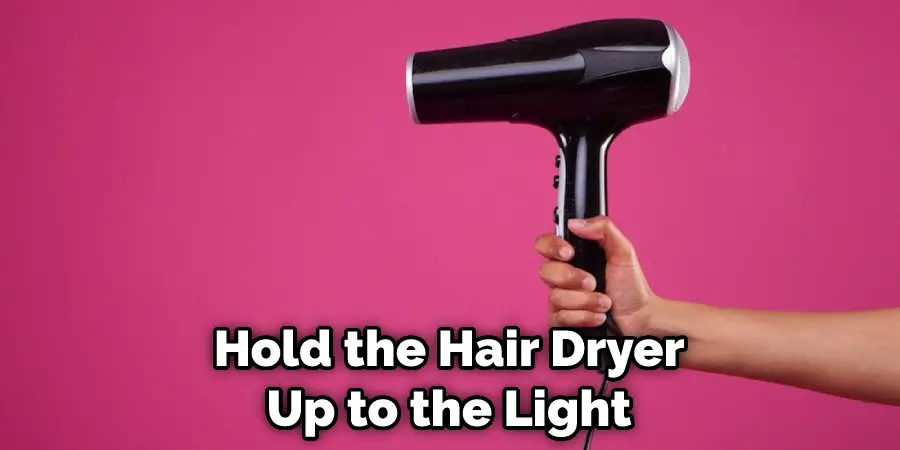
And best of all, this method is completely safe and won’t damage the lights. So if your Christmas lights are looking a little lackluster, grab a hair dryer and start playing with color. You’ll be amazed at the results.
Should I Use Paint or A Dye to Recolor My Christmas Lights?
One of the great joys of the holiday season is putting up festive lights. But after a few years, even the most well-loved lights can start to look a little dull. So if your lights are in need of a makeover, you may be wondering whether to use paint or dye. Here are a few things to consider before making your decision.
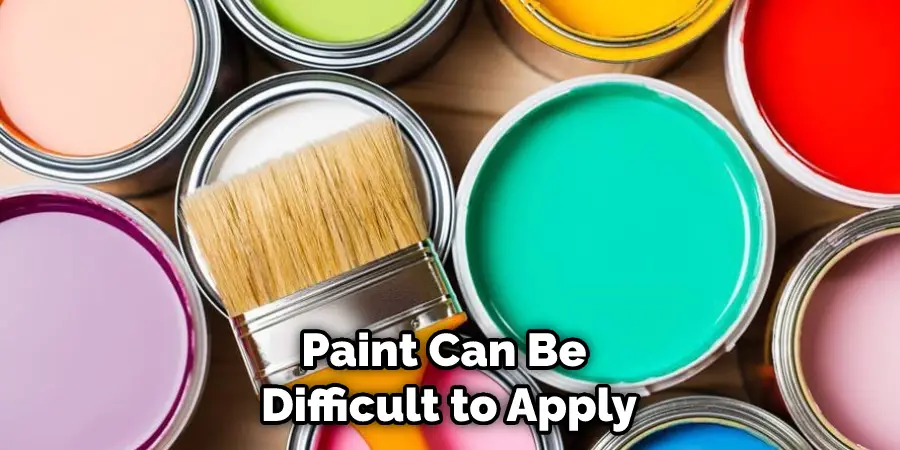
Paint is generally more durable than dye, so it’s a good choice if you want your lights to last for many seasons. However, paint can be difficult to apply evenly, and it can also be tricky to get the right color match. Dye, on the other hand, is easier to apply and provides a more consistent color. But dyes are not as durable as paint, so they may not last as long.
Another factor to consider is the type of light you’re using. The paint may be your best bet if you have clear or white lights. But dye may be a better option if you’re using colored lights since it won’t cover up the existing color.
Ultimately, the best way to decide whether to use paint or dye is to experiment with both and see what works best for you. There’s no wrong answer – it’s all about what looks best to you. So have fun and get creative!
Frequently Asked Questions
Can Christmas Lights Be Painted?
Yes, Christmas lights can be painted! The process is relatively easy and only takes a few hours. All you need are some basic supplies, including painter’s tape, cans of paint, brushes, and an old T-shirt or blanket to cover the light while it’s being painted. Start by painting the entire light white with a coat of primer. Once that’s dry, add your desired color using either latex or regular paint. Be sure to allow each coat to fully dry before applying the next one in order to avoid clogging up your brush tips. Finally, use a towel or rag to wipe down any excess paint residue so that it doesn’t damage your light later on. Congratulations – you now have personalized Christmas Lights!
What Kind of Paint Do You Use to Paint Light Bulbs?
There are a few different types of paint that can be used to paint light bulbs. The most popular type is probably acrylic, which is water-based and relatively easy to apply. It has a matte finish and can last up to six years without fading or peeling.
Other types of paints that can be used for this purpose include latex, enamel, and oil-based paints. These solvents tend to dry quicker than acrylics do and may require more frequent reapplication in order for the lights to look their best.
Is It Safe to Spray Paint Light Bulbs?
as the safety of any specific spray paint product depends on a number of factors, including the type of light bulb it is intended to repair. That being said, most spray paint products are designed for use on outdoor or brightly lit surfaces and should not be used on light bulbs that are located inside or near a dwelling. If you are unsure about the safety of a particular spray paint product, always test it first in a small area before using it on your entire light bulb.
Can You Spray Paint a Light Bulb Black?
In general, however, you should not be able to spray paint a light bulb black as this could damage the electrical components inside. If you do happen to succeed in painting a lightbulb black, make sure that you are using an appropriate solvent or degreaser to remove any residual paint before reinstalling the original fixture.
Conclusion
Christmas is coming, so it’s time to deck the halls – and your house – with lights. While traditional green and red lights are always festive, why not add a little pizzazz by mixing up the colors? With just a few simple steps, you can change the color of your holiday lights in no time. So get creative this year and light up your home in style! Thanks for reading our post about how to recolor christmas lights.