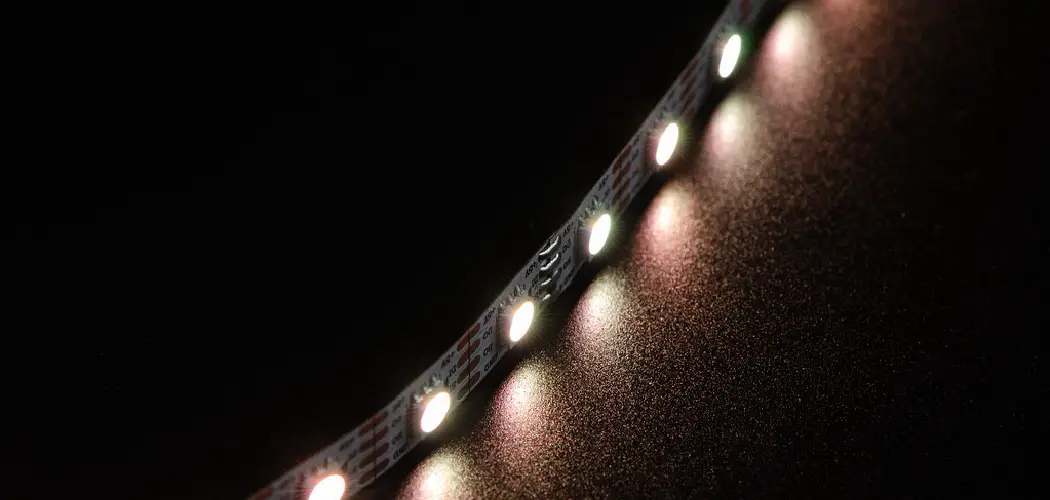
Every time I need to make a quick repair to one of my LED light strips, I seem to have trouble getting the connections back together. The adhesive on the back of the strip seems to wear off after just a few uses, and the connector pins are so tiny that they’re easy to lose track of. In this blog post, I’ll show you how I connect my LED strips after cutting them without having any problems. Stay tuned!
If you’ve ever tried to reconnect a section of an LED strip after cutting it, you know that it can be a tricky process. The electrical contacts on the strip are extremely sensitive, and if they’re not reconnected properly, the whole strip might not work. In this blog post, we’ll show you how to reconnect LED strips after cutting them without causing any damage. Stay safe and have fun with your LED projects!
Things You Should Keep in Mind While Reconnecting Led Strips After Cutting
1. Test the Connection Before Applying Power
Before power is applied, use a multimeter to test the connection and ensure that it is properly made. This will prevent any damage to the LED strip or electrical components. So make sure to double-check your work before turning on the power.
2. Use Heat Shrink Tubing or Electrical Tape
To secure the connection and prevent any short circuits, use heat shrink tubing or electrical tape to cover the exposed wires. This will also offer added protection against moisture and other environmental factors.
3. Use Solder for a More Permanent Connection
If you have the necessary tools, soldering offers a more permanent and reliable connection compared to using wire nuts or other methods. However, make sure to use the proper soldering technique to avoid damaging the LED strip or causing a short circuit.
4. Use Butt Connectors for Easier Reconnection
Instead of splicing the wires directly, using butt connectors can make the reconnection process easier and neater. This also allows for the possibility of disconnecting and reconnecting the LED strip in the future if needed.
5. Consult an Electrician if You Are Unsure
If you are unsure about making the proper connection or feel uncomfortable attempting it yourself, it is best to consult an electrician for help. Safety should always be the top priority when working with electricity.
Things You May Need to Reconnect Led Strips After Cutting
- Wire Strippers
- Soldering Iron
- Heat Shrink Tubing
- Electrical Tape
- LED Strip Connectors (if applicable)
How to Reconnect Led Strips After Cutting in 6 Easy Steps
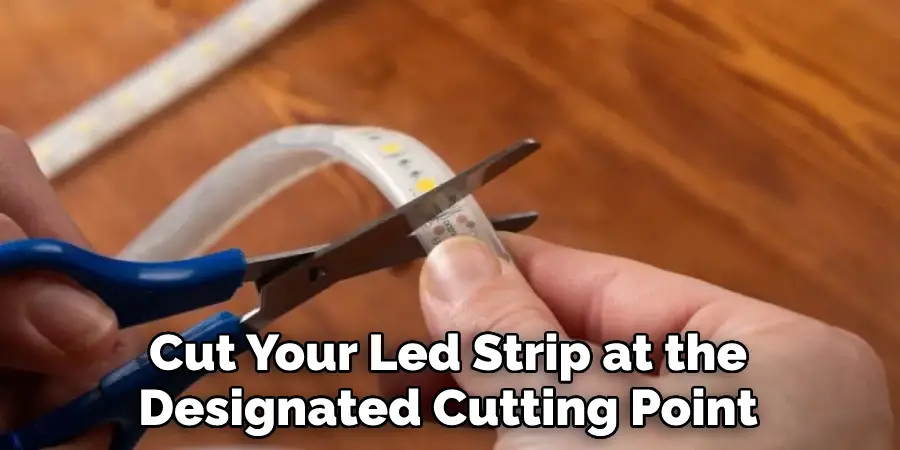
Step 1: Cut Your Led Strip
Using a pair of scissors or a specialized led strip cutting tool, cut your led strip at the designated cutting point indicated by the small copper dots. So make sure you cut at the right place. Also, be careful not to damage any of the surrounding lands or circuitry.
Step 2: Strip the Wires
On both sides of the cut, strip about 1/8 inch of insulation off the wire using wire strippers or a knife. It will ensure a proper connection when reconnecting the cut ends. So you have to make sure to strip both sides of the cut.
Step 3: Twist Wires Together
Twist the exposed wires on both sides of the cut together using your fingers or pliers, making sure they are tightly twisted and secure. It can be very tricky to get the right tension on the twisted wires, so make sure they are not too loose or too tight.
Step 4: Solder Wires Together
Using a soldering iron, heat up the twisted wires and apply solder to securely join them together. This will ensure a strong and lasting connection. Make sure not to use too much solder, or it may create a short circuit.
Step 5: Insulate Wires
In order to prevent any potential short circuits, use electrical tape or a shrink tube to cover the soldered connection and insulate the wires. Make sure it is wrapped tightly and securely. Also be careful not to cover any of the surrounding lands or circuitry.
Step 6: Test Your Connection
Before placing back in your desired location, test your reconnected led strip to make sure it is functioning properly. If it does not work, go back and double-check all steps were properly completed and try again.
Following these steps will ensure a successful and secure reconnection of your cut-led strip.
Some Precautions You Must Take to Reconnect Led Strips After Cutting
1. Make Sure You Have the Correct Materials
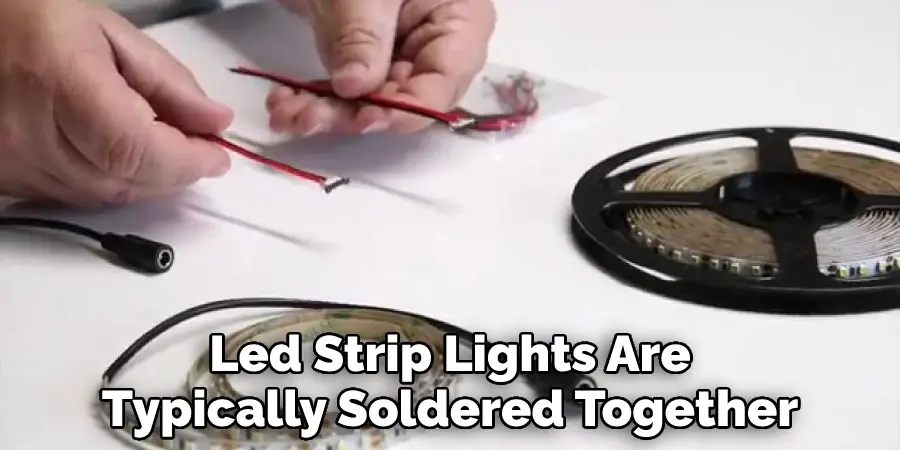
LED strip lights are typically soldered together, so the first step is to make sure you have the necessary materials for soldering. This includes a soldering iron, solder wire, and heat shrink tubing.
2. Cut in the Correct Location
Before cutting your LED strip light, it is important to measure and mark where you want to cut. This will ensure that you have enough room for soldering and reconnecting the strips. So make sure to cut in the designated “cut line” marked on the strip.
3. Solder and Insulate Properly
Once you have cut the strip and gathered your materials, it is time to solder the strips back together. First, align the copper pads on each side of the cut and then apply heat to them with the soldering iron while adding solder. After soldering, cover the connection with heat shrink tubing to ensure it is insulated and protected.
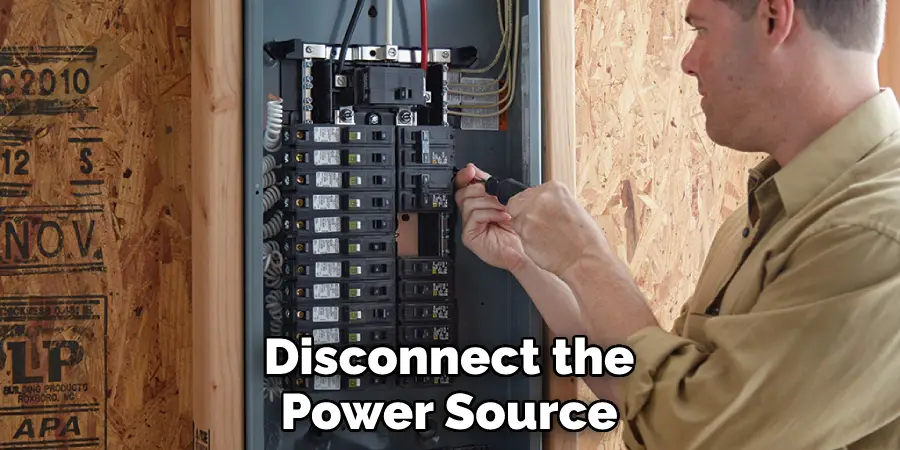
4. Turn Off the Power
Before beginning any work on LED strip lights, make sure the power is turned off to avoid potential electric shock or damage to the strips. It is always better to be safe than sorry. So make sure to turn off the power before starting.
5. Consult an Electrician if You Are Unsure
If you are unsure about making the proper connection or feel uncomfortable attempting it yourself, it is best to consult a licensed electrician to ensure the job is done safely and correctly. It may cost more money, but it is worth it for your safety and the functionality of your LED strip lights.
You Can Check It Out to Reuse Led Strips
Frequently Asked Questions
How Do I Determine Which Wires to Connect for Reattachment?
First, identify the positive and negative wires on both ends of the cut strip. This can typically be done by locating the thicker wire (positive) and a thinner wire (negative). Then, match the positive wire on one end to the positive wire on the other end and the same for the negative wires.
Do I Need Soldering?
Soldering is not always necessary for reconnecting LED strips, as there are connectors and clips available for purchase that allow for a secure connection without soldering. However, soldering can provide a more permanent and reliable connection.
Are There Any Safety Precautions to Keep in Mind?
Before beginning, ensure that the LED strip and surrounding area are not wet or exposed to water. It is also important to disconnect the power source before making any connections to avoid electric shock. Additionally, be careful not to apply too much pressure when attaching wires, as this can damage the strip. And lastly, make sure to properly insulate any connections to prevent short circuits.
Conclusion
After cutting your LED strips, it’s important to know how to reconnect led strips after cutting, in order to maintain a strong electrical connection. You can use either a soldering iron or a welding machine, although a soldering iron is usually the better choice for most people. When you’re ready to reconnect your LED strips, simply follow the steps outlined in this blog post, and you’ll be up and running again in no time!
Whether you’re interested in under-cabinet lighting, want to add a unique flair to your vehicle, or something else entirely, LED strips are a great way to go. And, if you ever need to cut them to size, it’s not as difficult as you might think to reconnect the severed end. All you need is a few tools and materials, and you’ll have your LED strip lights back up in no time. Thanks for reading!
