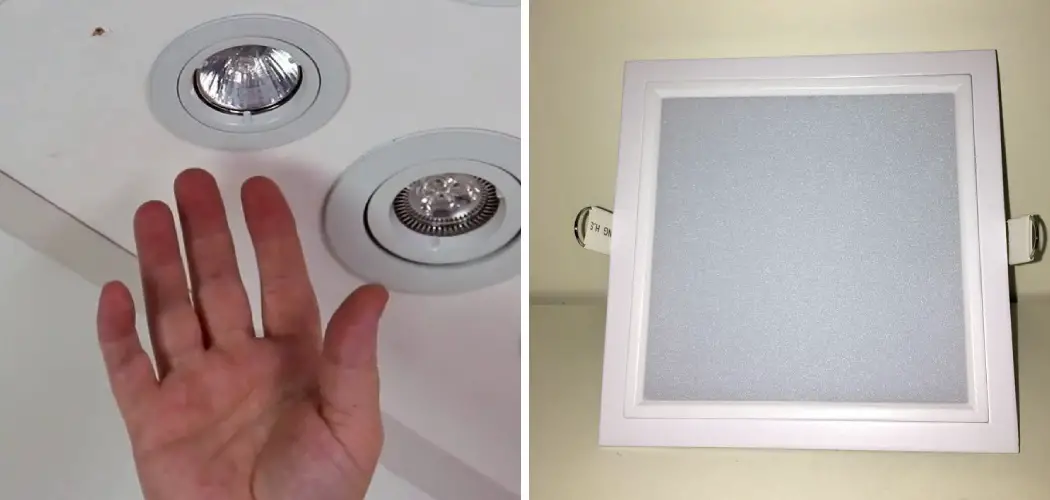
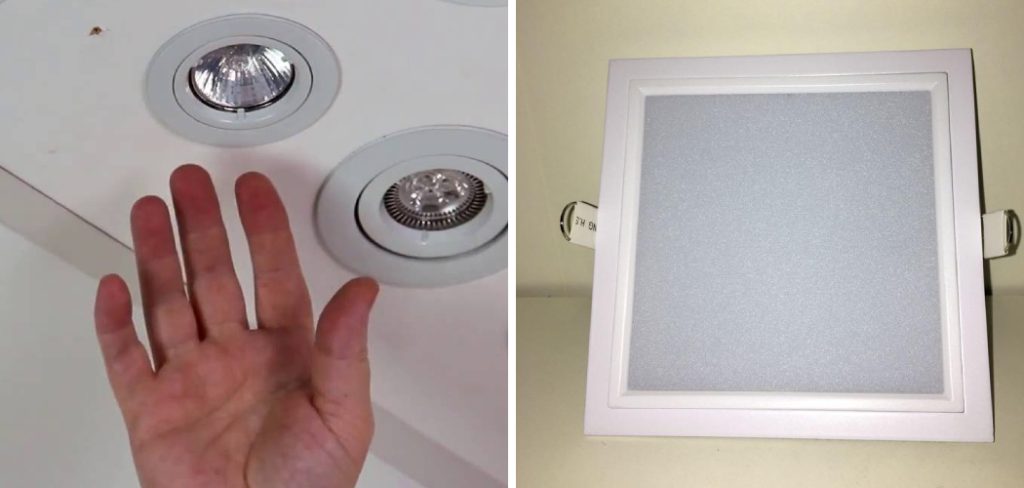
Whether you’re remodeling your home or just need to replace a light bulb, knowing how to remove ceiling downlights is a helpful skill to have. Ceiling downlights are recessed lights that are installed in the ceiling, and they come in a variety of shapes and sizes.
In most cases, removing ceiling downlights is a simple process that only requires a few tools. Keep reading to learn more!
Can You Remove the Ceiling Downlights?
Many people choose to have ceiling downlights installed in their homes as a way to add extra light to a room. However, these fixtures can also be a source of frustration, as they can be difficult to clean and difficult to reach. If you find yourself in this situation, you may be wondering if you can remove the ceiling downlights.
The answer is yes, but doing so may require the help of a professional. Ceiling downlights are typically installed using special brackets that are mounted to the joists in your ceiling. These brackets can be tricky to remove, and if they are not removed properly, they may damage your ceiling.
As a result, it is best to leave this job to a professional electrician. Once the brackets have been removed, the downlights can simply be unscrewed from the ceiling and replaced with new ones.
Why Should You Remove Ceiling Downlights?
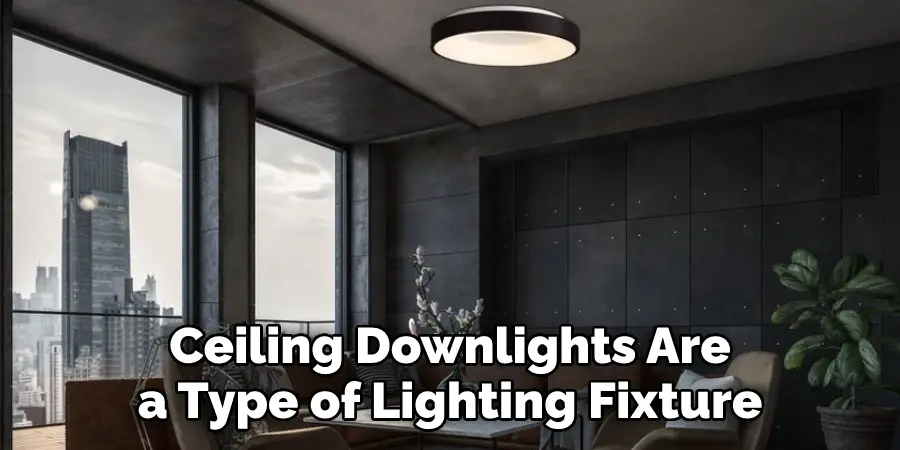
Ceiling downlights are a type of lighting fixture that is typically installed in the center of a room. While they can provide adequate illumination for many tasks, they can also create several problems. First, downlights can produce a lot of heat, making it difficult to keep a room comfortable.
Second, they can cast harsh shadows, making it difficult to see clearly. Finally, downlights can be a fire hazard if they are not properly installed. For these reasons, it is often best to remove ceiling downlights and opt for another type of lighting fixture.
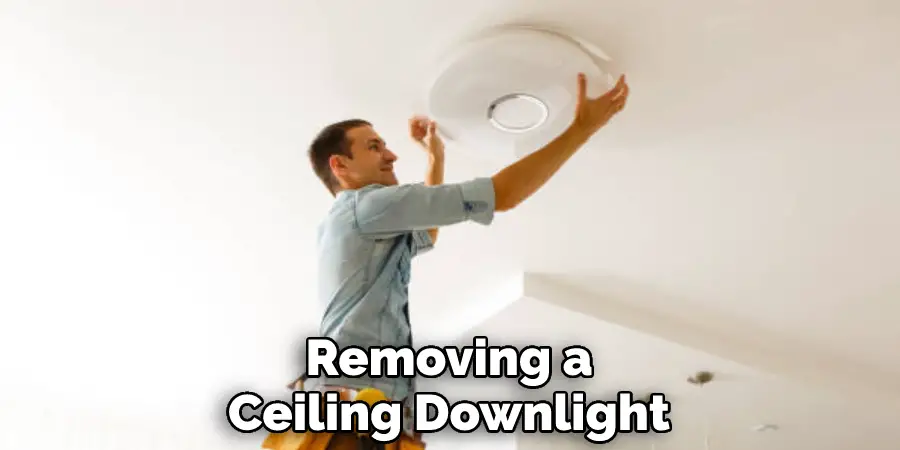
7 Steps to Follow on How to Remove Ceiling Downlights
1. Safety First
Before beginning any work, it is important to take safety precautions. Be sure to turn off the power to the downlights at the circuit breaker before starting any work.
If you are unsure of which breaker controls the downlights, you can use a circuit tester to determine which breaker needs to be turned off. Additionally, it is a good idea to wear safety goggles and a dust mask to avoid getting debris in your eyes or lungs.
2. Remove the Light Bulbs
Once the power is off, you can remove the light bulbs from the downlights. To do this, twist the bulbs until it comes away from the socket. Make sure to be gentle and careful when doing so, as breakages can occur if too much force is used.
3. Remove the Trim Rings
The trim rings are the metal or plastic pieces that surround the light bulb socket. To remove them, gently pry them away from the ceiling with a flathead screwdriver or another tool. Once the trim rings are removed, you should be able to see the electrical wires that connect the downlight to the power supply.
4. Disconnect the Wires
To disconnect the wires, you will need to remove the wire nuts that secure them together. Once the wire nuts are removed, you can pull the wires apart and set them aside.
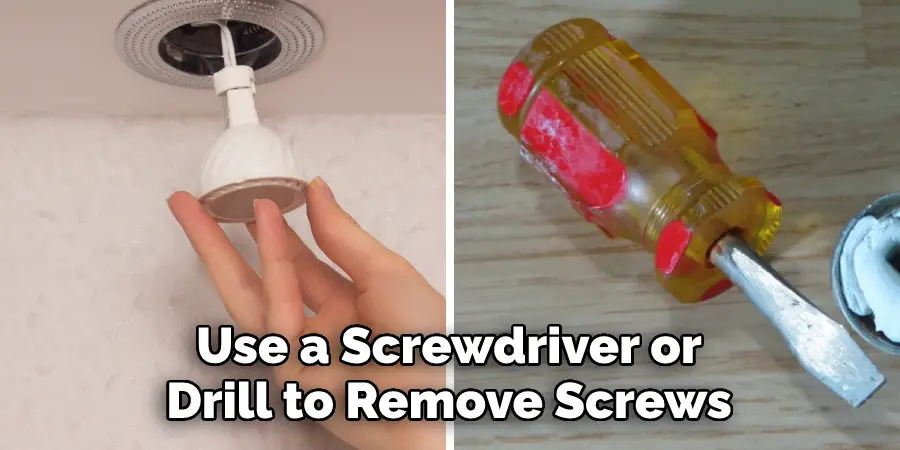
5. Remove the Downlight Housing
The downlight housing is typically held in place by two screws. Use a screwdriver or drill to remove these screws and then pull the housing away from the ceiling. Be careful not to damage any of the surrounding drywall or insulation when removing the housing.
6. Clean Up Any Debris
Once the downlight housing has been removed, take a moment to clean up any debris that may have fallen into your workspace. This includes dust, insulation, wire nuts, etc. It is important to make sure that your workspace is clean before proceeding to step seven.
7. Install Your New Fixture
Now that your old fixture has been removed, you can install your new one in its place. Be sure to follow all manufacturer instructions when doing so, and take care not to damage any of the surrounding materials. Once your new fixture has been installed, you can restore power to the circuit breaker and enjoy your newly renovated space!
That’s it! You’ve now learned how to remove ceiling downlights. With the right tools and a bit of patience, you can quickly and easily update your home with stylish new lighting options. So what are you waiting for? Get out there and start re-designing!
Things You Need to Know Before Removing Ceiling Downlights
When it comes to home renovations, ceiling downlights are often one of the first things to go. And for a good reason – they can be an eyesore and make a room feel dated. But before you start unscrewing those downlights, there are a few things you need to know.
First of all, ceiling downlights are not always easy to remove. They may be screwed into place, or they may be held in place with springs or clips. If you’re unsure how your downlights are attached, it’s best to consult an electrician before proceeding.
Once you’ve removed the downlights, you’ll also need to patch up the holes left behind. This is usually a simple matter of filling the holes with spackle and then painting over them. But if your downlights were attached with springs or clips, you may need to do a bit more patching.
Again, it’s best to consult an electrician if you’re not sure how to proceed. However, with a little bit of knowledge and care, removing ceiling downlights can be a quick and easy way to update your home’s look.
5 Benefits of Removing Ceiling Downlights
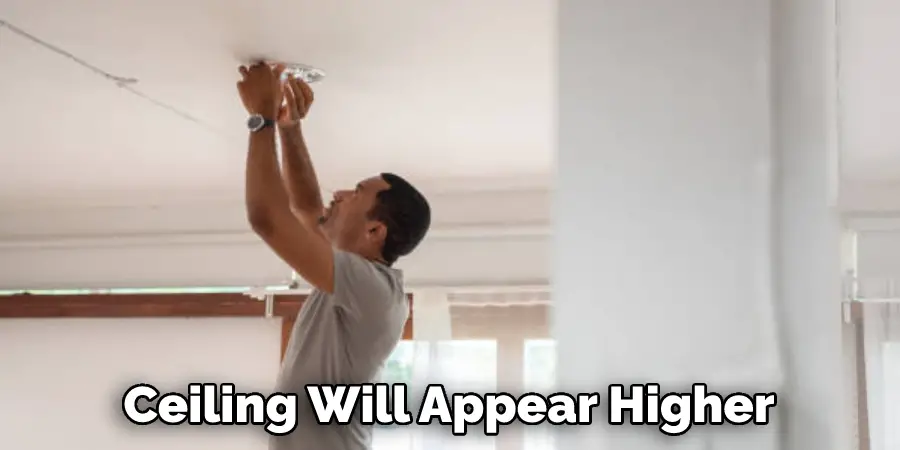
1. Improved Aesthetics
The first benefit of removing ceiling downlights is improved aesthetics. When you remove these lights, your ceiling will appear higher and more open, giving your home a more spacious and luxurious feel. Additionally, removing downlights can also help create a more cohesive design in your home, allowing you to control the lighting in each room better.
2. Increased Energy Efficiency
Another benefit of removing ceiling downlights is increased energy efficiency. These lights are often some of the most energy-hungry in your home, so removing them can help to reduce your energy consumption and lower your utility bills. Additionally, by reducing your energy consumption, you’ll also be doing your part to help the environment.
3. Improved Lighting Quality
In addition to being energy efficient, removing ceiling downlights can also improve the quality of lighting in your home. These lights often produce a harsh, artificial light that can be unflattering and harsh on the eyes. By removing them, you’ll be able to choose softer, more flattering lighting fixtures that will make your home more inviting and comfortable.
4. Reduced Maintenance Costs
Another benefit of removing ceiling downlights is reduced maintenance costs. These lights require regular cleaning and replacing bulbs, so you’ll save money on these costs over time by removing them. Additionally, if any of these lights break or stop working properly, they can be difficult and expensive to repair or replace.
5. Increased Safety
Finally, removing ceiling downlights can also increase safety in your home. These lights can pose a serious fire hazard if they are not properly maintained, so by removing them, you’ll be able to reduce this risk.
Additionally, if any of these lights break or fall, they can cause serious injuries, so removing them from your home is best to avoid this potential danger.
It’s clear that there are many benefits to removing ceiling downlights from your home. From improved aesthetics and increased energy efficiency to improved lighting quality and increased safety, you can enjoy a range of advantages when you take this step. So why wait? Start re-designing your home today!
Some Common Mistakes People Make When Trying to Removing Ceiling Downlights
One of the most common mistakes people make when removing ceiling downlights is not using the proper tools. A screwdriver will not do the job; a specifically designed removal tool can be purchased at any hardware store.
Another mistake people make is not being careful enough and damaging the surrounding area. It’s important to take your time and be gentle, so you don’t end up with a big hole in your ceiling. Finally, people often underestimate how difficult it is actually to remove the downlight.
It can be very tricky, especially if it’s been in place for a long time. You could easily break the light or even injure yourself if you’re not careful. So, if you’re not confident in removing a ceiling downlight, it’s best to leave it to the professionals.
Frequently Asked Questions
How Do You Get a Downlight Bulb Out?
It can be tricky to get a downlight bulb out, especially if it’s been in there for a while and the screws are tight. Here are a few tips:
-Use a blunt object to pry off the top of the light bulb.
-If the screws are too tight, use a drill bit to enlarge the holes and then use a wrench to unscrew the light bulb.
-Be careful not to scratch the inside of the light bulb or the casing.
Can You Change Led Downlights Yourself?
Yes, it is possible to change a led downlight yourself if you have the required tools and knowledge. To do this, you will need:
- A light switch with a GFI (Ground Fault Interrupter) feature.
- A power drill with a bit that is appropriate for the size of the light switch.
- A Phillips head screwdriver.
- A wire stripper/cutter.
- A replacement light bulb.
- Safety goggles or eyeglasses.
- A bucket or pail.
- Sandpaper (optional).
- Lubricant (optional).
- Clean cloths (optional).
- Protective coatings (optional).
- Tape measure or ruler (optional).
- Access to the exterior of the downlight housing.
- Time.
Do I Need an Electrician to Change Downlights?
Most likely not. Most downlights can be replaced with a standard light bulb and a Phillips screwdriver. Here are some tips on how to do it:
- Remove the light fixture by unscrewing the knobs or screws that hold it in place. If the fixture has multiple parts, take note of which part goes where so that you can replace it correctly the next time.
- Remove the light bulb by unscrewing it from the socket. Make sure to keep track of the direction in which the wires are twisted – these will be needed later on when wiring up the new light bulb.
- Replace the light bulb with a standard light bulb by reversing these steps. Make sure to reconnect all of the wires in the correct order, and be careful not to kink or cross any wires while rewiring.
What Are the Different Types of Downlights?
There are a variety of different types of downlights, each with its own unique features and benefits. Some common types of downlights include:
- LED downlights: LEDs are a popular choice for downlights because they are energy-efficient and offer a number of benefits, such as high color accuracy and low light levels.
- Halogen downlights: Halogen downlights are less expensive than LED downlights but may not offer the same level of color accuracy or brightness. They also tend to produce more heat than LED downlights, which can be an issue in colder climates.
- High-pressure sodium (HPS) downlights: HPS downlights are popular choices for businesses that want a bright but warm light. They typically have a wider range of brightness than other types of downlights and are capable of producing a wide range of colors.
- Compact fluorescent (CFL) downlights: CFLs are becoming increasingly popular because they are energy-saving and offer similar performance to traditional incandescent light bulbs, with the added benefit of being environmentally friendly.
- Xenon lights: Xenon lights are a special type of LED Downlight that produces a brighter light than other LED Downlights and is often used in commercial applications where high brightness and color accuracy are required.
Conclusion
Ceiling downlights are a great way to add extra light to any room in your home. However, over time they may need to be replaced due to wear and tear or simply because you’re ready for a change. Luckily, removing ceiling downlights is easy if you have the right tools and know what steps to follow.
Keep this guide handy next time you remove your ceiling downlights! Thanks for reading our post about how to remove ceiling downlights.