
Removing a lightbulb from its socket can be a daunting task, especially if it is a track light bulb. In this blog post, we will provide you with an easy step-by-step guide on how to remove track light bulbs. So, whether you are changing a lightbulb or just cleaning your tracks, follow these instructions for an easy job.

Track light bulbs can be notoriously difficult to remove, especially if they have been in the fixture for a long time. We will provide you with a few tips on removing track light bulbs without damaging them or the fixture. Stay safe, and have fun!
How Do You Remove a Halogen Bulb from Track Lighting?
Removing a halogen bulb from track lighting is a simple task. However, safety should always be your first priority when dealing with electricity. Before you attempt to remove the bulb, make sure that you turn off the power source so as not to shock or injure yourself.
- Begin by locating the mounting clips on either side of the lamp holder at the end of your track lighting fixture. These are typically thin metal pieces shaped like clamps and secured by 2 small screws on each side of the lamp holder.
- Unscrew these screws using an appropriate size screwdriver and slide off the mounting clips along with their supports. This will expose two flat tabs which need to be depressed in order to release the lamp holder from the track lighting fixture.
- Depress these tabs by pressing them down with your fingers or a small screwdriver. Once you’ve done this, the lamp holder should come away from the track lighting easily and you will be able to unscrew the halogen bulb from inside the lamp holder.
- If you have difficulty unscrewing the bulb, do not use excessive force as this may damage it and create a fire hazard. You can purchase removal tools for halogen bulbs which will make it easier to unscrew them without breaking them.
10 Step Guide on How to Remove Track Light Bulbs
Step 1: Unscrew the Cap at the End of the Track Light Bulb:
Before beginning to remove a track light bulb, it is important to ensure that the power is turned off. Unscrew the cap at the end of the track light bulb by turning it counterclockwise. This will release any pressure from the bulb and make removal easier. Although the bulbs are relatively small, care should still be taken during removal.
Step 2: Separate the Socket from the Base:
After unscrewing the cap, carefully separate the socket from the base of the track light fixture. Be sure to hold onto both pieces so as not to let them drop or be damaged during removal. While pulling the socket away from the base, gently wiggle or rotate it to decrease any resistance. Make sure that the base is facing away from you as you do this to minimize any unexpected contact with electricity.
Step 3: Pull Out Any Remaining Pieces:
Once you have separated the socket from the base, look for any other screws or parts that need to be removed. If there are any, unscrew them and carefully pull out the remaining pieces. Try to avoid touching the metal portions of the track light as much as possible. If you need to, use a pair of gloves or a cloth to grasp them.
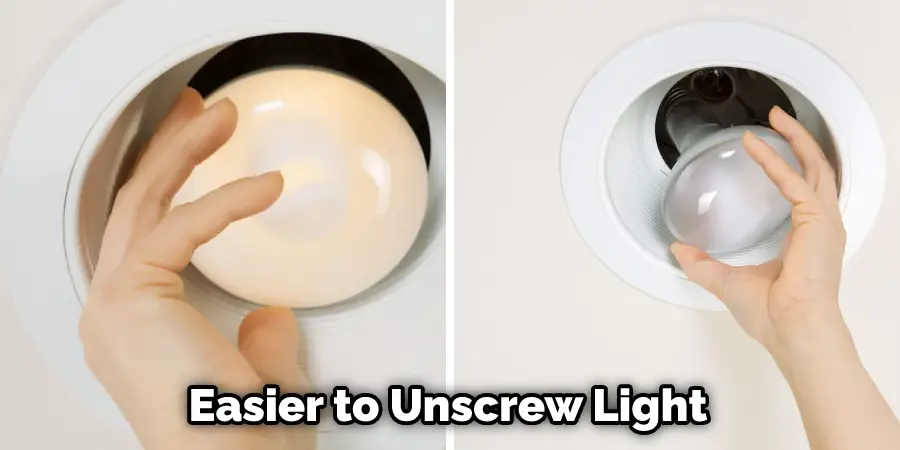
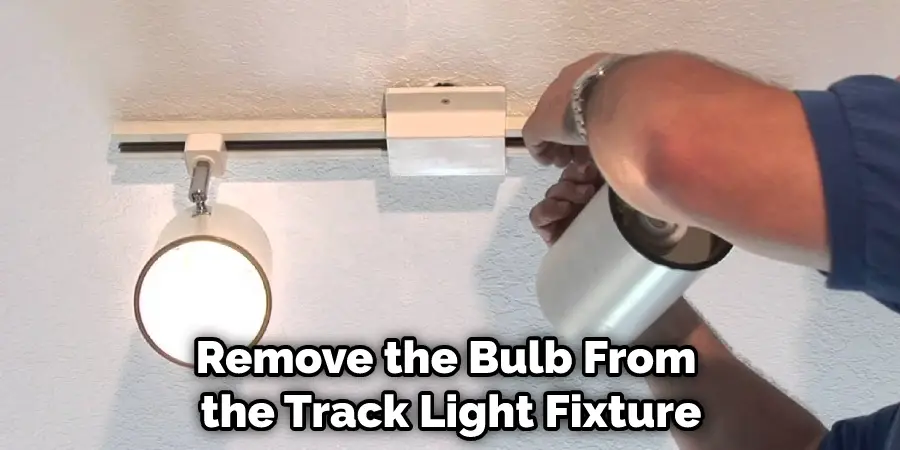
Step 4: Remove the Bulb:
Once all of the necessary parts have been removed, you can now remove the bulb from the track light fixture. Hold onto it firmly and turn it counterclockwise until it is loose enough to be pulled out by hand. While doing this, make sure not to touch the glass portion of the bulb with your fingers, as it can be very fragile. Make sure that you dispose of the bulb properly, as it can be a potential fire hazard.
Step 5: Clean Up Any Debris:
After removing the bulb from its socket, be sure to clean up any debris that may have fallen into or around the track light fixture during removal. This will help ensure that your new bulb fits properly when it is being installed. While cleaning up, also take the opportunity to inspect the light fixture for any potential damage that may have occurred during removal. If any is found, it may need to be fixed before the new bulb can be installed.
Step 6: Install New Bulb:
Now that the old bulb has been removed, it is time to install the new one. Hold onto the new bulb and insert it into the socket until it fits securely. Try to avoid touching the glass portion of the bulb while doing this, as it can be very fragile. Once it is in place, make sure to screw on the cap at the end of the track light bulb to hold it in place. Be sure to do this securely so that it does not become loose during operation.
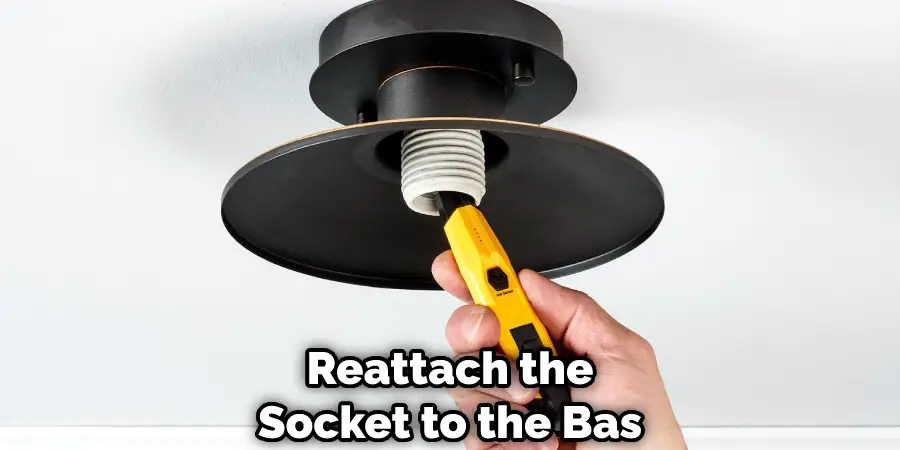
Step 7: Reattach Socket to the Base:
Once the new bulb has been installed, reattach the socket to the base of the track light fixture. Make sure that all screws are secure and that there is no risk of loose wiring or electrical shorts. While doing this, be sure to avoid touching any metal parts of the track light as they can be electrified. If necessary, use gloves or a cloth to help fasten the socket. Although the bulbs are relatively small, care should still be taken during reassembly.
Step 8: Carefully Replace Any Parts Removed:
After reattaching the socket to the base, carefully replace any parts you may have removed, such as screws or other pieces during removal. Be sure to check for any damage or wear on these parts before replacing them in order to ensure a secure fit. While doing this, make sure to avoid touching any metal parts of the track light, as they can be electrified. Once all pieces are back in place, the track light can be tested for proper operation.
Step 9: Securely Screw on the Cap:
Once all parts have been replaced, securely screw on the cap at the end of the track light bulb. Make sure that it is tightened firmly to keep any moisture from getting into the socket or causing a short circuit. If it is not tightened firmly enough, it could cause the bulb to become loose during operation and possibly cause a fire hazard. Make sure
Step 10: Turn Power Back On:
Finally, turn the power back on and test out your new track light bulb to make sure it is working properly. If everything looks good, then you can enjoy your newly installed light fixture. Make sure to turn off the power before attempting to remove or install any other track light bulbs. Although it may seem like a tedious task, following these steps will help ensure that you get the best results possible.
By following these steps, you can easily remove track light bulbs and replace them with new ones. Be sure to always take extra precautions when working with electricity, as even the smallest mistake could result in serious injury or property damage. Also, remember to turn off any power before attempting any type of repair or installation involving electrical components.
You Can Check It Out To Install Led Lights In A Drop Ceiling
7 Things to Consider When Removing Track Light Bulbs
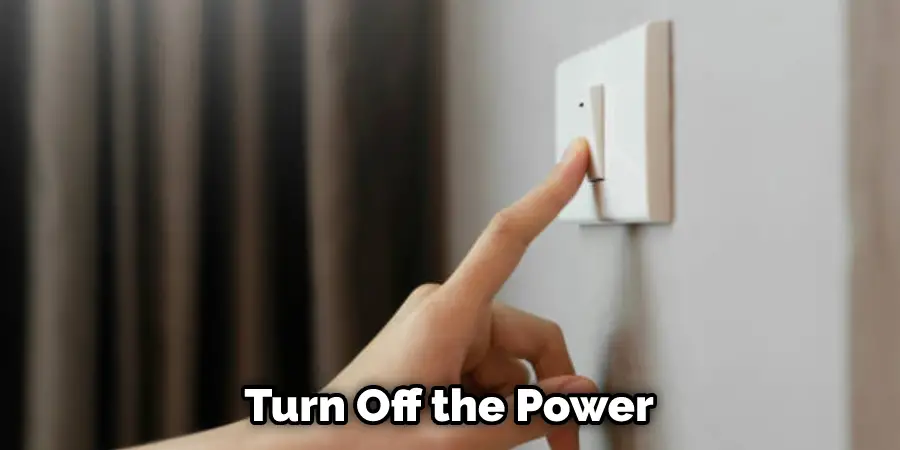
- Make sure the power to the track light is safely turned off before beginning any work. This can be done by switching off the circuit breaker that controls electricity to the track lights.
- Wear protective eyewear while changing bulbs; this will prevent any dust or dirt particles from entering your eyes as you work with the bulbs and tracks.
- Take note of how the bulb was installed originally, making sure it’s removed in an appropriate manner so as not to damage the track or wiring system.
- Replace old bulbs with new ones of the same wattage and style, so they match and fit properly into their designated fixtures on the tracks.
- Make sure to not touch the new bulbs with your bare hands, as this will cause residue from your fingers to be left on the bulb and can cause a much quicker deterioration.
- After replacing the bulbs, turn the power back on cautiously and test that all of them are functioning correctly before finishing.
- Finally, properly discard any old bulbs you may have removed in accordance with local regulations and safety protocols. This includes using recycling services or taking them to designated hazardous waste disposal sites. Doing so is important to ensure that all materials are handled properly, reducing potential environmental impacts which could result from inappropriate disposal methods.
By following these steps carefully, you can successfully remove and replace track light bulbs without any complications. Doing so will help keep your space illuminated and looking great!
You Can Check It Out To Remove Track Lighting
Frequently Asked Questions
Can You Replace Lights on Track Lighting?
There are a few ways to replace lights on track lighting. One way is to remove the light fixture and replace the bulbs with LED lights. Another way is to remove the light fixture, unscrew the bulbs, and replace them with LED lights. The last way is to have a professional do it.
Are All Tracks for Track Lighting the Same?
The type of track lighting and the features that are desired will vary depending on the specific needs of the project. However, some common types of track lighting include:
- Spotlights: Spotlights are typically used for general illumination, such as highlighting particular areas of a room or providing overall illumination. They can be mounted on a stand or placed directly on the floor or wall.
- Flush mounts: Flush mounts are typically used for overhead lighting, such as reading lights or cabinet lights. They are mounted flush with the ceiling or wall, and the light source is typically hidden from view.
- Chandeliers: Chandeliers are popular for installing in high-traffic areas, such as hallways or entryways. They typically consist of several tiers of light bulbs, each connected to its own chain or wire.
- Track systems: Track systems are versatile and versatile options for installing track lighting. They include wiring and mounting components that make it easy to install track lighting in any location, and they come in a variety of styles and colors to suit any décor.
Is Track Lighting Making a Comeback?
Track lighting has been making a comeback in recent years, due in part to its versatility and modern look. Track lighting can be used to create a variety of beautiful effects, including spotlighting specific areas of a room or creating a dramatic ambiance.
Track lighting is easy to install and can be customized to match the color scheme and style of any room. It is also energy-efficient, meaning that it uses relatively low levels of electricity to produce a high level of illumination. As track lighting becomes more popular again, it is likely to become an even more popular choice for both home and business owners.
What Happens When Led Lights Burn Out?
If you are using LED lights in your home or business, it is important to be aware that they can eventually burn out. When this happens, the light output from the LEDs will be reduced to almost zero, which can cause a number of problems. For example, if you are using LED lights for lighting, the reduced light output may make it difficult to see what you are doing. If you are using LED lights for decoration, the lack of light may make it difficult to see the effects of your decorations. In both cases, it may be necessary to replace the LED lights in order to restore functionality.
Conclusion
Now that you know to remove track light bulbs, you can change them anytime you need to. Be sure to follow the manufacturer’s instructions when installing new bulbs, and always use caution when working with electricity.
With a little bit of care and attention, you’ll be able to keep your track lighting looking great for years to come. Thanks for reading our blog post on how to remove track light bulbs! We hope you found it helpful and informative.