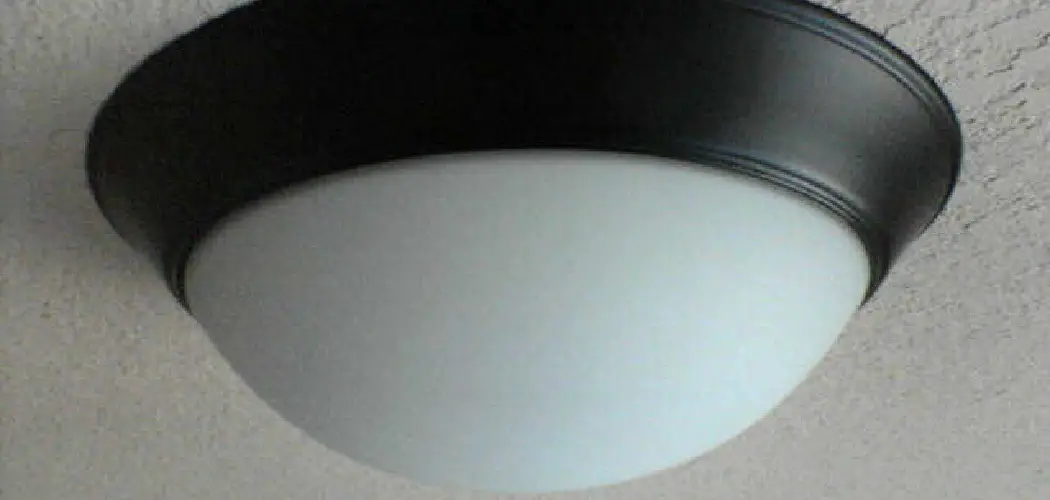
If you’re like me, sometimes you look at your light fixtures and think, “I could change that bulb if I only knew how to get the cover off.” Well, worry no more! This blog post will teach you how to remove light fixture cover with clips. It’s easy! Follow these simple steps, and you’ll be done in no time. Happy changing bulbs!
Summary: If you need to remove the light fixture cover but don’t have a screwdriver or any other tools, try using clips. Clip the top and bottom of the light fixture cover using the clip so that it is held in place, then use a screwdriver to unscrew the screws that hold it in place.
Why Remove Light Fixture Cover with Clips
There are a few reasons you might want to remove the cover of your light fixture. Maybe you’re changing a light bulb and need to get to the socket, or you’re cleaning the fixture and getting inside. No matter your reason, knowing how to remove the cover with clips is a handy skill to have.
Required Materials
To remove a light fixture cover with clips, you’ll need a screwdriver and a ladder (optional).
- A screwdriver
- A ladder (optional)
How to Remove Light Cover With Clips Step by Step Guide
Step 1: Turn Off the Power Source
The first step in how to remove light fixture cover with clips is to turn off the power source. This can be done by finding the circuit breaker that controls the electricity to the room or area where the light is located and flipping the switch to the “off” position. If you are unsure of which breaker controls the electricity to the light, it is best to flip all of the breakers off and then turn them back on one at a time until you find the one that works.
Once the power has been turned off, it is safe to proceed with removing the light cover. But, again, avoid any contact with electrical wiring or other components that may be live when working on a light fixture.
Step 2: Get a Sturdy Step Ladder, Stool, etc.:
If your light fixture’s cover is up high, you’ll need a sturdy step ladder, stool, or other elevated surface to remove it safely. Also, make sure the object you’re using to reach the cover is stable and won’t slip while you’re removing it.
Step 3: Consider Wearing Gloves
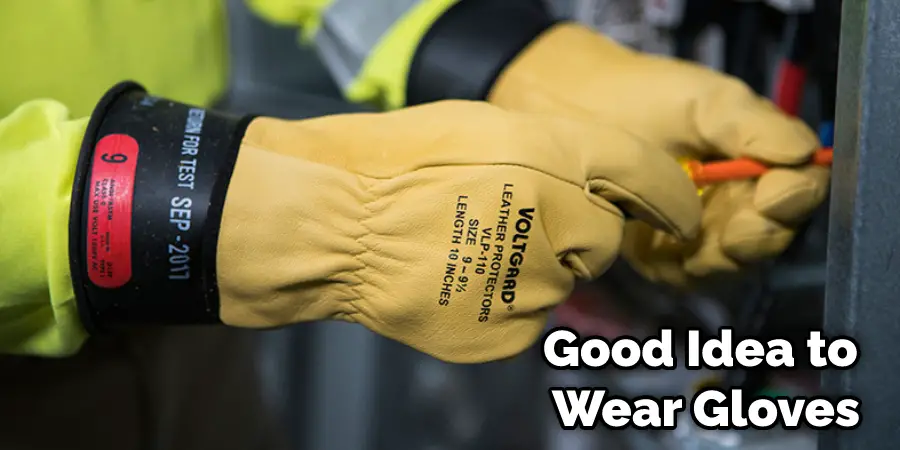
If you are going to be working with electricity, it is always a good idea to wear gloves. This way, if you accidentally touch something live, you will not get electrocuted. Even if the light fixture is not turned on, there may still be live wires inside it, so it’s better to be safe than sorry!
Another reason to consider wearing gloves is that the light fixture cover may be dusty or dirty. Again, if you are not careful, you may get that dirt and dust all over your hands.
Step 4: Clear the Surface Where You Are to Work On
Make sure the surface you will be working on is clear. There should be nothing obstructing your work, including electrical wires. If there are any wires near the light fixture, you will need to move them out of the way before continuing.
Step 5: Identify Which Clip Pulls Back
Once you have the cover off, it’s time to identify which clip pulls back to release the light bulb. On most fixtures, one or two clips on the top hold the cover in place. Some covers may also have screws instead of clips. If your fixture has screws, remove them with a screwdriver before continuing.
Once you have identified the clip, carefully pull it back to release the light bulb. Be careful not to touch the bulb with your hands, as this can cause it to break. If the clip is difficult to remove, use a screwdriver or pliers to help you pull it back.
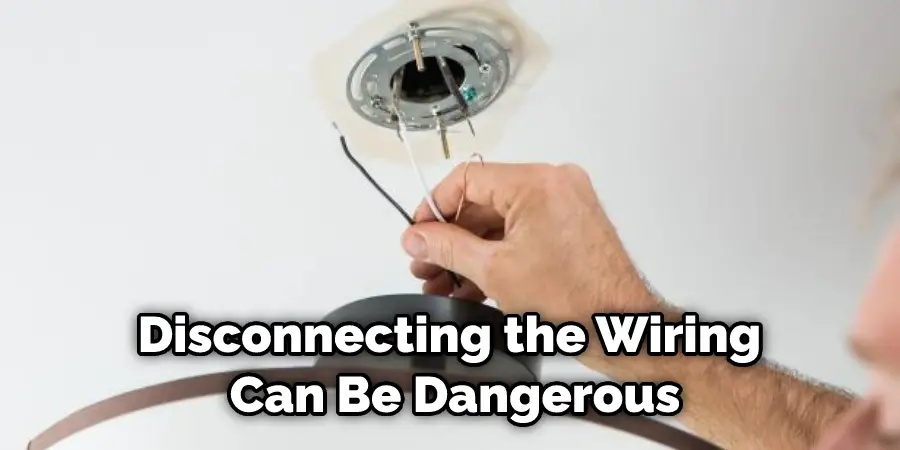
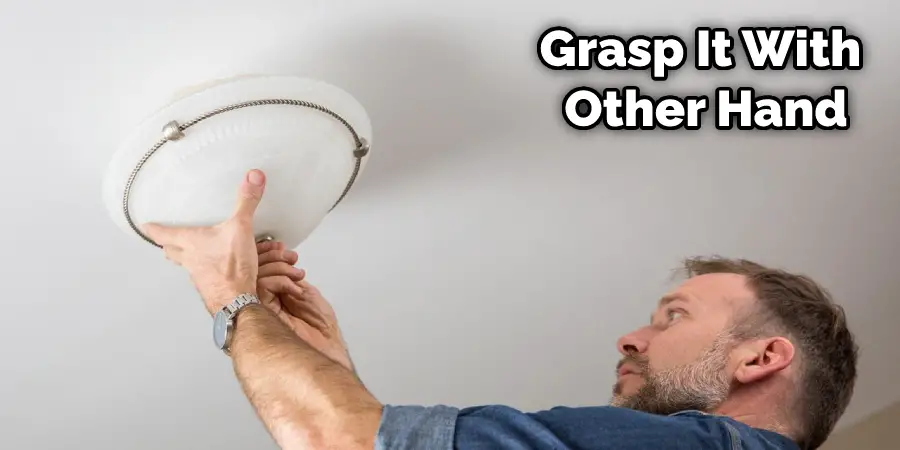
Step 6: Hold the Glass with One Hand
Now that the clips are freehold onto the glass with one hand while you unscrew the light bulb. Be careful not to drop the glass when it’s released! If any wiring is connected to the light fixture, be sure not to touch it while you’re changing the bulb. Disconnecting the wiring can be dangerous.
Some light fixtures will have a chain or cord that you can use to lower the glass down and avoid dropping it. If your light fixture doesn’t have this, be extra careful not to drop the glass when removing it.
Step 7: Firmly, but Gently, Pull the Glass Out
After removing the screws, it is time to remove the glass. Some fixtures will have a metal clip that retains the glass in place. Firmly grasp the glass and pull it out. Try gently prying it out with a flat head screwdriver if it doesn’t come out easily. Be careful not to damage the glass.
Your light fixture is now in pieces. You can clean each part or replace any that are damaged. To put it back together, simply reverse these steps. Be sure to screw in the glass and secure the cover before turning on the light. For more information on how to remove a light fixture cover with clips, keep reading.
How to Remove Light Covers that Have a Screw
1. Get a Sturdy Step Ladder, Stool, etc
You need to be high enough off the ground to reach the screws holding the light cover in place. If your fixture is high up, you might need a taller ladder.
2. Consider Wearing Gloves
If you’re worried about getting fingerprints on the light fixture or think the clips may be difficult to remove, consider wearing gloves. This will help protect your hands and make removing the cover easier.
3. Hold the Glass with One-hand
Hold the glass cover with one hand; once you have the metal clips in hand, hold the glass cover with one hand. This will keep it from falling and breaking while removing the screws. If the cover is large, you may need two people to do this. Have one person hold the cover while the other removes the screws.
4. Unscrew the Knob with Your Other Hand
The retaining knob is usually reverse-threaded. To remove it, turn it to the left (counterclockwise). If the cover is still tight, grasp it with your other hand to keep it from turning.
5. Once the Knob is Free Look for a Washer
After the knob is free, look for a small washer located on the opposite end of the fixture from where the knob was. This washer helps keep the light fixture in place and will need to be removed before taking off the cover.
6. Remove the Glass Cover
If your light fixture has a glass cover, you must remove it before continuing. This can be done by gently prying it off with a screwdriver or by popping the clips that hold it in place. Be very careful not to break the glass! 3. Unscrew the metal plate that holds the light bulb. Most have a small hole in the center, so you can use a screwdriver or your finger to unscrew it.
How Do You Remove Ceiling Light Covers with Plastic Clips
There are many different light fixtures, and each one has its unique way of being removed. In this article, we will show how to remove a ceiling light cover that has plastic clips.
First, locate the clips on the fixture. There should be four or six of them evenly spaced around the edge. Use a screwdriver to pry them loose. Next, carefully pull the cover off the light fixture. If it’s tight, you may need to wiggle it a bit.
If the clips are stubborn and refuse to come loose, use a pair of pliers to pinch them and twist them off gently. Once the cover is off, you can access the light bulb and replace it. Be sure to reattach the cover before turning on the light.
How Do You Remove Ceiling Light Covers with Clips Inside
- First, make sure that the power to the light fixture is turned off before attempting to remove the cover.
- Second, locate the clips holding the cover in place. There may be one or two clips, depending on the design of the light fixture.
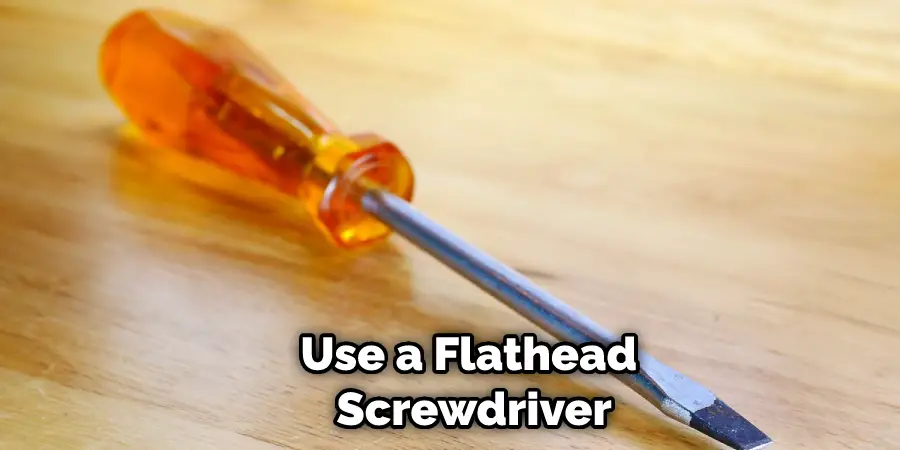
- Third, use a flathead screwdriver to pry the clip(s) open.
- Finally, gently pull the cover off of the light fixture. Be careful not to damage the wires or the light bulb.
Now that you know how to remove a ceiling light cover with clips inside, you can easily clean or replace the cover without calling in a professional. This is a simple task that can be completed in just a few minutes. Keep reading for more information about how to remove light fixture cover with clips.
Frequently Asked Question
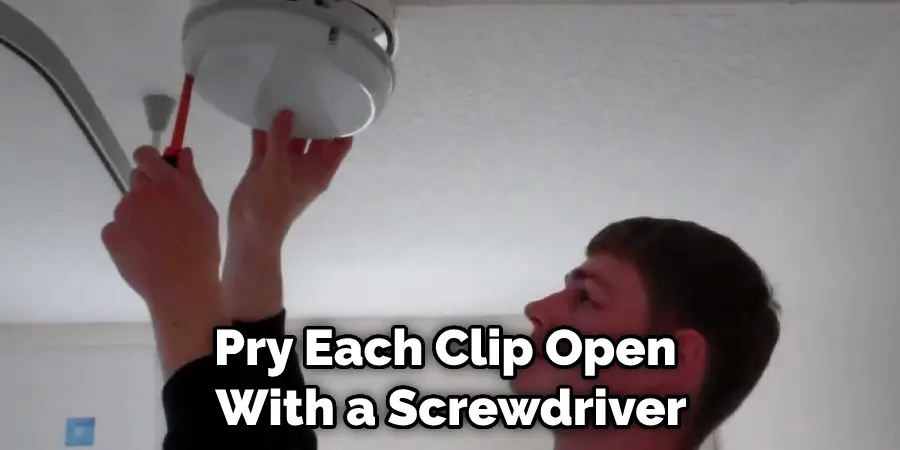
How Do You Remove a Light Cover with 3 Clips?
There are three clips located on the light cover. To remove the light cover, you will need to pry each clip open with a screwdriver. The clips are located on the top and on both sides of the light cover. Once all of the clips have been opened, you can remove the light cover by pulling it off the light fixture. If the clips are difficult to open, you may need to use a pair of pliers.
How Do You Remove a Drop Ceiling Fluorescent Light Cover?
Removing a fluorescent light cover is a relatively simple task. However, it can be tricky if the cover is attached with clips.
- Locate the clips that hold the cover in place.
- Carefully pry the clips open with a flathead screwdriver.
- Gently lift the cover off of the light fixture.
- If the cover is attached with screws, remove them before lifting the cover off.
- Replace the cover by reversing the steps above.
Conclusion
Although removing a light fixture cover can seem daunting at first, it can be easily accomplished with a little bit of patience and the right tools. By following the steps we’ve outlined in this post, you should have no trouble getting that old cover off and putting a new one on in its place. Thanks for reading our post about how to remove light fixture cover with clips.
You Can Check It Out To Turn Off Bulb Warning Light