Changing light bulbs in tall ceilings can be a daunting task. However, it can be a relatively straightforward process with the proper tools and instructions. In this article, we will provide you with a step-by-step guide on how to change light bulbs in tall ceilings. We will also provide you with a list of the necessary tools and materials you will need. So, if you are looking to change light bulbs in tall ceilings, keep reading!
Ceiling lights are fixtures typically located in high traffic areas of the home, such as hallways and living rooms. They are often hard to reach without a ladder. Ceiling lights are also very high wattage fixtures, making replacing light bulbs difficult. Therefore, changing light bulbs can be a challenging task for anyone to tackle.
Considerations When Changing Light Bulbs in Tall Ceilings
If you have light bulbs in tall ceilings that are not working, you may want to contact an electrician. This is because it may be difficult for you to reach the bulbs or there may not be enough room for you to get underneath the ceiling with a ladder. Therefore, if you cannot fix the problem on your own, it is best to consult with an electrician.
Before changing a light bulb in a tall ceiling, always remember how high up you are working. A stuck or broken bulb can be difficult to replace if you’re not careful. First, make sure the bulb itself isn’t burnt out. Then, you can check if it emits any light when you turn it on. If it doesn’t, you know the problem is with the bulb and not anything else in your room. If there’s still no light streaming from your bulb after replacement, the issue could be with an electrical connection within the ceiling or wall that supplies power to that outlet.
After testing the two switches for continuity, mark them so they can be put back in their original positions. Then, reassemble the switch with the screws and reattach the wires, making sure to keep them organized to be connected to their original screw terminals.
After you turn on the circuit breaker, test the switches for continuity with a multimeter. If the multimeter shows that the switches are working, then you have successfully repaired them. If not, don’t worry – you may have saved money by replacing them with new ones.
Choose Size & Type of Replacement Bulb
The size and type of light bulb you choose will determine the kind of light it emits. Size refers to the bulb’s diameter and the wattage required for it to work. Type usually refers to the bulb’s color, but may also include its shape. Some common types are incandescent, halogen, fluorescent, and LED.
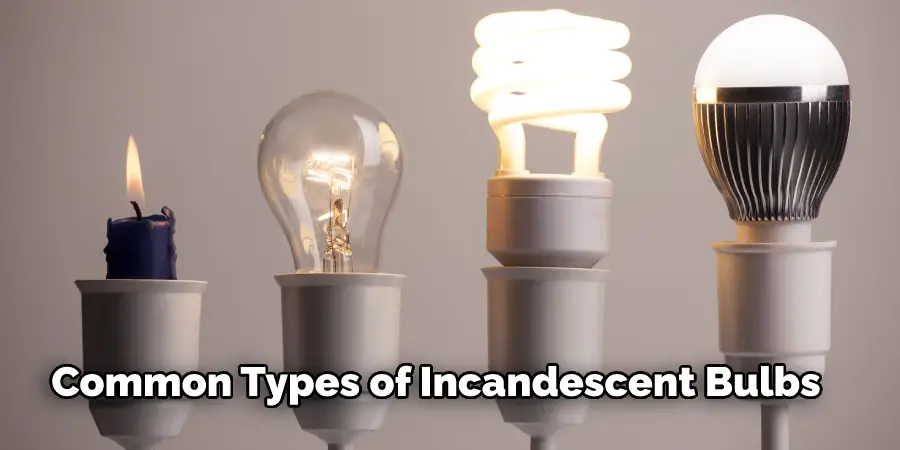
The size and type of light bulb you choose will determine the kind of light it emits. Incandescent bulbs emit a warm, yellow light, while halogen bulbs emit a brighter, whiter light. Fluorescent bulbs are energy-efficient and emit a cool, blue-tinged light, while LED bulbs emit a bright, white light.
Things You’ll Need:
– Using a stepladder
– Safety glasses
– Stepladder
– Flashlight
A Step by Step guide on How to Change Light Bulbs in Tall Ceilings
Ste 1: Turn Off Power to Lamp or Fixture
Before reaching the light bulb that needs replacement, you must first turn off the electricity running to it. How you accomplish this depends on what type of fixture is not working and whether it has a switch near its socket; if no such switch exists, locate and remove the breaker box’s main power switch and tape over it to prevent anyone from accidentally turning it back on while you work.
Alternatively, check for a pull chain or remote control to deactivate the light; failing that, unscrew the light bulb one half-turn counterclockwise before gently twisting it out of its socket. Remember where each wire connected to the lamp’s socket ends.
Step 2: Prepare Yourself and Position Your Ladder
Put on safety glasses before attempting to change light bulbs in tall ceilings. Do this even if you’re confident that the lamp or fixture is turned off, as it’s always possible for a spark to occur when changing lights.

Locate your stepladder so its open legs are placed beneath the fixture or socket you will be working on, and its top rests at least three feet away from the electrical device. Be sure the steps of your ladder are level with one another before climbing up to reach your light bulb replacement target. How high you should position the stepladder depends on what type of ceiling you have; check local building codes for specific recommendations regarding how far an individual must stand off the floor when replacing a light bulb.
Step 3: Remove the Old Bulb
Again, replacing a light bulb in tall ceilings depends on the fixture you’re dealing with. If you have an incandescent lamp not working, twist it counterclockwise while holding its base steady for one complete turn before gently pulling it free from the socket.
Do not yank any electrical wires attached to the bottom of the bulb until they come out on their own or risk disconnecting them from their terminals inside your new lighting fixture. Compact fluorescent lights are more fragile than incandescent lamps and require a gentle touch when replacing a failed CFL unit; these fixtures should be equipped with a handle at their top, which allows you to remove and insert them with one hand easily.
How you grasp this handle depends on what you find most comfortable; some people use one or two fingers while others prefer to make an “OK” sign with their thumb and index finger before firmly gripping the fixture’s top. Once cleanly detached, set CFL fixtures aside until further notice.
Step 4: Clean up Light Bulb Remnants
If you’re dealing with an incandescent lamp that still works but needs its light replaced, carefully disassemble it by pulling the bottom of the bulb away from its socket while holding either its base or wire-mounted fangs steady inside the socket for one complete turn before gently pulling it free.
How long these fangs are is irrelevant when changing lights in tall ceilings because they will not affect your ability to reach the new bulb’s base with a stepladder. Carefully remove any dirt or dust from the interior of the socket using a flashlight, cotton swab, or damp paper towel before attempting to change light bulbs in tall ceilings.
How thoroughly you clean this part depends on how noticeable its dirt accumulation is; some people barely need to touch it while others have no choice but to use a toothbrush and cleaning solution due to having dealt with a dirty socket plug that needs replacing.
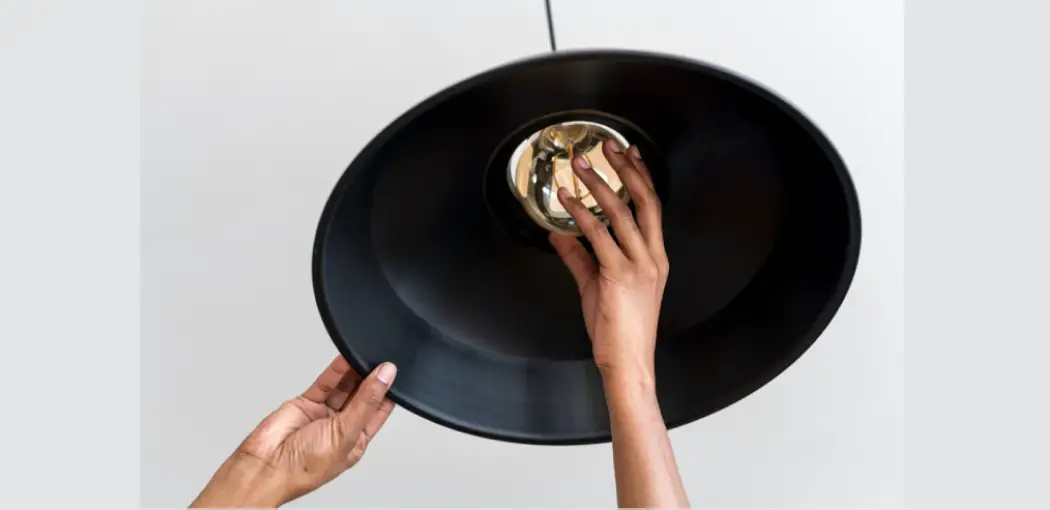
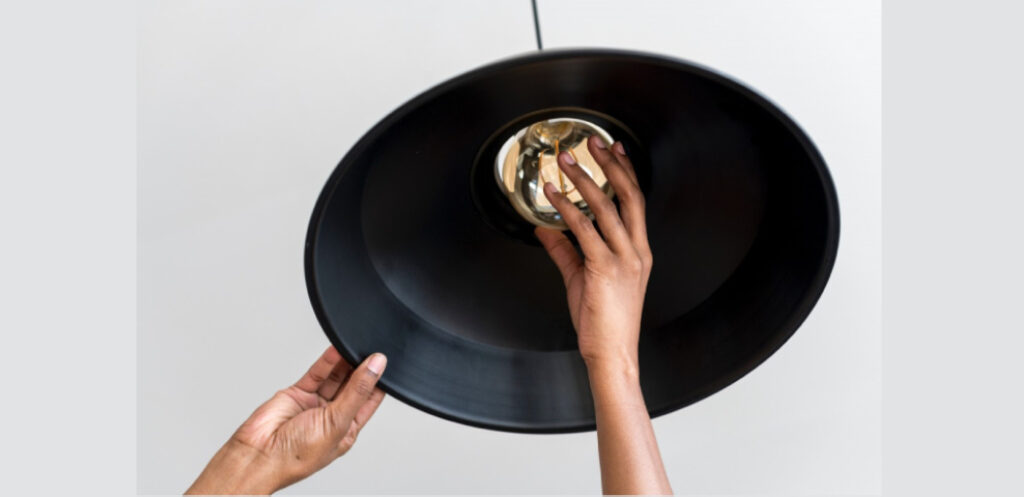
Step 5: Insert New Bulb into Socket Plug
Carefully insert your replacement light bulb’s bottom fangs inside the top of your fixed lamp’s socket before twisting it clockwise for one complete turn until snugly in place again.
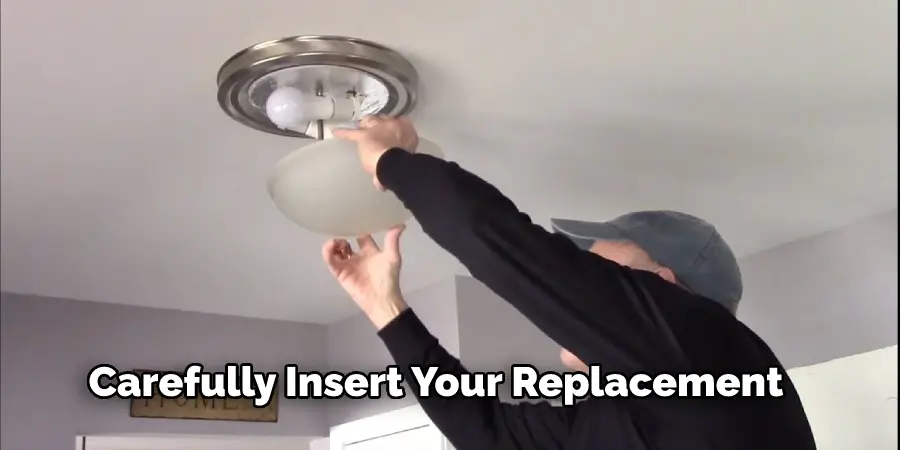
How high you should position the new bulb inside the socket also depends on what type of fixture you’re dealing with; compact fluorescent lamps should be installed at an angle that allows for any excess lamp cord to come out of its top, while incandescent fixtures are meant to have their bulbs inserted vertically.
How firmly your replacement bulb is pressed into place also depends on what kind of lighting fixture you have because this determines how difficult it will be to twist the base out again when changing lights in tall ceilings.
Step 6: Identify How Bulb Is Connected
Turning off light bulbs in tall ceilings always relies on whether a regular or Phillips head screw connects them. This is because a standard light bulb has flat-edged fangs, whereas Philips head screws have a bulbous protrusion at the bottom of each fang.
How tightly you will need to twist them depends on which one your fixture is equipped with, but what’s most important to remember is that turning off light bulbs in tall ceilings should never rely on prying them out with any sharp object because this risks damaging the screw terminals inside each socket plug.
How deep these screws are set into their sockets will determine how much pressure you need to apply when twisting them, so be organized when changing lights in tall ceilings if you don’t want to risk snapping or stripping either screw’s head.
You Can Check It Out to: Charge a Capacitor With a Light Bulb
Step 7: Inspect Your work
When you’ve successfully finished changing lights in tall ceilings, give your lighting fixtures a quick inspection to ensure they’re all on and working correctly. How quickly this step can be accomplished depends on how many light bulbs you need to change; if only a couple of fixtures need new light bulbs, they’ll most likely be turned off already.
How bright each fixture is also helped assess whether or not the new bulb(s) is installed correctly because different types of incandescent lamps have different wattages, which determines how much lumens (a measure of brightness) it takes emits. These steps will help in how to change light bulbs in tall ceilings.
You may read also – How to Change High Ceiling Light Bulb
Frequently Asked Questions
What Kind of Ladder Can I Use on Stairs?
A ladder can be a great tool for reaching high places and navigating around tight spaces, but only if it is the right type. There are two main types of ladders- straight rung ladders and step ladders.
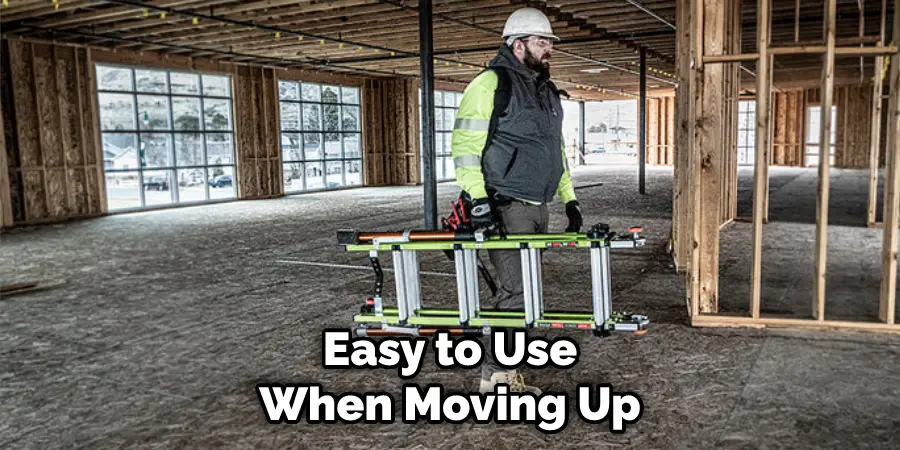
Straight Rung Ladders: Straight rung ladders are the most common type and use horizontal bars that extend from base to top. They’re easy to use when moving up or down a stairway, but they may not be as stable when supporting weight in other directions. This kind of ladder is typically used for shorter distances or for general purpose purposes such as working on roofs or chimneys.
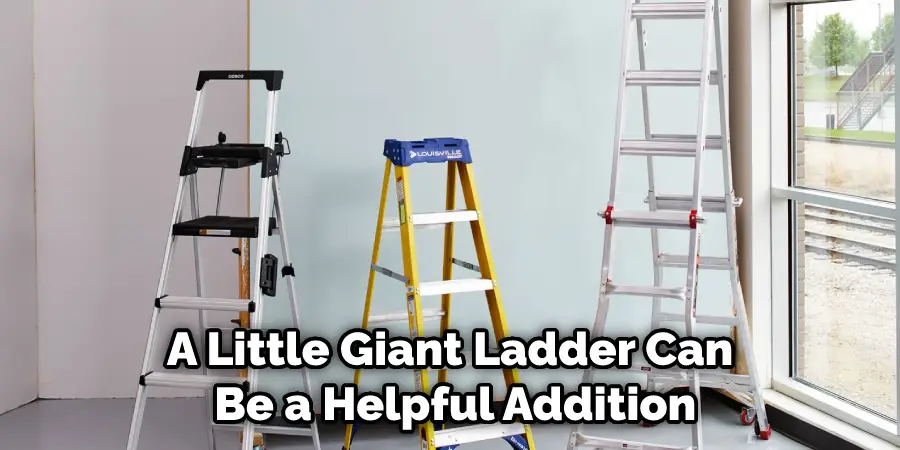
Can You Use a Little Giant Ladder on Stairs?
A little giant ladder can be a helpful addition to your home if you find yourself needing to reach high places frequently. This type of ladder has a telescopic design that makes it very useful for reaching high shelves or ceilings. It is also lightweight and easy to maneuver, so you won’t have any trouble carrying it around the house.
Is a Cathedral Ceiling the Same as a Vaulted Ceiling?
A cathedral ceiling is usually a high ceiling with a complex architectural design, while a vaulted ceiling is a low ceiling with an ornate design. Cathedral ceilings are typically much higher than vaulted ceilings, and are often used in places where a high ceiling is needed (such as a lobby or auditorium).
Conclusion:
If you have ever had to change a light bulb in a tall ceiling, then you know that it can be a daunting task. Thankfully, with the right tools and some patience, it’s a job that anyone can do. Here are the steps you need to follow to change a light bulb in a tall ceiling safely and efficiently. We hope this article on how to change light bulbs in tall ceilings will help in your task.