Have you ever tried to remove a light bulb that doesn’t want to come out? Maybe the bulb is burned out, and you need to replace it, or you’re just changing a light bulb in a difficult spot.
Removing a four-pin light bulb can be frustrating if you don’t know how to do it properly. Fortunately, a few methods can help make the process easier. Keep reading for tips on how to remove 4 pin light bulb safely and easily.
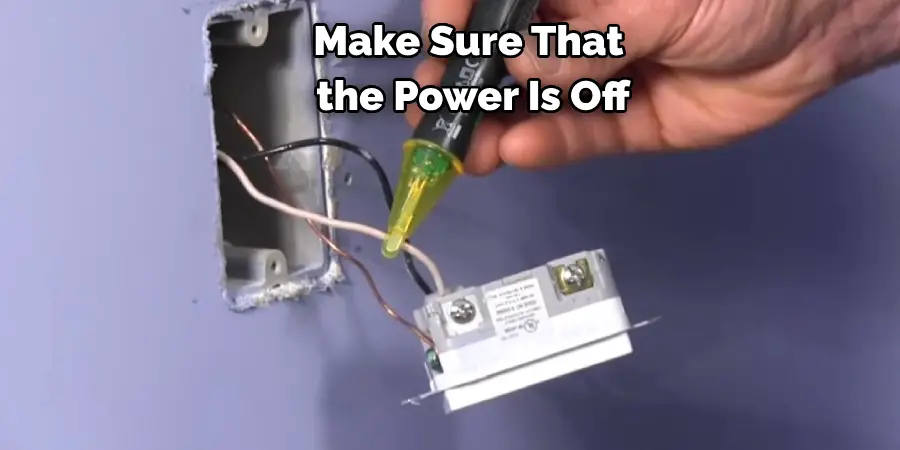
Summary: Removing a 4-pin light bulb, commonly found in compact fluorescent (CFL) lighting fixtures, requires a different approach than removing a standard screw-in bulb. Before attempting to remove the 4-pin light bulb, ensure that the power to the light fixture is turned off at the switch and the breaker box to prevent electrical shock.
Allow the bulb to cool if it was recently in use to avoid burns. It is important to handle CFL bulbs with care, as they contain a small amount of mercury and can be hazardous if broken.
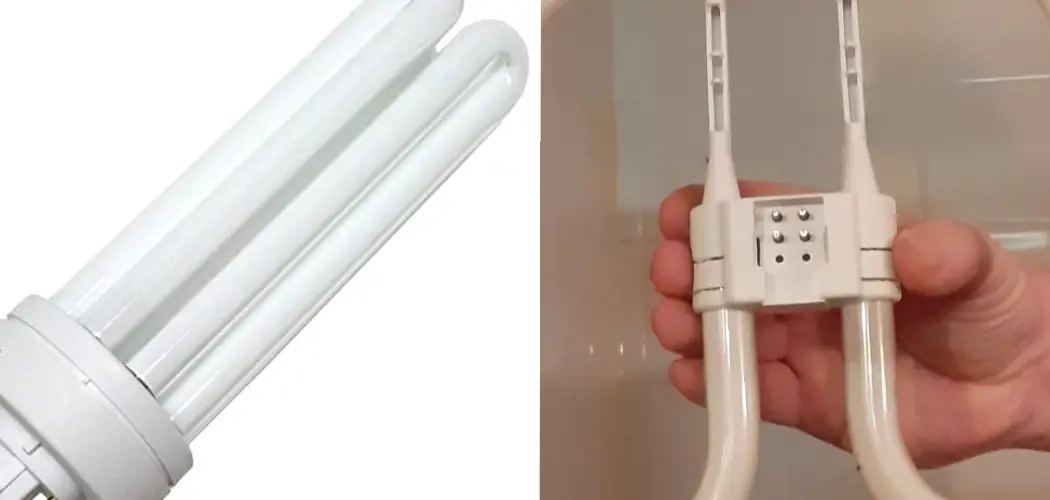
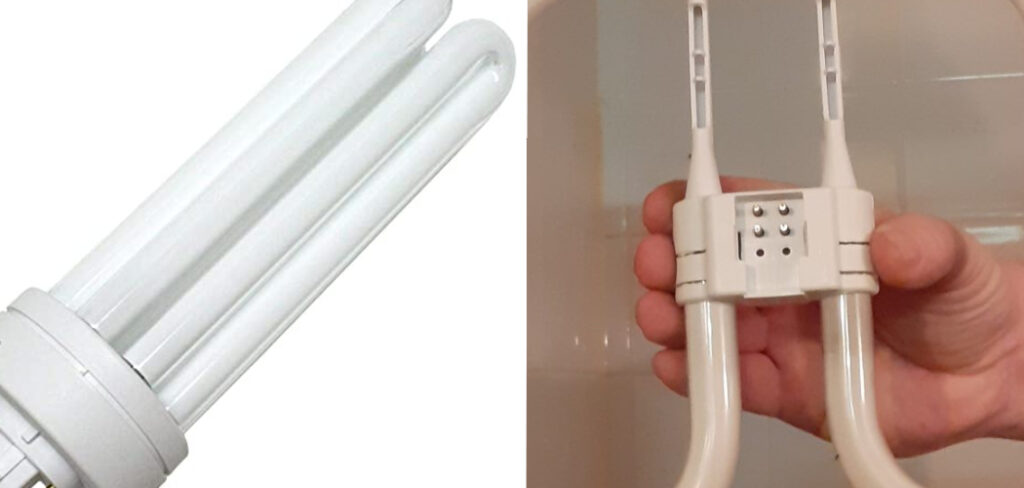
To remove the 4-pin light bulb, hold the base of the bulb firmly with one hand while supporting the glass tube with the other. Gently push the bulb slightly towards the socket to release any tension on the pins. Next, rotate the bulb approximately 90 degrees in either direction, aligning the pins with the slots in the socket. Once the pins are aligned with the slots, carefully pull the bulb straight out from the socket.
Avoid using excessive force, as this can cause the bulb to break. Dispose of the used CFL bulb properly, as per your local regulations for hazardous waste disposal, and replace it with a new bulb of the appropriate type and wattage. To install the new bulb, simply reverse the process used to remove the old one, aligning the pins with the slots and rotating the bulb into place.
Why Should You Remove a 4 Pin Light Bulb?
There are a few reasons you might want to remove a four-pin light bulb. For one, burned-out light bulbs need to be replaced as soon as possible for safety reasons. Additionally, changing light bulbs in difficult spots can be frustrating and time-consuming, so it is essential to know how to remove them properly.
Required Materials
- light bulb socket
- screwdriver
- pliers
- 4 Pin Light Bulb
How to Remove 4 Pin Light Bulb Step by Step Guide
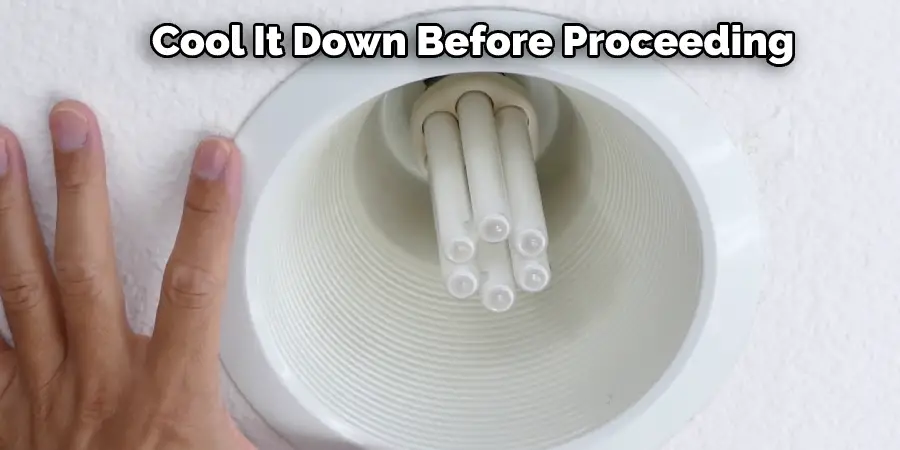
Step 1: Allow the Bulb to Cool Before Handling
If you’ve just replaced a light bulb and it’s still hot to the touch, allow it to cool down before proceeding with this guide. Touching a hot light bulb can cause injury.
Step 2: Locate the Base
The base is the part of the light bulb that screws into the socket. It’s usually metal and has threads that help it screw in securely. On a 4-pin light bulb, two small posts are sticking out of the base. These posts fit into two corresponding slots in the socket to provide power to the light bulb.
Step 3: Apply Pressure to the Base
You will need to apply pressure to the light bulb’s base to remove it. You can do this with your fingers or with a small tool. If you are using a small tool, be careful not to damage the light bulb’s base.
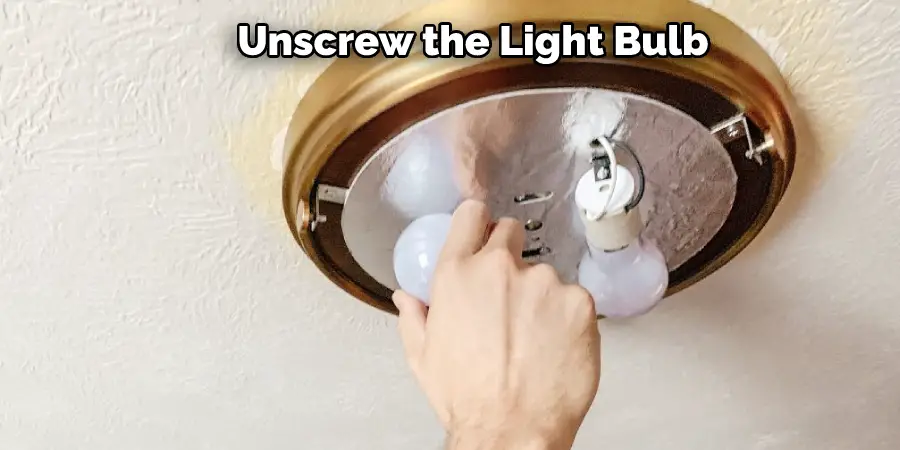
Step 4: Unscrew the Light Bulb
Once you’ve removed the metal cover, you can unscrew the light bulb like any other light bulb. Be careful not to touch the hot glass part of the light bulb. If you’re using a plastic tool to remove the light bulb, make sure you grip it tightly so you don’t drop it.
Once the light bulb is unscrewed, you can pull it out of the socket. If the light bulb doesn’t want to come out, try gently wiggling it back and forth. If that still doesn’t work, you may need to use a pair of pliers to grip the light bulb and pull it out.
Step 5: Twist and Pull
With the paperclip in place, take hold of the light bulb and twist it anti-clockwise. As you do this, pull the light bulb out of the socket. You may need to wiggle it a bit to get it started, but it should come out relatively easy.
If you’re having trouble getting the light bulb out, try using a pair of needle-nose pliers to twist it. Just be careful not to break the glass.
Step 6: Clean the Socket
Once the light bulb is removed, it’s important to clean the socket. Use a dry cloth to remove any dust or debris. If there is any corrosion on the socket, use a small amount of baking soda on a damp cloth to gently clean it. Let the socket dry before replacing the light bulb.
Step 7: Insert the New Bulb
Before screwing in the new bulb, make sure that the pins on the bottom of the light fixture are lined up with the holes on the bulb. Once they are in place, gently twist the bulb into place until it is tight. Be careful not to touch the glass as you do this, as it could cause the bulb to break.
Step 8: Check if Any Problem Left
There are times when your 4-pin light bulb does not screw in. In this case, you will need to remove it and start over. Also, make sure that the 4-pin light bulb is tight in the socket before turning on the power. If not, it may come loose and cause a fire.
Step 9: Check Everything Work Fine
It is important to check whether there are any problems after you have replaced the light bulb. First, turn on the light switch and ensure that the light bulb works properly. If there are any problems, such as flickering or dimming, you will need to replace the light bulb again.
If you have followed all the steps above, your 4-pin light bulb should be removed. You can now proceed to screw in a new one. Be very careful when doing this so as not to break the glass. Make sure that the power is off before you attempt to remove or install a light bulb.
Now that you have learned how to remove 4 pin light bulb, you can proceed to do the same with a new one. Be very careful when doing this so as not to break the glass. Make sure that the power is off before you attempt to remove or install a light bulb.
How Do I Remove a Compact Fluorescent Light Bulb?
Compact fluorescent light bulbs (CFLs) are a type of energy-saving light bulb that can last up to 10 times longer than traditional incandescent bulbs. However, CFLs contain a small amount of mercury, so it’s important to follow the proper steps to remove a CFL light bulb to avoid breaking the bulb and releasing the mercury.
Here are the steps for how to remove a CFL light bulb:
- Turn off the power to the light fixture by switching off the circuit breaker or removing the fuse.
- Unscrew the light bulb from the socket.
- Carefully place the CFL on a flat surface and hold it by the base.
- With a pair of needle-nose pliers, twist and pull out the inner tube from the base of the CFL.
- Wrap the CFL in two sheets of newspaper and place it in a sealable plastic bag.
- Take the CFL to a local recycling center that accepts fluorescent light bulbs.
Is LED Lumens Suitable Replacement For 26W and 32W CFL?
LED lumens provide the same amount of light as traditional CFLs, without sacrificing energy efficiency. In fact, they use up to 90% less energy than their conventional counterparts.
Additionally, LED bulbs last longer, produce less heat, and contain no toxic mercury or other hazardous materials. So if you’re looking for an energy-efficient lighting solution that still provides plenty of brightness, LED lumens may be a perfect fit!
How Do You Change a 2d 4 Pin Bulb?
2D or 4-pin bulbs are becoming increasingly popular as they offer a more efficient light source than traditional incandescent bulbs. However, while they may last longer, they can be more difficult to change. To remove a 2d or 4-pin bulb, follow this quick guide:
- Start by turning off the power to the light fixture at the breaker box.
- Remove the cover to the light socket and unscrew the bulb.
- Pull out the old bulb and insert the new one.
- Screw on the light cover and turn the power to the light fixture.
It’s as easy as that! Of course, changing a 2d or 4-pin bulb is a little more difficult than changing a traditional incandescent bulb, but with this quick guide, you’ll be able to do it in no time.
Can You Replace Cfl Bulbs with Led?
The article says that you can replace your old CFL lightbulbs with new LED lightbulbs. You have to make sure that the new LED bulb has the same wattage (a measure of how much power it uses) as the old CFL bulb, and that it will fit in the same light fixture.
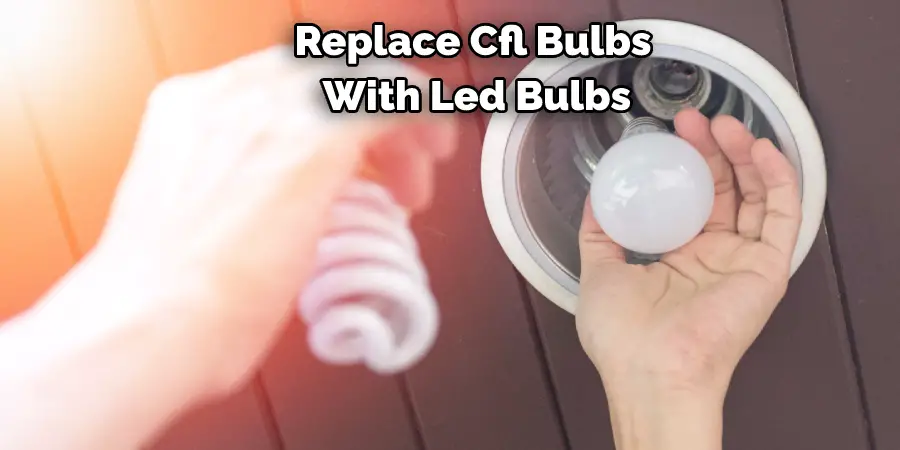
Third, the LED bulb should have a base compatible with the socket in which it will be used. Fourth, the LED bulb may not produce as much light as the CFL bulb, so it may be necessary to use more than one LED bulb to achieve the desired lighting level. Keep reading for more information about how to remove 4 pin light bulb.
Frequently Asked Question
Why Is Cfl Better than Led?
CFLs are better than LEDs for a few reasons. First, CFLs are more efficient, meaning they use less power to produce the same amount of light. They also last longer; an LED might last 25,000 hours, while a CFL could last 10,000 hours. Finally, CFLs are cheaper to buy upfront. Do CFL bulbs give off blue light?
What Is the Difference Between 2 Pin to 4 Pin 2d Lamps?
Two-pin lamps are the traditional type of lamp. They screw into the light socket and have two metal pins that touch the contacts in the socket to provide power to the lamp.
Four pin lamps are a newer type of lamp. They have four metal contacts that touch the contacts in the socket to provide power to the lamp.
Are All 4 Pin Light Bulbs the Same?
No, not all four pin light bulbs are the same. There are two types of 4 pin light bulbs: type A and type B. Type A 4 pin light bulbs have a larger diameter than type B 4 pin light bulbs. Type A 4 pin light bulbs also have a longer life span than type B 4 pin light bulbs.
How Do You Change a 4 Pin Cfl Bulb to Led?
To change a four-pin CFL bulb to an LED, you must purchase an adapter. You can find these adapters at most hardware stores. Once you have the adapter, follow these steps:
- Unscrew the CFL bulb from the socket and discard it.
- Screw the adapter into the socket.
- Insert the LED bulb into the adapter.
- Screw the LED bulb into the socket.
- Turn on the light to test it out!
Conclusion
So there you have it! Nine simple steps to removing a light bulb. If you’re ever stuck in this situation, don’t worry – we’ve got your back. Remember, it’s always better to be safe than sorry, so make sure you have the right tools before starting any project. Have you ever had to remove a light bulb? What was your experience like? Let us know in the comments below! Thanks for reading our post about how to remove 4 pin light bulb.