
Replacing a light bulb is a headache we’ve all experienced. It’s frustrating when the light won’t go in, and even worse, when it falls out, you have to start again. This article will show you how to restick LED lights to stay in place. Follow these simple steps, and you’ll be able to avoid those pesky lightbulb headaches in no time at all!
Led lights are everywhere these days, especially in homes. They use up less energy than regular bulbs, are easier to transport, and are much more cost-effective. Plus, they last for longer! You can even get them to change color or form, and they look great!
Summary: There are a few ways to restick LED lights if they start to lose their light. The most common way is to replace the LED light bulb with a new one. If the LED light is still working, but the light is flickering or not as bright as it used to be, you can try to fix the light by cleaning the light bulb and the surface it’s plugged into.
A Stepwise Guide on How to Restick Led Lights
Step1: Determine How Led Strip is to Be Restuck
If the LED strip still has lights with an intact adhesive backing, remove it. If the adhesive backing is no longer there or if its quality has deteriorated over time, then buy some new double-sided tape. However, it’s better to buy high-quality LED light strips rather than cheap ones from local markets.
Step2: Start the Work
Before starting anything, make sure that all your tools are in place. You will need a sharp knife or box cutter, ruler or measuring tape, electric drill, screws (large enough), screwdriver, masking tape, and pencil with eraser. Make yourself comfortable before beginning this project- wear old clothes and get rid of all the other household products that could get in your way. You will have to occasionally work with led strip wires, so put on a pair of gloves before going any further.
Step3: Measure the Length of the Strip
When measuring for your LED strip, add a few extra inches to be safe. It’s advised that LED lights not exceed 8 feet while being wired, as anything longer would result in greater power consumption and a lower efficiency rating. Remember to measure twice before cutting once – any miscalculations can be costly or even dangerous when it comes to electricity.
Step4: Cut Led Lights
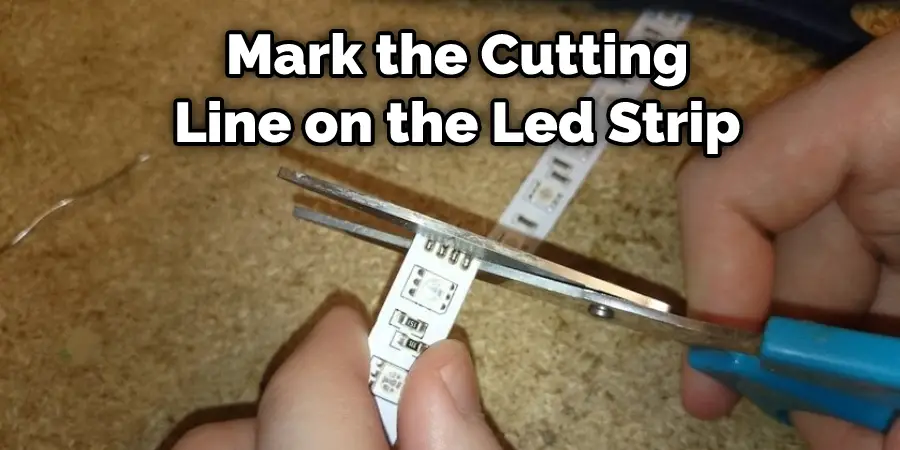
If you’re confident enough, you don’t have to waste time measuring and marking. Just cut through the tape and run it under hot water. The adhesive backing will come out quickly.
Now, for those who marked and cut your led strip (not recommended), ensure that there is no single strand of wire left after cutting since these strands could disrupt the continuity.
Step5: Peel off the Adhesive Backing
To remove the adhesive backing from both sides of the LED strip, you can use your fingers. Be careful not to damage the LED strip. There will be a thick layer of adhesive on the back that you might have difficulty removing, so you should use a box cutter or knife for this purpose. Be extra cautious because the sharp blade could slip and injure you. I would recommend wearing gloves just in case. Ensure that all adhesive has been removed without causing too much damage to the LED strip itself.
Step 6: Prepare Surface for Restick Led Lights
If you want your led light strips to stay in place after peeling them off, it’s important to scratch the surface slightly with a box cutter or other sturdy object before sticking them back down. This will help the adhesive to attach firmly to your chosen surface. Make sure all surfaces are scrupulously clean before proceeding- dirt and dust could weaken the bond between the led strip and its new home.
Step 7: Stick It Down
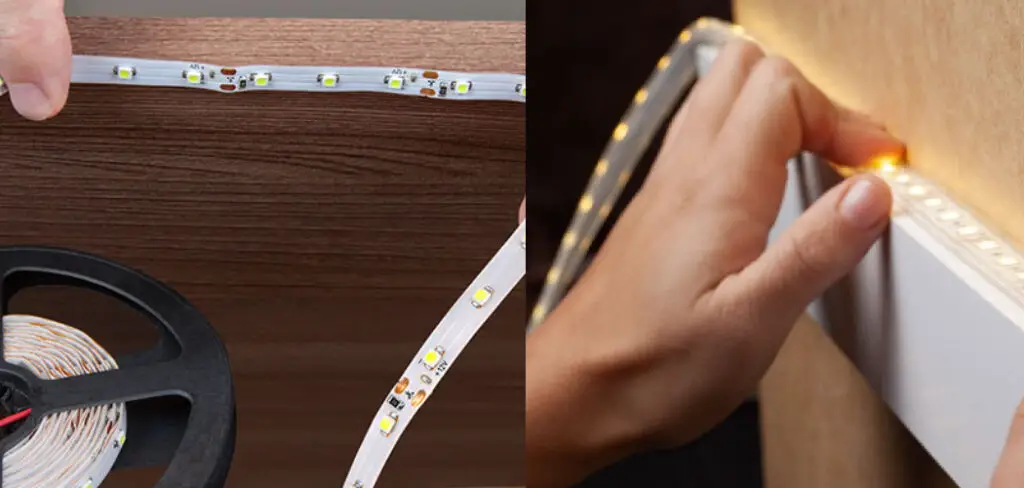
Using your fingers, pick up one end of the led strip and stick it to the desired surface. Ensure that you press down firmly with your fingers until each adhesive contacts the surface. Continue this process until all adhesive has been used- if you use a ruler or measuring tape in conjunction with this step, there is no need for guesswork when it comes to how much adhesive you will need per inch.
Step 8: Trim the Led Strip at Each End
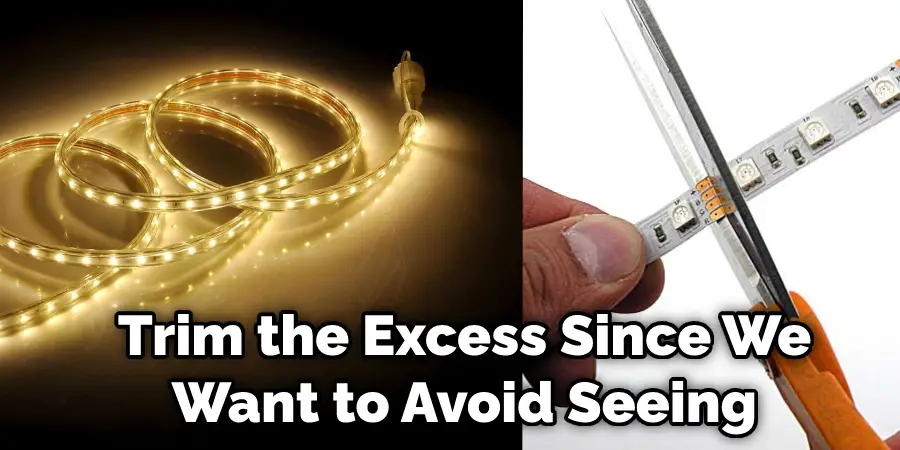
Now that you have successfully installed the led strip, it’s time to trim the excess (if any). Since we want to avoid seeing any rough edges on our light strips, we’ll focus on making them as even and clean as possible. The first step of this process is to cut the led strip at each end to ensure that you mark where you want to cut beforehand using a measuring tape.
Never use scissors for this task because the heat of friction could damage the led lights- unless you’re confident of getting it right (and sparing no expense), don’t even bother attempting it with anything other than a box cutter. Of course, this may not be necessary if your application requires all wires to be hidden behind paneling or enclosed within walls/flooring, etc.
Step 9: Solder Wires Together
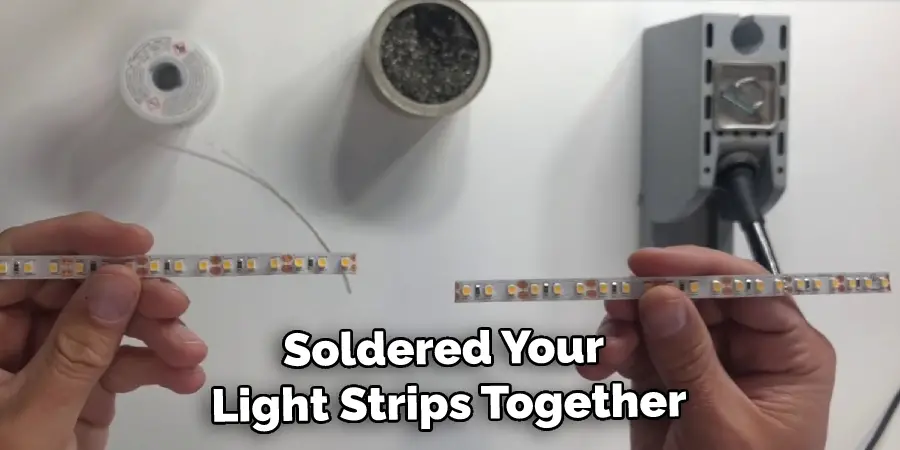
Suppose you are planning on making more than one set of light strips, then you should solder two together first before proceeding any further. You might have noticed that there’s only one length of the led stripper bag, so you may have to cut your light strips somewhat down.
Ensuring that the positive and negative wires are soldered together will make it easier to recognize them while plugging into an Arduino or any other microcontroller/wireless device of your choosing. Ensure that all solder joints are vital- especially on the joints where wires meet since the failure at this point could lead to short-circuiting, which isn’t something you would want when dealing with electricity.
Step 10: Finishing Touches
Now that you have successfully soldered your light strips together, it’s time to ensure that the appearance of the led strip is nothing less than perfect. Depending on your application, this step may not be necessary, but I prefer using a Dremel tool with a sanding disk to achieve perfectly shaped cuts at each end.
This is because when I initially taped my light strips down, the adhesive seeped into the grooves, which meant they were no longer clean-cut. Even though it might take some time, try to do this carefully not to damage any wires or create sharp edges where there should otherwise be none. These sites will help in how to restick led lights.
Precautions
- High Temperature will loosen the adhesive of led lights even more. So make sure to do this when it is not reaching 45 degrees or higher. Also, try not to use a hairdryer, heat gun, etc.
- If you are using glass jars/bottles for decorating, best to just go with non-glass containers because if glass breaks while removing the led light, it can cause injuries and mess up your containers.
- Be careful of the sharp edges of the glass.
- Ensure there is no residual glue on the jar/bottle before removing the led lights.
- You can do this project outside, but if it happens to be windy, well, hold on tight because things might get messy!
Stop LED Strip Lights From Falling Off The Wall
LED strips lights are an excellent and efficient way to light your home, but it is frustrating when they begin to fall off the wall. In addition, moisture may have gotten under your LED strip lights, which could cause them to peel off your wall. To prevent further problems with peeling or adhesive failure, replace all of your old LEDs or acrylic adhesive with a 3M Double Sided Tape. Do not use super glue! It does not stick well.
Do Not Mix Adhesives
Never mixtape types when using LED strip lights. The chemicals in each tape can weaken and damage the other adhesive. Before purchasing your new LED strip lights, make sure the package does not say that mixing types is OK.
Setting Up New LED Strip Lights
There are two different types of 3M Double Sided Tape; one has a solid initial tack (removable red liner), and one has no pull force (no removable red liner). The first type of tape should be used on hard surfaces such as wood or metal, while the second should be used for softer surfaces like drywall or textured ceilings.
Preventing LED Strip Lights From Falling Off the Wall
Ensure that your LED strip lights are correctly installed to avoid future problems. For example, if you want to use adhesive tape to stick them directly on the wall, make sure it is a type made explicitly for LED strips.
Frequently Asked Questions
Can You Restick Led Lights on Wall?
Sometimes when LED lights get twisted or bent, they can’t be straightened out. In this case, it may be necessary to restick the Led lights onto the wall. There are a few ways to do this: one is to use the adhesive that is specially formulated for repairing and restoring walls; another option is using wallpaper paste; and lastly, you could use a special wire coat hanger designed for this purpose.
Just make sure that any adhesive you choose is appropriate for both drywall and plaster (or masonry), as well as non-toxic so that your home environment stays healthy.
Can You Use Hot Glue on Led Strip Lights?
Yes, you can use hot glue on led strip lights. This is a great way to attach strips of light together or to fix them to a surface. Make sure that you use a hot glue gun that is specifically designed for led strip lights – typically, these guns have an extra-hot setting that is perfect for this type of application.
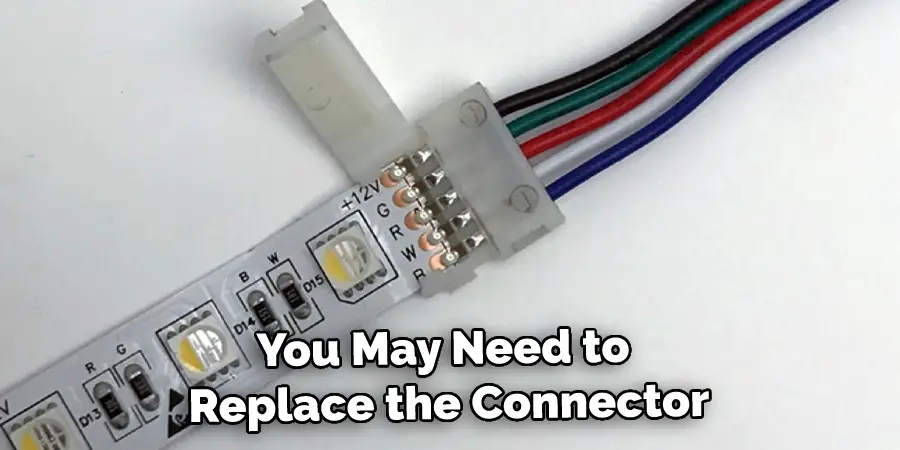
Why Do My Led Strips Keep Falling Off?
There can be a few reasons why your led strips keep falling off. The most common reason is that the connectors are not tight enough. You can solve this by tightening the screws on the connector. If that doesn’t work, you may need to replace the connector.
Another common issue is that the strip has become worn or damaged over time. If this is the case, you will need to replace the strip.
Can You Cut and Join Led Strip Lights?
There is no simple answer to this question, as it depends on the type of light strip and how well it was designed. It is important to consult with an electrician if you are unsure whether or not Led Strip Lights can be cut and joined together. Generally speaking, though,
LED Strip Lights are made up of small lights that can be easily interconnected, so a skilled technician should have no trouble rejoining them into a single fixture.
Conclusion
Resticking LED lights is a great way to save money and extend the life of your light fixtures. It’s an easy process that only takes a few minutes, and you can do it yourself! If you have any questions or run into any problems, please reach out to us for help. We hope you found this article on how to restick led lights helpful, and we look forward to hearing about your success with resticking LED lights.
You Can Check It Out to: Wire Multiple Led Light Bars to One Switch