It’s easy to take down wall lights; you just need know-how. This article will show you how to take off led lights from the wall quickly and easily. Whether changing a light bulb or renovating your home, this article will help make the process easier. So, let’s get started!
Led lights are popular because they cast a soft, diffused light across your room. You can see them in buildings and homes throughout the world. They are easy to install, with most units consisting of a light metal mount connected to an electrical cord. This thin metal mount is attached directly onto the wall using screws or adhesives, making it easy for you to take down led lights from the wall if needed.
Summary: If you want to take off the led lights from a wall, there are certain steps you need to take. First, find the screws that hold the lights in place. Once you have located the screws, use a drill to remove them. Next, use a Phillips screwdriver to remove the light fixtures. Finally, take off the light bulbs by unscrewing them.

Tools and Materials:
- LED strip lights
- Scissors
- Hairdryer
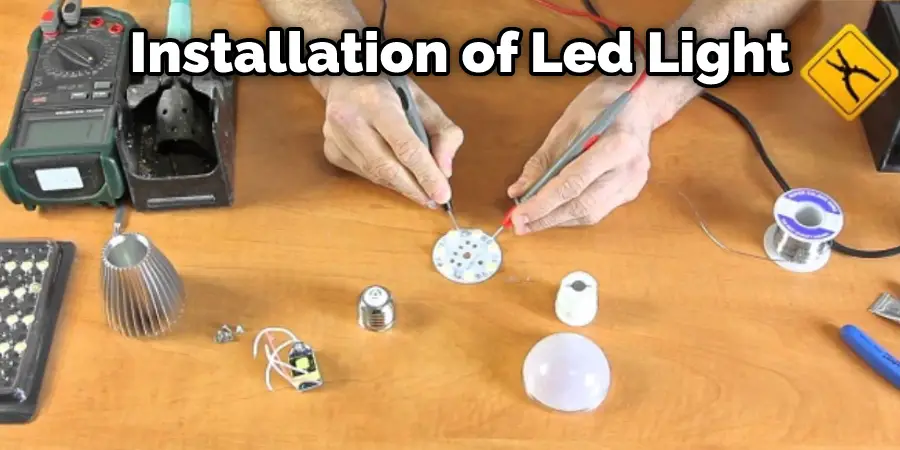
- Soldering Iron
- Soldering Wire
A Step by Step Guide How to Take Off Led Lights From Wall
Step 1: Prep Work
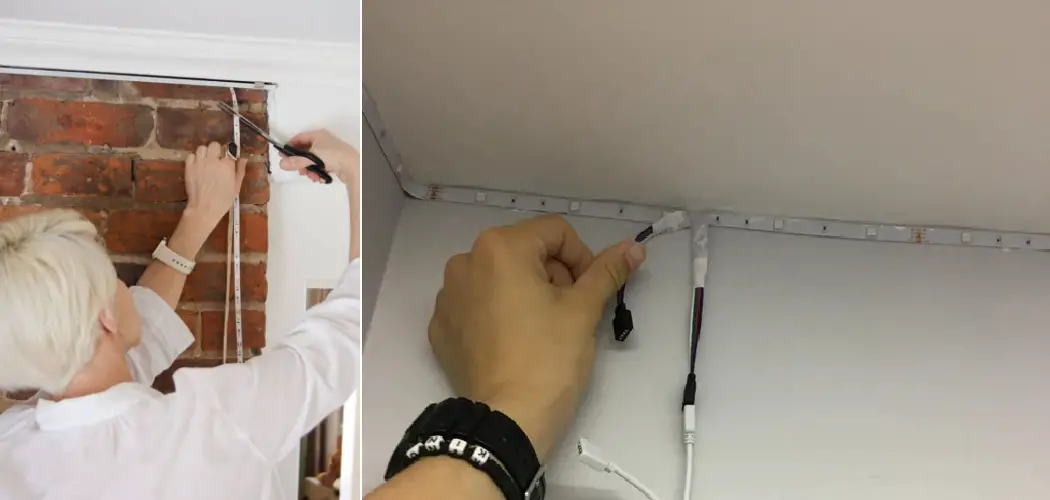
You will need to power down the LED strips before you start working on them. This is because it is very dangerous to work on live electrical circuits. If your lights have a removable power cord, unplug them from their power source. Or, if your transformer/power supply has screws, carefully unscrew one of them and pull apart the two halves of the plastic connector enclosure.
If you want to turn off the power to a light that is plugged into a wall outlet, you can just turn off the switch on the circuit breaker that feeds it. However, if the light is hardwired into the electrical system, you may need to turn off the power at the fuse box or by pulling out fuses.
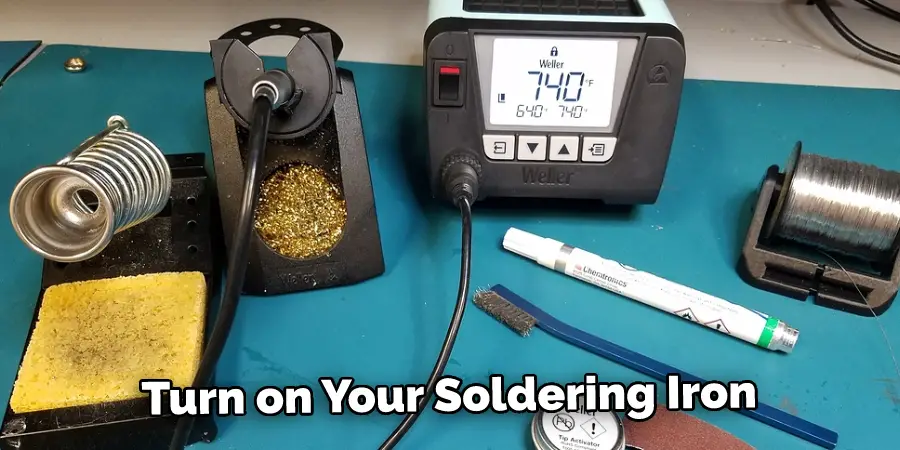
Step 2: Heat the Adhesive
Please turn on your soldering iron and get it good and hot. Then use the tip to melt through any glue holding the LEDs in place.
If you’re trying to melt through adhesive or cut open a flexible ribbon-style light, work slowly along one end in case there is a solder connection that could break if it gets too hot. Be careful not to let the soldering iron touch any leftover glue or silicone when you’re finished.
Step 3: Remove the Sticky Residue
If you want to remove the lights from a non-flexible strip, first make sure your soldering iron is hot. Then use the tip of the iron to melt through any residue that is holding the lights in place. The solder connection at the end of each colored section will have broken when you melt the glue, so you can just pull each light apart by grabbing it on either side of its cut sheathing and wiggling it back and forth until it comes free.
If you’re dealing with a flexible LED strip stuck inside an adhesive sleeve, this process can take some time since you need to melt through both layers before pulling them apart. If the strip is not flexible, you can try and remove it from one end. There are two ways to do this. If the adhesive sleeve has a slit or cut out on one side, you can insert a thin knife or other sharp object and pry the strip out through that opening. If there’s no slit or cut out, you can try and peel the sleeve off of the strip starting at one end.
Step 4: Make Sure Wall is Not Damaged.
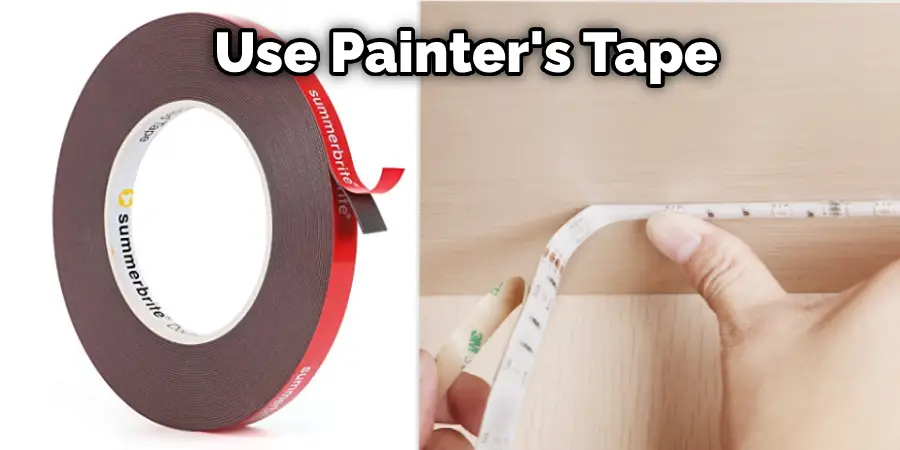
If you replace LEDs because they are burnt out, your work is done. But if you are removing them to move the lights to a new location, it’s essential to make sure the wall is not damaged after taking down led lights from it. Use a stud finder and hammer to locate any screws securing the strips and push them back through their holes (assuming there were no protruding anchors).
Then use painter’s tape and painter’s caulk (masking/spackling compound) to conceal any exposed screw holes or drywall cracks around the climbing holds.
Step 5: Separate The Wires
The adhesive holding the strip lights together has been melted away (or cut), so it’s time to separate the individual strip lights from one another. It’s easier to start with white strip lights, because they’re usually glued together less frequently than colored ones.
If your light set uses colored LEDs, you’ll probably find them attached through solder connections along their power supply lines rather than stuck together with adhesive or bundled up in heavy-duty sheathing like many standard white lighting options.
Once again, just slowly work single lights loose as you encounter them until all of the LEDs have been separated into their ribbon sections.
Step 6: Cut the Strip
Once all of your lights have been separated, you’ll see that they are attached with adhesive to one another along their length. You need to separate them so that wiring can be soldered between them if necessary.
This is an easy step but requires some patience as it isn’t always easy to cut through solder connections (although this is made much easier by using a soldering iron). You may want to try pushing sharp wire cutters into each connection until it snaps free or uses flush-cut side snips like these.
If you find it impossible to make any progress at all with diagonal cutters, don’t worry. Just go back and heat the solder connections with your soldering iron until they liquefy again so that you can remove them with your flush cutters.
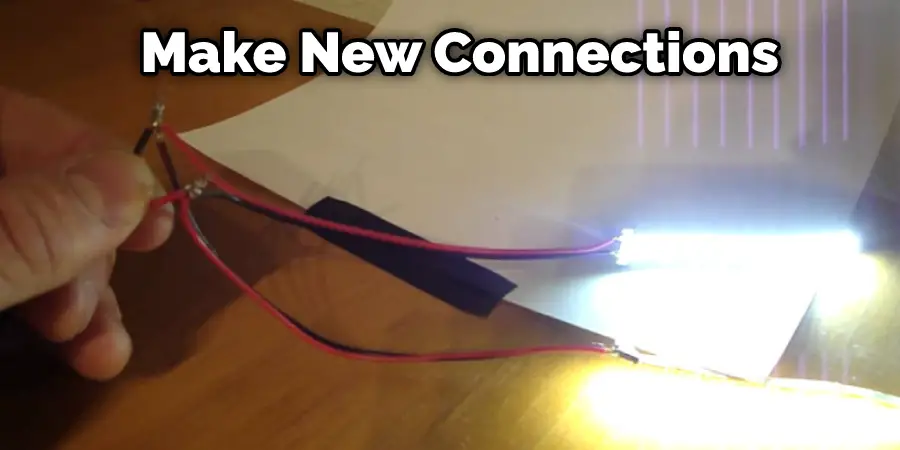
Step 7: Make New Connections
Now it’s time to wire up the lights. If you’re reassembling a pre-wired set, just solder everything back together in the same way it was when you unsoldered the parts in the first place. The solder connections used by lighting sets are usually not very sturdy due to their small size and should be fine regardless of how much soldering (or pulling apart) they’ve been through Taking Off Led Lights From Wall.
If you need to make new connections or take existing ones apart for any reason, heat each connection with your soldering iron until it liquifies.
Once the solder is liquid, you can use flush cutters to remove it or push your wire strippers in and cut through the metal strands inside.
Step 8: Reassemble Your Lights
Now it’s time to reassemble your lights. How you do this will depend on what kind of lighting option you have. If you have a flexible strip consisting of either LED or SMD lights, use the sticky tape already lining the inside to stick everything back in place.
If you’re working with one of our standard white LED strips, solder your wiring to the other side just as before taking care not to damage any bare spots where the glue has been rubbed off Since this soldering requires low heat and tends not to get very messy, you can probably do it without using a soldering iron which saves both time and money. In addition, these steps will help in how to take off led lights from wall.
Precautions
- Make sure the power is off before beginning work.
- Keep your hands and body away from any sharp objects such as nails or fixtures.
- Be careful with the knife; make use to cut only the sticky part of the led strip light.
- Try not to damage other parts like Switch Button or Wire Connector if possible.
- Don’t rush through this article, be patient and take your time. It might take you a few attempts before you succeed in removing the led lights.
- If you do not need to remove the Led strip light, you should leave it alone.
Frequently Asked Questions
How Much Does It Cost to Get Rid of Led Lights on My Walls?
If you want the taking down of the led lights to be easy and quick, then get a professional electrician or contractor. How much does it cost to get rid of led lights on my walls depends on the area that should be covered, the number of lights used, and other factors like if there are extra holes in your wall where cables pass through.
The price will always depend on how complicated the work is, so better to think twice before installing led light in areas where you have not done so earlier because chances are when removing them, it would give you a headache and cause more expenses than just simply buying an ordinary light or lamps.
Do Led Lights Peel Off Paint?
The modern led lights are built with materials that may not harm or peel off paint. Still, if you have some concerns about taking off the paint surface after installing led lighting, it is best to try out on a piece of test material before applying it to your main wall.
Conclusion
It is straightforward to take off the led lights from the wall. You just need a screwdriver to remove the screws holding the light in place. After removing the screws, you can pull out the light and disconnect it from the wires. Be careful not to damage the cables when you are disconnecting them. Once you have disconnected the cables, you can put back all the screws and push the light back into place. Now your light should be removed from the wall. We hope you have learned how to take off led lights from wall.