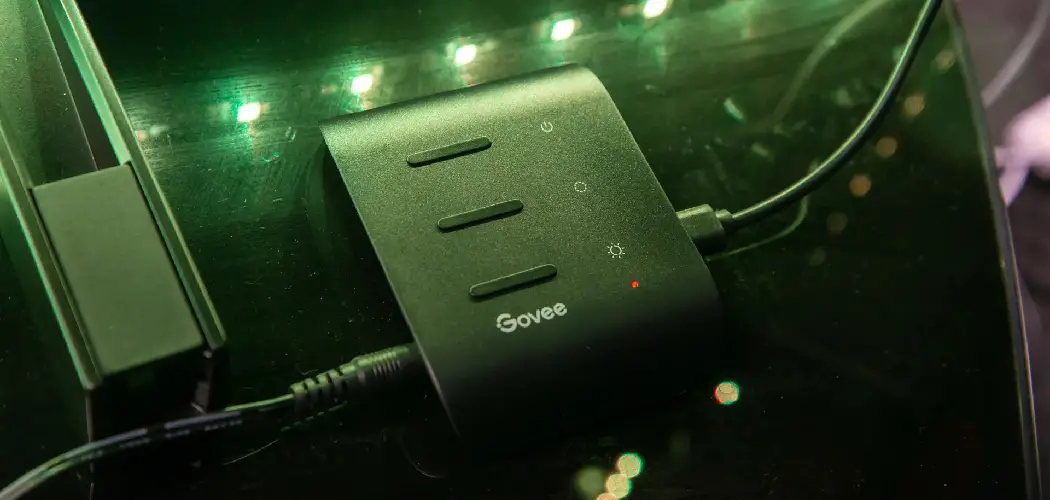
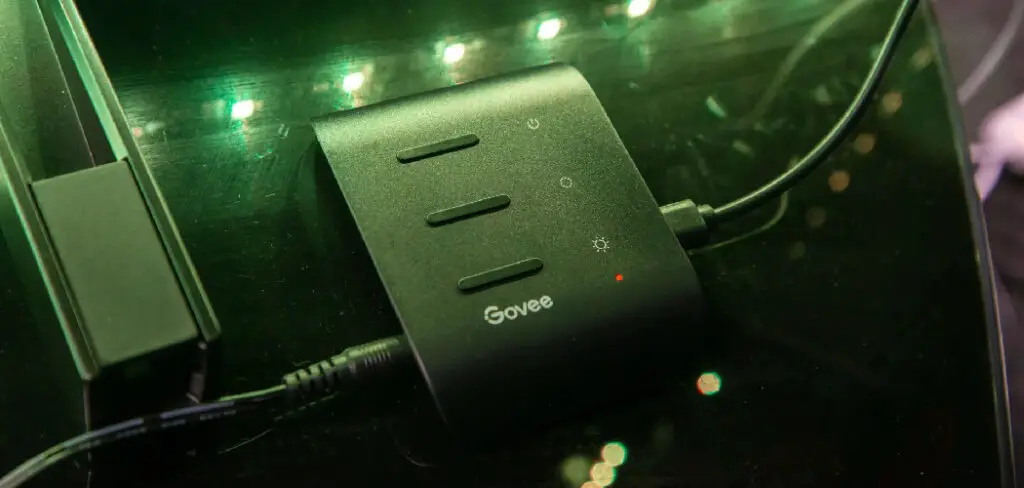
If you want to add some extra flair to your home or office, consider adding some LED strips. LED strips are a great way to light up a dark space, and they come in various colors and styles. But if you want to control more than one LED strip with one switch, you’ll need to wire them together. This article will discuss how to wire multiple led strips to one switch.
Summary: Wiring multiple LED strips to a single switch allows you to control the lighting of several strips simultaneously, creating a cohesive and convenient lighting setup. The process involves connecting the LED strips in parallel to the switch, which ensures consistent voltage and brightness across all strips. Before starting, gather the necessary tools and materials, such as LED strips, a switch, a power supply, wire connectors, a wire stripper, and a screwdriver. Ensure that the power supply has a suitable voltage and current rating to accommodate the total power consumption of all connected LED strips.
Begin by determining the appropriate layout for your LED strips, taking note of the lengths and positions where each strip will be installed. Cut the LED strips to the desired lengths, making sure to cut only at the designated cut points marked on the strips. Strip approximately 1/2 inch of insulation from the ends of the wires that will be connected to the switch and power supply.
Connect the positive (usually red or white) and negative (usually black) wires of each LED strip to the corresponding positive and negative terminals of the switch using wire connectors or by soldering the connections. It is crucial to maintain consistent polarity throughout the wiring process to ensure proper functioning of the LED strips.
Once all the LED strips are connected to the switch, connect the positive and negative terminals of the switch to the positive and negative output terminals of the power supply, respectively. This can be done using wire connectors, soldering, or terminal blocks, depending on the specific components being used. Secure all connections to prevent accidental disconnection or short circuits.
Finally, plug the power supply into an electrical outlet and test the switch to ensure that all LED strips turn on and off simultaneously. By following these steps, you can effectively wire multiple LED strips to a single switch, allowing for convenient and unified control of your lighting setup.
If you want to wire multiple LED strips to one switch, it’s possible, but easy. The way you wire them together depends on the power supply that your LED strips use. There are two types: Constant Voltage and Constant Current. Each type requires a different method to connect multiple strips to one switch, so be sure to read through this article before starting your project.
Constant Voltage
If your LED strips use constant voltage, each lead will correspond to either the positive or negative side of that led strip. There will be three wires coming out of the power supply – one red and one black for each side. Then there will also be two grey ones. The grey wire acts as a common negative. All the led strips you want to connect to one switch need to have grey wires exposed, and all exposed grey wires should be attached.
How you expose the exposed wires depends on how your particular LED strip is designed. If it’s a waterproof type, you need to pry off the rubber part at the end of the wire. If it’s simply a non-waterproof type that you’re looking at, then you can just cut through the rubber part and pull it off.
Constant Current
The leads on your LED strips typically correspond to one-third of the voltage if they use constant current. There are usually four wires coming out of the power supply – one red and three blacks for each side. How they connect depends on the kind of switch you use, but typically you can wire them all in parallel across two sets of terminals.
How these two sets of terminals are labeled depends on which particular switch type you’re looking at. Typically it won’t matter, though, because most switches will have multiple colors or multiple markings that denote the different connections inside.
Materials
- Electrical Tape (+)
- Wire Stripper or Scissors (-)
- Electrical wire (14 AWG) (Black, Red, Green)(+,-)
- LED Strip Light w/Remote Control (~$20 – ~$50 depending on Size)(+)
- Inline On\/Off Switch (~$4.00)(-)
Assorted tools to remove the case from the LED light bar and drill holes in the wall for the switch plate.
A Detailed Guide on How to Wire Multiple Led Strips to One Switch
Step 1: Determine How Many Led Strips You’ll Be Using
This is a significant step in How to Wire Multiple Led Strips to One Switch because it determines the power supply that you’ll need and how much wire you will need. By selecting how many strips of LED lights you will be using, you can choose whether or not your power supply will be compatible with the number of strips. There’s no point in getting a 20ft roll of LED Strip Lighting if all you’re going to do is hook up one strip!
Once again, make sure your power supply has enough wattage for each set of LED Strip lights that you will be powering! This can be done by figuring out the total wattage needed for every led light strip. You will want to make sure that the wattage of each set is equal. For Wiring Multiple Led Strips to One Switch, you should always double-check how many watts your LED strip lights are using.

Step 2: Calculate Your LED Strips Wattage
This can be done by multiplying the voltage by your led strip lights’ amperage(or amps).
You will want to minimize power loss when wiring multiple LED strips to one switch. To do that, you’ll need a thick gauge wire. Look for 16-gauge wire, which is considered standard house wiring and low voltage lighting wiring. It is very flexible and somewhat forgiving in making mistakes during installation. You will need a set of crimping pliers or lineman pliers so you have something strong enough for this task.

For this project, I have chosen the following wire specifications: Voltage = 12v Amperage = 4.2A How many LED Strip lights = 1 How large is my Power Supply = 2200W
The equation for figuring out how much wattage you will need from your power supply is V(volts) x A(amps)= W(watts). So, in this case, it would be 12Vx4.2A= 49.6 watts. Make sure that your power supply can handle a minimum of 50 watts! With a 5W loss during electricity transfer, you’ll want a power supply with at least 60W capacity to aim for perfection.
Step 3: Determine How Much Wire You Need
Now that you know how much wattage your power supply needs, you can easily calculate how much wire you’ll need. Just divide the wattage by the voltage of the battery or power supply. The equation for calculating this is as follows: Wire Size = (LED Strip Amps) / Voltage. For example, our project will use 4.2 amps and 12 volts, so the equation would be: Wire Size = (4.2A)/12V= 0.3675ft. This means that our project will use about 58 inches of wiring total.
Step 4: Start Wiring
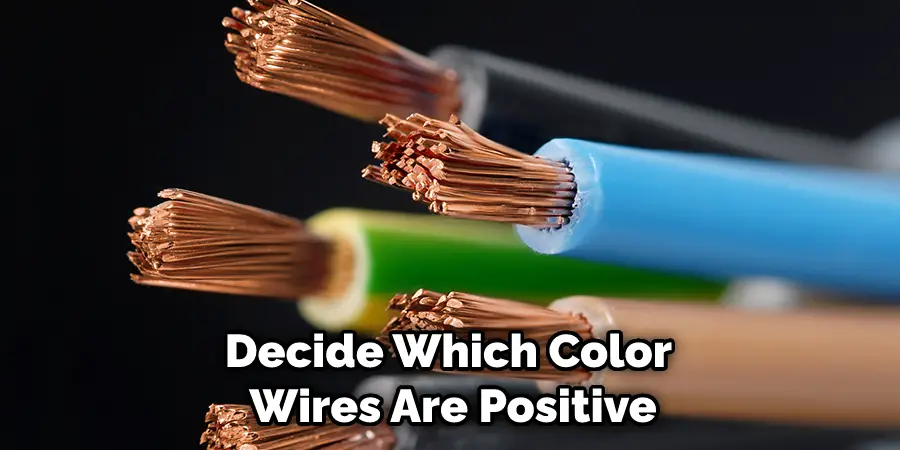
Before Wiring Multiple Led Strips to One Switch, decide which color wires are positive and negative(+) and (-) ends. I chose the white wire as my positive(+) end and my black wire as my negative(-) end.
Now that you have all of your materials gathered up, it’s time to start wiring! First, cut off eight equal lengths of wire from your roll. How many you use will depend on how long they are.
Then, split the wires into two sets of 4 pieces each which are the same length. Next, strip about 3 inches of insulation off each wire so that none is left over, exposing copper color metal inside. This can be done quickly by using a wire stripper or scissors if you’re struggling. Next, strip off the insulation from one end of each wire, and attach them to your LED strip lights.
Ensure that the exposed metal is attached to a wire with a color that matches what you want it connected to on your power supply. + Then make a new set of cables the same way as before by splitting 4 inches of exposed copper from both ends.
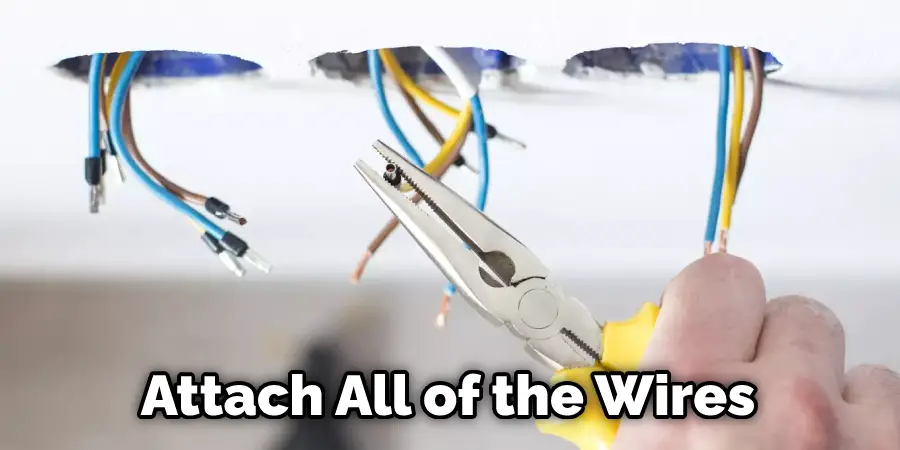
Next, you will need to attach two sets of wires together so that you have a total of eight wires. It is important to make sure that you connect the wires that have the same color together (either positive or negative), but do not cross them over. Otherwise, your LED strip lights will not work. How you connect the wires is entirely up to you. One way to do it is to tie all of the white wires together with one colored wire, and then tie all of the black wires together with another colored wire.
This will make your wiring very neat and organized, especially if using Wiring Multiple Led Strips to One Switch.
Now that your positive(+) end has been connected to all of the white wires, continue this process until it’s attached to both ends of your power supply (positive & negative). How you decide which colors go where is entirely up to you! I decided on how they went by connecting my first set of 4 white wires to positive first, then the second set of 4. Then I joined my first set of 4 black wires to negative first, then the second set of 4.
Step 5: Attach The Wires To Your Battery
This step can be tricky, so make sure you pay attention! First, we’re going to attach all of the wires to avoid losing connection. I stuck my wires by finding the 8th point on my power supply and making them meet there. How I found this point is pretty simple. Take one wire from each set, then add one extra for good measure, and attach it to your battery or power supply at one end.
Then take another wire from each group of 4, again adding an extra just in case, and attach it to the other side of your battery/power supply.
Repeat this process until every wire is attached to the 8th point of your power supply. How you decide which set of 4 wires goes is entirely up to you! I decided who went where by making sure that my two sets were attached in alternating order, like this: 1-4-7, 2-5-8, 3-6-9, and so on until all wires were attached.
Step 6: Finishing Touches
Turn on your power supply to ensure that everything is connected correctly. I found that my wiring was correct by turning on my strip lights then checking the color emitted from each LED bulb. I did this by attaching wires to all 4 of my battery terminals(positive & negative) and holding down the button to turn on the switch(battery pack).
I checked for a connection by placing a wire in each terminal, pressing down the button until it turned green, letting go and the light should stay lit up. If you let go too fast or there isn’t a connection, it will flash three times. When you press the button(battery pack) on the switch, it should also turn on.
Lastly, you need to cover up your connections so that they don’t short circuit on anything or anyone! I covered my wiring by using black electrical tape to wrap around all of the ends of each wire(positive & negative). My tape was by placing a line down the middle of each group of wires then wrapping them either clockwise or counterclockwise until they were entirely covered with no gaps; how you decide which direction is up to you!
This step isn’t necessary if your positive and negative are already attached. There’s less chance of short-circuiting, but remember not to let others handle wiring without covering it up first! How I decided whether or not I would cover up my wiring was by adding one more set of 4 wires that will attach to the battery pack. These steps will help in how to wire multiple led strips to one switch.
You Can Check It Out to: Wire Led Light Bar Without Relay
Precautions
- Always keep electrical components away from water and non-conductive materials such as wood floors and furniture. It’s also good not to work on surfaces that can easily be stained or scratched (carpets, etc.). Instead, work on a surface that will allow you to clean up any spills quickly.
- Double-check that the power is off before connecting or disconnecting wiring from components and outlets.
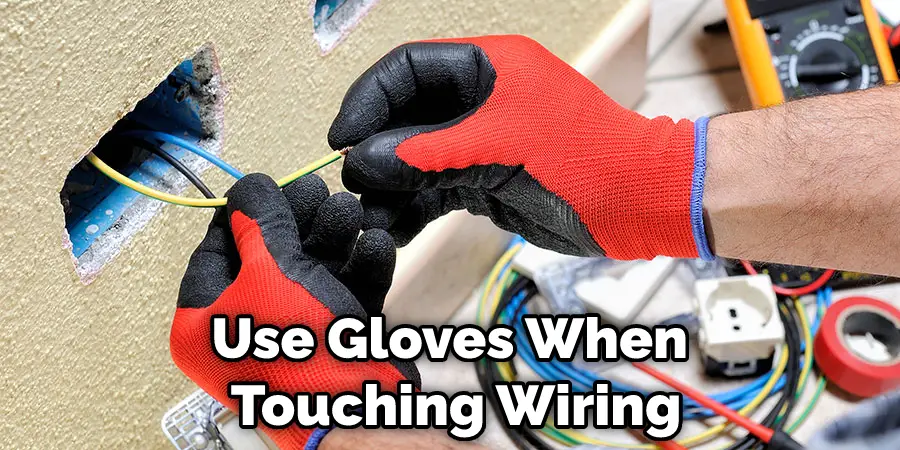
- Use gloves when touching wiring or wire connectors as they can be sharp and may cause injury if mishandled – use eye protection when working with leds as fragments of broken bulbs may damage your eyes.
- When led strip lights are connected to the power source, some do not have an on/off switch directly built-in, so you must turn them off using the plug instead. It is also just as important to unplug strips before moving them or storing them for any time.
You Can Check It Out to: Connect Multiple Led Strips to One Power Source
Frequently Asked Questions
Can You Connect Multiple Led Strips to One Power Supply?
Yes, you can connect multiple LED strips to one power supply. The best way to do this is by using a strip controller. A strip controller is a device that allows you to control the brightness, color, and other properties of multiple LED strips from one location. This makes it easy to create custom lighting effects without having to individually adjust the brightness, color, and other properties of each LED strip.
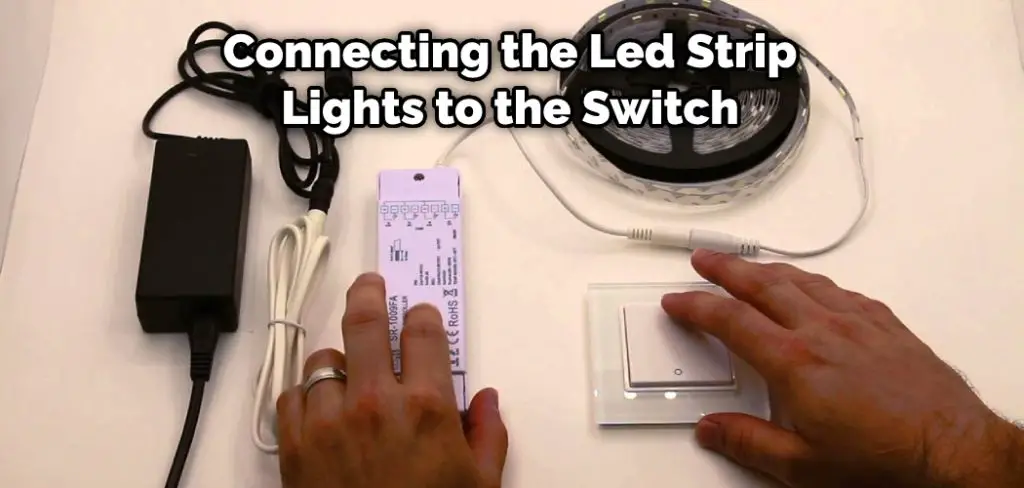
Can You Wire Led Strip Lights to a Switch?
Yes, you can wire Led Strip Lights to a switch. This is a great way to create a custom lighting solution for your home or office. By connecting the Led Strip Lights to the switch, you can control the lights from anywhere in the room.
This makes it easy to create a custom lighting scheme for your space. You can also use the switch to turn off or dim the lights remotely.
Should Led Strips Be Connected in Series or Parallel?
When it comes to Led Strip wiring, the answer is…it depends! When connecting led strips in series, you’ll save battery life by combining the light output of each strip into one continuous stream. This will result in a brighter display overall since there won’t be any separate “off” sections between each LED.
However, if you’re looking for an even distribution of light throughout your lamp or workspace, the parallel connection may be a better option. In this configuration, each individual strip outputs its own light rather than being combined together. Parallel connections are typically less expensive as well since they use fewer wires overall.
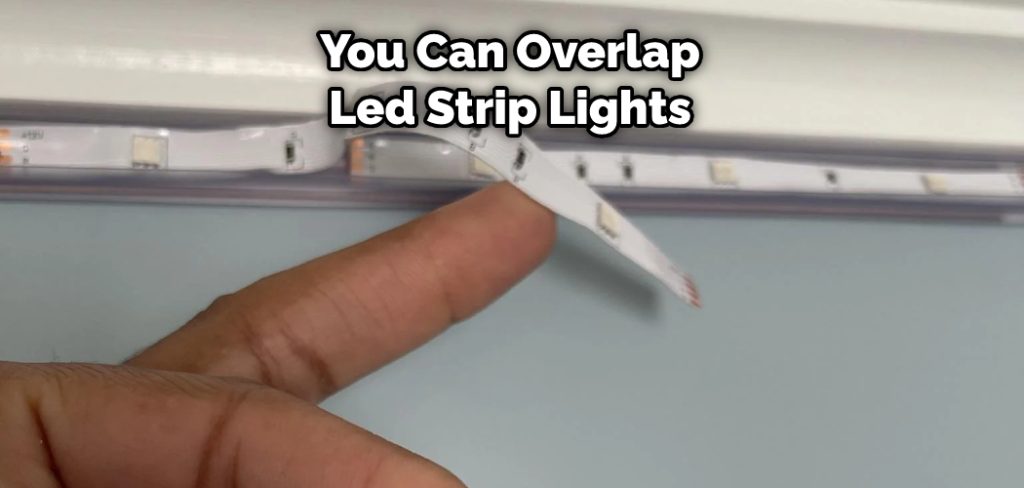
Can You Overlap Led Strip Lights?
Yes, you can overlap LED strip lights. However, it is important to make sure that the spacing between the lights is consistent throughout the entire length of the strip. If the spacing is not consistent, the light output from each light will be uneven and could potentially cause problems with visibility or glare.
Conclusion
We hope this article on how to wire multiple led strips so one switch will help you. Wiring multiple LED strips to one controller is not as difficult as it may seem. With a few simple tools and some patience, you can have your new lighting system up and running. Be sure to consider the wattage of your light strips when selecting a switch, and always use caution when working with electricity. Finally, have fun with your new lighting system!