Are you looking for a way to give your vehicle’s lighting system a modern boost? Installing an LED light bar can be the perfect solution. LEDs come in various sizes and shapes, so there’s something available for any project. But once the light is on, it requires sealing to protect it from moisture, dust, and dirt – so what steps do you take to seal your LED light bar properly? In this post, we’ll show you how to seal led light bar!
If you’ve recently invested in a new Led Light bar and are looking for ways to ensure it stays securely sealed, then you’re in the right place. Today we’ll be discussing some of the best practices for sealing your light bar properly so you can get long-term use out of it without any water or debris getting inside and damaging its delicate components. Keep reading for more information!
What Will You Need?
Securing your LED light bar is a multi-step process that involves several tools and materials. Before getting started, make sure you have the following on hand:
- Rubber sealant or silicone
- Masking tape
- Foam weather stripping
- Scissors or utility knife
- Clean cloths or paper towels
- Water-based degreaser or rubbing alcohol
- Drill and drill bits
- Wire cutters or scissors
- Small screwdriver
- Clean, dry workspace
With your supplies in hand, you’re ready to get started.
10 Easy Steps on How to Seal Led Light Bar
Step 1. Clean the Surface:
Before applying any sealant to your LED light bar, ensure it is clean and free of dust or dirt. Use a water-based degreaser or rubbing alcohol to clean any residue off of the light’s surface, and dry it thoroughly with a clean cloth or paper towel. This will help ensure that your sealant adheres to the surface properly.
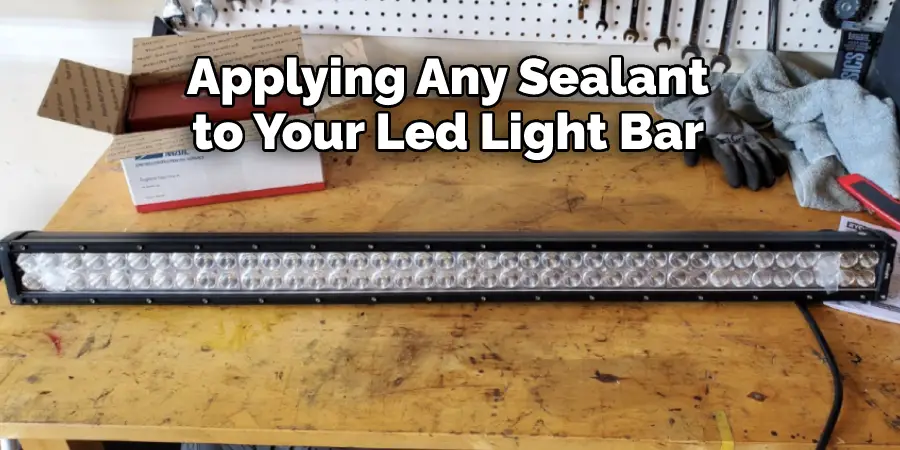
Step 2. Apply Your Sealant:
Once your LED light bar is clean and dry, you can apply your sealant. Begin by carefully applying a layer of sealant across the surface of your light bar, ensuring that it is evenly applied and reaches all edges. If you are using a silicone-based sealant, make sure to let it dry according to the instructions on the packaging before moving on to the next step.
Step 3. Let the Sealant Dry:
In most cases, you will need to let the sealant dry for at least 24 hours before moving on to the next step. While some sealants may require more or less time to set, we recommend following the manufacturer’s suggested timeframe for best results. Be careful not to disturb or touch the sealant too much during this process, as it can weaken its adhesion and compromise how well your light bar is sealed.
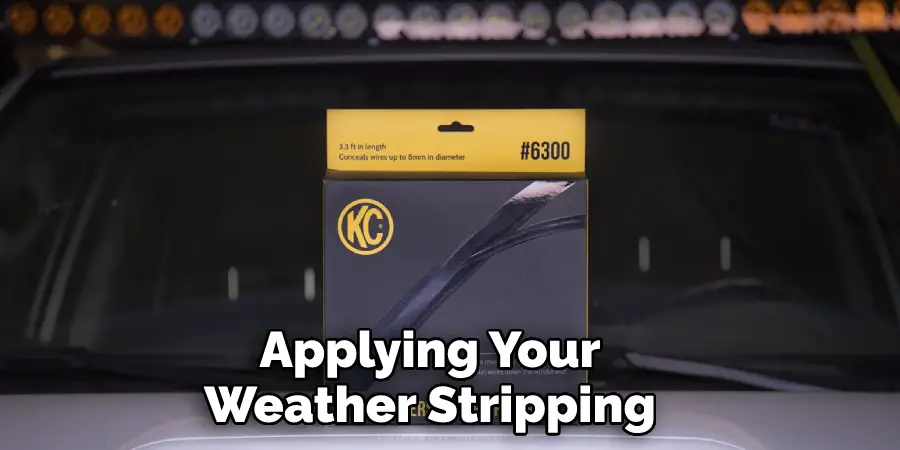
Step 4. Cut Your Weather Stripping:
Once your sealant has fully set, you can begin cutting and applying your weather stripping around the edges of your LED light bar. This will help create a tight seal between the light and any other surfaces in your vehicle, further protecting against moisture, dust, and dirt getting inside. Before cutting the strips, lay them down on a flat surface so they fit smoothly against each edge. It’s usually easiest to apply these strips by hand, but you may also be able to use a small screwdriver if needed.
You Can Check It Out to Add a Ceiling Light to a Switched Outlet
Step 5. Test Your Seal:
Once your weather stripping is in place, you can test how well your seal is holding up by running a damp cloth along the surface of your LED light bar. If any water or liquid makes its way through, you may need to apply more sealant and repeat the process until there are no openings or gaps in the seal. Otherwise, you’re ready to move on to the next step.
Step 6. Attach Your Light Bar:
Once your seal is fully set, you can begin attaching your light bar to its intended mounting location in your vehicle. Depending on how it was installed, this may require the use of a drill with various bits or other tools depending on how it was secured. Before any drilling or bolting takes place, consult the manufacturer’s instructions and ensure that all electrical wires are properly disconnected from the light bar as needed.
Step 7. Get in the Garage!
Once your LED light bar is securely attached and sealed, it’s time to put it into your vehicle and head to the garage for peace of mind. It’s important to keep an eye on how well your seal holds up over time. So if you notice any cracks or gaps starting to form, take some time to address the issue immediately. This can help prevent any moisture, dust, or dirt from getting inside and damaging your light bar.
Step 8. Maintain Your Seal:
To keep your LED light bar sealed properly over the long term, you must continue to maintain and monitor the sealant as needed. This may include cleaning and reapplying sealant periodically or replacing weather stripping as needed. You can also use this opportunity to inspect how well your light bar is working and how much wear it has sustained from regular use in your vehicle. If you notice any issues with durability or performance, it may be time for a replacement.
Step 9. Stay Safe on the Road:
Finally, no matter how well you seal and maintain your LED light bar, it’s important to always drive safely on the road. This means taking any necessary precautions to avoid getting in an accident or putting yourself or others at risk. Whether this involves keeping your hands on the wheel at all times or simply driving with caution, staying safe is key to making the most out of your LED light bar and enjoying it for years to come.
Step 10. Avoid Repairs and Enjoy the Benefits of a Sealed LED Light Bar:
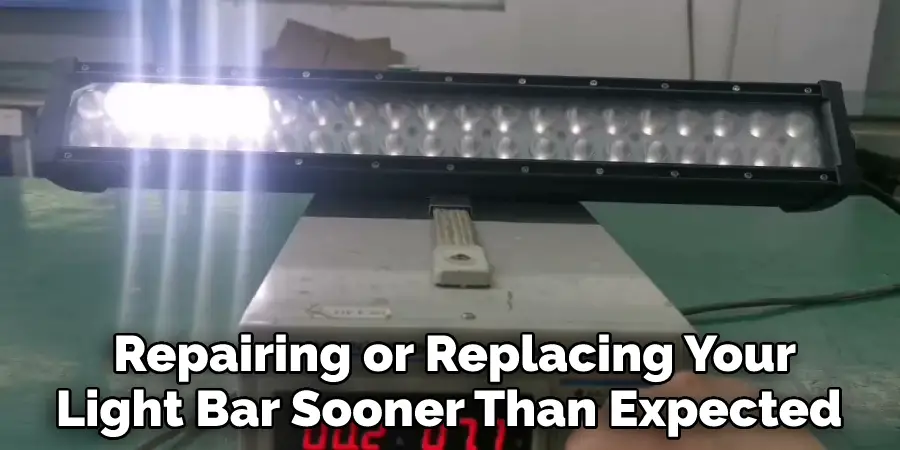
By carefully sealing and maintaining your LED light bar, you can prolong its lifespan and help reduce the risk of accidents by ensuring that it works well at all times. This can help save time, money, and hassle down the road when it comes to repairing or replacing your light bar sooner than expected. So if you’re looking for an easy way to keep your LED light bar in top condition and prevent issues down the line, follow these simple steps and enjoy all the benefits of a sealed LED light bar today!
Following these steps, you can easily seal your LED light bar and protect it from moisture, dirt, and other elements that may cause damage over time. So if you’re looking to get more out of your LED light bar and enjoy all its benefits without any unnecessary hassle, be sure to follow these easy steps every time.
5 Additional Tips and Tricks
1. Use high-quality sealant and weather stripping that is designed specifically for use with LED light bars.
2. Consider adding foam or another padding in between your light bar and its mounting location to help create a tighter seal.
3. Use electrical tape or other insulation to protect any exposed wiring, as moisture can easily damage these components over time.
4. Keep an eye on how well your seal holds up over time and address any issues immediately.
5. Drive safely at all times to minimize the risk of accidents and enjoy peace of mind while using your LED light bar on the road.
These simple tips and tricks can help make sealing your LED light bar a breeze and help you get the most out of this valuable accessory. So why wait? Start sealing your LED light bar today and enjoy all its benefits confidently!
Does a Light Bar Need to Be Covered?
There is no definitive answer to this question, as the best way to seal your LED light bar will depend on various factors. Factors that can influence how well your light bar needs to be sealed may include the type of vehicle you are using it in, how the light bar is mounted, how often you use it, and how much wear and tear it has sustained over time.
That said, one general rule of thumb is to seal and maintain your light bar regularly to keep moisture out and prevent any issues that might arise. This could include cleaning and reapplying sealant as necessary or replacing weather stripping as needed.
In addition to sealing your light bar itself, it’s also important to drive safely at all times to minimize the risk of accidents and prevent damage to your vehicle or others. This may involve taking necessary precautions such as staying focused on the road, obeying traffic laws, and avoiding distracted driving at all times.
Overall, how well a light bar needs to be covered will depend on several factors specific to your situation. Whether you choose to seal your light bar regularly or take other precautions on the road, it is important to do what you can to protect this valuable accessory and get the most out of it over time.
Frequently Asked Questions
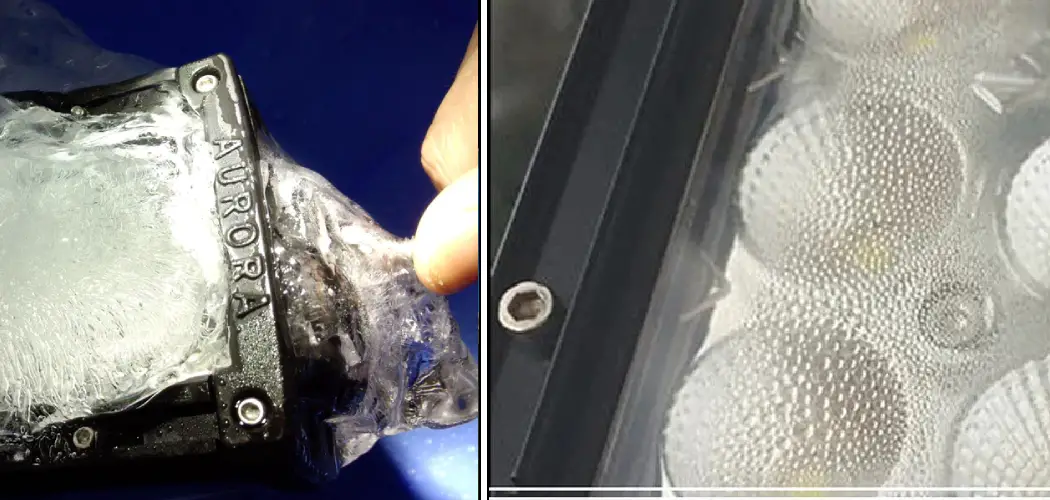
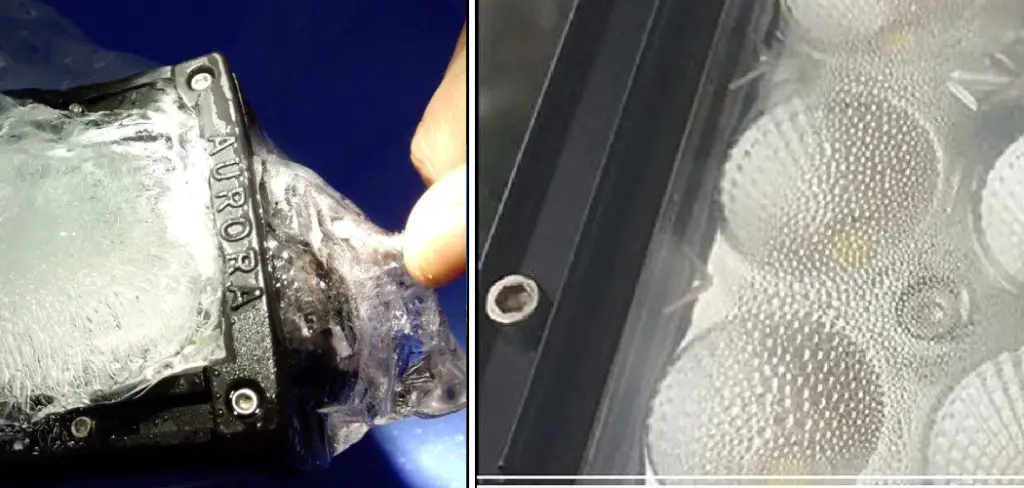
Why is My Light Bar Getting Moisture?
There can be various reasons why your light bar might be getting moisture. One possibility is that there is a leak in the light bar’s enclosure. Another possibility is that condensation has formed on the light bar, which could be due to high humidity levels or a cool environment. If you notice any of these signs and you can’t find a source of the moisture, then it might be time to take your light bar in for repair or replacement.
Is It Safe to Put Electrical Tape Over Led Lights?
The safety of using electrical tape over LED lights depends largely on the specific product and how it is used. Generally speaking, though, it is generally safe to use electrical tape over LED lights if the tapes are applied properly and do not come into contact with the light source. If there are any questions or concerns about the safety of using electrical tape over LED lights, it is always best to contact the manufacturer of the product for clarification.
What Tape is Good for Led Lights?
The best tape for Led Lights may vary depending on the specific application and environment. Some potential options for tape that may be good for Led Lights applications include:
- PVC insulation tape: This type of tape is designed to protect against water and air leakage, which is important for applications such as Led Lights. PVC insulation tape is also weatherproof and can be used in a variety of environments, including the outdoors.
- Electrical tape: This type of tape is specifically designed to adhere to surfaces and cover large areas quickly and easily. It is also waterproof and can be used to cover led lights or other electrical devices.
- Masking tape: Masking tape is often used in painting and decorating applications, and is designed to stick to many surfaces. It is also easy to remove once it has been attached, which is important for applications such as led lights where removal is necessary for maintenance or repair.
- Gaffer’s tape: Gaffer’s tape is a type of rubberized cloth tape that can be used for a variety of tasks, including lighting. It is weatherproof and has a strong adhesive properties, making it suitable for applications such as Led Lights.
Can I Put Cotton on Led Lights?
Cotton is a natural fiber and, as such, may be suitable for some applications involving led lights. However, it is important to test the application on a small scale first to make sure that the cotton will not cause any damage to the led lights or other surfaces. If you are uncertain about the suitability of cotton for an application involving led lights, it may be best to consult with a professional who can guide you through the testing and application process.
Conclusion
Applying a sealant to your LED light bar is an easy way to ensure its longevity. By following the steps outlined above, you can extend the lifespan of your LED light bar and keep it looking great for years to come.
In conclusion, you must find the right lead light bars supplier. You want to ensure they have a good reputation and can provide you with the products you need. When it comes to sealing your led light bars, there are a few things that you need to keep in mind. You need to make sure that you find the right method for your specific application and needs.
Hopefully, the article on how to seal led light bar has provided you with some useful tips and tricks for getting the most out of your light bar. Thanks for reading!