Many pool owners forget about the importance of sealing their pool light cable. Yet, this is a crucial step in ensuring that your light stays watertight and does not leak. In this article, we will walk you through how to seal pool light cable. Follow these simple steps, and you will be able to rest assured that your light is well-sealed!
Summary:
Sealing the pool light cable is a critical step in the installation and maintenance of underwater pool lights, ensuring the safety and longevity of the lighting system. Proper sealing prevents water from entering the electrical components, which could lead to short circuits, electrical shocks, or damage to the light fixture. The process typically involves using waterproof sealing components, such as conduit fittings, junction boxes, and sealants, to create a watertight barrier around the cable connections and entry points.
To begin sealing the pool light cable, first, ensure that the power supply to the pool light is turned off by switching off the circuit breaker or removing the corresponding fuse. Next, install a conduit system to protect and route the cable from the pool light to the junction box, which is typically located above the water level and at a safe distance from the pool edge, as specified by local electrical codes. When connecting the cable to the light fixture, use a watertight conduit fitting or a cable gland to create a secure and waterproof connection at the point of entry.
Additionally, apply a waterproof sealant around the cable entry point and any exposed cable connections to further prevent water infiltration. Finally, connect the pool light cable to the junction box, ensuring that all connections are tight and secure, and that the box itself is watertight and properly grounded. Once the sealing process is complete, restore power to the pool light and test it to ensure proper operation. By thoroughly sealing the pool light cable, you can create a safe and reliable underwater lighting system that is protected from water damage and potential electrical hazards.

Tools and Materials
- Caulking Gun
- Two-sided blade utility knife.
- 1 Tube of Silicone Pool Light Sealant
- Rope or Sock
A Step by Step Guide on How to Seal Pool Light Cable
Step 1: Turn Off Power to the Pool
Before you open your pool light, make sure the power is off. The best way to do this is to go to the pool’s pump room and find the circuit breaker for the light. Turn off both sides so that no power can get through. You want to be sure there is no stray voltage when you remove the cable because it could cause severe injuries if it’s not properly discharged first.
Step 2: Remove Cable from Receptacle
Using a small flathead screwdriver, remove the two screws holding down the faceplate of your receptacle. Pull out any wires connected inside using pliers, or gently pull on them with your hands until they come loose. This should reveal the cables connected to your pool light.
Step 3: Remove Cable from Light
Use a small, flathead screwdriver or two-sided blade utility knife to carefully remove the gasket that seals over the opening of the pool’s light. Once removed, use pliers to pull out any remaining wires still attached inside. If there are any wires with exposed metal on them, use wire cutters to trim them down so they don’t come in contact with each other while not being protected by insulation.
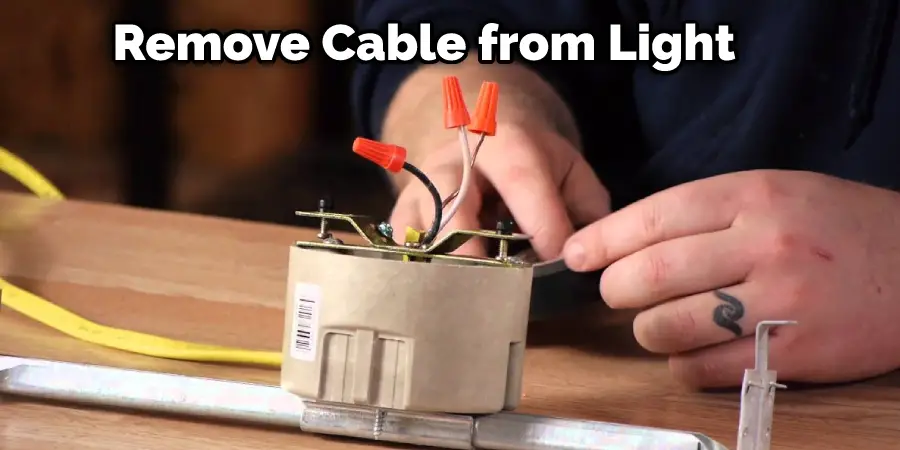
This could lead to a short circuit which would send voltage through whatever it touched, including yourself, causing injury or death depending on how much voltage was initially sent through them. Once all of this is done, you can now take your cable and pull it away from the light. How you go about doing this will depend on the kind of cable used, but most are removed by pulling them straight back and not upward.
Step 4: Removing Cable Sealant
Inside your pool’s receptacle, you should now see a rubber gasket around the opening, which keeps water inside while not in use for extended periods. This gasket does an excellent job of ensuring water doesn’t enter, so be careful when removing it as applying too much pressure can easily break or tear it. Once you have successfully removed the old sealant with your fingers or small flathead screwdriver, scrape it off using either one of those tools and dispose of it accordingly.
Step 5: Replacing Cable Sealant
Now you need to put a new silicon gasket on the pool light cable receptacle. Put a small amount of gasket on one side of the new rubber gasket. Spread it out evenly with your finger or a small screwdriver. Make sure you don’t put too much gasket on, or it will squish out from under the receptacle when you put it back in place.
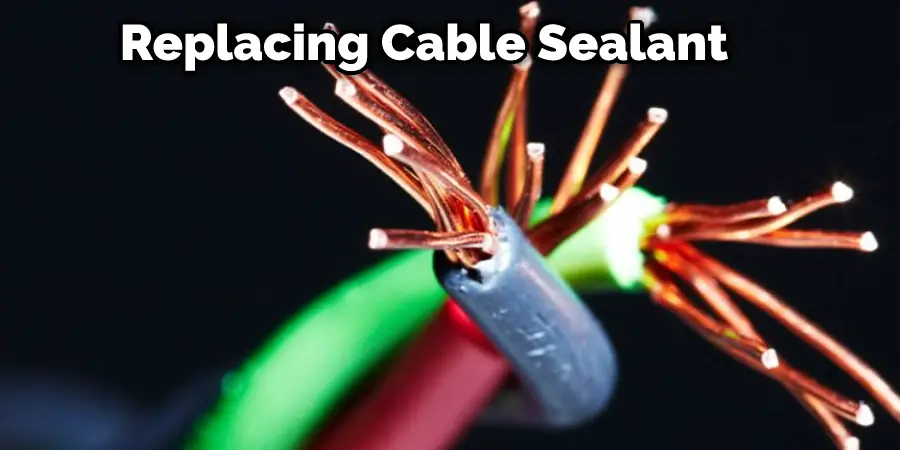
Once you have done this, carefully slide the seal over the opening and make sure it sits flush against your receptacle’s sides before putting it back in place. You can now push the wire through and reinsert them into their respective holes before screwing everything down tightly and turning the circuit breaker back on.
Step 6: Routing Cable So It Doesn’t Get Stuck
It would help if you had previously routed your metal cable out of the way, so it doesn’t interfere with anything once you replace your pool light cover. This is done by first coiling the length of wire into a sort of spring before tucking it into a corner or space to keep it in place until you’re ready to turn the power back on. Of course, how straightforward this process is will depend on how much excess cable you have leftover, so do whatever works best for your scenario.
Once complete, make sure to pull gently on each end of your steel cable, but not too hard to tug through the cord itself, which could cause damage requiring replacement. Once everything is prepared and secure, you should have no problem turning the power back on and enjoying your newly sealed pool light.
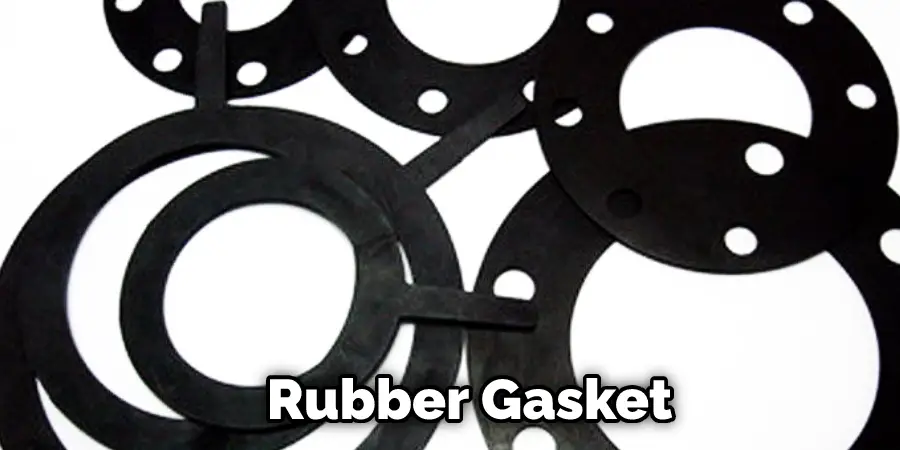
Step 7: Use Rubber Gasket
Using a new rubber gasket, seal over your new cable just as you did with the old one inside the receptacle. You can use either a pea-sized amount or about a dime’s worth of sealant for this job which can be found at your local hardware store or wherever you purchase home improvement items.
Follow steps 3 through 6 when routing your wire before replacing any pool light covers you might have in place. How you go about putting your cover back on will once again depend on the style you have, but most are screwed or snapped back into place. This gasket works by keeping any water out of the receptacle when not in use, so make sure to test it before reattaching any covers to be safe.
Step 8: Cure New Sealed Cable
Before testing your newly sealed pool light cable, it’s always best to let the gasket cure overnight to ensure there are no leaks. This curing process involves filling both ends of the pool with water and letting them sit for 24 hours before draining them thoroughly. If all goes well during this period, you should see everything dry up inside, which means you’re in the clear and ready to test your new cable!
You Can Check It Out to: Install a Nicheless Pool Light
Frequently Asked Questions
What Is the Average Cost of a Pool From Pool Kings?
Pools from Pool Kings often cost between $1,000 and $5,000. This range is based on factors such as the size of the pool, type of vinyl or concrete decking, and other features that are included in the package. Pool Kings also offers a variety of financing options that can help you to get your pool installed quickly and affordably.
Can You Put Solar Lights Around a Pool?
This is an effective and affordable way to add some extra illumination while keeping your pool area looking neat and clean. Solar lights are easy to install and require minimal maintenance. They also provide hours of soft light that will make the surrounding area look brighter and sleeker.
Conclusion
Pool light cables can be sealed with pool putty or caulk. If you are using a caulking gun, cut the nozzle off the tube and insert it into the hole on the end of the cable. Squeeze out the caulking until it is about 1/2 inch thick. Let dry for 24 hours before using your pool. You have now successfully sealed your pool light cable! We hope you have learned how to seal pool light cable.
You Can Check It Out To Install a Pool Light Wedge