Ceiling light covers are a necessary evil. They’re there to protect the lightbulb and housing, but they’re such a pain to remove when changing the bulb. If you don’t have any screws on your cover, you’re in for a real treat or, should I say, a nightmare. This article will show you how to remove ceiling light cover no screws using only primitive tools and elbow grease. Let’s get started!
Ceiling light covers are usually attached to the light housing with screws. If you don’t have any screws on your cover, it’s probably attached with adhesive. In this case, you’ll need to use a tool to pry the cover off.
Tools and Materials
- Flathead Screwdriver
- Phillips Head Screwdriver
- Masking Tape
- Newspaper
- Pencil
- Safety Glasses
- Work Gloves
A Step by Step Guide on How to Remove Ceiling Light Cover No Screws
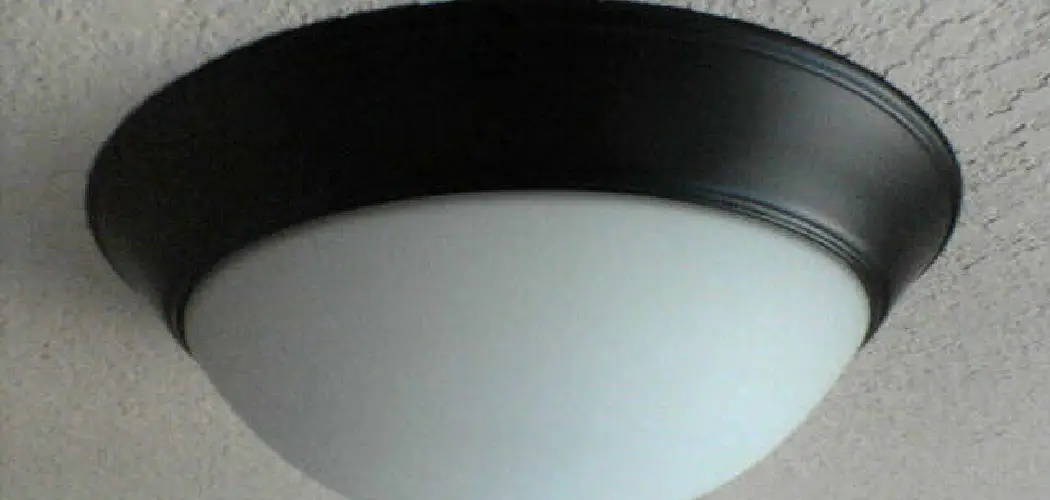
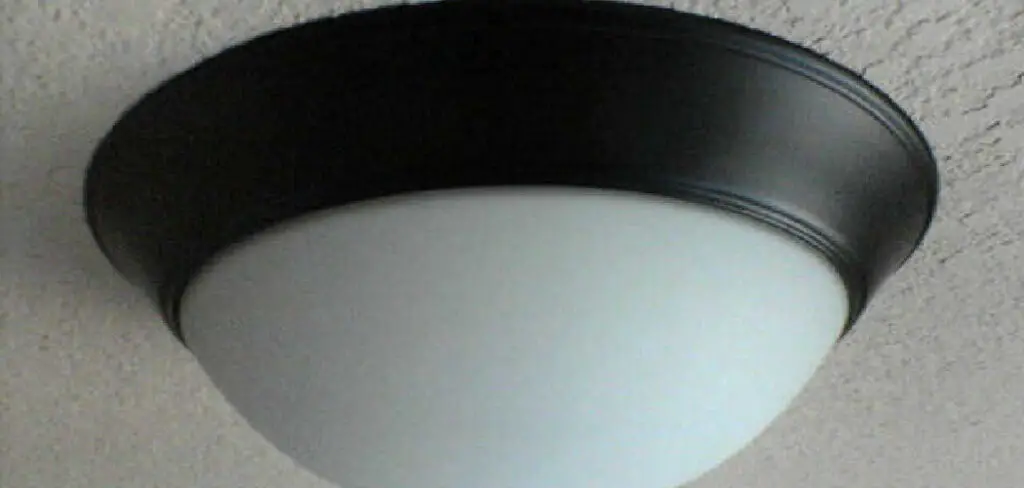
Step 1: Determine Where the Light Cover Located
To remove the light cover, you first need to identify where it is located. The cover can be found on the ceiling or the light fixture. If it’s on the ceiling, use a ladder to reach it. If it’s on the light fixture, you can either remove it or unscrew the entire light fixture from the ceiling.
Step 2: Disconnect the Electricity
Once you have removed the screws, it is essential to disconnect the electricity before continuing. This can be done by locating the breaker box and flipping the switch corresponding to your light fixture. Be sure to label which breaker corresponds to the light fixture, so you’ll know which one to switch back on once the job is complete. If you are unsure how to find the breaker box, ask a friend or family member for help.
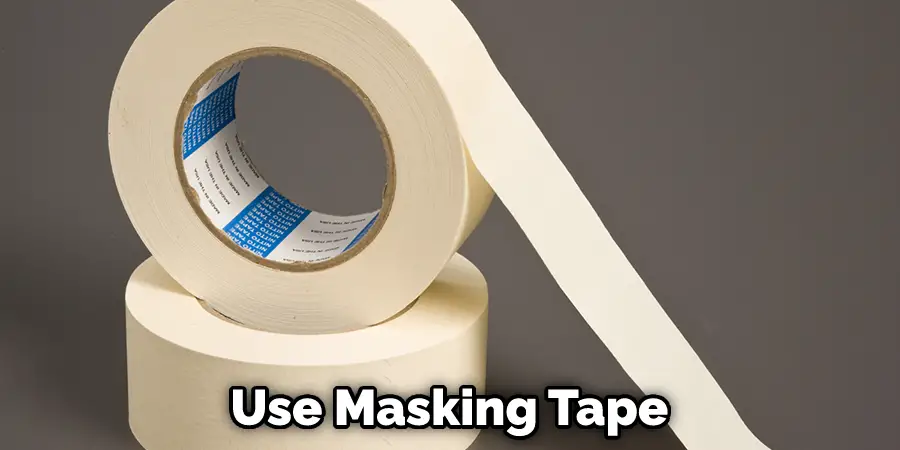
Step 3: Tape the Area
Once you’ve disconnected the electricity, use masking tape to tape off the area around the light cover. This will help to prevent any accidental damage to wiring or electrical components while working.
Step 4: Prepare Yourself and the Area
Now that you have all of your supplies ready, it’s time to prepare yourself and the area. First, make sure the room is well-lit to see what you’re doing. If there are any pets or children in the room, make sure they are either out of the room or kept away from the ladder. Once you’re ready, climb up the ladder and position it under the light cover. Be very careful not to touch the light bulb with your skin, as it will be hot.
Step 5: Remove the Cover
Once you have prepared yourself and ensured that the electricity is off, you can start removing the light cover. Using a flathead screwdriver, pry up one corner of the cover. Pull it straight off once you have gotten a good grip on it. If it is stubborn and doesn’t want to come off, continue prying it until it comes loose.
After removing the cover, you will see the light fixture and the screws that hold it in place. If there are no screws, you can skip stepping 7.
If there are screws, remove them using a Phillips-head screwdriver. Be careful not to drop any of the screws down the light fixture or into the ceiling. Once the screws are removed, take the light fixture out of the cover and set it aside. Now it’s time to install your new light cover.
Step 6: Install Your New Light Cover
In order to install a new light cover, you must first place it over the light fixture to make sure it is in the correct position. If it is not, you can rotate it until it is. Once it is in the right spot, use a pencil to mark the holes that need to be drilled.
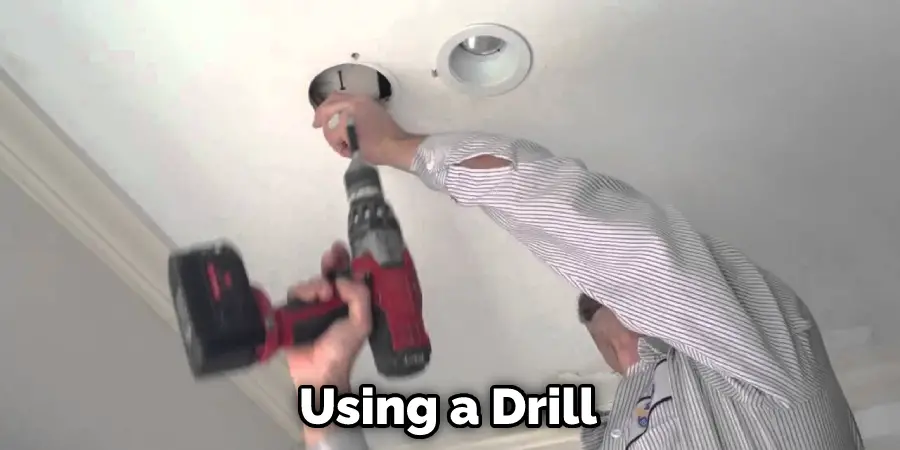
Step 7: Drill the Holes
Using a drill, drill the holes that were marked in step 6. Be very careful not to drill through the light cover. Once the holes are drilled, insert the screws and tighten them using a Phillips-head screwdriver.
Step 8: Reconnect the Electricity
Once you have re-installed the screws and tightened them, it’s time to reconnect the electricity. This can be done by locating the breaker box and switching on the corresponding breaker. Be sure to label which breaker corresponds to the light fixture to know which one to switch back on once the job is complete. If you are unsure how to find the breaker box, ask a friend or family member for help.
Step 9: Test the Light
Now that the light cover is installed, it’s time to test it out. First, turn on the light and ensure that it is working correctly. If it is not, go back and check that all of the screws are tight and that no wires or electrical components are touching each other. Once everything is checked, turn off the light and enjoy your new ceiling light cover!
Step 10: Clean Up
Once you have verified that the light is working correctly, it’s time to clean up. Put all of your supplies away and take down the ladder. Once everything is put away, admire your work and enjoy your new ceiling light cover!
Removing a ceiling light cover without screws can be tricky, but with the right supplies and patience, you can do it yourself. These steps will help in how to remove ceiling light cover no screws.
You Can Check It Out to Remove Porch Light Cover
Precautions
- Always turn off the power to the light fixture at the breaker box before beginning any work.
- Wear gloves to avoid getting cuts on your hands.
- Do not stand on a ladder while removing the light cover.
- If you are uncomfortable working with electricity, please call a professional electrician.

How Do I Remove a Ceiling Light Cover With Clips
Many ceiling light covers can be removed without any tools, using only your hands. For example, some covers have simple clips that can be squeezed together to release the cover from the light fixture. However, if your cover does not have any clips and is instead held in place with screws, you will need a screwdriver to remove it.
If your ceiling light cover is held in place with screws, start by locating the screws on the cover. They will typically be located around the edge of the cover. Once you have found the screws, use a screwdriver to loosen them. Be careful not to remove the screws altogether – you want to loosen them enough so that you can remove the cover.
Once the screws are loosened, grasp the cover with your hands and pull it away from the light fixture. If the screws still attach it, pull gently on the cover until the screws come out ultimately. Once the screws are removed, you can discard the cover.
If your ceiling light cover does not have any clips, you may be able to pry it off using a flathead screwdriver. Start by inserting the screwdriver into one of the slots around the edge of the cover. Next, gently pry up on the screwdriver until you hear or see the cover start to pop off. Then, use your hands to pull the cover off of the light fixture.
If your switch box isn’t already grounded, you’ll need to use a grounding rod to ground it. This can be done by driving an 8-foot copper rod into the ground and attaching it to the switch box with a wire. Once the box is grounded correctly, you can install your light switch. Making the Connections
Why Won’t Ceiling Light Cover Come Off
There can be several reasons why a ceiling light cover will not come off, even if there do not appear to be any screws holding it in place. In some cases, the cover may be glued in place. In other cases, the light fixture itself may be attached to the ceiling with bolts or other fasteners that are not visible from below. If the cover is not coming off, no matter how much effort you put into it, it is best to call a professional electrician to remove it for you.
One way to determine whether the cover is held in place with screws or with another type of fastener is to try gently prying it loose with a putty knife or thin screwdriver. If screws are holding the cover in place, this will work; if there are other fasteners, prying the cover loose will likely cause damage. In either case, it is best to call a professional if you cannot remove the cover yourself.
Some covers can be removed by gently unscrewing them by hand, but this is not always possible. If the cover is too tight or if there appears to be something holding it in place that you cannot see, it is best to call a professional. Trying to force a cover that is not meant to come off can damage the light fixture or the ceiling and pose a safety hazard.
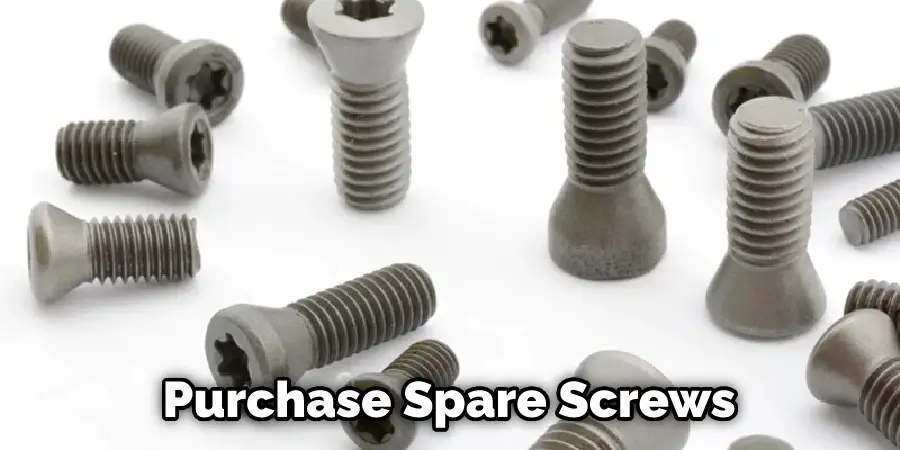
If you can remove the cover, be sure to store it in a safe place so that it does not get damaged or lost. It is a good idea to keep track of the screws or other fasteners used to secure the cover, as they will be needed when it is time to put the cover back on. If you do not have any spare screws or other fasteners, you may be able to purchase them at a home improvement store.
Frequently Asked Questions
Can I Glue a Light Fixture to the Ceiling?
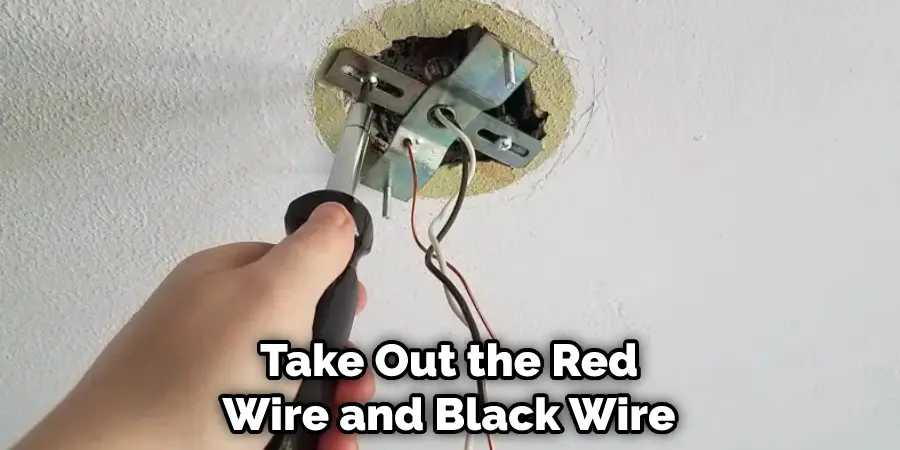
To remove the old battery, take out the red wire and black wire. The red wire is attached to a screw on one side, and a clip on the other. The black wire is attached to a screw on both ends. Be careful not to mix up these connections when attaching them to the new battery.
If you want to hang something from the ceiling, you can either use a large picture hanging hook or a wire hanger. The hook or hanger will have a slot at one end to put the wire through, and will also have adhesive strips on either side so it can be easily mounted onto a drywall or tile ceiling.
Do Command Strips Work on Ceilings?
Command strips can be used on ceilings, but there are a few things to consider first. First, make sure that the Strip is long enough to reach all parts of the ceiling, and secondly, test it out before you start installing it, so you know what kind of power and speed your Strip has. When using command strips for the first time, always read the instructions carefully to avoid any accidents or injuries.
Can I Hang a Light Fixture From Drywall?
You can hang a light fixture from drywall by simply drilling a hole and screwing in the light fitting. Be sure to use an appropriate bulb and mount the fixture level so that it doesn’t hang off the edge of the wall or disturb other fixtures.
Conclusion
If you’re looking for an easy way to remove a ceiling light cover without screws, this is the article on how to remove ceiling light cover no screws for you. All you need is a putty knife and a little bit of elbow grease!