
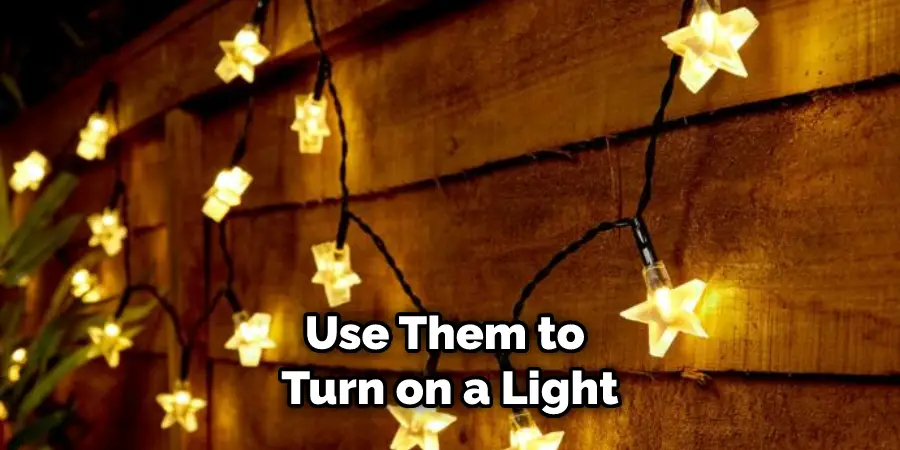
Battery-operated lights are a type of light that is powered by batteries. These lights are often used when traditional forms of lighting, such as electricity, are not available or practical. Battery-operated lights can be found in various styles, including flashlights, lanterns, and even string lights. While these lights are convenient and easy to use, they can also be expensive to operate if the batteries need to be frequently replaced.

Are you looking for a way to set a timer on your battery-operated lights? If so, you’re in luck! In this article, we will show you how to set timer on battery operated lights. So why wait? Read on for instructions on setting a timer on your battery-operated lights.
Summary: There are a few ways to set the timer on battery operated lights. One way is to go to the light’s settings and find the “timer” Option. Another way is to press and hold the light switch until the light turns off and then release the switch.
Why Use a Timer?
There are a few reasons why you might want to use a timer with your battery-operated lights, including:
To Save Money on Batteries:
If you only use your lights for a short period of time each day, you can save money on batteries by using a timer. This is because the timer will turn the lights off when you don’t need them, which will help to conserve battery power.
To Save Time:
If you’re forgetful, or if you don’t want to worry about turning your lights off each day, a timer can be a helpful way to save time. Instead of manually turning your lights off each day, you can set a timer to do it for you automatically. This way, you can save yourself some time and hassle.
To Create a Certain Atmosphere:
If you want to create a certain atmosphere in your home, such as a romantic mood, you can use a timer to turn your lights off at a specific time. This can be helpful if you want to create a specific ambiance for a special occasion.

To Automatically Turn Your Lights Off When You Leave the Room:
If you’re going to be away from home for an extended period of time, you can use a timer to turn your lights off so that you don’t have to worry about them being left on. This can help to save energy and money.
What You’ll Need:
- A battery-operated light
- A timer
- Batteries
15 Ways How to Set Timer on Battery Operated Lights
1. Turn Off the Lights
To set a timer on battery-operated lights, first turn off the lights. This will help prevent any accidental damage to the lights or the timer. To do this, simply find the switch on the light and flip it to the “off” position.
2. Open the Battery Compartment
Next, you’ll need to open the battery compartment of the light. This is usually located on the bottom or back of the light. Once you’ve located the battery compartment, open it so that you can access the batteries.
3. Insert the Batteries
You need to put batteries back into the light. If the light uses AA batteries, you’ll need to insert two of them. If the light uses AAA batteries, you’ll need to insert three of them. Be sure to put the batteries in the right way so they work with the timer.

4. Set the Timer
It’s time to set the timer! To do this, find the “set” button on the timer and press and hold it until the display reads “00:00.” If you’re setting the timer for a specific time, use the “+” and “-” buttons to set the correct time.
5. Close the Battery Compartment
Once the timer is set, you’ll need to close the battery compartment. To do this, simply find the latch on the compartment and snap it into place. If the compartment doesn’t have a latch, you may need to screw it shut.
6. Turn On the Lights
Now, you’ll need to turn on the lights. To do this, find the switch on the light and flip it to the “on” position. Once the light is on, the timer will automatically begin counting down. If the light has a dimmer switch, you can use it to adjust its brightness. Now, you can sit back and relax! The light will automatically turn off when the timer runs out.
7. Test the Timer
Once the timer is set, it’s a good idea to test it to make sure that it’s working properly. To do this, wait for the timer to reach the end of its cycle. Once the timer reaches “00:00,” the light should turn off automatically. If the light doesn’t turn off, you may need to adjust the timer or replace the batteries.
8. Adjust the Settings as Needed
If the light doesn’t turn off when the timer reaches “00:00,” you may need to adjust the settings. To do this, press the “set” button and use the “+” and “-” buttons to adjust the time. Once the timer is set to the correct time, the light should turn off automatically. If the light still doesn’t turn off, you may need to replace the batteries.
How To Better Use Timer-Based Lighting
1. Use a Dimmer Switch
If you want to create a specific atmosphere in your home, you can use a dimmer switch to adjust the brightness of the light. This can be helpful if you want to create a romantic mood or set the mood for a party.
2. Use Fresh Batteries

If you want your timer-based lighting to work properly, it’s important to use fresh batteries. If the batteries are old, they may not have enough power to operate the timer. As a result, the light may not turn off when the timer reaches “00:00.”
3. Use a Backup Timer
If you’re going to be away from home for an extended period of time, it’s a good idea to use a backup timer. This way, if the batteries in the primary timer die, the backup timer will take over and turn off the light.
4. Replace the Batteries as Needed
If the light doesn’t turn off when the timer reaches “00:00,” it’s likely that the batteries need to be replaced. As a general rule, you should replace the batteries in your timer-based lighting every six months to ensure that they’re fresh. If you live in an area with high humidity, you may need to replace the batteries more often.
5. Clean the Battery Compartment Regularly
If the battery compartment is dirty, it can cause the timer to malfunction. As a result, the light may not turn off when the timer reaches “00:00.” To prevent this from happening, you should clean the battery compartment regularly. If the compartment is very dirty, you may need to use a cotton swab dipped in rubbing alcohol to clean it.

6. Follow the Instructions Carefully
When setting up your timer-based lighting, it’s important to follow the instructions carefully. If you don’t set the timer correctly, the light may not turn off when it’s supposed to. As a result, you may come home to find that your lights are still on.
7. Check the Warranty Before Using a Timer
If you’re unsure whether your warranty covers a timer, it’s a good idea to check with the manufacturer before using one. This way, if something goes wrong, you’ll be covered.
You Can Check It Out to Remove Globe From Pendant Light
How Much Does Timer-Based Lighting Cost?
Timer-based lighting is a relatively inexpensive way to save energy and money. The cost of the timer will depend on the brand and model. Generally speaking, you can expect to pay between $5 and $30 for a timer. The cost of the batteries will also vary depending on the type of batteries you use.
For example, disposable alkaline batteries typically cost around $0.50 each. Rechargeable batteries, on the other hand, can cost between $10 and $30 for a set of four. The cost of timer-based lighting will also depend on the type of light bulbs you use. For example, incandescent light bulbs typically cost around $0.25 each, while LED light bulbs can cost between $2 and $3 each.
Frequently Asked Questions
How Do I Set the Timer on My Led Strip Lights?
Setting the timer on your led strip lights can be a little daunting, but it’s actually pretty simple. All you need to do is find your light’s switch and look for a button or lever that allows you to set the time. Once you have found this, simply strike the correct number of times with your remote control in order for the timer to activate. Then just wait until the allotted time has elapsed and turn off your light by pressing the same button or lever again. By following these simple steps, you will be able to customize and optimize each lamp exactly how you want them!
Do Led Lights Have a Timer?
Yes, LED lights do have a timer. This is important for those who want to use them as nightlights or for other tasks where the light needs to be turned off automatically at a specific time.
Do Smart Light Bulbs Have Timers?
Yes, most smart light bulbs do have timers. This is especially useful if you want to use your light bulbs for tasks other than just turning them on and off. For example, you might want to use them to turn on a light during the morning when you wake up or turn off a light at night so you don’t waste energy.
What Are Smart Timers?
A smart timer is a small, electronic device that you can attach to your kitchen timer or stovetop. When it goes off, it will automatically turn your oven on or start cooking your food in the oven. This eliminates the need to constantly check the time and save yourself from overcooking meals.
Some of the other benefits of using a smart timer include being able to set multiple timers at once, setting alarms for various times, and tracking how much time has elapsed since you last started cooking. You can also connect with certain apps such as Google Keep so that all timers are logged into one place.
If you’re looking for an easy way to make sure everything in your kitchen is cooked perfectly every time, then a smart timer might be perfect for you!
Conclusion
Now that you know how to set timer on battery operated lights, you can rest assured knowing your lights will turn off automatically after the set time. This is a great way to save energy and keep your home looking great all year long.
With battery-operated lights, it is easy to set a timer and have the peace of mind that your home will be well-lit when you return. Whether you are using them for Christmas decorations or everyday use, knowing how to set a timer on your battery-operated lights is valuable. Follow these simple steps, and you can relax without worrying about your home’s safety.