
Setting up Lepro Led Lights is a great way to improve the quality of your indoor grow. You will need to purchase some light fixtures and install the bulbs to get started. The process is not difficult, but you should know a few things before you start. In this article, we will walk you through how to set up lepro led lights and show you how they can benefit your growing operation. Stay tuned for more information on this exciting new technology!
Summary: Setting up lepro Led lights is easy and can be done in just a few minutes. All you need is a power source and some basic tools, and you’re ready to start boosting your home’s lighting while reducing energy costs.

What Causes Lepro Led Lights to Fail?
Lepro-led lights are designed to last for many years, but they can fail prematurely for several reasons. The most common cause of failure is improper installation. If the fixtures are not properly secured, they can vibrate and loosen over time. This can cause the bulbs to break or the wires to become damaged. Therefore, improper installation is the leading cause of lepro-led light failure.
Another common cause of failure is improper bulb placement. If the bulbs are not placed in the correct position, they will not receive the full benefit of the light. This can cause the leaves to turn yellow and the plant to become stunted. Additionally, if the bulbs are placed too close together, they can produce too much heat, damaging the leaves. The other primary cause of lepro-led light failure is lack of maintenance.
If the fixtures are not cleaned regularly, they can accumulate dust and debris, which can block the light and cause the bulbs to overheat. Finally, if the bulbs are not replaced regularly, they will eventually burn out.
Why Are Lepro Led Lights Important?
Lepro led lights are important because they provide a high-quality light source for your indoor growth. They are designed to emit a full spectrum of light, which is necessary for proper plant growth. Additionally, lepro-led lights are very efficient and use very little electricity. They also produce very little heat, so they will not damage your plants.
Another benefit of lepro led lights is that they do not produce any glare, so you will not have to worry about your plants getting sunburned. Finally, lepro led lights are durable and will last many years with proper care.
Step by Step How to Set Up Lepro Led Lights
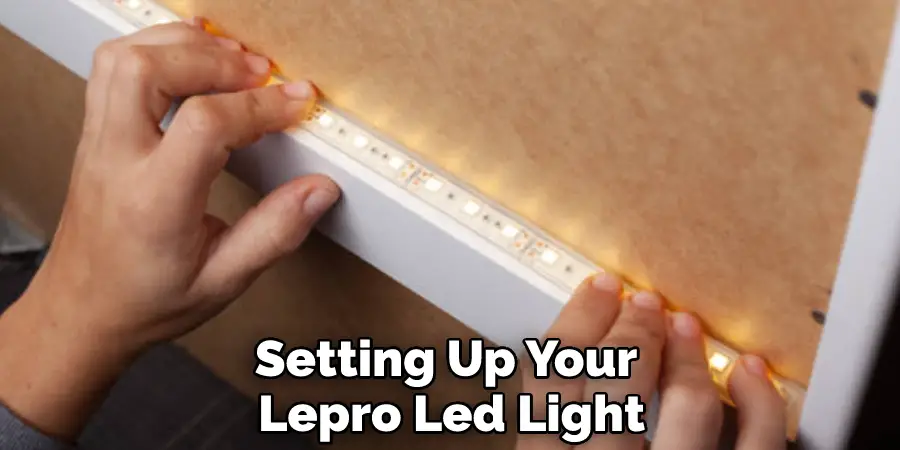
1. Choose the Right Lepro Led Light
The first step in setting up your lepro led light is to choose the right one. There are many different types of lepro led lights on the market, so you should take the time to find one that suits your needs. You should consider the size of your grow room, the type of plants you are growing, and your budget when choosing a lepro-led light. Try to find a light that is energy-efficient and produces little heat. Avoid lights that produce a lot of glare.
2. Purchase the Correct Number of Lights
Once you have chosen the right lepro-led light, you need to purchase the correct number of lights. The number of lights you need will depend on the size of your grow room. If you have a large grow room, you will need more lights than if you have a small one. You should also take into account the height of your grow room. The taller your grow room, the more lights you will need.
Try to purchase evenly spaced lights so that each plant receives an equal amount of light. Avoid placing lights too close together, as this can lead to problems with heat and glare.
3. Install the Fixtures
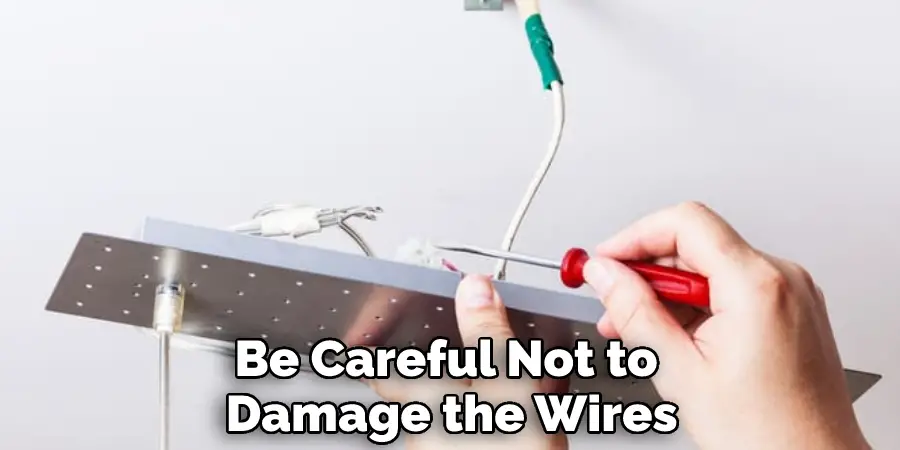
The next step is to install the light fixtures. This process is not difficult, but you should make sure that the fixtures are properly secured. Vibration can loosen the fixtures over time, so it is important to ensure they are tight. It would be best if you also were careful not to damage the fixtures’ wires. First, find the center of your grow room. Then, mark the spot where each light will be placed.
Next, drill a hole in the ceiling for each light. It would help if you used a drill bit that is slightly smaller than the diameter of the light fixture’s base. Finally, screw the light fixtures into the ceiling.
4. Hang the Lights
Once the fixtures are installed, you need to hang the lights. This is because the lepro led lights are very fragile and can easily be broken. Additionally, the bulbs can get extremely hot, so keeping them out of reach is important. First, find the center of each light fixture. Then, use a tape measure to find the correct height for each light. The lights should be hung so that the bottom of the light is about 6 inches (15 cm) above the top of the plants. Once you have determined the correct height, use wire to attach each light to its fixture.
5. Connect the Wires
The next step is to connect the wires. This is a simple process, but you need to be careful not to damage the wires. First, find the positive and negative wires for each light. The positive wire will be marked with a “+” sign, and the negative wire will be marked with a “-” sign. Next, connect each light’s positive wire to the next light’s positive wire. Finally, connect the first light’s negative wire to the last light’s negative wire. Try to keep the wires as short as possible to avoid problems with heat and glare.
6. Mount the Driver
Once the wires are connected, you need to mount the driver. The driver is a small box that contains the electronics for the lepro led light. It is very important to mount the driver in a secure location. First, find a suitable location for the driver. The location should be close to an outlet and away from any sources of heat or moisture. Next, use screws to secure the driver to the wall. Finally, connect the wires from the lights to the driver.
The lepro led light should now be operational if everything is properly connected. Avoid touching the bulbs or drivers, as they can get very hot.
7. Affix the Reflector
The next step is to affix the reflector. The reflector is a small piece of metal that helps to distribute the light evenly. It is important to attach the reflector to cover the entire light. This will help to avoid problems with heat and glare. First, find the center of the light. Then, use a tape measure to find the correct size for the reflector. The reflector should be slightly larger than the light itself. Once you have the correct size, use screws to attach the reflector to the light.
8. Add the Bulbs
The next step is to add the bulbs. This is a simple process, but you need to be careful not to touch the bulbs. First, find the positive and negative wires for each light. The positive wire will be marked with a “+” sign, and the negative wire will be marked with a “-” sign. Next, connect each light’s positive wire to the next light’s positive wire. Finally, connect the first light’s negative wire to the last light’s negative wire. Try to keep the wires as short as possible to avoid problems with heat and glare.
9. Turn on the Lights
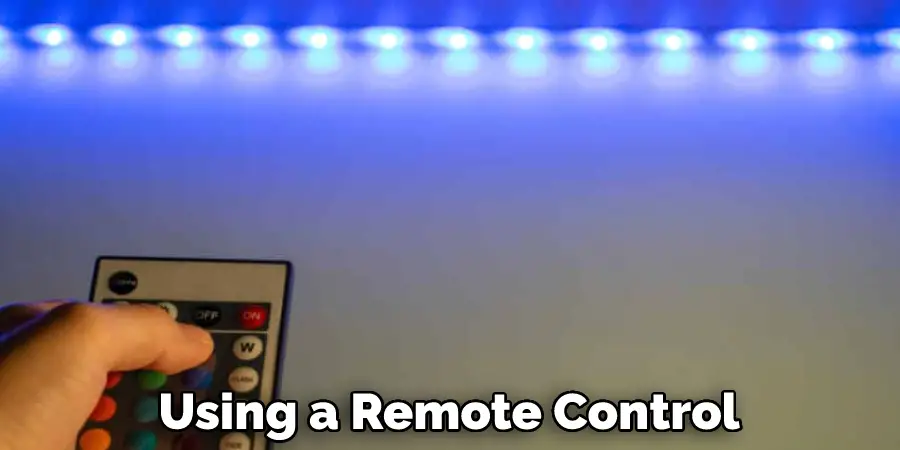
The final step is to turn on the lights. This can be done by flipping a switch or by using a remote control. If you are using a remote control, you need to point it at the receiver on the driver. Once the lights are on, you should see a noticeable difference in the amount of light in the room. The lepro led lights are very bright and can easily illuminate a large area.
10. Enjoy Your New Lights
You have now successfully installed your new lepro led lights. These lights are very energy efficient and will help to save money on your electric bill. Additionally, they are very bright and will provide a great source of light for your home. Enjoy your new lights and be sure to follow the instructions carefully to avoid any problems.
You Can Check It Out To Tell if Tanning Bulbs Are Old
Tips and Warnings on How to Set Up Lepro Led Lights
Tips:
- Always read the instruction manual that comes with your purchase of Lepro Led Lights. This will guide you through the installation process step-by-step and help you avoid potential pitfalls.
- Make sure you have all the necessary tools and materials before beginning the installation process. This will save you time and frustration in the long run.
- Make sure to follow the instructions carefully. Do not deviate from the recommended installation steps, as this could damage your property or the Led Lights themselves.
Warnings:
- Always turn off the power to the area where you will be working before beginning any electrical work. This is for your safety and to avoid damaging the Led Lights.
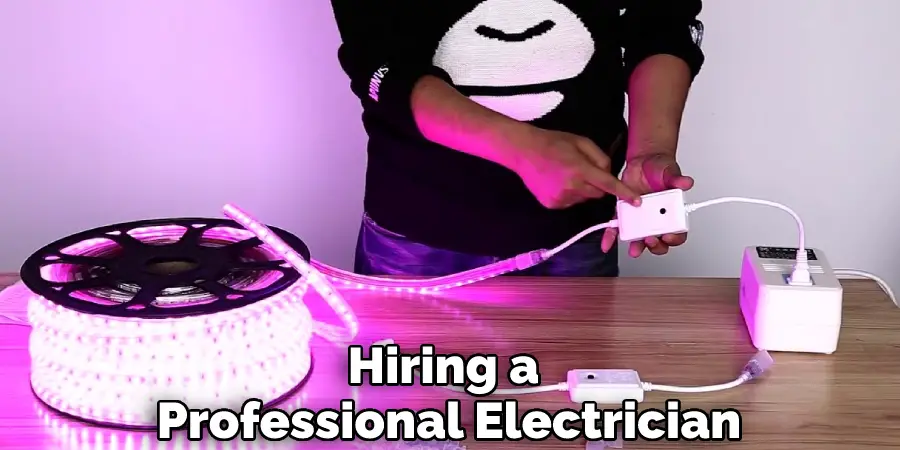
- Do not attempt to install the Led Lights if you are not confident in your ability to do so. Hiring a professional electrician is always recommended in these cases.
- Always dispose of any materials properly after installation is complete. For example, do not leave any cords or wires lying around, as this could create a tripping hazard.
Frequently Asked Questions
Why Are My Lepro Led Lights Not Working?
There are a few potential causes for why your lepro Led lights may not be working, and the most common one is a broken light bulb. If you have a few broken bulbs, then swapping them out will usually solve the problem. However, if you have a lot of broken bulbs, then you may need to replace the entire light fixture. If you are unsure if your lepro Led lights are working or not, there are a few things you can do to test them. One way is to turn on just one light, and see if it turns on. Another way to test them is to plug in an extension cord and see if the lights turn on. If they do not turn on with an extension cord, then they likely need to be replaced.
Does Lepro Led Lights Have an App?
Yes, Lepro Led Lights has an app! The app allows users to control the lights from their smartphone or computer, and set up timed or event-based lighting sequences. It also offers a variety of other features, such as the ability to create and manage custom lighting profiles, view real-time data on light intensity and color, and share your lighting designs with others. The app is free to download and use, and is available for both Android and iOS devices.
Can I Turn on My Led Lights Without Remote?
Yes, you can turn on your LED lights without a remote. To do this, locate the switch for the light you want to turn on and press and hold the button until the light turns off. Then, press and hold the button again until the light turns on.
Why Are Smart Lights Not Responding?
There could be a few reasons why your smart lights are not responding. One possibility is that the bulbs may be out of commission, or that the smart home system may not be connected to the internet. If you are unable to get your smart lights to work, it may be helpful to try turning off and on the lights one at a time and checking to see if that resolves the issue. If you are still unable to get them to work, it may be worth consulting with a professional technician who can check the wiring and system for any issues.
Conclusion
So there you have it! A complete guide on How to Set Up Lepro Led Lights. Be sure to follow the instructions carefully, and always consult an electrician if you are unsure of anything. With these tips, you can install your new Led Lights in no time! Thanks for reading, and enjoy your new lights!
You Can Check It Out To Mount Led Bar on Roof