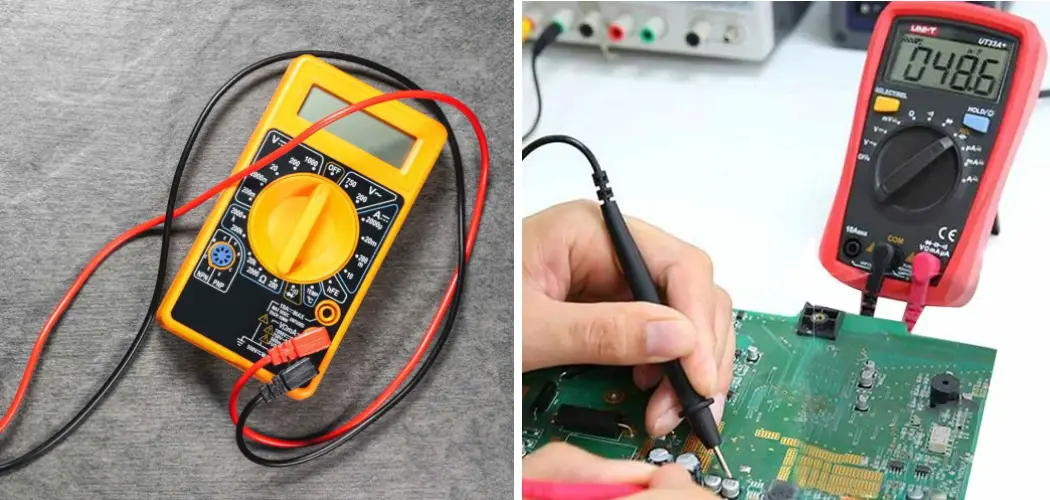
Testing a headlight ballast with a multimeter is an important and necessary task for any vehicle owner. Properly functioning headlights are essential to the safety of you, your passengers, and everyone else on the roads. If one or more of your car’s headlights have stopped working correctly, it could be due to a bad ballast and can often be easily diagnosed by testing the voltage output of your ballast with a multimeter.

Using a multimeter to test the headlight ballast has several advantages. It is relatively simple and does not require specialized tools or knowledge, allowing virtually anyone to conduct the test. The multimeter will provide a clear reading about the condition and performance of the headlight ballast, giving you an easy way to diagnose any problems with it. You can find step-by-step instructions on how to test headlight ballast with multimeter in this blog article.
Tools You Will Need
- Multimeter
- Headlight ballast
- Wires and connectors
- Voltage regulator (optional)
- Screwdriver or wrench set (for dismantling headlight)
- Replacement parts (in case of failure)
- Tape (to secure wires)
- Electrical tape
- Pliers
- Safety glasses
- Flashlight (for inspecting headlight ballast)
- Clean rag or paper towel
- Work area with plenty of space
Before beginning the testing process, make sure you have all the necessary tools and parts in order to complete the job safely and efficiently.
Step by Step Processes for How to Test Headlight Ballast With Multimeter
Step 1: Inspect the Headlight
Before testing the headlight ballast with a multimeter, it is important to inspect the physical condition of the headlight. Look for any signs of damage or corrosion causing an issue.
Access the ballast once you have inspected and confirmed no physical issues with your headlight. Pay attention to how the ballast has been wired, as this will help you determine what kind of test will be needed depending on its configuration.
Step 2: Disconnect the Ballast and Igniter
To properly test the ballast, it must be completely separated from other components, such as the igniter or capacitor. This will ensure that your testing of the ballast is accurate. Once you have disconnected the ballast and igniter, it is time to set up your multimeter. Ensure all necessary connections are properly secured, and everything is in proper working order before beginning any tests.
Step 3: Setting the Multimeter to Measure Voltage
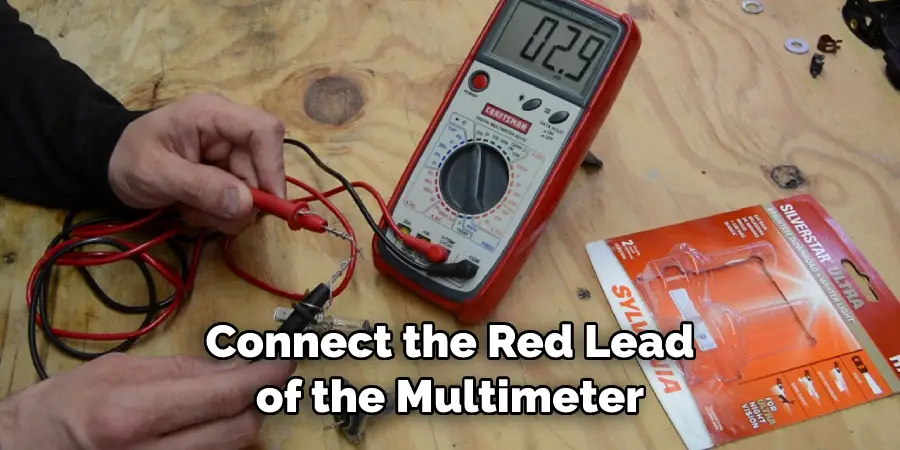
Set the multimeter to measure voltage. This will allow you to test for any possible electrical problems with your headlight’s ballast or other components. Connect the red lead of the multimeter to one side of the ballast and the black lead to the other. Turn on your headlights and use the multimeter to measure the AC voltage between both connections. If the value is higher than 12 volts, then your ballast is in good condition and should provide reliable performance.
Step 4: Measuring DC Voltage
To test for any irregularities with the components of your headlight, switch off your headlights and connect the red lead of the multimeter to one side of the ballast and the black lead on the other. Turn on your headlights and measure the DC voltage between both connections.
If the value is higher than 12 volts, this indicates an electrical issue with another component or wiring in your headlight system. To check for any irregularities in its resistance, use your multimeter to measure the resistance between both ballast connections. The value should not be higher than 0.2 ohms (200mΩ). If it is, this could be a sign of an issue with your headlight system’s internal wiring or components.
Step 5: Conducting a Continuity Test
To test for broken wires or loose connections, use your multimeter to check the continuity between both ballast connections. If there is no continuity, this may indicate a loose connection or broken wire somewhere in the system, which could be causing an issue.
Step 6: Testing for Leaks
Finally, you will need to test for any possible leaks that could be present in the headlight ballast. To do this, connect the red lead of the multimeter to one side of the ballast and the black lead to the other. Turn on your headlights and use the multimeter to measure for any signs of an electrical leak. If leakage is detected, it could mean an issue with your headlight system’s internal wiring or components.
Testing your headlight ballast with a multimeter can help you diagnose any issues that may be present in the system. Following these steps, you can easily test your headlight ballast and ensure it works efficiently and reliably for a safe driving experience.
Safety Tips for How to Test Headlight Ballast With Multimeter
- Always read the instruction manual of your multimeter and headlight ballast before testing them. This will ensure that you are fully aware of the safety protocols for both devices.
- Wear protective gear such as safety goggles, gloves, and long sleeves when handling electrical components.
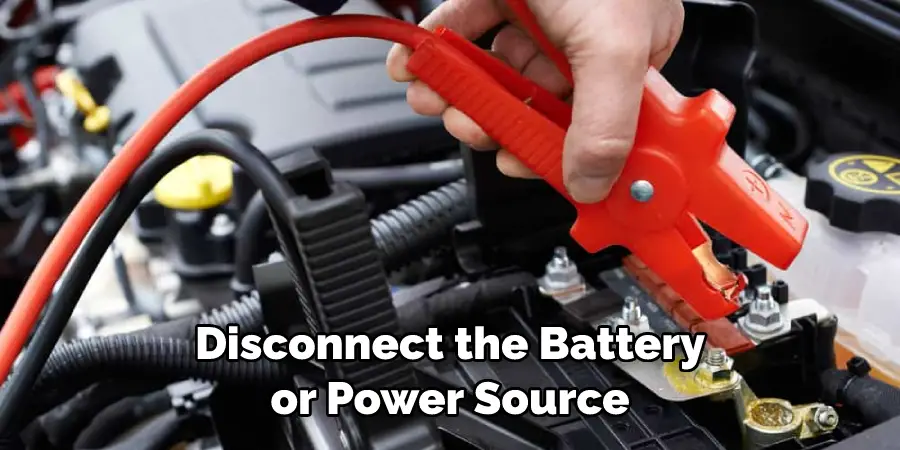
- Disconnect the battery or power source from the vehicle before testing the headlight ballast.
- Check the continuity of each wire in the headlight ballast with a multimeter and compare it to its specifications.
- Do not attempt to test the voltage of a live circuit, as this may cause severe injury or damage to equipment.
- Discontinue usage immediately if you come across any frays or cracks in the wiring of the headlight ballast. This may indicate a potential fire hazard.
By adhering to these safety tips, you can ensure that your testing process of the headlight ballast with a multimeter is safe and effective. Consult an automotive technician for assistance if you feel uncomfortable with any step.
Are Any Common Problems Associated With Headlight Ballast That Can Be Easily Detected by Using a Multimeter?
Yes, several common problems associated with headlight ballasts can easily be detected using a multimeter. These include loose connections, incorrect polarity, defective capacitors or resistors, and shorted windings. Loose connections can often lead to uneven light output from the bulbs due to the power not being transferred evenly throughout the circuit.
Incorrect polarity can cause the bulbs to flicker or dim intermittently. Defective capacitors and resistors can cause the ballast to overheat, resulting in reduced light output from the bulbs and a shortened life span of the ballast itself. To test the headlight ballast with a multimeter, first, check the polarity and continuity of all connections.
Any connections that are found to be incorrect or loose should be fixed before proceeding with further testing. Secondly, measure the DC voltage across each capacitor in the circuit, making sure to note if there is an appreciable difference between the two. Lastly, use an ohmmeter to check for any shorts or defective elements in the circuit.
What is the Best Way to Diagnose and Diagnose Potential Problems With Headlight Ballast Using a Multimeter?
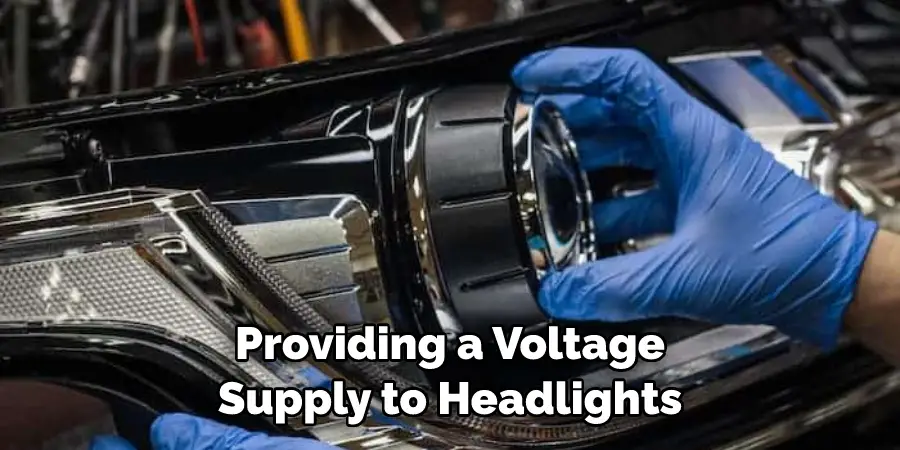
Using a multimeter to diagnose potential problems with headlight ballast is one of the best ways to ensure that the part functions correctly and safely. A headlight ballast is responsible for providing a consistent voltage supply to the headlights, which helps them function properly and without flickering. It’s important to test each headlight to identify any potential issues with the ballast.
When using a multimeter to test headlight ballasts, ensure the vehicle is completely off and disconnected from any power source before beginning. Start by identifying which wires connect to each headlight’s ballast. Then set the multimeter to measure resistance (ohms) and place one lead on each identified wire. The reading should be between 1 and 10 ohms, depending on the type of headlight ballast. If the task is outside this range, it may indicate a faulty ballast or wiring issue.
Are There Any Risks Associated With Testing Headlight Ballast With a Multimeter?
Testing the headlight ballast with a multimeter can be safe if done properly. However, there are some risks associated with this process that should always be taken into consideration. The most prominent of these is the risk of electric shock if proper safety measures are not taken when handling the wires.
It is also possible for incorrect readings due to a lack of experience, so professional help should be sought if necessary. In addition, it should also be remembered that the ballast itself could be damaged during testing, which would result in costly repairs or replacement.
Therefore, it is always important to take all safety precautions when carrying out this task and ensure that a qualified electrician does any electrical work. With the right care and attention, testing the headlight ballast with a multimeter should be relatively risk-free.
Overall, testing the headlight ballast with a multimeter can be a useful tool to determine whether or not your headlights are working correctly. However, it is important to take all necessary safety precautions and ensure that a qualified electrician carries out any electrical work to ensure that no unnecessary risks are taken.
What Are the Benefits of Testing Headlight Ballasts With a Multimeter?
Testing headlight ballasts with a multimeter offers many benefits. It is an easy and cost-effective way to identify problems that can cause headlights to malfunction. Using a multimeter lets you quickly detect issues such as faulty wiring, broken connections, or incorrect voltage levels in your vehicle’s electrical system. This allows for timely diagnosis and repair of any problems that may be causing your headlights not to work as well as they should.
Additionally, testing the ballast with a multimeter allows you to ensure that all components are in proper working order and running at the correct voltage. This ensures everything functions correctly and helps reduce the risk of electrical fires or other damage caused by incorrect wiring or faulty components.
Testing the ballast with a multimeter also helps you avoid costly repairs in the future, as it can catch issues before they become too serious. Finally, testing headlight ballasts with a multimeter is an easy and safe way to troubleshoot electrical problems without relying on expensive professional services or parts replacements.
Are There Any Other Methods for Testing Headlight Ballast Besides Using a Multimeter?
Yes, there are other methods for testing headlight ballast besides using a multimeter. Some alternative methods include using an ohmmeter, headlight tester, or scan tool to measure the ballast’s resistance and current draw capabilities.
Additionally, a visual inspection can be done by removing the headlights from their housings and checking the terminals and connections to ensure they are clean and firmly connected. If the ballast appears damaged, it should be replaced immediately.
Lastly, a qualified technician can use an oscilloscope or other advanced diagnostic equipment to diagnose issues with the headlight ballast system accurately. No matter what method is used for testing the headlight ballast, it is important to remember that safety should be the top priority when working with a vehicle’s electrical system. If there are doubts about the ballast’s condition, it is best to let an expert handle the problem.

Conclusion
In conclusion, testing a headlight ballast with a multimeter is a straightforward process that can save you time and money if your headlights have difficulty illuminating. Testing the ballast requires basic knowledge of using a digital multimeter and an understanding of DC voltage readings.
First, locate the ballast on or near the rear of the headlight assembly. Next, turn off the car, disconnect the battery, and remove the headlight assembly. Third, locate the ballast’s two terminals and set your multimeter to measure DC voltage.
Finally, touch the multimeter probes to each terminal on the ballasts and take a reading; if you get no reading below 12 volts, replace your headlight ballast. This article has been beneficial for learning how to test headlight ballast with multimeter. Make Sure the preventive measures are followed chronologically.