
Tinting your headlights can give your vehicle a unique look and a great way to protect them from the elements. Tinting your headlights can reduce glare and improve visibility in low-light situations. It will also help to prevent fading due to UV rays and make your car look more stylish.
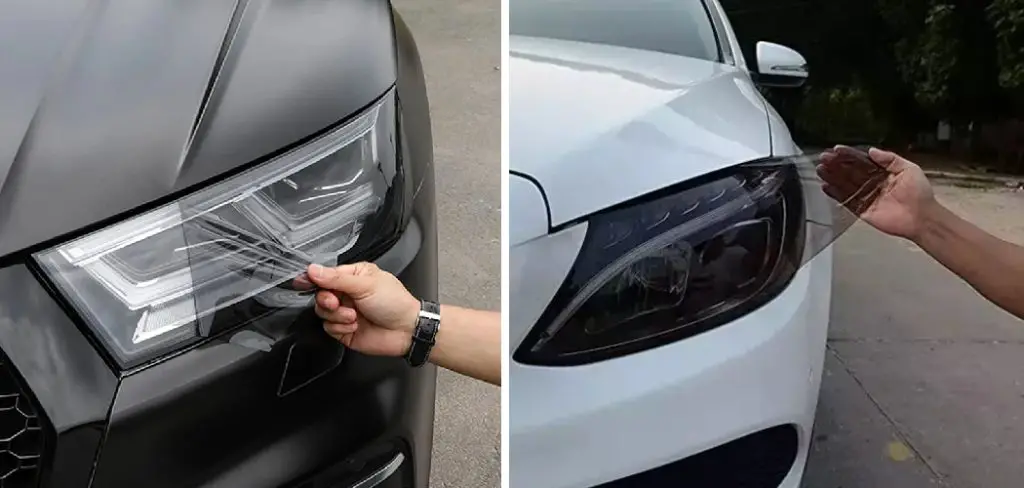
One of the major advantages of tinting your headlights is that it can help improve visibility when driving at night. Tinted headlights make seeing objects in the dark easier, such as animals or other vehicles on the road. They also reduce glare from other driver’s headlights and eye strain. In this blog post, You will learn how to tint your headlights.
Step-by-Step Processes for How to Tint Your Headlights
Step 1: Inspect the Headlights
Before attempting to tint your headlights, inspect them for any damage or imperfections that should be addressed before tinting. If the headlights are not in good condition, consider replacing them first.
Step 2: Clean and Prep the Headlights
To ensure proper adhesion of the headlight tint film, thoroughly clean and prepare the headlights for application. Use a mixture of warm water, soap, and a soft cloth to clean off any residue or dust from the headlights. Once finished, use an automotive window cleaner to remove all dirt.
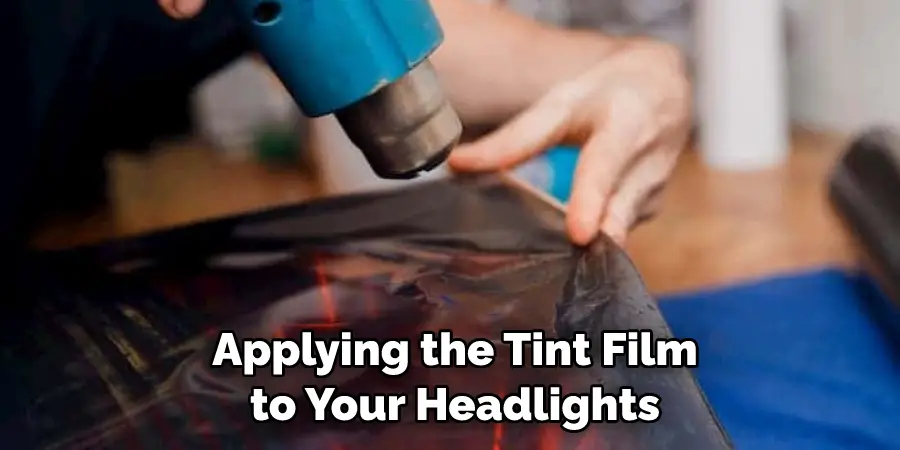
Step 3: Apply the Tint Film
When applying the tint film to your headlights, it is important to take your time to ensure a clean and even application. Carefully remove any air bubbles or wrinkles from the film as you apply it, and use a squeegee to help secure it in place.
Step 4: Curing the Tint Film
After applying the tint, it is important to cure the film before hitting the roads. This process will help secure the film and ensure it does not peel off while driving. To cure the film, use a heat gun to gently heat the area for about 5 minutes, making sure to move around the entire headlight.
Step 5: Enjoy Your Results
Once you have finished tinting your headlights, you can enjoy the results. You can confidently drive with your newly tinted headlights, knowing your headlights are protected and look great. Be sure to follow each step carefully and take your time to ensure a successful application. With the right supplies and patience, you can quickly have great-looking, protected headlights.
Safety Tips for How to Tint Your Headlights
- Make sure you read the directions for the headlight tint that you purchased and follow them carefully.
- Wear protective gear while working, including gloves, goggles, a respirator mask, and clothing to cover exposed skin.
- Clean headlights thoroughly with a degreaser to remove any built-up debris before starting the process of tinting.
- If you’re using a pre-cut tint film, line up the film to the headlight before starting.
- Use a squeegee and a heat gun to apply the tint smoothly and evenly across the surface of your headlights.
- Use appropriate ventilation while working with the adhesive material used in headlight tinting.
- Allow the tint to cure completely before driving your car to ensure it is securely in place and won’t come off or interfere with your visibility.
These basic safety tips will ensure you are properly prepared for tinting your headlights and can complete the job safely and efficiently.
How Long Will It Take to Complete the Process?
Tinting your headlights can take one to several hours, depending on how intricate the job is. If you use a film tint, the installation should be straightforward and not require too much time.
To achieve a professional finish, it’s best to take your time and ensure each step is done carefully. If you spray your headlights, the job may take longer because of the need for multiple coats and waiting times between each spray session. If this is your first time tinting headlights, don’t hesitate to ask an experienced friend or a professional for advice and help.
Are There Any Risks or Safety Considerations When Tinting Your Headlights?
When tinting your headlights, it is important to consider the safety and legal considerations involved. Before attempting to tint your headlights, you should check with local laws regarding any restrictions on the type of headlight film that can be applied or if there are any age restrictions.
It’s also important to note that headlights should not be tinted too darkly, as this can severely limit visibility and could be a safety hazard. Furthermore, the adhesive used in headlight tinting should be of good quality and applied correctly to ensure that it won’t cause any damage to your car or impair its performance.
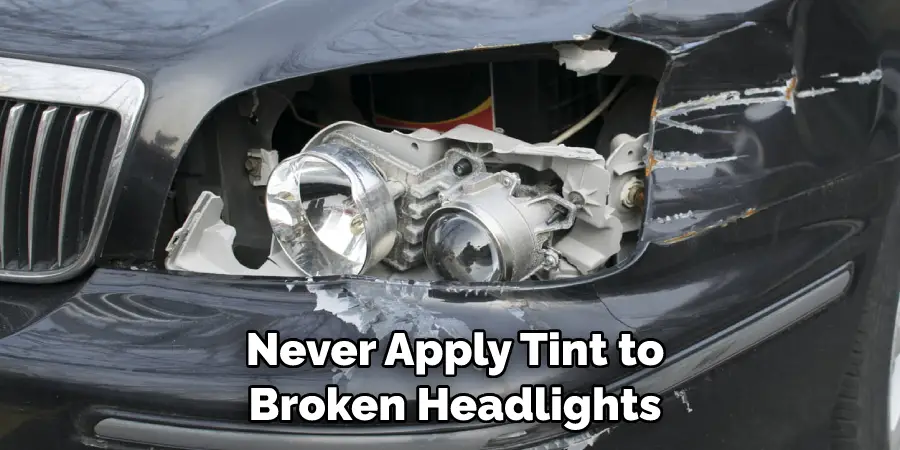
Finally, you should never apply tint to broken or cracked headlights as it could worsen the damage and lead to more significant safety issues. Following the advice above, you can ensure that your headlight tinting project is successful and remains safe and legal. For more information on tinting your headlights, consult a professional auto shop or experienced mechanic for the best results.
Can You Do This Job on Your Own, or Does It Require the Work of a Professional?
Tinting your headlights is a job you can do on your own, but it requires some expertise and skill. If you feel uncomfortable doing the work yourself or need the right materials and tools, it’s best to hire a professional to do the job for you. The cost of getting a professional will depend on the type of light tinting you want to do, the complexity of the job, and the materials that need to be used.
Remember that when installing a headlight tint, it’s important to ensure that all the edges are even and there are no air bubbles or gaps throughout. It must also be applied securely not to damage the headlight lens, as it can lead to costly repairs. If you are unsure of how to do the job properly or don’t have the right materials or tools, it’s best to hire a professional with experience in tinting headlights who won’t compromise on the quality of their work.
What is the Best Way to Maintain and Care for the Headlight Tint After It Has Been Applied?
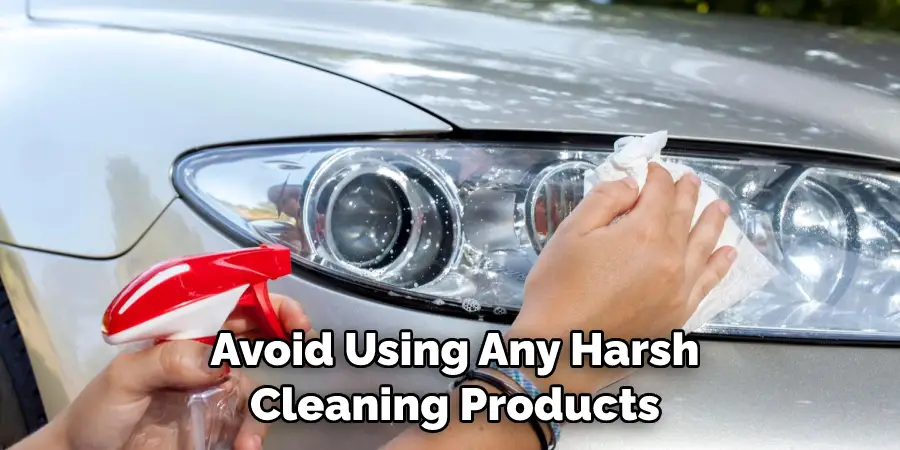
Once the headlight tint has been applied, a few basic tips ensure it will look great for a long time. To begin with, avoid using any harsh cleaning products like ammonia or vinegar on your headlights, as these could damage the tint. Instead, use gentle soap and water to clean off dirt or debris.
Additionally, check for any cracks, fading, or peeling of the tint and repair it immediately. Additionally, use a heat gun or hairdryer on a low setting to help re-adhere the tint if necessary. Lastly, be sure to check your headlight tints regularly for any signs of wear and tear so that you can make any necessary repairs. With these tips, your headlight tints should look great for a long time.
What Are Some Common Mistakes People Make When Tinting Their Headlights?
When tinting headlights, taking your time and practicing patience is important. Haste will only lead to mistakes that can be difficult or impossible to undo. Here are some common mistakes people make when trying to tint their headlights:
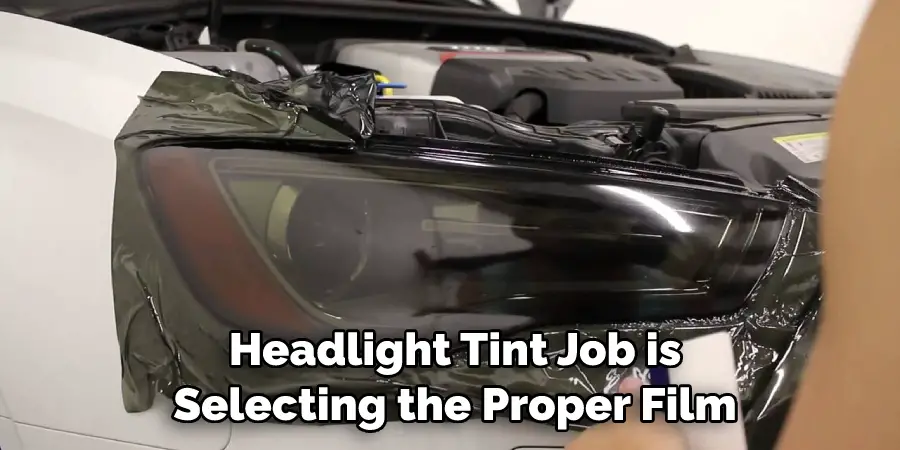
- Using the Wrong Kind of Film: The most important factor in a successful headlight tint job is selecting the proper film. Many people opt for cheaper films that claim to be the same quality, but unfortunately, this won’t produce the desired result. Selecting a quality film will ensure it holds up over time and doesn’t scratch or peel easily.
- Not Prepping the Surface: Before applying any headlight tint, ensure the surface is properly prepped. This means sanding down any imperfections and cleaning them with a degreaser before applying the film. If you don’t take the necessary steps for proper preparation, it can lead to an uneven application or bubbling of the film.
- Not Removing All Air Bubbles: Air bubbles are one of the most common issues when applying headlight tint. It’s important to take your time and remove all air bubbles before the adhesive on the film sets. If you don’t, this can cause an uneven look after the fact.
- Not Using a Heat Gun: A heat gun is essential for any headlight tint job, as it helps to soften the film and activate the adhesive. Without a heat gun, you won’t be able to complete the job effectively. Make sure to follow any instructions with your heat gun to ensure a safe and successful application.
By avoiding these common mistakes, you can ensure that your headlight tint job is completed properly and looks great for years. Taking your time and researching can make a huge difference in the final result.
Conclusion
In conclusion, tinting headlights has its advantages, however, there are some disadvantages to consider. Tinting your headlights can make them too dark for safe driving conditions – especially at night when visibility is already reduced. This can be dangerous as it reduces the amount of light that reaches the road and could cause an accident or poor visibility while on the roads.
In conclusion, tinting your headlights can be a great way to add style and personalize your car. It’s easy to do, inexpensive, and can greatly enhance the look of your vehicle. Before you start, make sure you know what products are available for the job as well as the safety precautions you should take before starting. This article has been beneficial for learning how to tint your headlights. Make Sure the preventive measures are followed chronologically.