Do you need a spotlight for an upcoming performance or event but don’t have the budget? Don’t worry; you can easily turn a floodlight into a spotlight for little to no cost. All you need is a few simple materials and some basic tools. This blog post will show you how to turn a floodlight into a spotlight and provide you with a list of materials and tools you will need. Keep reading to learn more!
Summary: If you have a floodlight outside your home, you can turn it into a spotlight by covering the light with a black cloth or plastic sheet. This will prevent light from escaping and make the spotlight perfect for highlighting objects in your backyard or driveway.

What Causes Spotlight Effect?
The spotlight effect is an optical illusion that occurs when you think you are the center of attention and everyone is looking at you. This can happen in social situations when you feel self-conscious or underdressed. It can also happen when you are in a physical spotlight, such as on stage or in a car. The spotlight effect is caused by the human brain’s tendency to overestimate the importance of our own actions and appearance.
Another reason the spotlight effect occurs is that we tend to focus on our flaws and think everyone else is noticing them too. This is why people are often more self-conscious in social situations. The spotlight effect can also be caused by a combination of both of these factors.
Why Would You Want to Turn a Flood Light Into a Spotlight?
You might want to turn a floodlight into a spotlight for many reasons. For example, you might need a spotlight for an upcoming performance or event but don’t have the budget. You might also want to create a more dramatic effect for a party or other social event. Additionally, you might want to use a spotlight to highlight a certain area of your home or business.
Another reason you might want to turn a floodlight into a spotlight is for security purposes. You can use a spotlight to deter burglars and intruders by focusing on areas around your home or business you want to protect. The other reason people might want to turn a floodlight into a spotlight is to save energy.
If you only need a small area illuminated, a spotlight will use less energy than a floodlight. Finally, you might want to turn a floodlight into a spotlight because it is more aesthetically pleasing.
Tools and Materials Needed
- A floodlight
- A screwdriver
- A piece of cardboard
- Black duct tape
- Scissors
Step by Step How to Turn a Flood Light Into a Spotlight
1. Choose the Right Floodlight
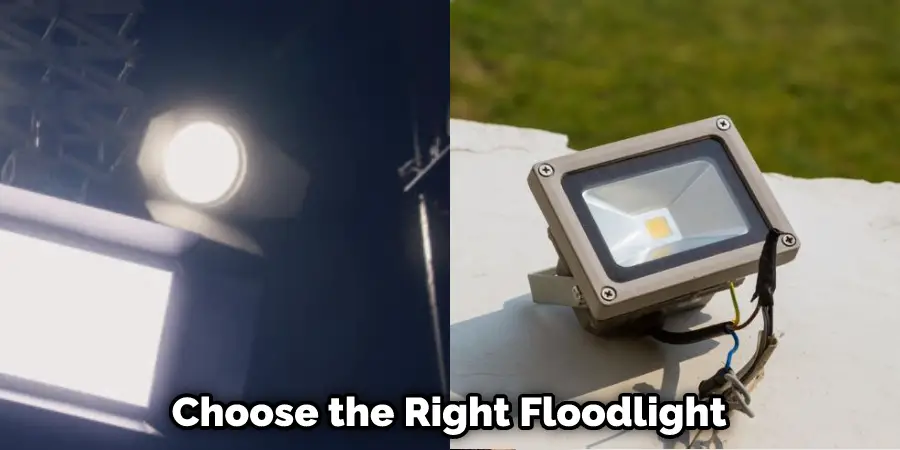
The first step is to choose the right floodlight. You will want to select a floodlight that is bright enough to provide adequate illumination for your needs. You will also want to consider the size and weight of the floodlight. If you use the spotlight indoors, you will want to choose a smaller and lighter floodlight.
However, if you use the spotlight outdoors, you will want to choose a larger and heavier floodlight. Avoid choosing a floodlight with a built-in timer or motion sensor, as these features can cause the spotlight to turn off when you don’t want it to.
2. Select the Right Location
The next step is to select the right location for your spotlight. You will want to choose a location that is close to an electrical outlet. You will also want to consider the amount of space you have and the angle at which you want the spotlight to be positioned.
If you are using the spotlight indoors, you might want to position it near a window so that natural light can enter the room. If you are using the spotlight outdoors, you will want to position it in an area that is not too windy. Avoid positioning the spotlight near flammable objects or materials.
3. Turn Off the Power
The next step is to turn off the power to the area where you will be working. This can be done by flipping the switch on the circuit breaker box. Once the power is off, test the area with a circuit tester to ensure there is no power running. If you are unsure of how to turn off the power or use a circuit tester, you should contact a qualified electrician. Avoid working on electrical equipment when the power is still on, as this can be very dangerous.
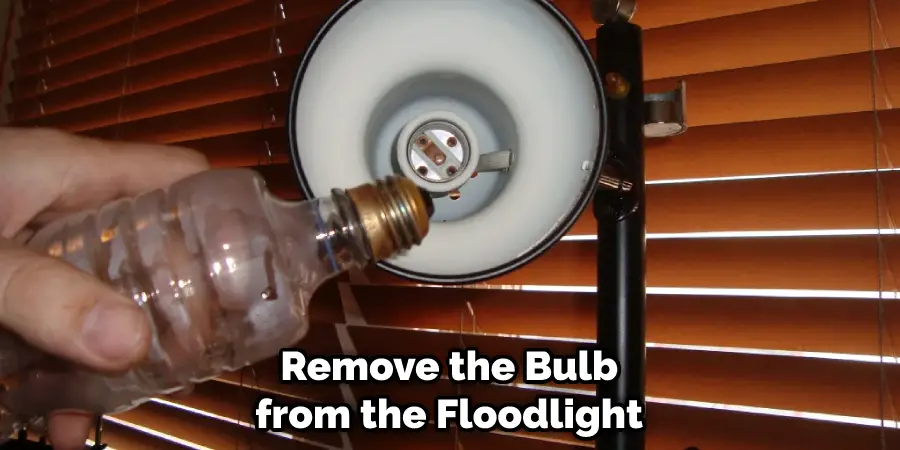
4. Remove the Bulb
The next step is to remove the bulb from the floodlight. This can be done by unscrewing the retaining screws and pulling the bulb out of the socket. First, remove the glass or plastic cover from the bulb. Next, unscrew the retaining screws and pull the bulb out of the socket. If the bulb is stuck, you can try using a pair of needle-nose pliers to remove it. Avoid touching the bulb with your hands, as this can cause the bulb to break.
5. Disconnect the Wires
The next step is to disconnect the wires from the floodlight. This can be done by unscrewing the wire nuts and pulling the wires apart. First, identify the black wire, which is the hot wire. Next, twist the wire nut clockwise to loosen it. After that, pull the black wire away from the other wires. Finally, unscrew the wire nut from the remaining wires and pull them apart.
6. Cut a Hole in the Cardboard
The next step is to cut a hole in the cardboard. This will be the opening for the spotlight. The size of the hole will depend on the size of the floodlight. Use a sharp knife or a pair of scissors to cut the hole. First, draw a circle on the cardboard. Next, use a sharp knife or a pair of scissors to cut out the circle. Try to make the hole as smooth and even as possible.
7. Attach the Cardboard to the Floodlight
The next step is to attach the cardboard to the floodlight. This can be done by using duct tape. First, position the cardboard over the opening of the floodlight. Next, use duct tape to secure the cardboard to the floodlight. Ensure that the cardboard is securely attached and that there are no gaps. If there are gaps, the light will escape and reduce the effectiveness of the spotlight.
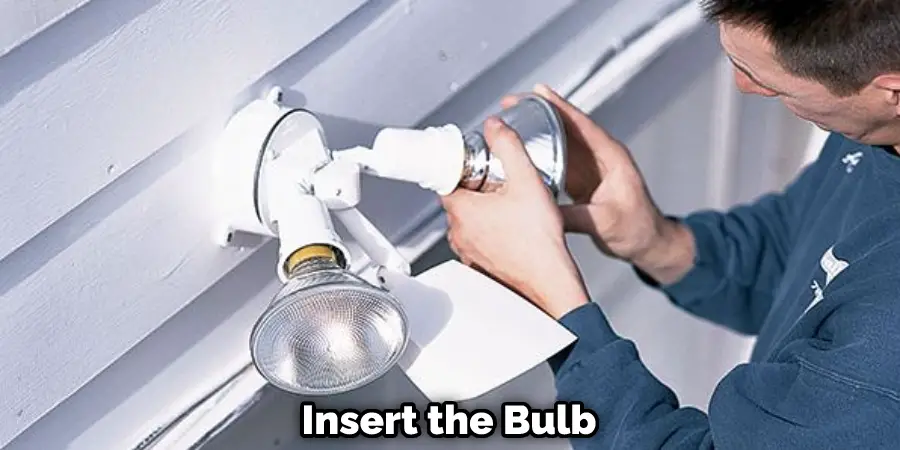
8. Insert the Bulb
The next step is to insert the bulb into the socket. This can be done by screwing the bulb into the socket. First, align the bulb’s threads with the socket’s threads. Next, screw the bulb into the socket until it is tight. Be careful not to over-tighten the bulb, as this can cause the bulb to break. If the bulb is not screwing in easily, try rotating it clockwise. Avoid touching the bulb with your hands, as this can cause the bulb to break.
9. Reconnect the Wires
The next step is to reconnect the wires to the floodlight. This is a fairly simple process, but it is important to ensure that the wires are properly connected. Make sure to connect the black wire to the black terminal and the white wire to the white terminal. Once the wires are connected, you can screw the terminals back into place.
10. Cover the Lens
The next step is to cover the lens with cardboard. This will help to focus the light and prevent it from spreading out. First, position the cardboard over the lens. Next, use duct tape to secure the cardboard to the floodlight. Make sure that the cardboard covers the lens and that there are no gaps. Avoid touching the lens with your hands, as this can cause the glass to break.
11. Test the Spotlight
The final step is to test the spotlight. This can be done by turning on the power and aiming the spotlight at a distant object. If the spotlight is not working properly, you may need to adjust the position of the cardboard. You can also try using a different type of cardboard. If the spotlight is still not working, you may need to replace the bulb. Try using a different bulb type to see if that makes a difference.
Tips and Warnings on How to Turn a Flood Light Into a Spotlight
Tips:
- Be sure that the area around the light is clear of any flammable materials.
- Have a helper hold the light while you work.
- Use gloves and safety glasses when working with electricity.
- Be sure to unplug the flood light before beginning any work on it.
- Consult an electrician if you are unsure about any part of the project.

Warnings:
- Never look directly into the light when it is on.
- Do not touch the light bulb with your bare hands.
- Be careful not to drop the light bulb. It may shatter and cause injury.
- Do not touch any live electrical wires.
- Dispose of the old light bulb properly.
Frequently Asked Questions
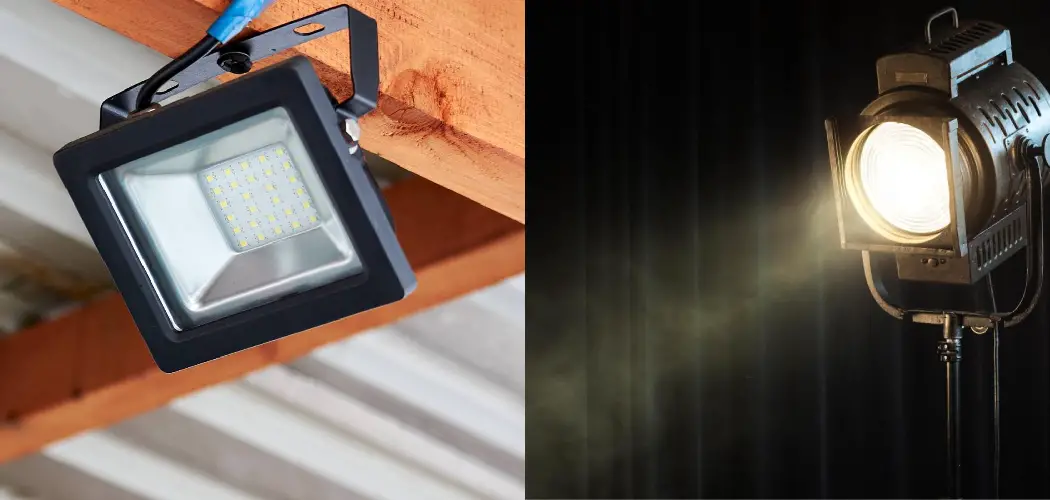
Is a Floodlight and a Spotlight the Same?
A spotlight is a larger light that is used for theatrical or performance applications, while a floodlight is a more common, everyday light that is typically used outdoors. The main difference between a spotlight and a floodlight is that a spotlight typically projects a focused beam of light, while a floodlight emits an even spread of light.
What’s Better Spotlight or Floodlight?
Spotlight and floodlight are two types of lighting that can be used to illuminate a scene. Spotlight is a type of lighting that casts a narrow beam of light, while floodlight is a type of lighting that casts a broad beam of light. Both types of lighting can be used for a variety of purposes, such as illuminating a subject or creating an ambient atmosphere.
Spotlight is often used for photographing or filming, as it provides a diffused, evenly-lit scene that eliminates shadows and gives the viewer a clear view of the subject. Floodlight is often used in film and photography to create a more dramatic effect, as it provides an intense illumination that can make objects more visible and enhance the feel of drama and suspense. In both cases, the choice of lighting type depends on the specific needs of the project being undertaken.
Can Anyone Make a Spotlight?
Yes, anyone can make a spotlight. All you need is some basic materials and a bit of creativity. Here are a few tips to help you get started:
1. Choose the right material: One of the most important factors in making a spotlight is the material it is made from. The material should be sturdy enough to support the weight of the lightbulb, and it should also be easy to clean and maintain. Some popular materials for spotlightmaking include cardboard, plastic, and wood.
2. Choose the right lightbulb: The type of lightbulb you use will affect the color and brightness of your spotlight. LED lights are usually the brightest and most colorful, while incandescent bulbs produce warmer colors. If you are not sure which type of lightbulb to use, consult an expert or search online for tips and reviews on different types of lightbulbs.
3. Assemble the spotlight: Once you have chosen the material and lightbulb, it is time to assemble the spotlight. To do this, first measure and cut out the shape of the spotlight using a sharp knife or a ruler. Then, secure the lightbulb in place by securing it with screws or bolts (if using a lightbulb). Finally, add any finishing touches (like paint or textiles) and enjoy your newly created spotlight!
Does a Spotlight Have a Lens?
No, a spotlight does not have a lens. A spotlight is simply a source of light that is used for various purposes, including illuminating objects or surfaces.
Conclusion
So there you have it! These are the steps on How to Turn a Flood Light Into a Spotlight. Following these steps can easily turn a floodlight into a spotlight. This can be a great way to focus light on a specific area or object. It can also be used to create a dramatic effect. Just be careful when working with electricity and follow all safety precautions. Thanks for reading!