
You probably can’t stand when a light bulb goes out if you’re like me. It’s always such a pain to change it, and I hate having to buy a new one every time it happens. Well, I’ve found the perfect solution: the Light Keeper Pro! This handy tool makes changing light bulbs so easy; even I can do it! In this article, we’ll discuss how to use the Light Keeper Pro. Read on for more information.
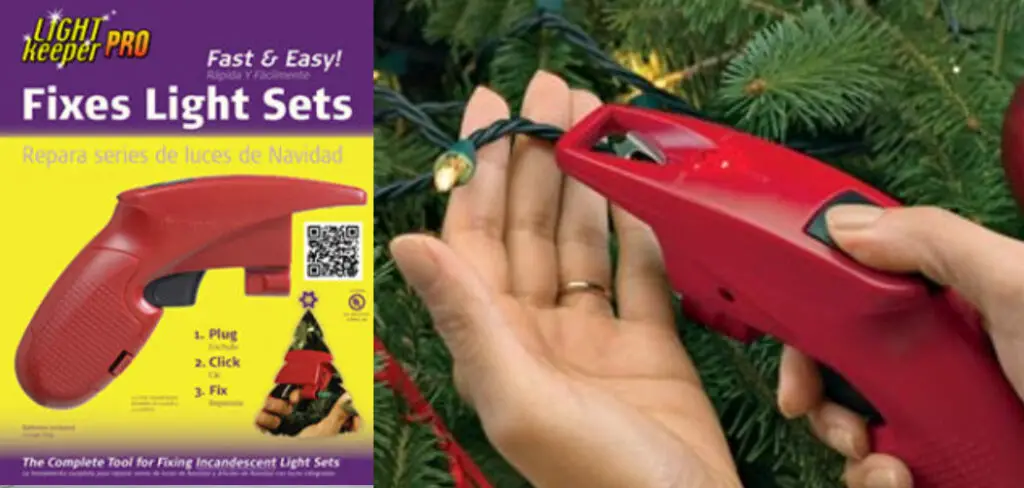
A light keeper pro is a tool designed for doing short work of changing light bulbs. All you have to do is stick the Light Keeper Pro’s prongs into the holes of a light bulb and give it a quarter turn. That’s all there is to it! Your old burnt-out light bulb will magically screw right out as if by magic! It can be used time and time again; pop the burnt-out bulb back in, and you’re good to go!
Summary: The Light Keeper Pro is the perfect tool for anyone looking to keep their lighting in check. This device helps you to create a schedule for your lights and track their usage, all while saving you money on your energy bill.
Required Tools and Materials
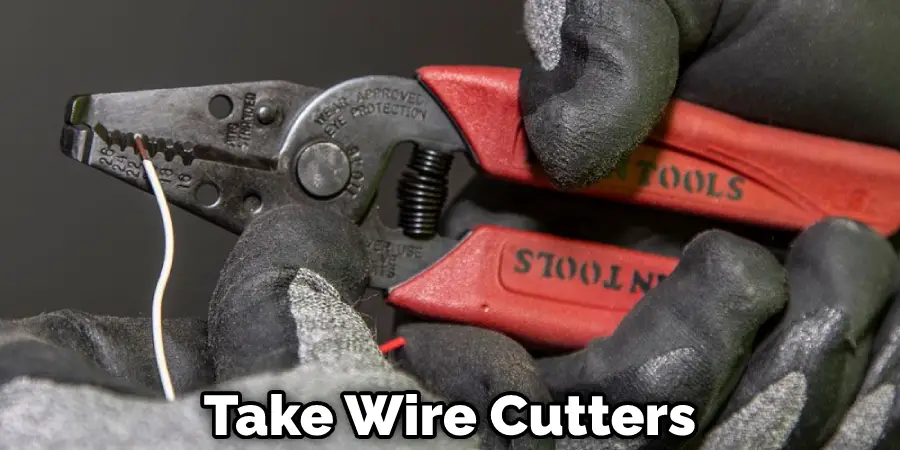
- Wire Cutters
- Medium Philips Screwdriver
- A Small Flathead Screwdriver
- A Small Hammer
- Threaded Rod
- Lubricating Oil
- A Soldering Iron
- Wire Strippers
- Drill Machine or Power Screwdriver with Philips Head Bit
- Wire Gauge Nippers
A Stepwise Guide on How to Use the Light Keeper Pro
Step 1: Determine the Type of Wire in the Fixture
The first step after turning off the power in the circuit you are replacing is to check whether or not there is more than one type of wire in the fixture. Usually, older fixtures have two wires, and newer ones, such as LED systems, come with three.
Ensure that you do not confuse the grounding wire for one of the other two types. With this method, it does not matter if your fixture has 3 or 2 wires because all we need to do is identify which two we will use later on when installing our new light bulbs.
Step 2: Identify Two Wires and Strip Them
To install new LED light bulbs in a fixture, first determine the types of wires in the fixture. Then, select two wires that are close to each other or about 6 inches apart. Use wire strippers to cut off about half an inch from these two wires. If there are three LED lights in the fixture, strip off one more wire to power the new light bulbs.
Step 3: Connect Two Wires
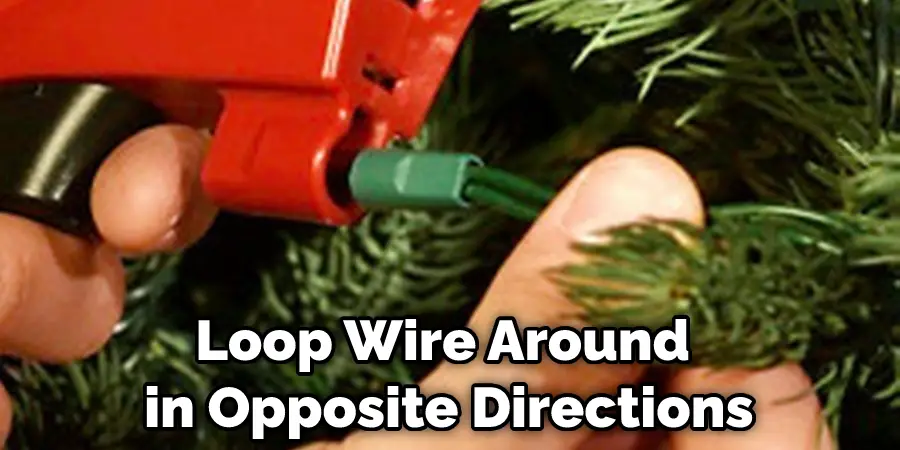
To connect the two wires, take one end of one wire and one end of another wire and loop them around in opposite directions. To make sure that they are secure when finished, twist them clockwise while pulling on the ends slightly at the same time. The connection should be tight enough not to slip off when you begin to twist on the wire nut.
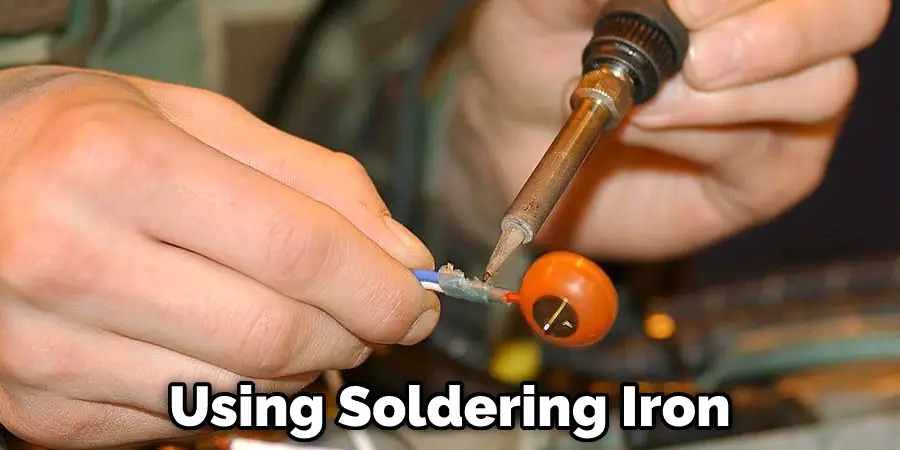
Step 4: Preheat the Wire Nut
After you twist the two wires together, you need to grab a soldering iron and check if the tip is clean. This can be done by wetting a sponge or paper towel with water and swiping the iron’s tip until there are no more deposits left on it. If there are still some particles, use some fine sandpaper for metal surfaces to remove them. When you’re finished, plug in your soldering iron and wait for about one minute before using it again to reach optimal temperature.
Step 5: Insert the Solder Iron Inside of Wire Nut
In order to solder, you need to first make sure that your soldering iron is at the right temperature. Once it is, you can then melt the solder inside the wire nut by holding the soldering iron close to it. Make sure that there is a gap between the wire nut and the soldering iron so that the heat can transfer between them. After three seconds, remove the soldering iron and immediately proceed to the next step.
Step 6: Solder a Wire Nut
While keeping one hand on the screwdriver, pick up some solder with your tweezers or pliers and let some of it fall into the opening on top of part A of the plastic wire nut. Be careful as too much can overflow and cause a short circuit later on when installed in your house’s circuitry. Using your soldering iron, push its tip against one side of the wire nut for about three seconds. Take your solder pliers and grab some solder before pushing it into the opposite end of the wire nut you were pushing against earlier to heat up. You can also use a drill machine if you have one since this will help speed up the process.
Step 7: Clean Off Excess Solder
After you’re done soldering, let the iron cool down for about five minutes before using solder pliers or tweezers to remove any excess solder inside or around the wire nut. This is to make sure that no metal deposits fall off during installation later on. Next, use a damp cloth to wipe any excess solder off around the wire nut.
Step 8: Twist Wire Nut Shut
After removing your soldering iron, take your wire cutters and cut off both ends of the wires that are sticking out from wire nut A to have a clean edge where it meets wire nut B. After doing this, grab the two ends of one of the wires sticking out from wire nut B and twist them with another section of matching color for about five turns before twisting on another plastic wire nut. Repeat this same process for the other set of wires until all excess ends have been tucked away inside or under a wire nut. Ensure that there is only enough room for three sections between each twisted area so that all excess wires can fit in and not create a mess.
Step 9: Clean Up Wires
After twisting the plastic wire nuts shut, you must ensure that all excess wires are tucked away before connecting them into your circuit board’s power slots. To do this, take some electrical tape and begin wrapping it around any excess wire sticking out from behind each wire nut.
Be careful when doing this, as too much force may cause the wire nut to unwind itself, which will leave a gap between a section of exposed wiring. Finish up by taking a cotton swab and dip one end of it with rubbing alcohol before wiping down any dirt or residues off around the exterior of the wire nuts. What does this mean for your home?
Step 10: Test It Out Before Wrapping It Up
Before tucking the wire nuts away, please test it out by plugging in your circuit board’s power supply and connecting an LED. Ensure that the LED is firmly pushed into all of its connections before turning on your power supply.
If everything works, you can now wrap up the excess wiring with electrical tape. After doing this, use some pliers or tweezers to tuck away any excess loose wiring under the device’s base. Don’t cover up any air vents while doing so, or else your Light Keeper Pro Plus will overheat and break.
After finishing up these steps, you should now have a patented indoor/outdoor light sensor switch to help detect when it gets dark or bright enough to turn on/off your outdoor lights. Next, you will need to set the time intervals that you want your lights to turn on and off using the back of the device. Then, simply push down on one side of it until it can no longer be pressed down before rotating it around until its arrow points to whatever time interval you want.
After following these steps, your Light Keeper Pro Plus should now be ready for use in detecting dark times outside! After testing it out yourself, make sure to share this tutorial with others who may have an interest in indoor lighting control! These steps will help in how to use the light keeper pro.
Precautions
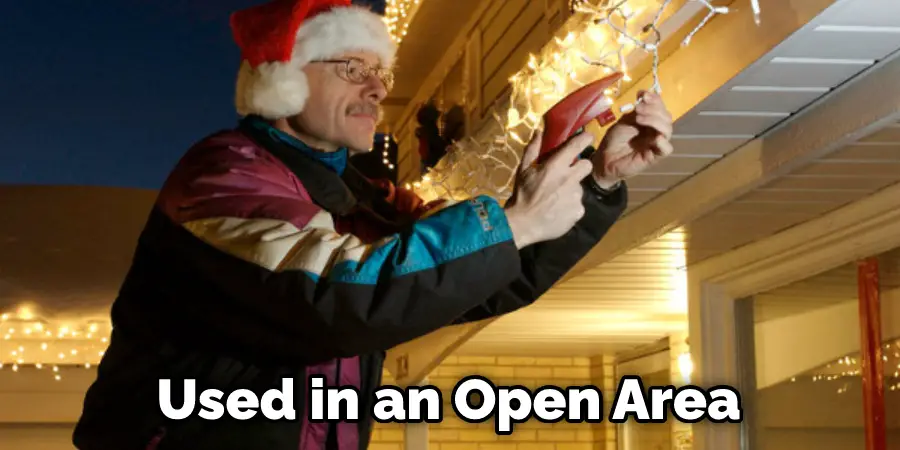
- The Light Keeper Pro is designed to work on all flat indoor surfaces. It should be used in an open area with nothing nearby that could cause an accident. The unit contains a large magnet and should not be used around other electronic devices or moved when someone is standing nearby (personal injury).
- Do not operate the unit without wearing safety glasses.
- Carefully inspect the surface where the repair will occur before using your The Light Keeper Pro.
- Any broken glass or sharp objects can cause damage to your LKP or personal injury. If you are unsure of anything, then do not use it!
Frequently Asked Questions
Does the Light Keeper Pro Really Work?
Absolutely! The Light Keeper Pro is a highly effective device that helps to reduce the amount of light exposure that you receive. It does this by placing lead-filled solar panels over your windows and directing sunlight away from your home during daylight hours.
This reduces the sun’s intensity, which will help to protect your eyesight and prolong your battery life. Additionally, it filters out harmful UV radiation while letting in natural light.
What Do You Do if Your Lightkeeper Pro Doesn’t Work?
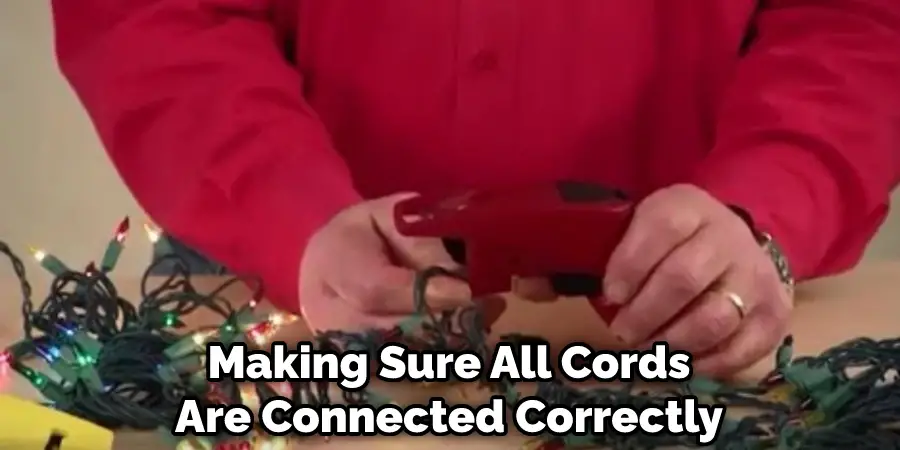
If your Lightkeeper Pro doesn’t work, there are a few things that you can do to troubleshoot the issue. First, make sure that the light is properly installed by checking for bulbs that aren’t working and making sure all cords are connected correctly. If this fails to resolve the issue, you may need to send in your device for repair or replacement.
Is There a Battery in Lightkeeper Pro?
Lightkeeper Pro is a professional-grade light meter designed for photographers and videographers who need to capture correct exposures in all lighting conditions. However, there is no battery inside Lightkeeper Pro!
Does Led Keeper Work on Icicle Lights?
There is not a lot of research that has been conducted on Led Keeper specifically pertaining to icicle lights, but it is generally safe to assume that if the light fixture meets all other safety requirements, then Led Keeper should work.
Conclusion
If you are looking for an easy-to-use and affordable lightkeeper, the Light Keeper Pro is a great option. It is simple to set up and easy to use, making it perfect for anyone who wants to keep their holiday lights. With just a few clicks of a button, you can have your lights shining brightly once again. We hope you find this article on how to use the light keeper pro useful.