
Installing light rail molding is a great way to add character and style to your home. It’s also a straightforward project that anyone can do. This article will show you how to install light rail molding in just a few simple steps. So, if you’re looking for a way to improve the look of your home, read on!
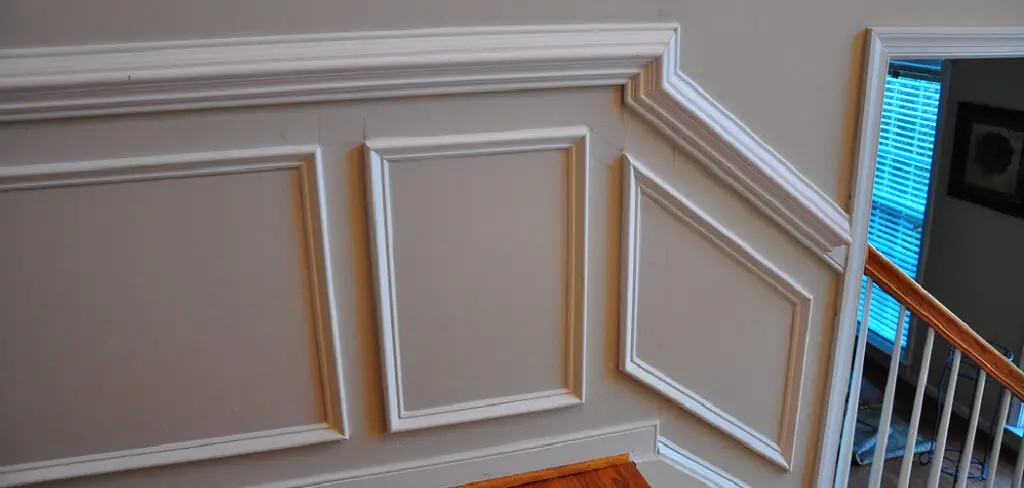
Light rail molding is an elegant and low-cost way to add a little style and sophistication to your home. It’s also straightforward to install, perfect for any beginner. Many people install light rail molding in their homes either to improve the look of their cabinets or for another type of remodeling project.
Summary: If you’re looking to add a touch of sophistication and class to your home’s exterior, consider installing light rail molding. This versatile trim can be used to cover a wide range of applications, from the walls of your entranceway to the base of your windows. To install light rail molding, first measure the space you want to cover and then consult the manufacturer’s instructions. Next, use a spray adhesive or a liquid nails to attach the molding to the wall or surface. And finally, finish the job by painting or otherwise decorating the trim to your desired effect.
Supplies You’ll Need
- Measuring tape
- Pencil
- 7mm socket or wrench
- Glue
- Chalk line, or some other way of marking a straight line (optional)
- Drill with 3/8″ bit and 1/2″ hex head driver bit. Also, need a 7mm socket.
- Air compressor for nail gun, with a hose hooked up if not built-in.
A Step by Step How to Install Light Rail Molding
Step1: Determine How Many Pieces of Rail You Will Need
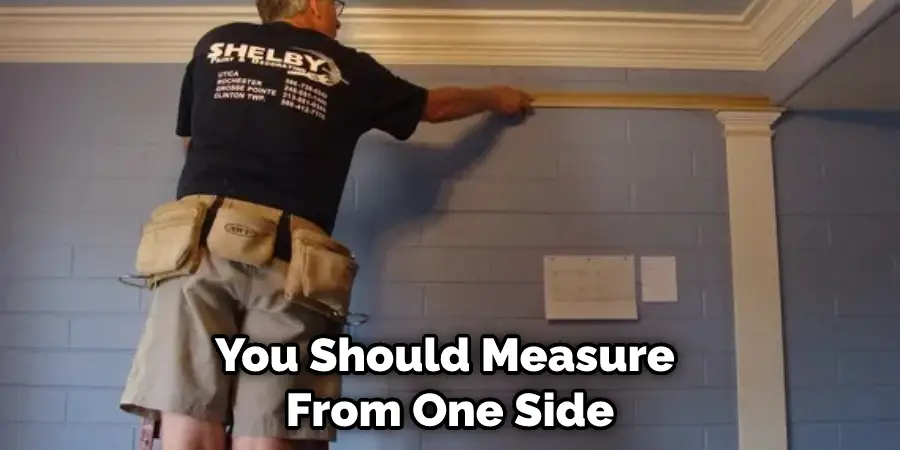
You need to measure the length of the run from one end to the other, including any inside corners. You can measure however you want, but if there are inside corners, you should measure from one side or corner to the other, and then add your measurements together without doubling up on either piece in the corner.
This will give you a total number of pieces for each length you need. For example, we went with 45 ft in our How To Install Light Rail Molding project, so we needed five 45 ft pieces and two 21 ft pieces (one for each inside corner). Be sure when measuring that you account for where your baseboards will be when determining how far into the room your moldings should go! It’s easier to cut down than add on later if necessary.
Step 2: Measure for How Long Your Pieces Need to Be
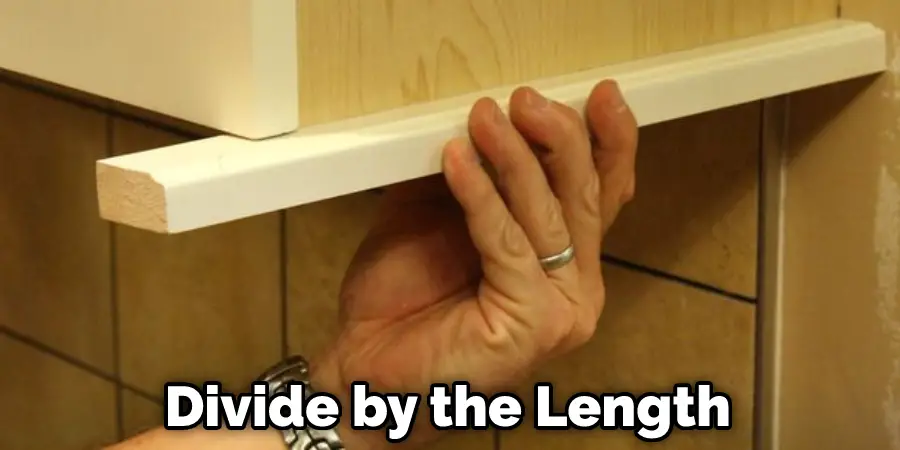
Take your measurements from Step 1 and divide by the length of each piece of rail you’ll need. Since we required seven pieces at 45 ft, this was almost exactly 9 feet per piece. With 10 feet being our standard length for molding, you can see why nine was a good number for us!
This step is necessary because your inside corners will need to be shorter than one whole piece to fit correctly where they meet on the wall. Keeping them close to one whole piece helps avoid an odd-looking corner that doesn’t sit completely flat against the wall.
Step 3: Mark Measurements onto Rail
Once you’ve determined How Many Pieces of Rail You Will Need and How Long Your Pieces Need to Be, you can mark your first piece of rail by cutting and placing a 45 ft length into the corner where it will meet the wall.
Be sure that each end is touching one side of the corner, and use a carpenter’s square to make sure it’s as close as possible to 90 degrees before marking with your pencil (this helps ensure even gaps all along with the molding). Then, with one side marked, cut your second piece for this inside corner at 9 feet long (the measurement from How Long Your Pieces Need to Be) and place it next to your mark.
Step 4: Dry Fit Rail into Corner
If everything looks good, take your two pieces and dry-fit them into the corner without glue yet. It is up to you to do this, but it needs to be done carefully to get them into the right place without smashing your fingers or splintering the wood before nailing!
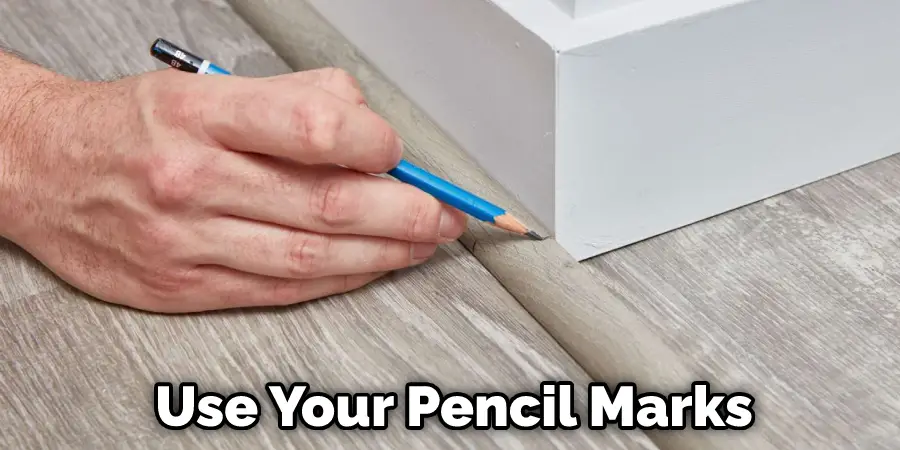
To make sure your corner looks nice and professional, use your pencil marks as a guide for lining up where each piece should go when gluing and nailing. Your goal is to have one continuous straight line all around the inside of the corner.
Step 5: Apply Glue & Nail in Corner
Now’s when you apply your glue to the backs of the rail pieces. Again, your use is up to you, but be sure they’re evenly coated! When gluing, it’s best to have a partner. One person holds the pieces in place while the other applies the glue. This ensures that everything will go into its proper place before being nailed down and gives extra stability for keeping corners tight when nailing.
Once both sides are glued and lined up how you want them, use your hammer or nail gun to drive nails through each piece at 90-degree angles on top of one another where they intersect in the corner (the same way seams on drywall would meet). Nails should be long enough to quickly go through two rails with room for the third rail below.
Step 6: Glue & Nail Outside Corners
Now that your inside corner is nailed down, you’re ready to attach the outside corners. This works like Step 5, except each side of the molding will be done on its own, so glue and nails only need to go half as deep (perfect for when both halves can’t fit in your mouth at once).
Again, remember How Many Pieces of Rail You Need and How Long Your Pieces Need to Be so you don’t get confused here! When finished attaching the outside corners, use a carpenter’s square again and check that everything looks and fits flat against the wall before adding more nails.
Step 7: Fill in Gaps with Glue & Nails
Once everything looks good, use a rubber mallet to lightly tap the molding into place along the wall where there are any gaps. How much you fill in is up to you, but keep in mind that overfilling will make it harder to stay flush with the wall, which can cause problems for caulking later on.
After you put glue on something, you should wipe away the excess before it dries. If you don’t, it will leave marks on your wall. How long it takes for the glue to dry depends on a lot of different things, so be careful not to bump or knock anything until it’s all dry.

Step 8: Caulk Everything
Finally, it’s time for caulking, but only once has everything thoroughly dried (use a hairdryer if anything needs speed drying). This stuff isn’t cheap, so you don’t want to waste it by putting any on that shouldn’t be or on places where there are tiny gaps that shouldn’t be filled in yet! How much caulking you use is up to you.
How high the rail rises above the wall (or even how far below) isn’t essential, but this will be where most of your caulk sits, so make sure everything’s covered! How long it takes for caulk to dry depends on many different things like humidity and temperature, but give it at least an hour or two before messing with it any further.
Step 9: Trim Caulk Joints & Screw-in Brackets
You need something attached to your wall beneath the molding’s bottom edge in order to screw in your brackets. The screws should be in braces so that they are secure. You can decide how far off the wall to screw them in, but they should be deep enough to hold the rail securely and slightly pry against it so your railing will stay straight.
How many screws you put in each bracket is also up to you; some people only use one per half of the top or bottom (or even none at all), but if anything looks like it might start tilting, this should help with stability! Finally, how long it takes for caulk to dry depends on many things like humidity and temperature, but give it at least an hour or two before messing with it any further.
Step 10: Screw Brackets onto Rail & Wall
Now screw your brackets onto the rails directly above where they’re attached to your braces. How you space these is up to you and how deep they’re screwed in is up to you, but keep in mind that if screws are put in too far or too short, the railing will pull away from the wall and may even fall off. How long it takes for caulk to dry depends on many different things like humidity and temperature, but give it at least an hour or two before messing with it any further.

Step 11: Last Step
Now screw your brackets onto the bottom edge of your railings. How you space them along the rail (and against each other) is up to you, and how deep they’re screwed in is up to you, but keep in mind that screwing them into the rail itself instead of the wall is strictly for aesthetic purposes. How long it takes for caulk to dry depends on many different things like humidity and temperature, but give it at least an hour or two before messing with it any further.
How easy this had depended entirely on your wall material (drywall requires more work than brick), how straight your walls are already (if they’re not perfectly sheer good luck!), and what kind of light rail molding you’ve used (some require assembly whereas others don’t so consider those differences as well). These steps will help in how to install light rail molding.
Frequently Asked Questions
What Is Cabinet Light Rail Molding?
Cabinet light rail molding is a type of decorative plaster that is designed to imitate the look of the wood grain. This versatile material can be used in a variety of applications, including residential and commercial settings. It comes in two types: textured and smooth.
Textured cabinet light rail molding has a rougher appearance than smooth cabinet light rail molding, which gives it more of an antique feel. Smooth cabinet light rail Molding is less visible from afar and may be preferred for interior designs where low maintenance is desired. Either type can be painted or left uncoated to match your other decorating styles.
What Does Scribe Molding Look Like?
Scribe molding is a type of molding that uses an aluminum frame to create three-dimensional shapes. This process can be used for products such as cars, furniture, or architectural details. The frames are attached to a machine called a mandrel, and the product is shaped by moving the mandrel around while it’s heated up.
It’s important to note that scribe molding is not recommended for objects that will see heavy use or contact with water. Additionally, the finished product may have small imperfections due to its unique manufacturing process. However, these flaws often add character and uniqueness to the final product.
If you’re interested in trying scribe molding out for yourself, there are many training programs available that teach you how to use this technology successfully.
Where Does Scribe Molding Go?
Scribe molding goes into a variety of places, including homes and businesses. It is often used to create ceilings, walls, and other large surfaces. In some cases, it is also used to create cabinets or other pieces of furniture.
Should Kitchen Cabinets Have Crown Molding?
Kitchen cabinets do not always need crown molding. The style of your kitchen, the materials used for the cabinet doors and frames, and other factors can affect whether or not crown molding is necessary. If you are unsure if Crown Molding is a good option for your kitchen, ask an expert at a local home improvement or remodeling store.
Conclusion
Installing light rail molding is a great way to add detail and elegance to your home. It can be a little tricky, but with these steps on how to install light rail molding, you should be able to do it without any trouble. So have fun and enjoy the new look of your home!