If you are looking for a quick and easy way to change the look of your home, consider single-wiring pin LED tube lights. This project is simple enough for anyone to do and can be completed in just a few hours. Plus, LED tube lights are a great way to save energy and money.

This article will show you how to wire single pin led tube lights. There is a lot of confusion when it comes to wiring single-pin LED tube lights. This article will aim to clear up any questions or concerns you may have. We will be discussing the correct way to wire these lights and troubleshooting tips in case something goes wrong. By following the simple steps laid out in this post, you can enjoy the benefits of LED tube lighting.
Summary: If you’re looking to add a little bit of extra light to your decor, but don’t want to break the bank, then you’ll want to consider wiring single pin led tube lights. These lights are simple to install and can be used in a variety of different settings, such as around the house or in a garden.
What Are Single Pin Led Tube Lights
Single-pin led tube lights are becoming more popular because they are more energy efficient, last longer, and emit a brighter light. They also offer a more modern look to any space.
Types of Single Pin Led Tube Lights
There are two types of single-pin led tube lights: those with an integrated driver and those without an integrated driver. The type of light you need will depend on the application.
Integrated Driver
Single-pin led tube lights with an integrated driver are the most common type of light. They are simple to install and do not require any external wiring. These lights are great for general lighting applications such as in a kitchen or living room.
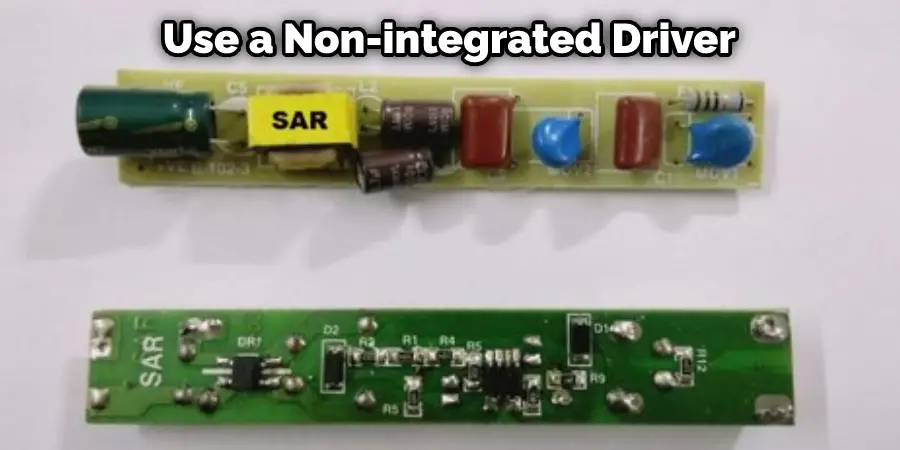
Non-Integrated Driver
The single pin led tube lights without an integrated driver require an external power source. These lights are typically used for accent lighting or applications where a dimmable light is desired. The advantage of using a non-integrated driver is that it allows you to dim the light.
You Can Check It Out to Connect 4 Pin Led Strip
Tools and Materials Needed
- Wire strippers
- Electrical tape
- Screwdriver
- LED tube lights
10 Ways on How to Wire Single Pin Led Tube Lights
1. Use a Single Strand of Wire
The simplest way to wire single-pin LED tube lights is to use a single wire strand. This method is best suited for small projects or when you need a small number of lights. All you need to do is connect the positive (+) lead of the LED to the positive terminal of the power source, and the negative (-) lead of the LED to the negative terminal of the power source.
2. Use a Dual Strand of Wire
You may want to use a dual strand of wire for larger projects. This method is best suited for when you need more than a few lights. To wire the LEDs in this manner, you will need to connect the positive (+) lead of one LED to the positive lead of the second LED. Then, connect the negative (-) lead of the first LED to the positive lead of the third LED. Repeat this process until all of the LEDs are connected. Finally, connect the last negative lead to a resistor and then to a power source.
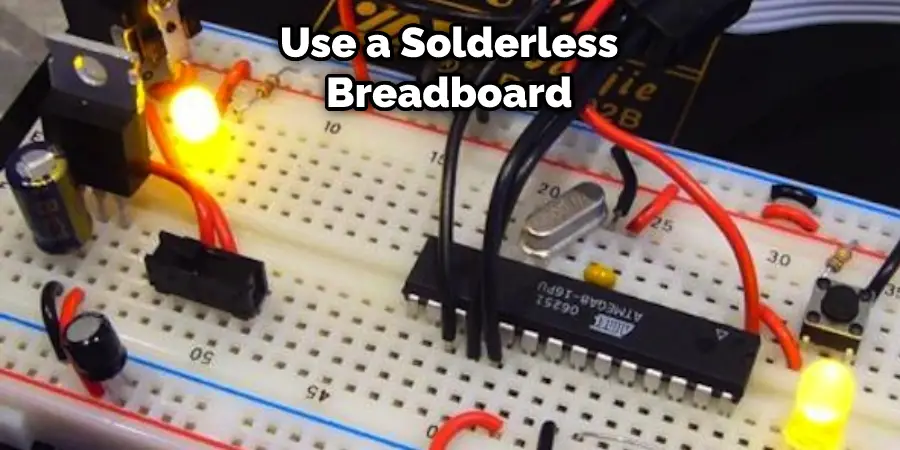
3. Use a Solderless Breadboard
If you’re working on a project that needs a lot of lights, it might be a good idea to use a solderless breadboard. That way, you can easily connect and disconnect the lights as needed. To do this, you would connect one end of the light to the positive power rail and the other end to the negative power rail.
4. Use Alligator Clips
If you are working on a smaller project or only need a few lights, you can use alligator clips to connect your lights. Alligator clips are easy to use and make connecting and disconnecting your lights quick. You can find alligator clips at most hardware stores. It is important to make sure that the alligator clips you purchase can handle the wattage of your lights.
5. Use Heat Shrink Tubing
Heat shrink tubing is a material you can use to connect your lights. It is more permanent than using alligator clips and is best for projects where you will not need to disconnect your lights frequently.
To use heat shrink tubing, first, strip the insulation off of the end of your wire. Then, slide the heat shrink tubing over the end of the wire and twist it so that it is snug against the insulation. Next, use a heat gun or lighter to carefully heat the tubing until it shrinks down and forms a tight seal around the wire. Finally, repeat this process for the other end of the wire, and your light is ready to go!
One advantage of using heat shrink tubing is that it provides a waterproof seal around the connection, which can be helpful if you are using your lights in an outdoor setting. Additionally, heat shrink tubing is less likely to come loose than alligator clips, making this method a good choice for projects where you need a reliable connection. If you are using alligator clips to connect your lights, be sure to twist the exposed wires together before clipping them onto the battery pack. This will help to ensure that the connection is as secure as possible.
However, heat shrink tubing can be more difficult to work with than alligator clips and is not as easily reversible, so keep this in mind when deciding which method to use for your project.
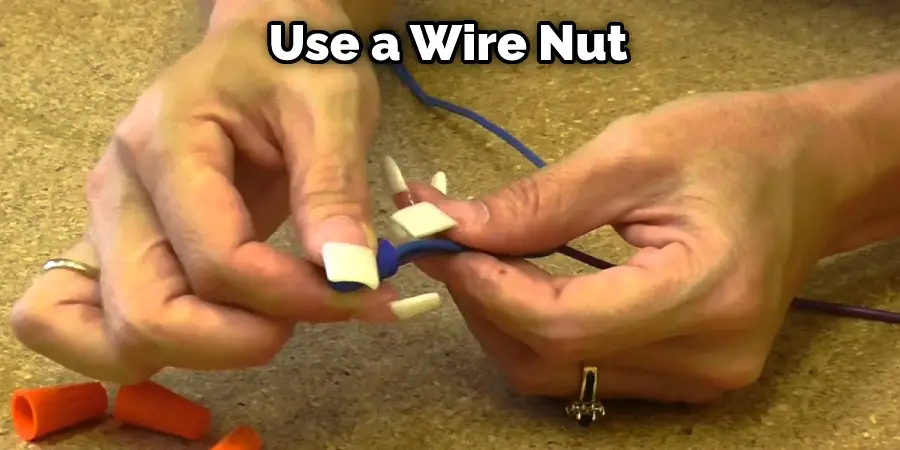
6. Use a Wirenut
If you need a more permanent connection for your lights, you can use a wire nut. This method is similar to using heat shrink tubing, but it does not require the use of a heat gun or lighter. To use a wire nut, first, strip the insulation off of the end of your wire. Then, twist the end of the wire around the end of the other wire. Finally, screw on a wire nut to hold the two wires together.
7. Use Butt Connectors
Butt connectors are another option for making a more permanent connection. To use butt connectors, first, strip the insulation off of the end of your wire. Then, insert the end of the wire into the butt connector. Finally, close the butt connector by squeezing it with pliers. Make sure that the connection is secure before moving on.
8. Use a Wire Splice
If you need to make a connection in the middle of a wire, you can use a wire splice. To use a wire splice, first, strip the insulation off of both wires that you’ll be connecting. Then, twist the two stripped wires together. Finally, wrap electrical tape around the connection to insulate it.
9. Use a Wire Connector
If you need to make a connection in an exposed area, you can use a wire connector. Twist the two wires together, then screw on the connector. Be sure to use the correct size and type of connector for the wires you’re using. Wire connectors come in a variety of sizes, so you should be able to find one that fits.
10. Test the Connection
Once you have made all of your connections, turn on the power to see if the light turns on. If it does not, check your connections to make sure they are all secure. If the light still does not turn on, you may need to replace the bulb.
If the light turns on, congratulations! You have successfully wired a single-pin LED tube light. Enjoy your new lighting setup.
You Can Check It Out to Wire Lights in Parallel With Switch Diagram
Tips and Warnings on How to Wire Single Pin Led Tube Lights
Tips
- Make sure that the power is off before working on the wiring.
- Follow the instructions that came with your light fixture.
- If you are not comfortable working with electricity, hire a professional to do you.
- Always use proper safety gear when working with electricity.
- Be extra careful when working with live wires.
Warnings
- Never work on live wires. This can lead to electrocution or fires.
- Make sure that all connections are tight and secure. Loose connections can cause electrical shorts and fires.
- Always use the proper size wire for your application.
- Do not overload circuits.
You Can Check It Out To Make a Light Tube
Frequently Asked Questions
Can You Direct Wire All Led Tubes?
The wiring requirements will vary depending on the specific Led tube configuration and setup. However, generally speaking, you can wire Led tubes in a variety of ways, including using direct wire connections or connectors. For more information on specific wiring methods and setups, be sure to consult with an experienced electrician or technician.
Does a Single Led Need a Resistor?
No, a single LED does not need a resistor. A resistor is used to reduce the current flowing through the LED, which can improve its brightness and lifespan.
Can All Led Tubes Work Without a Ballast?
Yes, all LED tubes can work without a ballast. However, it is important to make sure that the light source you are using is compatible with your tube. Some light sources, such as incandescent light bulbs, produce a harsh and yellow light that is not suitable for use in LED tubes. In addition, some light sources may create interference with the electronic circuitry of the tube, which can cause the tube to fail prematurely. If you are unsure whether or not your light source is compatible with LED tubes, it is best to consult with an expert before using it in your project.
What Can I Use Instead of Ballast?
There are a few options available for ballast, including:
1. Air conditioning units
2. Solar panels
3. Wind turbines
Each of these options has its own benefits and drawbacks, so it is important to carefully consider which one will work best for your specific situation. Air conditioning units are the most common choice for ballast, as they are affordable, easy to install, and efficient. They can be used to power homes or businesses, and they generate electricity even when the grid is not available. Solar panels are another popular option for ballast, as they are both environmentally friendly and affordable. They can be used to generate renewable energy, offsetting some of the electrical needs of a home or business, or to power devices such as lights or fans. Wind turbines are becoming increasingly popular for ballast purposes, as they are a sustainable option that can generate power without emitting harmful emissions. They can be used to power homes or businesses, and they have the added benefit of being able to generate electricity even when the wind isn’t blowing. While each option has its own advantages and disadvantages, using a combination of different ballast solutions may be the best way to find a solution that meets your specific needs and fits within your budget.
Conclusion
This is a fairly simple process that only requires a few tools and some basic electrical knowledge. If you are comfortable with wiring and have worked with electricity in the past, then you should be able to follow these instructions without any trouble. The first thing you need to do is identify your LED tube light’s positive and negative terminals. The positive terminal will be marked with a + sign on most tubes, while the negative one will typically have a – symbol.
Next, remove the junction box’s cover and strip about 1/2 inch of insulation from the end of your wire. Next, twist the end of the wire around the appropriate terminal on the LED tube. If you’re using a screw-type connection, tighten the screw to hold the wire in place. For a push-in type connection, insert the wire into the connector and then push until it clicks into place.
In this post, we’re going to show you how to wire single pin led tube lights. This is a fairly simple process that should only take about 10 minutes. If you have any questions or problems with the wiring, please don’t hesitate to ask us in the comments section below. We’ll do our best to help you out.