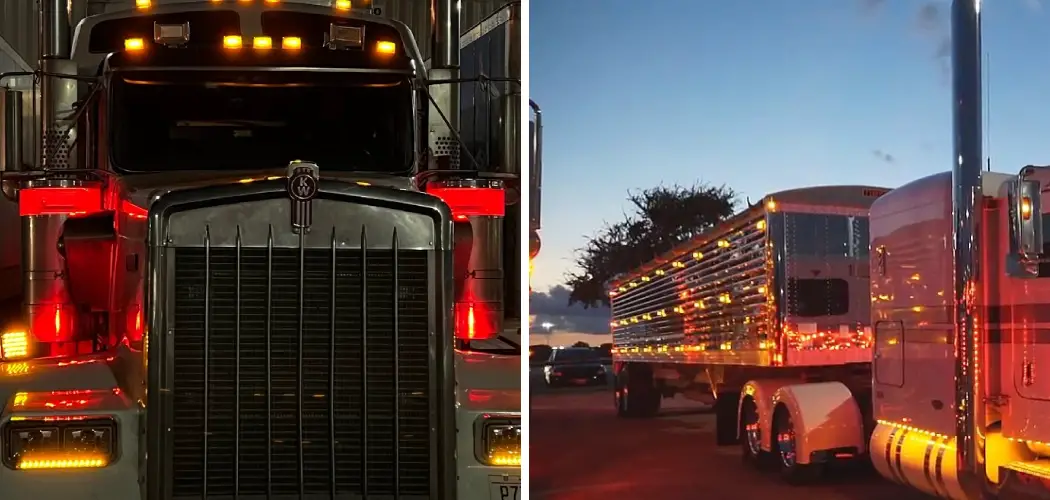
If you’re looking for an easy way to add a bit of extra light and style to your truck, chicken lights are a great option. It is important to know how to install chicken lights on truck.
These small LED lights are designed to mount under the bumper of your truck and can be used as either additional running lights or decorative accents. Installing them is relatively easy and only requires a few basic tools. Let’s take a look at how it’s done.

Tools You Will Need
- Chicken lights
- Wire cutters
- Screwdriver
- Electrical tape
How to Test the Chicken Lights for Proper Functioning?
After purchasing your chicken lights, it is important to test them for proper functioning. Here is a step-by-step guide to testing your chicken lights:
1. Gather the materials you will need: a dark room, the chicken light bulbs, and a power source ( either batteries or an electrical outlet).
2. Turn off all the lights in the room.
3. Screw the chicken light bulbs into the power source.
4. Turn on the power source.
5. Observe the light output of the chicken light bulbs. They should be emitting a strong, consistent light. If they are flickering or dim, they may need to be replaced.
Testing your chicken lights is a quick and easy way to ensure that they are working properly. By following these simple steps, you can rest assured that your chickens will have the light they need to lay healthy eggs.
9 Steps Guide on How to Install Chicken Lights on Truck
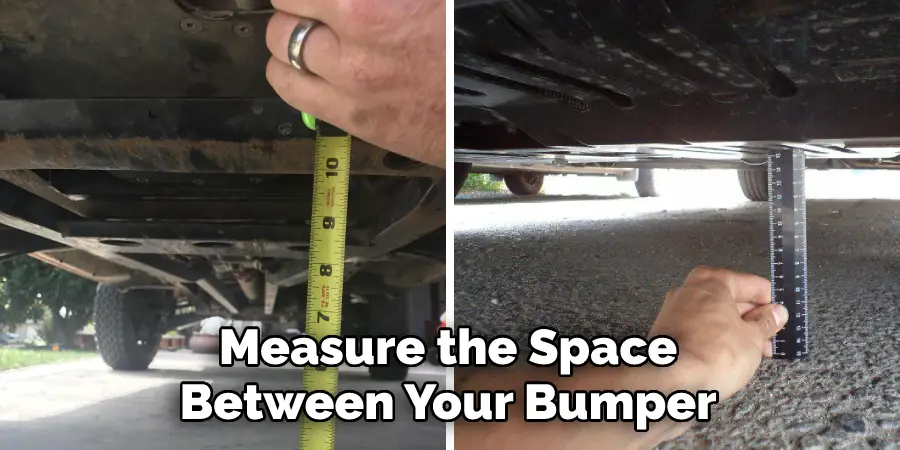
Step 1: Measure The Area
It is important to ensure that the chicken lights you purchase will fit in the area. Measure the space between your bumper and the ground, as well as the width of the space. This will help you select the right size light for your truck. Proper measurement of the space is key to getting a good fit. If you can not measure the area, you can always take the truck to a professional and have them help you with the measurements.
Step 2: Remove Existing Grille
If there is a grille or other obstruction that would interfere with the installation, you can remove it. Use a screwdriver to undo any screws or clips that hold it in place and carefully lift it away. If you do not have the tools or experience to do this, it is best to leave it in place and find another option. These things can be very tricky and time-consuming to remove, so if you are unsure of what you are doing it is best to leave it in place.
Step 3: Attach Chicken Lights to the Bumper
Line up the chicken lights with the area on your bumper where they will be mounted. Once they are in position, mark where the screws should go and then use the screwdriver to secure them in place. The bumper may need to be drilled for the screws to fit. If this is the case, use a drill bit that is slightly smaller than the screw size to make sure it does not cause any damage to the bumper.
Step 4: Connect Chicken Lights Wire to Vehicle’s Wiring Harness
Cut a small slit into the vehicle’s wiring harness and thread the chicken lights wire through it. Make sure that the connection is secure and that there are no exposed wires. If necessary, use electrical tape to cover the connection. The connection process may vary depending on the make and model of your truck. The wiring harness typically runs along the bumper, so be sure to follow it until you find the appropriate connection point.
Step 5: Connect Chicken Lights Wire to Battery
Connect one end of the chicken lights wire to the battery and then connect the other end to the vehicle’s wiring harness. Make sure that both wires are securely attached. Batteries can be dangerous, so it is important to take the necessary precautions when handling them. The wire to the battery has to be hot-wired. If you do not feel comfortable doing this, it is best to leave the job to a professional.
Step 6: Test Chicken Lights
Once the lights are connected to both the wiring harness and the battery, test them out to make sure they are working properly. If you do not get the desired lighting level or they do not turn on at all, make sure all connections are secure and that there are no exposed wires. If necessary, re-connect the wires and test again until you get the desired effect.
Step 7: Secure Wiring Harness with Zip Ties
Use zip ties to secure the wiring harness in place so that it does not become damaged or come loose. Zip ties are generally easy to install and can be found at any hardware store. If you do not have access to zip ties, you can use electrical tape instead. The tape will not provide the same level of security as zip ties, but it will still be sufficient.
Step 8: Double Check the Connections
Installing chicken lights on your truck is an easy process that can be done in just a few steps. Follow the instructions above to ensure that your installation goes as smoothly as possible and that you get great results. With proper installation, your truck will have a new look and extra safety with added visibility at night!
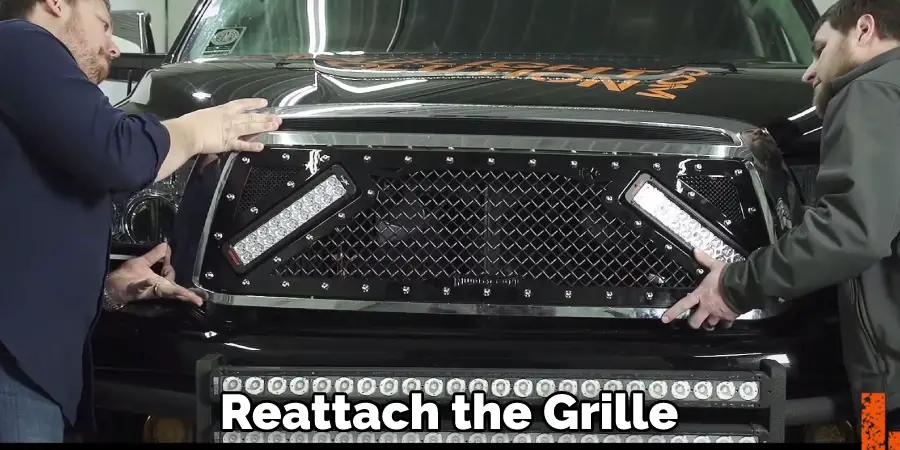
Step 9: Reattach Grille
If everything is in place, you can reattach the grille or any other obstruction that was removed. Once all the connections are complete, double-check that everything is secure and working properly. If there is anything loose or not connected correctly, it could cause a safety hazard. Take your time and make sure all of the connections look good and are tight.
Tips on Installing Chicken Lights on Truck
1. Gather the necessary materials. You will need a chicken light kit, which can be purchased at most auto parts stores, and a drill.
2. Read the instructions that come with the chicken light kit. This will give you an idea of what you need to do and how to do it.
3. Choose a location for the lights on your truck. The best place is usually on the roof, but you can also put them on the hood or the bumper.
4. Drill holes for the lights. Make sure that the holes are big enough for the lights to fit through snugly.
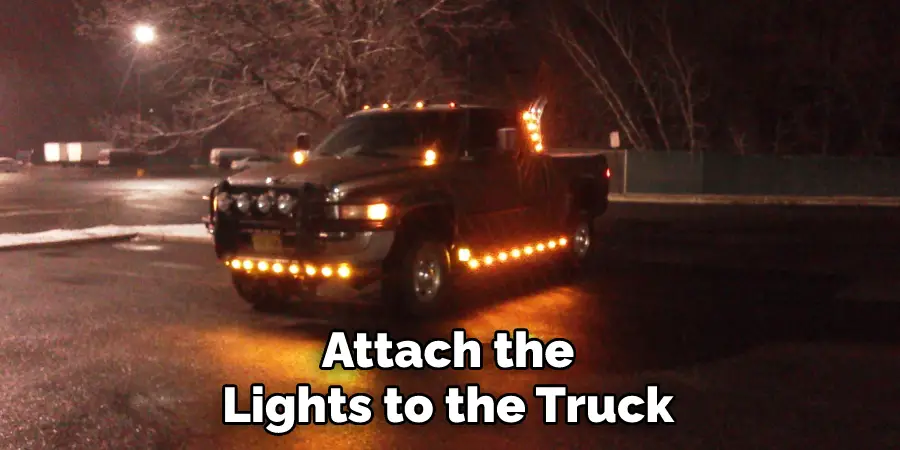
5. Attach the lights to the truck. This is usually done with screws or bolts.
6. Test the lights to make sure that they are working properly.
How to Choose the Right Location for Chicken Lights on Your Truck?
If you’re looking to add some extra light to your truck, chicken lights are a great option. But where should you mount them? The answer depends on a few factors. First, consider how much light you need. If you’re just looking for some extra illumination in your bed, a single set of chicken lights may suffice. However, if you’re looking to light up a work area or the entire bed of your truck, you’ll need more than one set. Second, think about where you’ll be mounting the lights.
If you’re attaching them to the side of your truck, make sure they’re at a level where they won’t get in your way when you’re driving. You should also avoid putting them too close to the edge of the bed, as this could damage the lights or cause them to fall off. Finally, consider how easy it will be to access the switches for the lights. You don’t want to have to reach around the back of your truck every time you need to turn them on or off. By taking these factors into account, you can ensure that you choose the right location for chicken lights on your truck.
How to Drill Proper Holes for the Chicken Lights?
Anytime you need to drill a hole, it is important to use the proper technique to ensure the hole is the correct size and depth. This is especially true when drilling holes for chicken lights. First, start with a sharp drill bit that is the appropriate size for the light you are using. A dull bit will not only make it more difficult to drill the hole, but it can also damage the light. Second, use a slow speed when drilling to avoid cracking the light.
Once you have started drilling, do not stop until the bit has gone all the way through the light. Finally, carefully remove the light from the drill bit and inspect the hole. If necessary, touch up the edges with a file or sandpaper to ensure a smooth surface. By following these simple steps, you can drill perfect holes for chicken lights every time.
Frequently Asked Questions
Why Do Truckers Call Them Chicken Lights?
When truckers see a chicken light, they know it is time to slow down. The reason for this is that chickens are usually used as a form of warning signal on highways. When trucks see a chicken light, they know to avoid the area because there may be danger ahead.
Are Rock Lights and Underglow the Same?
Yes, rock lights and underglow are essentially the same product. Rock lights are simply decorative lights that hang from the ceiling or wall, while underglow is a type of light fixture that provides a subtle glow underneath furniture or other objects. They both have a variety of uses, including adding a touch of elegance and sophistication to a room, helping to create a comfortable atmosphere at night, and creating a warmer, more inviting environment during the day.
Can You Install Rock Lights Without Drilling?
Yes, you can install rock lights without drilling. Rock lights typically come in a variety of shapes and sizes, so it can be difficult to find a specific type that is compatible with the structure of your home. However, there are a few tips you can follow to ensure a successful installation:
- Measure the height and width of the area where you want to install the rock lights, and calculate the necessary dimensions for the light fixture.
- Choose a light fixture that is compatible with the size and shape of the rocks or stones you will be using. Some fixtures are designed to fit into specific types of rocks or stones, while others are more versatile and can be used with a variety of materials.
- Check the compatibility of the light fixture with the ambient light in your home before installation. Some fixtures include built-in sensors that allow them to adjust their brightness based on the amount of light present in the room.
- Install the light fixture according to the manufacturer’s instructions. Most rock lights require minimal installation time and do not require any special tools or skills.
- Test the light fixture before installation by turning it on and off several times to make sure it works properly.
Conclusion
Adding chicken lights to your truck is a great way to customize its look while also providing extra illumination when needed. Plus they’re fairly inexpensive and easy enough for anyone with basic DIY skills to install themselves!
You should carefully determine how to install chicken lights on truck. All it takes is some basic tools like wire cutters and pliers along with a bit of patience—and voila! You’ll be able to enjoy your newly improved ride in no time! So what are you waiting for? Get out there and start customizing today!