
It is no secret that car maintenance can be a pain. However, it is worth taking the time to do it right to keep your car running smoothly and safely. This blog post will show you how to apply bulb grease to brake light. This simple maintenance task will help keep your brake lights in good condition and improve your driving safety. Keep reading for more information!
Applying bulb grease to your brake light is an important maintenance task that many drivers overlook. By keeping your brake light lubricated, you can help ensure that it functions properly and safely. In addition, applying bulb grease can help protect the light from moisture and corrosion, which can damage it over time.
Summary: Applying bulb grease to a brake light is a simple yet important maintenance task that helps prolong the life of your vehicle’s brake lights and ensures proper functioning. The process begins by locating the brake light housing, which is typically found in the trunk or on the rear of the vehicle. Once the housing is removed, you’ll have access to the brake light bulbs.
Before applying bulb grease, it is essential to check the bulbs for any signs of wear or damage. If the bulbs are in good condition, proceed to apply a thin layer of bulb grease on the metal contacts of the bulbs, ensuring even coverage. Bulb grease, also known as dielectric grease, helps prevent corrosion and protects the electrical connections, promoting better conductivity.
After applying the bulb grease, reassemble the brake light housing and ensure it is securely fastened. Test the brake lights to confirm that they are working correctly by having someone press the brake pedal while you observe the lights from behind the vehicle.
Regularly applying bulb grease to your brake light bulbs can improve their performance and reduce the chances of premature failure due to corrosion or poor electrical connections. It is recommended to perform this maintenance task every time you replace your brake light bulbs, or when conducting routine vehicle checks, to keep your brake lights functioning optimally and to ensure safe driving.
How to Apply Bulb Grease to Brake Light Step by Step Guide
Step 1: Remove the Electrical Component:
Before applying bulb grease to the brake light, you must first remove the electrical component from the brake light housing.
To change your brake light, you need to open your trunk and find the small cover above your brake light. There are two screws holding it in place. Remove the screws carefully and put them in a safe place. Then, gently pull on the cover while wiggling it back and forth to unseat it from its location. Once you remove the cover, you will see how your brake light is attached underneath.
Step 2: Clean the Connector or Electrical Part:
The next step is to clean the metal or plastic connector that attaches the brake light to its housing. You can use a small brush or cloth to do this, but be sure not to scratch it. You should have no trouble cleaning off any dirt and debris with ease in most cases.
Do not apply too much pressure when unscrewing the screws, or you may damage the surrounding components. Be sure to place the screws safely, so you do not lose them.
If you are uncomfortable with removing the screws or don’t risk breaking anything, you can also apply bulb grease to the brake light without removing the electrical component. First, unscrew the light bulb and apply a small grease to the metal connector. Then screw the light bulb back in place and reattach the cover.
Keep a close eye on your brake lights while driving, especially if it has been a while since you last applied bulb grease. If you notice that your brake lights are not working as well as they should, you may need to reapply grease or replace the light bulb.

Step 3: Apply Grease:
Next, apply a small amount of bulb grease to the brake light’s connector. This will help protect it from moisture and corrosion.
To do this, you must first squeeze out a small amount of grease onto your finger or cloth. Then gently rub the end of the metal receptor that attaches to the light bulb housing. You should apply enough grease to coat the end of the metal receptor, but not too much that it is dripping off.
Slowly and carefully apply the grease to avoid wasting any. Use bulb grease rather than other lubricants like WD-40 for better results.
If you don’t have bulb grease on hand, you can also use other common lubricants like WD-40 or a silicone spray. These lubricants are specifically designed to displace water and moisture from components. However, be sure not to use too much because these lubricants tend to leave a residue. In addition, they may be slightly more harmful to the environment when disposed of, so it is wise to switch to bulb grease whenever possible.
Step 4: Reattach the Cover:
After applying a small amount of grease to your brake light, you must reattach the cover. Line up the holes in the cover with the screws and gently push it back into place. Then, use your screwdriver to tighten up the screws until you can no longer see them. Keep tightening the screws until they are secure, and then replace the trunk access cover above your brake lights.
Step 5: Test Out Your Brake Light:
Now test your brake light by stepping on the brake pedal. If it’s working properly, the light should be slightly brighter than before you applied grease.
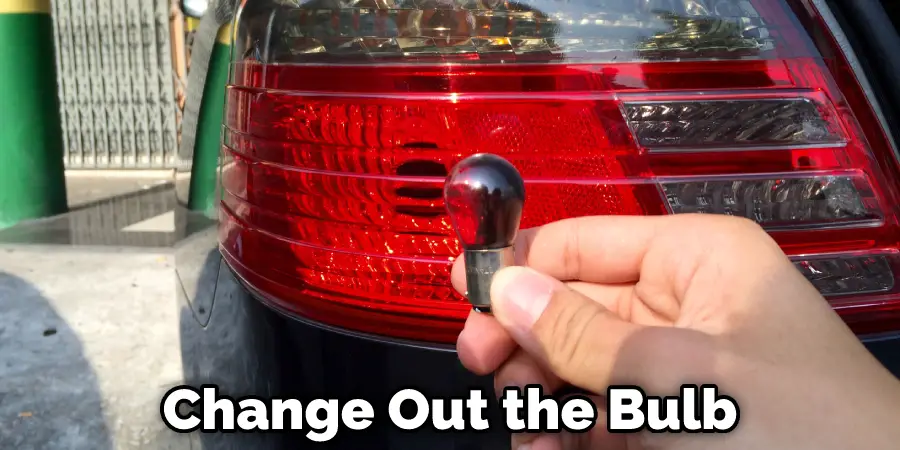
If your newly greased brake light is not working as well as before, you may need to add more grease or change out the bulb. However, if your brake light is still working correctly, you don’t do anything else.
Uses of Dielectric Grease
1. Anti-Corrosion and Anti-Rust Agent:
Dielectric grease is a type of lubricant used to reduce the amount of friction produced between two surfaces. It is also used as an anti-corrosion and anti-rust agent.
2. it’s an Insulator to Prevent Electric Arcing
Dielectric grease is also used as an insulator to prevent electric arcing. When electricity flows through a conductor, it creates sparks that can damage the electrical equipment. Dielectric grease insulates the electrical equipment and prevents these sparks from occurring.
3. Serves as Water and Moisture Barrier:
Dielectric grease can also serve as a water and moisture barrier. When applied to electrical equipment, it forms a seal that prevents water and moisture from entering. This can help protect the equipment from damage.
4. Rubber and Plastic Parts Lubricant:
Dielectric grease can also be used as a lubricant for rubber and plastic parts. It reduces the friction that these materials experience when they rub together, which helps to prevent them from wearing out or getting damaged.
5. Can Be Used in Many Applications:
Dielectric grease can be used in many different applications. Some of the most common uses include reducing friction, preventing corrosion and rust, insulating electrical equipment, and serving as a water and moisture barrier. Dielectric grease is a versatile lubricant that can be used in various applications.
How to Apply Bulb Grease
Applying bulb grease is a simple process that only takes a few minutes. Here are the steps that you need to follow:
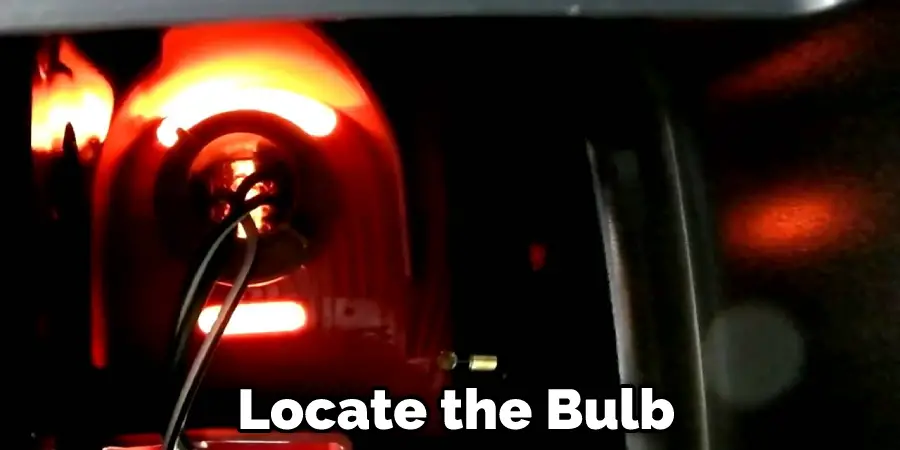
Step 1: Locate the Bulb:
The first step is to locate the bulb that you want to grease. This can be done either by looking at the owner sooner or by checking under the hood of your car.
Step 2: Remove the Bulb:
The next step is to remove the bulb from its housing. This can be done by unscrewing it or by popping it out. Be careful not to drop the bulb, as it may break.
Step 3: Apply Grease:
After removing the bulb, you must apply grease to it. You can use a cotton swab to do this. Dip the tip of the cotton swab into the bulb grease, and then apply a thin layer of it to your bulb. After you apply the grease, you should screw the bulb back into the headlight assembly.
Step 4: Reassemble the Bulb:
After applying some grease, you must reassemble the bulb by screwing it back in or popping it back into place.
Step 5: Test Out Your Bulb:
Finally, test out how well your bulb works by turning on your car and lights. If you applied a sufficient amount of grease to the bulb, it should be brighter than before you greased it. Keep reading for more information about how to apply bulb grease to brake light.
Frequently Asked Question
What Is Bulb Grease?
Bulb grease is a type of lubricant specifically designed for car lights. It reduces the amount of friction produced between two surfaces, and it also helps prevent corrosion and rust. In addition, bulb grease can serve as a water and moisture barrier.
Why Use Bulb Grease?
There are a few reasons why it’s to use bulb grease on your brake light. First of all, it helps to keep the light clean and functioning correctly. Additionally, it can help prevent moisture from building up inside the light, which can ultimately cause it to break finally; bulbnally, bulb grease also helps create a tight seal between the light and the lens, which can help protect the light from dust and debris.
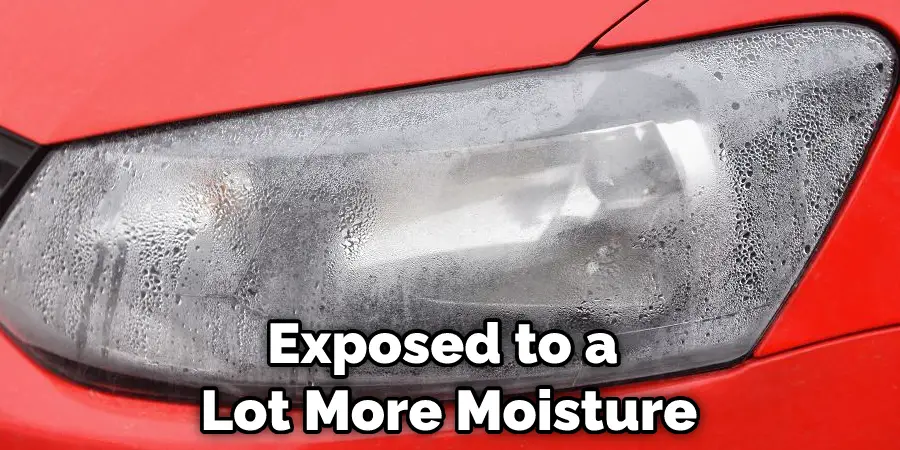
Can You Use Bulb Grease in Headlights?
While bulb grease can be used in brake lights, it’s not that you use it in headlights; headlights are typically exposed to a lot more moisture and dirt than brake lights, so they require a different type of protection.
Conclusion Paragraph
Applying brake light grease is a simple process that can help you avoid replacing your brake lights. Make sure to use bulb grease any time you install new brake lights or when you notice that your old brake lights are no longer working as well as they should. Using this simple maintenance step, you can keep your car safe and avoid costly repairs down the road. Thanks for reading our post about how to apply bulb grease to brake light.