So you want to start a new hobby? Maybe you’re an artist looking for a way to speed up your painting process, or maybe you’re just interested in finding a new way to get some extra vitamin D. In any case, building your own UV light box is the perfect way to scratch that creative itch!
When you are starting a new project, it is important to have the right tools for the job. If you are trying to grow plants indoors, then you will need a UV light box. With just a few simple materials, you can create a custom lightbox that is perfect for your needs.
In this guide, we’ll show you how to build a UV light box using materials that are easy to find online or at your local hardware store. So, Keep reading, and let’s get started!
Summary: If you’re looking to add some extra UV lighting to your photo and video shoots, or just want to create some pretty transparent backgrounds, a UV light box is a great way to go! All you need is a few pieces of equipment and some creativity (or a little help from a friend).
What is Uv Light Box?
A UV light box is a container that houses UV lights, allowing them to be directed toward plants or objects in need of ultraviolet rays. This type of light is often used for plant growth or curing resin but can also be used for things like sterilization and counterfeit detection.
Moreover, UV light boxes are also often used to treat skin conditions such as psoriasis. Another common use for UV light boxes is in nail salons, which are used to dry and cure gel manicures quickly.
Can You Make UV Light at Home?
Yes, making UV light at home with specialized equipment and materials is possible. However, it is important to note that working with UV lights can be dangerous if proper precautions are not taken.
Additionally, the type and intensity of UV light produced at home may not be strong enough for certain applications, such as sterilization or curing resin.
It is recommended to consult with a professional before attempting to make your own UV light at home.
Materials Needed
- Plywood or MDF (medium-density fiberboard)
- UV lights
- Screws and screwdriver
- Hinges
- Drill and drill bits
- Sandpaper
With these materials in hand, let’s start building our UV light box!
10 Easy Steps on How to Build a UV Light Box
Step 1: Cut the Plywood/MDF to Size
Using a measuring tape and pencil, mark out the dimensions for your desired size of the UV light box on the plywood or MDF. Use a saw or other cutting tool to cut along these marked lines. Be careful and follow all safety precautions while cutting.
Step 2: Sand Down the Edges
Use sandpaper to smooth out any rough edges on the cut plywood or MDF. This will ensure that the UV light box is safe to use. It is important to do this before assembling the box so that it is easier to reach all edges.
Step 3: Drill Holes for the UV Lights
Using a drill and an appropriately sized drill bit, create holes in the plywood or MDF where you plan to place your UV lights. Make sure these holes are large enough for the lights to fit snugly but not too loose so that they can fall out easily. Don’t forget to wear eye protection while drilling. Because UV light can harm the eyes, it is important to ensure these holes are securely covered with UV light.
Step 4: Attach the Hinges
Attach hinges along one side of the UV light box using screws and a screwdriver, ensuring that they are securely fastened. This will allow for easy access to the inside of the UV light box. You can use as many hinges as you think necessary, but typically two or three are sufficient.
Step 5: Place UV Lights in Holes
Insert the UV lights into the drilled holes, ensuring they are securely fastened and will not fall out easily. You may need to use additional screws or adhesive to keep the lights in place. Make sure the UV lights are turned off while doing this to avoid any accidents.
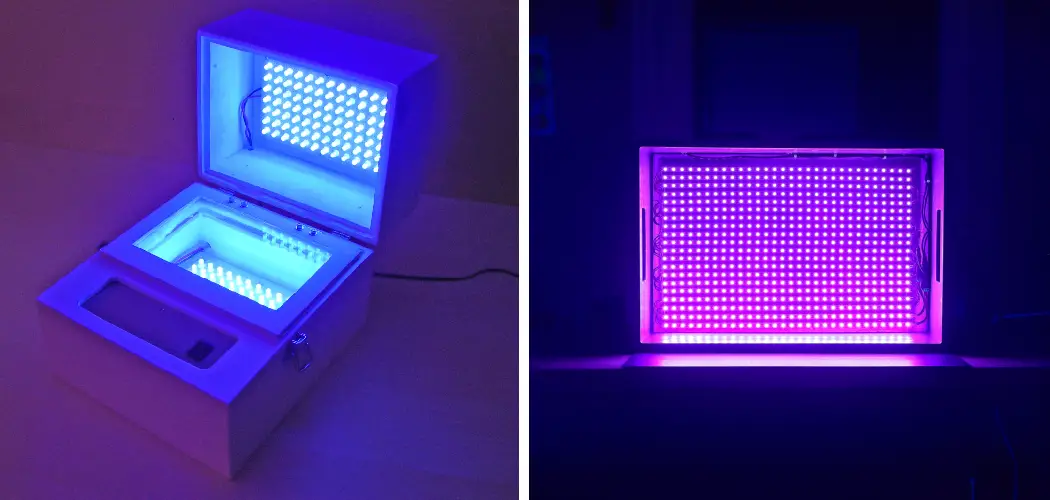
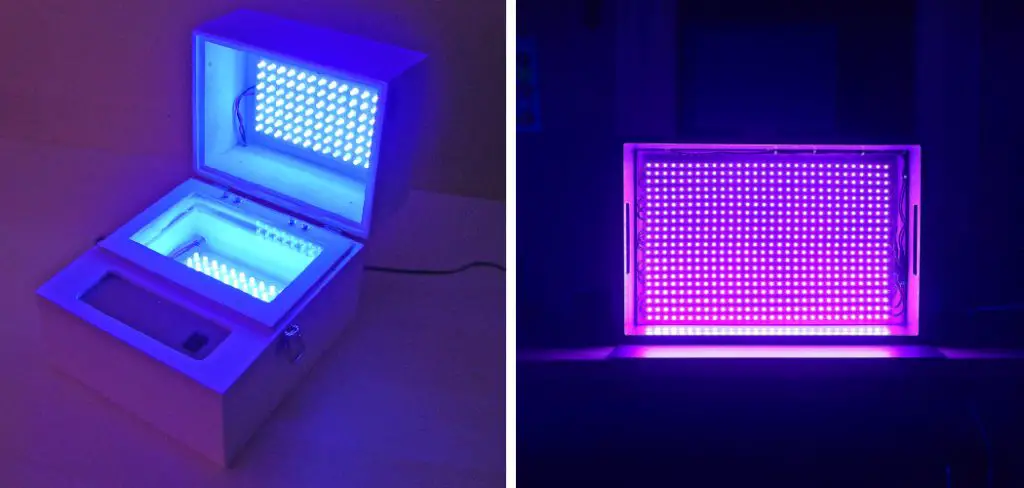
Step 6: Test Out Your UV Light Box
Before using your DIY UV light box, it is important to test it out and ensure it is functioning properly. Turn on the lights and ensure that they are emitting ultraviolet rays effectively. If necessary, make any adjustments to ensure the UV light is being directed appropriately.
Step 7: Add a Lid
Using additional plywood or MDF, cut out a lid for your UV light box and attach it using hinges as well. This will allow you to fully enclose the objects or plants on which you are using the UV light. Be careful not to block the UV lights while closing the lid.
Step 8: Place Objects/Plants Inside
Place your desired objects or plants inside the UV light box, making sure they are positioned to receive direct exposure from the lights. Close the lid and leave for the recommended time, depending on what you are using the UV light for. Use caution when opening the UV light box, as it may be hot from the lights.
Step 9: Turn off the Lights and Open Lid
Once the recommended amount of time has passed, turn off the UV lights and open the lid to remove your objects or plants. It is important because prolonged exposure to UV light can be harmful.
Step 10: Clean and Store Your UV Light Box
After each use, it is important to clean your UV light box to prevent the buildup of debris or dirt. Make sure to properly store the UV light box in a dry and safe place. Otherwise, it will be ready for your next use!
Following these steps, you will have a functional and safe UV light box to use for your projects. Happy building!
5 Additional Tips and Tricks
- Make sure your box is made out of a material that will block out all visible light and only allow UV light to pass through.
- Place the UV lights on an interval timer to ensure they are not left on for too long.
- Add ventilation holes to prevent the UV light box from getting too hot.
- For added safety, wear gloves and protective eyewear while handling the UV lights and using the box.
- Research the recommended amount of time for your specific project to ensure you do not overexpose your objects or plants to UV light.
These tips will help ensure the safe and effective use of your DIY UV light box. Happy experimenting!

7 Precautions You Can Take
1. Use UV Resistant Materials:
Make sure to use materials that are resistant to UV light, such as acrylic or glass, for the box itself.
2. Don’t Place It Near Water:
Remember to keep the box away from any water sources, as water can easily damage the electronics and potentially cause harm to the user.
3. Follow Manufacturer Instructions:
Make sure to read and adhere to any instructions provided by the manufacturer of the UV light being used.
4. Keep Out of Reach of Children:
It is important to keep the UV light box out of reach of children, as overexposure to UV light can cause harm.
5. Regularly Check for Cracks or Damage:
Inspect the box regularly for any cracks or damage to prevent leakage of UV light.
6. Avoid Direct Sunlight:
Keep the UV light box away from direct sunlight, as this can also cause damage to the box and potentially harm the user.
7. Avoid Extended Periods:
It is important to limit the amount of time spent using the UV light box and strictly follow any usage guidelines provided by the manufacturer. Over-exposure to UV light can cause harm to the skin and eyes.
Taking these precautions will help ensure the safe and effective use of your DIY UV light box. Happy building and experimenting!
Is UV Better Than Led?
There is no clear answer to this question as it ultimately depends on the specific project and personal preferences. UV lights have a shorter wavelength and can be more effective in certain applications, such as curing materials or sterilizing surfaces.
However, LED lights are often more energy efficient and have a longer lifespan. It is important to do your research and determine which type of light will best suit your needs for a particular project.
Overall, both UV and LED lights can be useful in different situations. It is ultimately up to the individual to decide which type of light will work best for their specific project and needs.
Frequently Asked Questions
What is a Uv Light Box Used for?
A Uv light box is a device used for phototherapy, which is a type of medical treatment using ultraviolet (UV) radiation. UV radiation is used to treat skin conditions such as psoriasis, eczema, and acne. Uv light boxes are also used to treat non-cancerous skin lesions such as varicose veins, spider veins, and age spots.
Are Uv Lights Worth It?
The benefits of using Uv lights vary depending on the specific needs of your business. However, some potential benefits of using Uv lights include:
Reducing energy costs: Uv lights can be used to reduce energy costs by reducing the amount of light that is needed in a given area, and they are especially effective at reducing energy consumption in areas such as offices and retail stores.
Enhancing production efficiency: Uv lights can help workers achieve better results by improving their visibility and enabling them to work more productively in low-light environments.
Helping to improve safety and productivity: Uv lights can be used to increase safety in workplaces by providing additional illumination, helping workers avoid injuries and making it easier to see while performing hazardous tasks.
As with any investment, it is important to ensure that you are getting the most out of your Uv lights by consulting with a professional advisor who can provide advice on the best ways to use them for your specific business needs.
Is There a Difference Between Uv Light and Blacklight?
UV light and blacklight are both forms of light that use ultraviolet (UV) radiation to create different colors. UV light is typically used to treat skin conditions, while blacklight is used to create various effects, including illumination and theatrical productions.
Can You Make a Diy Blacklight?
Different people have different opinions on the safety and efficacy of using blacklights in general. Some people believe that blacklights can be used safely and effectively to see things in the dark that normal light cannot see, such as hidden objects or blood stains. Others are less confident about the safety and efficacy of blacklights and caution against their use for any reason. Ultimately, it is best to consult with an expert if you are interested in using a blacklight in your home or business.
Conclusion
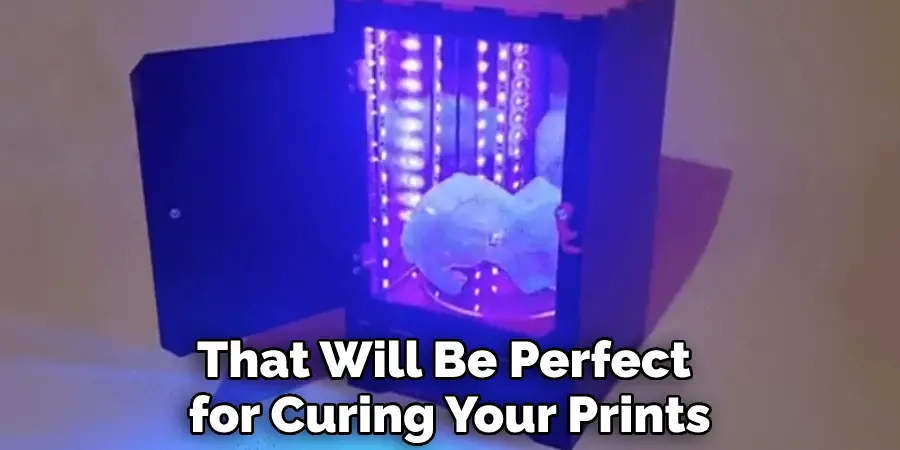
Building your own UV light box is a great way to save money and get the exact features you need. By following these simple steps, you can easily build your own UV light box that will be perfect for curing your prints.
We’ve outlined the materials and steps you’ll need to build your own UV light box. This project is simple enough for most people to do at home with minimal effort. With a little time and patience, you can have your very own UV light box that will help improve your health and well-being.
Hopefully, the article on how to build a UV light box was helpful. Thanks for reading!