When it comes to lighting, LED strip lights are a popular option because they are affordable, versatile, and energy-efficient. However, one downside of using LED strip lights is that the adhesive attached light strips to surfaces can be difficult to remove without damaging the surface. In this article, we will share some information on how to remove LED strip light adhesive from wall without causing any damage.

Led strip light adhesive can be difficult to remove without damaging the surface. Therefore, it is essential to use the proper tools and take safety precautions when performing this task. In addition, it is necessary to follow the correct procedure when removing LED strip light adhesive from the wall.
Summary: Removing LED strip light adhesive from a wall can be a delicate process, as it is essential to avoid causing damage to the wall’s surface, paint, or wallpaper. Before starting, gather the necessary tools and materials, such as a hairdryer or heat gun, a plastic scraper or old credit card, and adhesive remover or rubbing alcohol. It is also a good idea to wear gloves to protect your hands from potential irritants during the removal process.
Begin by carefully peeling the LED strip lights away from the wall, using the heat source to soften the adhesive as needed. Apply heat evenly and cautiously to prevent overheating or damaging the wall surface. Once the LED strip lights have been removed, address any remaining adhesive residue on the wall.
Apply a small amount of adhesive remover or rubbing alcohol to a clean cloth, and gently rub the residue until it softens and can be wiped away. For more stubborn adhesive, use a plastic scraper or an old credit card to carefully scrape away the residue without scratching or damaging the wall. After all adhesive has been removed, clean the area with a damp cloth to remove any remaining residue or adhesive remover. Allow the wall to dry completely before installing new LED strip lights or undertaking any further wall treatments.
A Detailed Guide on How to Remove Led Strip Light Adhesive From Wall
If you are planning to take down the strip light, it is better to remove the lights before you start cleaning up the adhesive with a solvent. Unplug and disconnect your lights, then unscrew the screws that hold the strips together.
To avoid any accidents while working on your project, remember to lay out all of your tools and parts on an old cloth or towel. This way, there will be no clutter left behind afterwards. Plugging out and unplugging is pretty fast, but unscrewing and taking down can take a bit longer.
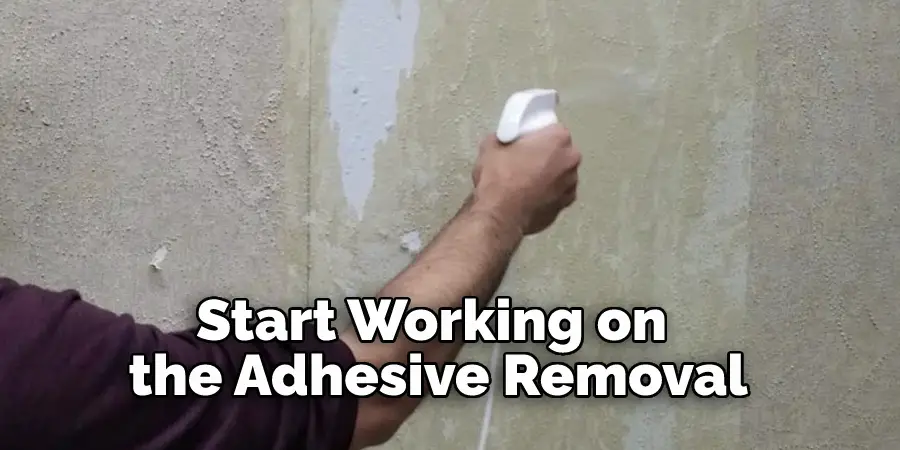
There is no definite time frame that says it will take an hour or two to complete this step, but if you’re planning to start working on the adhesive removal, one of the first things you should do is to make sure all your materials are in place and ready for use later on.
Method 1: Remove Led Strip Light Adhesive With Nail Polish Remover
You Will Need:
– Bowl (or 2 Backed Bowls)
– Petroleum Jelly (to make the nail polish remover less harmful for your skin)
– Cotton Balls or Pads
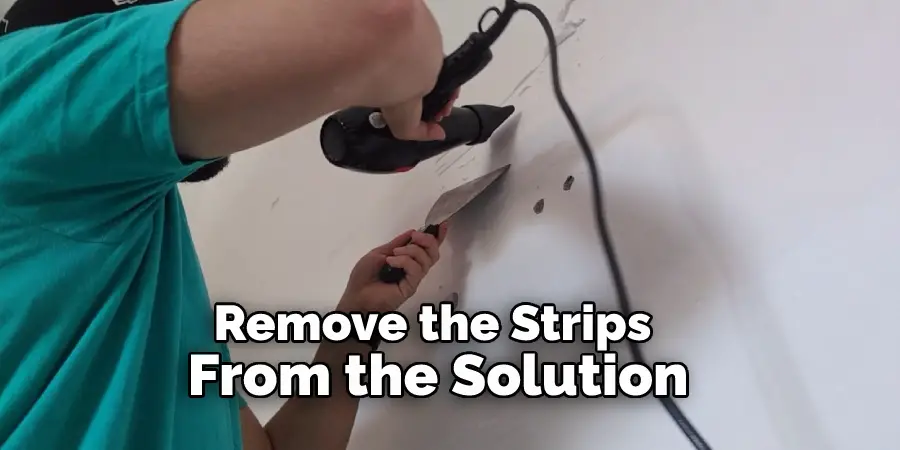
1. Fill a bowl with hot water and add some nail polish remover. How much you put in the bowl is dependent on how big it is, but you want enough that when you soak your cotton balls/pads in there, they are fully submerged in the mixture. If this makes it look like too much is being used, remember that it will be just about right once you remove the strips from the solution.
2. Place your cotton pads/balls into the bowl with nail polish remover. Try to spread them out to sink a little more and cover as much of the surface area as possible without being too crowded together.
Soak the cotton balls in nail polish remover for 5 minutes before beginning. Depending on the adhesive used on the strips, you may want to soak them for longer. From personal experience, I would recommend at least 10 minutes.
4. As your cotton has been soaked ticks by, check on them to make sure they aren’t drying out too quickly. If they are getting dry, you’ll need to add a bit of nail polish remover to remain submerged and saturated throughout the process. This is probably one of the essential advice I could offer because allowing your cotton balls/pads to dry will have to start over again.
5. Once you’re satisfied with how much time has passed since you placed your pads into their new home, get them out and lay them down somewhere where they won’t get dirty or wet (a clean towel or sheet of paper would be perfect). You can now begin peeling up the adhesive’s edges to see if it’s ready to take a nice, clean break. If you’re having trouble with this, feel free to use tweezers or pliers (whatever you have on hand that might make the job easier).
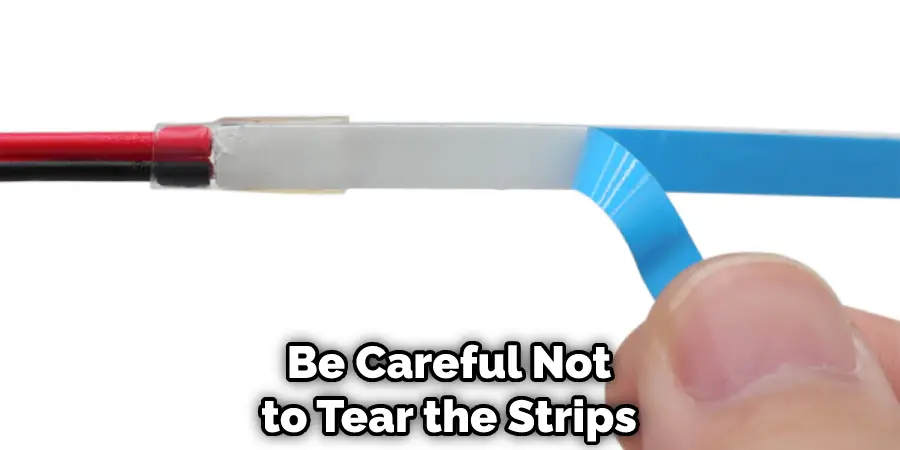
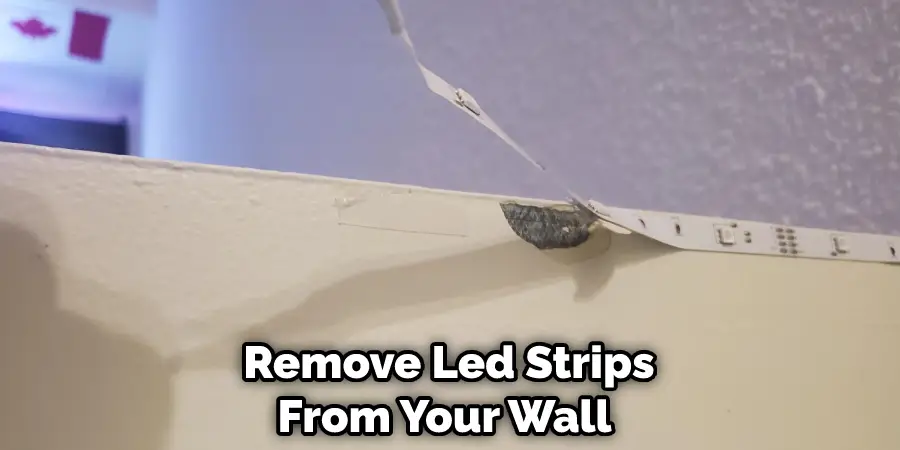
To remove the adhesive strips, peel them back until you can grab onto one of them and easily lift it away from the surface. Be careful not to tear the strips as you remove them so that none of their excellent adhesive stays behind and sticks to your walls/surface area.
7. Once all of your pads are removed, carefully check what they picked up and look underneath each one for any remnants or residue still left on your surface area, which could contain scraps of old adhesive.
8. If there are none, congratulations! You’ve removed your led strips from your wall without destroying them or their adhesive and have successfully kept both surfaces free of any damage. Now, if only everything else in the world was this easy.
9. If you notice a piece or two or three still stuck on your walls, don’t worry because it’s not a big deal and nothing that can’t be fixed. However, because I have run into this problem before when removing strips from my walls, I decided to try an alternative method to remove the adhesive became more accessible and less time-consuming for me, which brought me to method number 2 below.
Method 2: Remove Led Strip Light Adhesive From Wall Using WD-40
1. The second way you can attempt to remove led strips from your wall is by using heavy-duty lubricant. How this works is the idea of the fluid breaking down the adhesive on those strips so that it would be easier to peel away without ripping chunks of it off with it, which will inevitably lead to having leftovers stuck there. To accomplish this first, you’ll need a rag or some paper towels, gloves (Optional), and WD-40.
2. How much stuff you need will vary depending on how big your surface area is, but assuming yours is moderate, all you should need are a rag, some WD-40, and a couple of gloves. You use them by spraying your strip with the lubricant, using your rag to spread it around evenly, then waiting anywhere from 30 minutes up to an hour or so for the adhesive to break down. After that, you should be able to pull it up easily.
3. How you know that it’s done breaking down can be tricky because it depends on how long you waited for things to happen in step 2 above. However, there are two ways that I’ve used before, which will give you a good indication as to if what you’re doing is starting to take effect or not. The first way is by applying medium pressure along with one of its edges after applying the lubricant but before waiting too long. If this force manages to separate one of its adhesive areas from the wall, then it means that you’re already moving in the right direction.
4. The second way is by peeling back on one of its ends or corners after applying WD-40 but before waiting too long to do so. This will work if some excess adhesive squeezes out, which indicates that your fluid did what was asked of it and has done an excellent job at breaking down the strong bond between your surface area and the strip’s edges.
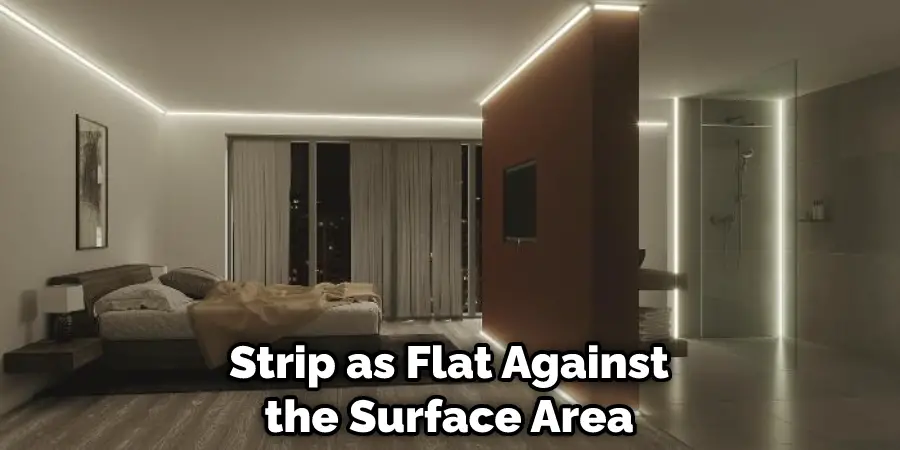
5. Once you feel satisfied with how much time has passed since you sprayed your strips with lubricant, you can begin picking up an edge, slowly peeling them off while making sure that they remain flat against the wall or surface area. Doing so will allow you to remove them in one piece instead of ripping it clean off, which will likely happen if you try pushing too hard or rip off the adhesive when it’s still strong and attached firmly.
6. Continue peeling back your strip’s edges or corners until they are entirely removed from your wall, looking over to see if any excess adhesive has come out while keeping each strip as flat against the surface area as possible during this process.
7. Once all of your LED Strip Light Adhesive From Wall pads are removed, carefully check what they picked up and look underneath each one for any remnants or residue still left on your surface area which could contain scraps of old adhesive. If there are any of those, remove them as soon as possible so that they won’t leave a mark. To prevent this from happening again, clean your wall with some strong soap and water or, even better, with alcohol or ammonia so that no adhesive residue will be left behind, which could attract dirt and dust. These methods will help in how to remove led strip light adhesive from wall.
Precautions:
-Do not breathe vapors or spray mist. Ensure good ventilation while stripping material with a solvent.
-Use only in a well-ventilated area. Do not strip in enclosed spaces or without adequate ventilation; a gas mask/respirator is recommended. Keep the container tightly sealed when not in use.
-Keep out of reach of children. Do NOT induce vomiting; seek medical attention immediately if swallowed in large quantities (symptoms include headache, nausea, vomiting).
-Keep away from heat, sparks, and open flame.
Can You Remove and Restick Led Strip Lights?
LED strip lights have become increasingly popular in recent years due to their versatility and ease of use. They are commonly used for home decoration, task lighting, and accent lighting. However, sometimes it is necessary to move the LED strip lights from one surface to another. In this case, the lights need to be removed and resticked to the new surface.
To remove the LED strip lights, you should first turn off the power supply to avoid any electrical hazards. Next, gently peel off the lights from the surface, being careful not to bend or twist them. If the LED strip lights are dirty or dusty, cleaning the surface with a dry cloth before resticking them is a good idea.
Once you have removed the LED strip lights, you can cut them using scissors or a sharp knife to fit the new surface if necessary. After cutting the lights, you can restick them to the new surface. It is essential to apply even pressure when sticking the LED strip lights to ensure they adhere correctly.
You Can Check It Out To Sleep with Led Light Strips On
Frequently Asked Questions
Do Led Strip Lights Take Paint Off Walls?
If you are using a Led Strip Light to highlight architectural features or furniture, then the answer is no. The light itself will not etch paint off of surfaces. However, if you are using a Led strip light as part of an overall lighting design scheme and want it to look like it’s attached directly to the wall, then this may be a problem. For example, if you are using a Led strip light to highlight pictures on a wall, then the adhesive tape that is used to hold the light in place may cause paint to come off over time.
If your intention is for the wall behind the light to appear bare (without any delineation between fixture and surface), then you should use either transparent or matte finishes on both fixtures and walls in order to achieve this effect.
What Adhesive Should I Use for Led Lights?
When it comes to using adhesive for LED lights, there are a few things you need to consider. The first is the type of light that you’re attaching the adhesive to. Whether it’s a light string or individual LEDs, you’ll need an appropriate adhesive.
If your light strings are made out of plastic or other non-metallic materials, then an all-purpose adhesive like 3M Command Adhesive might be ideal. It is safe for both indoor and outdoor use and can withstand harsh weather conditions such as rain and snow. If your LED lights are made from metal, then either heat-resistant tape (like Gorilla Tape) or solder should be used in place of adhesives like 3M Command Adhesive.
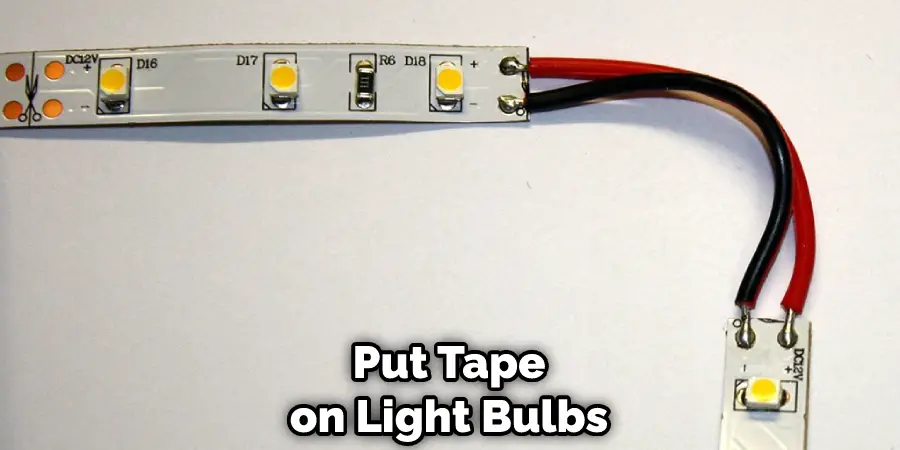
Can I Put Tape on Led Lights?
There is no one-size-fits-all answer to this question, as the amount of tape and the type of lights will vary depending on the situation.
However, generally speaking it is not recommended to put tape on light bulbs or LEDs because it can cause damage and potentially shorten their lifespan.
If you absolutely need to use tape to secure something in place, be sure to use a nonpermanent adhesive that won’t damage your equipment.
Can I Hot Glue My Led Lights to My Wall?
There are a few ways that you can attach your led lights to the wall, but hot glue is one of the most effective and simple methods. All you need is some adhesive and your Led Lights.
The adhesive will help to hold the light in place while it sets, so make sure that it’s safe for use near water or other sources of moisture. Once the adhesive has set, just remove it by peeling off the sticker with a knife or scraper.
Conclusion:
If you’re looking for an easy way to remove the adhesive from your LED strip lights, we’ve got a solution for you. All you need is some hot water and dish soap! Follow these methods on how to remove led strip light adhesive from wall, and your light strips will be good as new in no time.
You may read also How to Remove Led Light Strips From Wall