If you’re like me, then the sight of a ladder makes your palms sweat and your heart race. So when I was faced with the prospect of having to change a light bulb in my vaulted ceiling, I was pretty intimidated. But it’s not as complicated as it seems, and with a few simple tips, you can do it yourself without any trouble. This article will discuss how to change light bulb in vaulted ceiling. Read on for more.

Vaulted ceiling lights are great for providing ambient lighting, but it can be a pain when they need to be changed. After all, vaulted ceilings are located higher up in the ceiling, and trying to change the bulb on your leaves you wondering how this will ever end well.
Summary: If you find that your light bulbs are not working in your vaulted ceiling, there is a simple procedure for fixing the issue. First, locate the light bulb sockets in your ceiling. Second, remove the light bulbs from the sockets. Next, unscrew the light bulb from the socket using a Phillips head screwdriver. Finally, replace the light bulb with a new one and tighten the screwdriver.
Things You’ll Need
- light bulbs
- ladder
- drill with an appropriate sized drill bit
- screwdriver (for tighten bulb)
- stud finder (optional).
A Detailed Guide on How to Change Light Bulb in Vaulted Ceiling
Step 1: Determine the location of the fixture
The first step is to determine the location of your light fixture. How you do this will depend on the type of fixture that you have.
Step 2: Turn Off The Power!
Please turn off the circuit breaker for safety reasons before proceeding. If your light is on a dimmer switch, turning it off now may not be necessary, but it’s always best to do so as another added precautionary measure. Getting electrocuted can ruin your weekend, so it’s best to be safe and turn off the power before removing the old light bulb and replacing it with a new one.
Step 3: Let the Bulb Cool Down
After you turn off the hot light bulb, let it cool down for 1-2 minutes before handling it. Hot bulbs can give you nasty burns if mishandled, so it’s important to be careful.
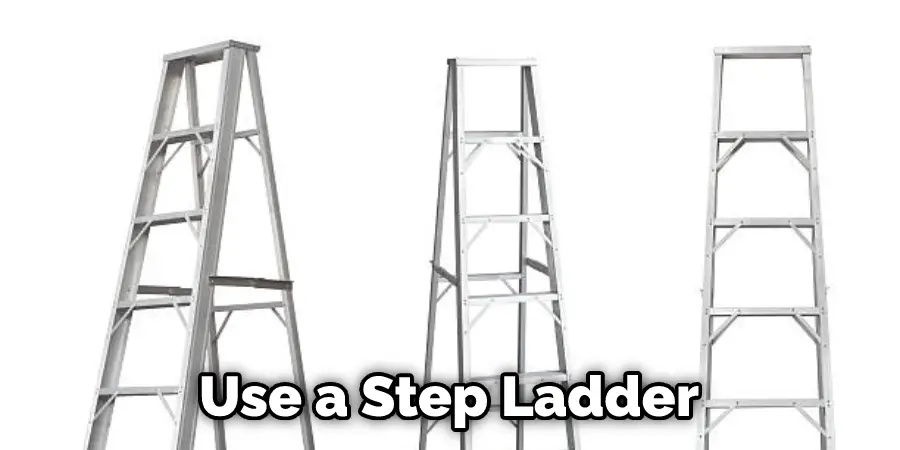
Step 4: Use a Step Ladder to remove the Bulb
Once you have a firm grip all around, turn it slowly counterclockwise while maintaining its hold from above until it has been removed from the socket. How tight something like this gets tends to vary, so you might have to use some elbow grease here, don’t worry, though, as this is normal.
Step 5: Remove the Old Bulb
To remove the bulb, you’ll need to unplug four wires attached to it. How many and what color will depend on the particular kind of bulb you are replacing. Some may have more than one wire so take heed here! Once you’ve identified the type of light fixture in your home, match up each wire with that which is plugged into it by following them back to where they originate.
Step 6: Choose Your New Bulb
The wattage of a light bulb will determine how bright it is. For example, a 100-watt bulb is usually pretty dim, while a 40-watt bulb tends to give off more than enough light for most rooms.
How high up your vaulted ceiling is will determine what bulb works best in it, so consider what purpose you have for this light before choosing one.
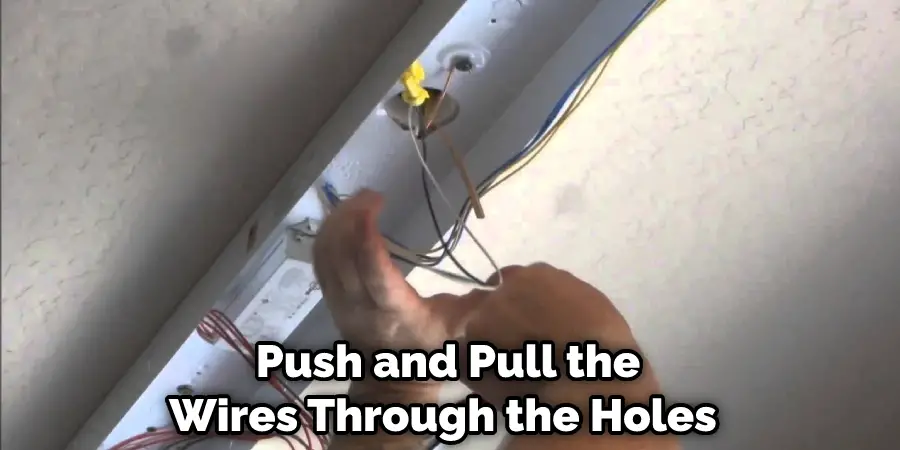
Step 7: Install the New Bulb
Once you have your new bulb, it’s time to reattach the wires to it. Depending on your light fixture, you will either screw in the new bulb, or push and pull the wires through the holes from the bottom.
How tight they should be before securing them depends entirely on how snugly they fit inside whatever wiring box, whatever kind of light fixture they go with, so tighten them as much as needed until no more give.
How many you need to attach may vary, but that number should at least include black, white, and green ones who – if any – should serve as a ground wire. How all of this works will depend on whatever it says in your manufacturer’s manual so if you can’t get a hold of one, read the labels attached to each wire before connecting them and refer back to these points should you have any questions doing this step.
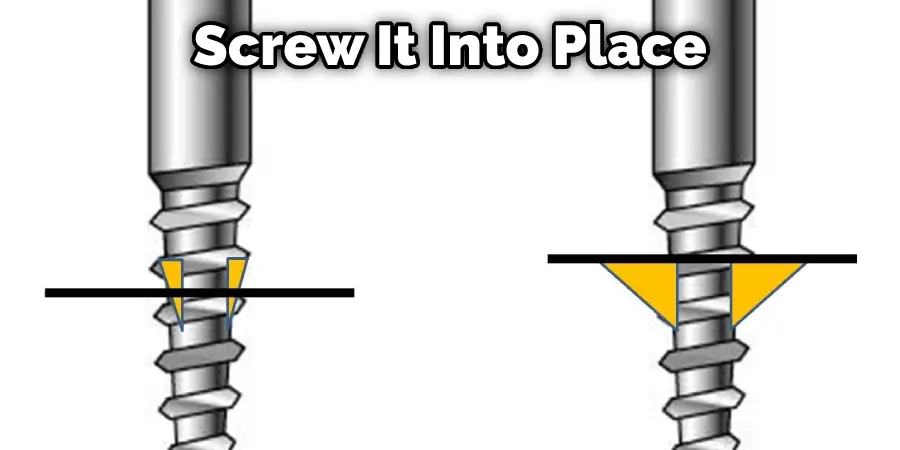
Step 8: Secure the Bulb
Once you’ve plugged in all the wires to the bulb, go ahead and screw it into place, then secure everything down into its housing by tightening up anything that might need tightening, then repositioning or moving other pieces around until they fit snugly together.
How much force is required for this step isn’t overly critical as long as none of the parts seem loose enough to risk falling off while using your new light fixture, and putting this step off until later might lead to accidents and injuries, so make this your priority.
The height of your ladder depends on how much more you need to adjust and what kind of lighting fixture it is. For most people, you should be able to stand or sit right next to the ladder and work from there. Once the wiring is tightened up and the light bulb is in place, turn on your new light and give it a test run!
Step 9: Clean Up
Your new light fixture will probably come with a few extra pieces and parts like screws and brackets, so make sure you put these somewhere where they won’t get lost and take inventory of what you have leftover afterward to ensure you don’t need anything else before proceeding.
How dirty the inside of your lighting fixture gets depends on how close your vaulted ceiling light is to food prep areas or pets, but if it’s not too bad, then simply wiping down the inside should be enough to remove any dirt that might damage your new bulb. These steps will help in how to change light bulb in vaulted ceiling.
You Can Check It Out to: Change a High Light Bulb Without a Ladder
Precautions
1. Turn off the breaker for your light box or circuit before changing a bulb.
2. There is no overhead beam to set a ladder on in some vaulted ceilings, so you have to hold the ladder with one hand when you change a bulb with the other hand. So call a friend or family member to help you. You can also use an extendable pole with a hook on the end if available in your lighting section of the hardware store.
3. Have a cloth or towel on hand to wipe up any water that drips into the lightbox area.
4. If you can see any electric wires or outlets in the lightbox, don’t put your hands inside the lightbox. Otherwise, you might get an electrical shock.
5. If your bulb is located above a sink or bathtub, don’t let water drip into the lightbox. Ensure that the bulb does not contact any water when changing it; otherwise, it may cause a short circuit and fire hazard.
6. Remove all jewelry before replacing the light bulbs to avoid scratching yourself accidentally because you cannot feel anything if you are wearing a bracelet, for example.
7. There should be someone at home while working on this project, so call a friend or family member to help you finish this safely.
8. Remember, never change a light bulb if you feel tired or are in an oxygen-deficient area.

9. Do not load so much weight on the step ladder; for example, do not climb with another person on it.
You Can Check It Out to: Change Light Bulb in Nipple Light
Frequently Asked Questions
Do You Need to Turn Off the Mains to Change a Light Bulb?
One of the most important things to keep in mind when replacing a light bulb is to use the correct wattage. A standard 60-watt incandescent lightbulb should be replaced with a 100-watt equivalent, and a 120-watt bulb should be replaced with a 150-watt equivalent. Additionally, it is generally recommended that you replace your bulbs every 12 years or whenever they start to fail prematurely.
Another thing to consider is the type of socket your lightBulb fits into. There are two main types of sockets: those that have screw terminals and those that have plugs.
What Matters When Replacing a Light Bulb?
This is a common question that people ask because they’re not sure if they need to turn off the main power to change a light bulb. In most cases, you do not need to turn off the main power to change a light bulb. There are a few exceptions to this rule, but they are rare.
The exceptions to this rule include light bulbs that are part of an emergency backup system. This system is designed to keep your home in darkness in the event of a power outage. Changing the light bulb in this system requires turning off the main power.
The other exception is if the light bulb is in an enclosed fixture that cannot be removed without turning off the main power. In this case, you would need to call an electrician to change the light bulb.
Are All Light Bulbs Universal?
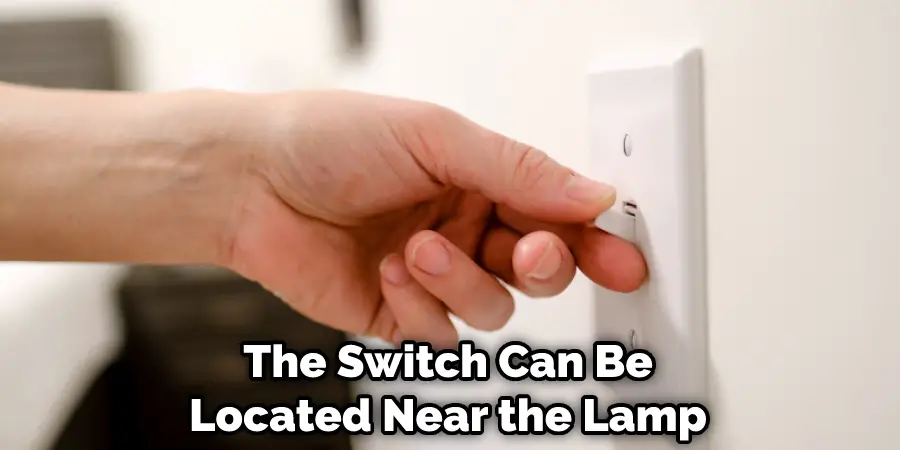
Unfortunately, no. Not every light bulb is universal, and some may not work with certain types of lighting fixtures. Before you purchase a new lightbulb, be sure to test it out first in an existing fixture if possible. Sometimes the switch can be located near the lamp itself or on the wall behind it. If your old lightbulbs still don’t work after testing them in other places, you may need to replace them altogether with a Universal bulb.
Can You Put Led Bulbs in Regular Fixtures?
While it is technically possible to put led bulbs in regular fixtures, there are a few things you need to keep in mind. The most important thing is that the bulb must be designed specifically for recessed lighting, and it should not exceed the maximum wattage allowed by your fixture.
Additionally, make sure that the socket itself meets all of the necessary safety standards. If everything looks good on paper and you’re confident with your installation skills, then go ahead and install your new bulbs!
Conclusion
We hope you have gone through the article on how to change light bulb in vaulted ceiling. Changing a light bulb in a high ceiling can be dangerous. It is best to enlist the help of someone taller than you and have them change it for you while standing on something solid, like a ladder or box. If this is not an option, try using some pole to free your hands from holding onto anything as they do this work. A broom handle may even suffice if necessary! Be safe out there, people – don’t hurt yourselves by changing those pesky bulbs!