There may come a time when you need to remove a recessed light. Perhaps you’re changing the bulb, or you’re just updating your décor and don’t want the fixture anymore. Whatever the reason, we will teach you how to remove a 4 inch recessed light in this article.
Removing a 4 inch recessed light is not as hard as it seems. With the right tools and instructions, you can remove a 4 inch recessed light within 20 minutes.
Summary: If you want to remove a 4 inch recessed light, you will need a drill, a saw, and some screws. First, drill a hole in the bottom of the light fixture, just large enough for the screw to fit through. Saw off the top of the light fixture, making sure to keep the wires inside. Then screw the screw into the hole in the bottom of the light fixture, and attach the light to the screw.
Tools
- Ball Peen Hammer
- Tape Measure
- Step Ladder
- Utility Knife
- Phillips Head Screwdriver
- Gloves and Mask
A Detailed Guide on How to Remove a 4 Inch Recessed Light
Step 1 : Before You Start Removing the Recessed Light
Before attempting to remove a recessed light fixture, be sure to determine that the power to that light has been shut off. This may not be easy, but removing the trim ring of the recessed light will give you access to two small screws that can make the task easier.
If you have a light fixture that is attached to woodwork, it may be difficult to tell if there is power running through it. In this case, it is best to ask a professional for help.
Step 2 : Wear Protective Gear
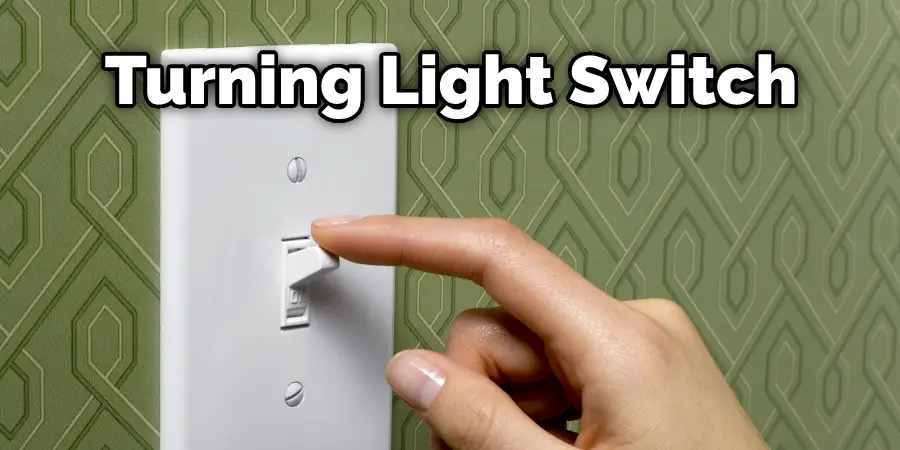
Now that you’ve confirmed there’s no power running through your fixture, it’s time to remove it. To start, put on some protective gear, like gloves and a mask. Then, turn the light switch back on so you can see what you’re doing for the rest of the project.
Next, with the protective gear in place, grab your ball peen hammer and begin hitting the glass cover of your recessed light with enough force to crack or chip it open; however, be sure not to hit too hard as you could damage other components within the unit making it more difficult (and dangerous) to remove later.
Step 3 : Remove the Small Screws
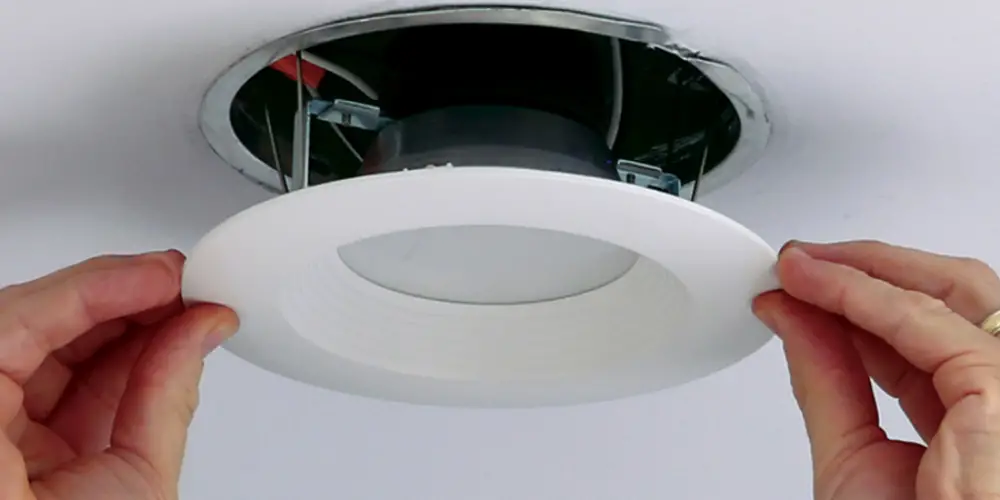
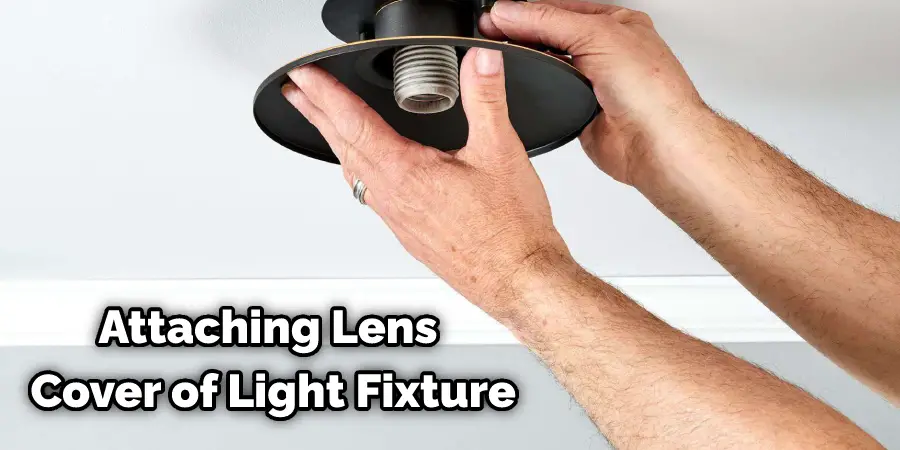
In order to change the lightbulb in your fixture, you first need to remove the lens cover. To do this, locate two small screws on the unit and remove them by turning them counterclockwise with a Phillips head screwdriver.
There are two screws that hold the light socket in place. They can be on either side of the socket, so you might not be able to see them. Carefully feel for the screws and turn them to remove the socket. Be careful not to drop the screws, as this could cause problems later on in the project.
Step 4 : Begin Tapping Along Seams
To remove a recessed light, you need to unscrew it and then tap along the seams with a hammer until it comes apart. It takes a while, but eventually the light will become less and less sturdy and you’ll be able to see where the socket is.
Step 5 : Remove Your Light Socket
Before removing your light socket, please take a look at it and note which wire is connected to each prong of the fixture. A quick and easy way to do this is to take a photo with your cell phone; however, you could also use a camera or pen and paper for this purpose.
After making a note of where each wire connects, disconnect them by unscrewing the screws that secure each one to its corresponding prong. Be careful not to damage the wires as they are often soldered in some way, which can cause problems if mishandled.
Step 6 : Remove Your Recessed Light
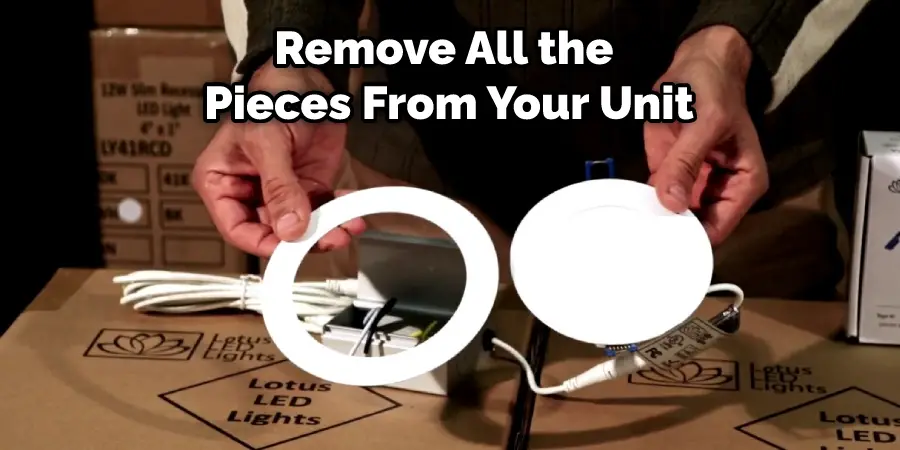
Now that everything has been disconnected, you can remove all the pieces from your unit. Be careful, because there may still be broken glass and small pieces of your unit around. If so, pick them up and dispose of them properly, because they can be a safety hazard if left out in the open.
Step 7 : Discard Old Unit
After removing your recessed light, you can throw it away. If it is made of metal, it can be recycled, but if it is made of glass or plastic, it might be considered hazardous waste and require a special trash pickup.
Be sure not to throw any parts away until you have thoroughly checked and cleaned each one so that all necessary components can be used again. This is a vital step in how to remove a 4 inch recessed light.
Step 8 : Clean Area and Reinstall
After properly disposing of your old recessed light, it’s time to clean the occupied area and its surrounding areas. Use a wet mop or rag to wipe down any paint that the screws and hammer have chipped away during this project. Once everything coming loose has been removed, use a chalk or chalk line to mark precisely where you want each new fixture installed before taking out the corresponding components for each.
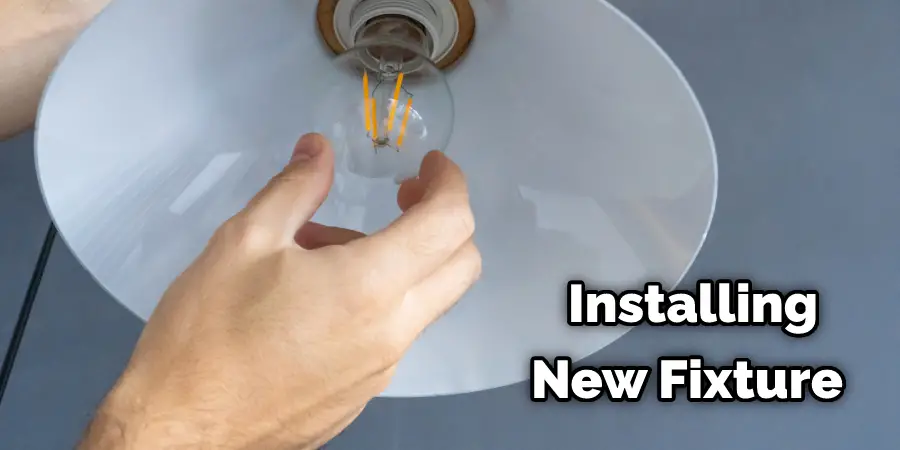
To put something back together, you need to first organize all of the pieces. Once you have all of the pieces, you can start to put them back into their rightful place. If some of the pieces are hard to reach, make sure you take your time so you don’t strain yourself. However, avoid any excessive bending, twisting, or stretching while you’re doing this.
Step 9 : Reattach Wires and Screws
Once everything has been successfully installed, go ahead and reconnect each wire to its corresponding prong before screwing the screws in place with a Phillips head screwdriver. This step will require patience as you slowly turn each screw until it is secure enough to resist being turned again quickly.
Take care that you do not tighten these screws too much, as this could cause damage to interior wiring that may lead to further complications down the road if mishandled. When done correctly, all lights should now be functional; however, be sure to double-check before flipping on switches or turning on the power for your home’s current circuit.
Step 10 : Cleanup
After finishing the installation process, you are free to clean up any debris created by this project and dispose of it properly. When putting items away that were removed during this replacement light fixture, be sure to do so in an organized fashion; however, avoid overdoing this step as it can sometimes be challenging to remember where all pieces go upon reentry into your home.
If necessary, take a second look at each piece before placing them back inside for optimal organization. These steps will help in how to remove a 4 inch recessed light.
You can check out it to Avoid Ring Light Reflection in Eyes
Tips and Warnings
Tips
- Make sure the circuit breaker is turned off before touching anything inside the electrical box!
- If your lights are on a dimmer, make sure it’s set to the highest setting (100%) when working with them.
- The wires in the back of the recessed light are connected with push connectors.
- Some manufacturers mark their wire colors, so if yours have different colors wires, make sure you write down which color is for hot/live/power and neutral before removing any connections at all!
Warnings
- If you are working with electricity, please be aware that all of the following steps are done at your own risk! If there is any possibility that you may receive an electrical shock or may come into contact with a live wire, please do not attempt to continue.
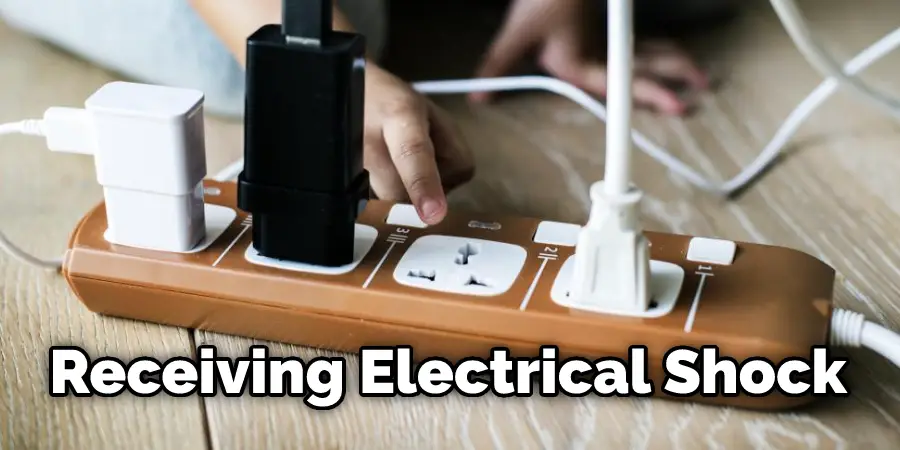
- When removing a 4″ recessed light, always hold onto the bulb itself when moving it in and out of the fixture. Never touch the metal rim around the bulb where it joins the central part of the housing, or you will get shocked by 12 volts! Instead, just grab the glass part of the bulb and gently move it in and out.
When Should I Schedule This Job?
When you schedule this job, we recommend that it be done on a day when the work area has been excellent and dry for at least 8 hours. The cooling cycle of your home or building can make the air as much as 10°F cooler than the surrounding environment. If the room is hot, wait until it has settled down before beginning this project.
To avoid disrupting indoor temperatures and humidity levels, do not begin this process in rooms where heating/cooling systems are currently running or near cooking areas (the fumes from paint and solvent-based cleaning products may damage these appliances). If there are people in the house who are sensitive to chemical fumes, make sure they have an indoor location to stay for a few hours.
Please take your time and read through this job before you begin. This will allow you to prepare everything ahead of time and eliminate mistakes that might put your home at risk while working on the project.
You Can Check It Out to: Remove Old Recessed Light Housing
Frequently Asked Questions
What Is Electrical Work Not Notifiable?
There are certain types of electrical work that are not reportable to the authorities. These jobs include:
1) Electrical installations and repairs are undertaken by a professional contractor or self-employed person without prior Authority from an Established Board, Committee, or Commission;
2) Work performed as part of any Governmental program which is exempt from NFPA 70E (Standard for Electrical Safety in the Workplace);
3) Work related to Postal Service letter carrier activities if such activity does not involve energizing equipment nor touching overhead lines;
4) Correcting errors made while testing over 50 volts DC and less than 500 watts average input power unless otherwise specifically authorized by an established board, committee, or commission.
Do I Need a Minor Works Certificate to Change a Light Fitting?
You will need a Minor Works Certificate to change a light fitting. This certificate will outline the work that needs to be done and the materials used. It is important to note that the certificate must be signed by an authorized representative of the company carrying out the work, and it must be submitted to the local council for review.
Can You Rewire a House Without Removing Drywall?
While it is possible to rewire a house without removing drywall, this may not be the best option for you. Drywall is an important part of any home’s construction and repairs because it is lightweight and relatively easy to work with. This means that if you do remove drywall, there could be additional risks involved, such as damage to electrical wiring or plumbing. Furthermore, by taking these types of measures, you might hamper your ability to update or upgrade your home in the future.
If you are considering rewiring your house without removing drywall, make sure to consult with a professional before starting anything! They can help inspect the existing structure and recommend the safest route for replacing or repairing damaged areas.
Do You Need an Electrician to Change Downlights?
Many people mistakenly believe this because they are not familiar with the terminology used in electrical contracting. A contractor who specializes in electrical work would call a task like changing downlights an “installation.” An installation typically involves installing new circuitry and wiring, so it is correct to say that you would need an electrician for this type of project.
Conclusion
We hope you have learned how to remove a 4 inch recessed light. And this article should be helpful if you are trying to pull a recessed light fixture. However, if this is not the case, please visit our blog about other topics that may interest you!
You may read it also – How to Change Light Bulb Above Stairs