
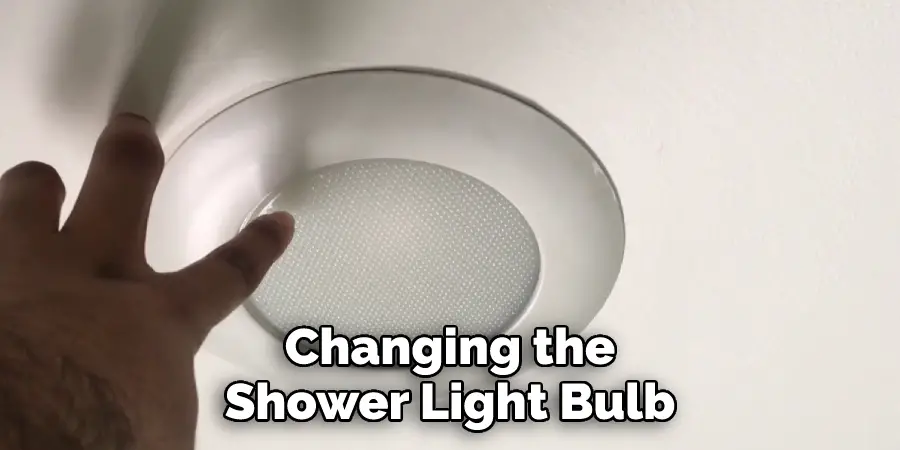
There’s nothing worse than stepping into a shower and being greeted by a burned-out light bulb. Not only is it an unpleasant surprise, but it can also be dangerous. Luckily, changing a shower light bulb is a relatively easy process that most people can do themselves. Here’s a step-by-step guide on how to change shower light bulb.

Can You Change the Shower Light Bulb?
One of the most common questions we get asked is, “Can you change the shower light bulb?” The answer is yes! Replacing a burned-out shower light bulb is a fairly simple process that anyone can do. All you need is a ladder and a screwdriver.
First, locate the light fixture and turn off the power to the area. Next, remove the glass globe or panel to expose the light bulb. Next, unscrew the old light bulb and carefully screw in the new one. Be careful not to touch the new bulb with your fingers, as this can shorten its lifespan.
Finally, replace the globe or panel and turn on the power. That’s all there is to it! You can easily change the shower light bulb with just a few simple steps.
Why Should You Change the Shower Light Bulb?
Many people don’t realize the importance of changing their shower light bulbs. A shower is a place where we wash away the dirt and grime of the day, so it’s important to have a bright, clean space to do so. A dim or flickering light bulb can make the space feel smaller and dingier than it actually is.
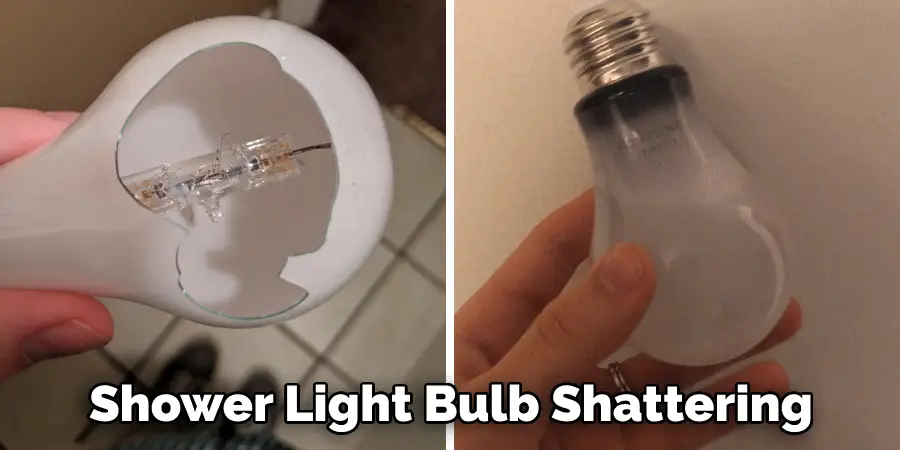
In addition, an old or burnt-out light bulb is a safety hazard. If the bulb breaks, glass could fall into the shower and cause injury. Changing the shower light bulb is a quick and easy way to update the space and keep it safe for use.
7 Steps to Follow on How to Change Shower Light Bulb
Step 1: Turn Off the Power to the Shower Light
Before you do anything, you must turn off the power to the shower light. The last thing you want is to be working with live wires. To do this, locate the circuit breaker box and flip the switch for the shower light circuit.
If you’re unsure which switch controls the shower light, flip them all off and then turn on each one until the light in the shower turns on. Once you’ve found the right switch, turn it off and head back to the bathroom.
Step 2: Remove the Cover from the Shower Light
Now that the power is off, you can remove the cover from the shower light. In most cases, there will be screws holding the cover in place. Use a screwdriver to remove these screws and set them aside safely.
Once the screws are removed, gently pull off the cover and set it aside. If any wires are still attached to the cover, disconnect them before removing them completely.
Step 3: Remove the Old Bulb
With the cover off, you should now be able to see the old bulb. Gently twist it counterclockwise until it comes loose, and then pull it out of the socket. If any residue is left on the socket, use a clean cloth to wipe it away. Next, inspect the socket for any damage; if there is any damage, you may need to replace it before proceeding.
Step 4: Insert New Bulb
Now it’s time to insert the new bulb into the socket. When doing this, ensure you orientate it correctly; in most cases, there will be a line or dot on one side of the bulb’s base that needs to be aligned with a corresponding line or dot on the socket. Once aligned, lightly twist clockwise until snug; don’t over-tighten, as this could damage both the bulb and socket.

Step 5: Replace Cover
Once the new bulb is in place, you can replace it and screw in the cover. Ensure all the wires are back in their rightful place before putting them on the cover; if they’re not, refer back to step 2 for guidance on how to position them correctly.
Step 6: Turn Power Back On
Now that the cover is back on, you can head back to the circuit breaker box and turn the switch for the shower light back on. Once it’s turned on, head back to the bathroom and test out your new bulb – if everything has been done correctly, it should work perfectly.
Step 7: Enjoy Your New Shower Light!
That’s it; you’ve successfully changed the shower light bulb! Now, all that’s left to do is turn off the lights, jump in the shower and enjoy how your new bulb brightens up the room. Congratulations on a job well done!
That’s it! You’ve now learned how to change shower light bulbs in just seven steps. As you can see, it’s a relatively simple process, so if your bulb stops working again, don’t hesitate to give it another shot.
Things You Need to Know Before Changing the Shower Light Bulb
Before changing a shower light bulb, be sure to turn off the power to the fixture at the breaker box. This will ensure that you don’t get electrocuted while working. Once the power is off, remove the glass globe or metal cover from the fixture. Be careful not to drop it, as it could break and cause injury.
Next, unscrew the old light bulb from the socket and dispose of it. Then, screw in the new light bulb and replace the globe or cover. Finally, turn on the power to the fixture at the breaker box and test the new light bulb. If any part of this process seems unsafe or beyond your skillset, please call a professional electrician.
5 Benefits of Changing Shower Light Bulb
1. More Efficient
One of the primary benefits of changing your shower light bulb is that it will be more efficient. In addition, shower light bulbs are designed to be used in wet areas, making them less likely to overheat and break. This means that you will not have to worry about replacing your shower light bulb as often, which can save you money in the long run.
2. More Durable
Another benefit of changing your shower light bulb is that it will be more durable. Shower light bulbs are made with higher-quality glass that is less likely to break. This means that you will not have to worry about your shower light bulb shattering and causing injuries.
3. Brighter Light
A third benefit of changing your shower light bulb is that it will provide a brighter light. Shower light bulbs are designed to emit a brighter light than standard bulbs, which can help you see better while you are in the shower. This can be especially beneficial if you have difficulty seeing in low-light conditions.
4. Safer for Children
A fourth benefit of changing your shower light bulb is that it will be safer for children. Shower light bulbs are less likely to break and cause injuries than standard bulbs. This means that you will not have to worry about your child being injured by a broken shower light bulb.
5. More Environmentally Friendly
A fifth benefit of changing your shower light bulb is that it will be more environmentally friendly. Shower light bulbs are made with recycled materials, meaning they will not end up in a landfill after they are used. This is an important consideration if you want to reduce your environmental footprint.
Some Common Mistakes People Make When Trying to Changing the Shower Light Bulb
Replacing a shower light bulb may seem simple, but it’s one that many people get wrong. Here are some of the most common mistakes people make:
First, they forget to turn off the power. It seems easy enough, but oftentimes people get so focused on changing the bulb that they forget this crucial step. Second, they use the wrong type of bulb. There are different shower lights, each using a specific type of bulb. Be sure to consult your owner’s manual or the light fixture to determine what bulb you need.
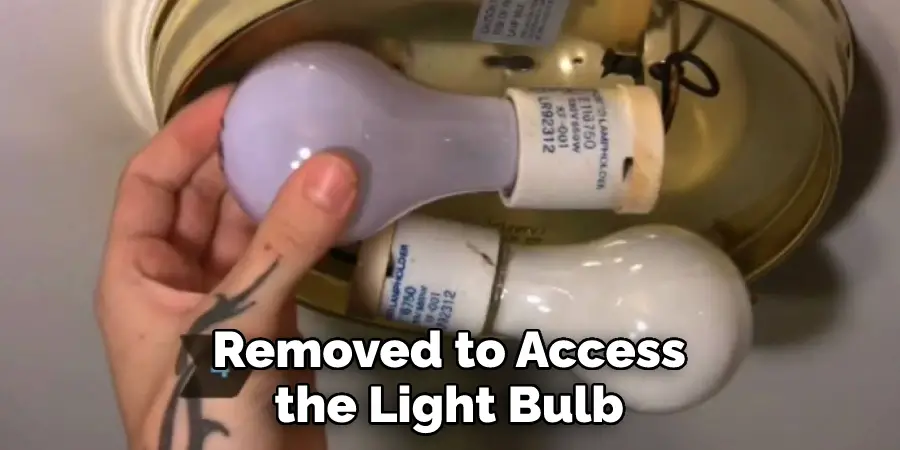
Third, they fail to remove the shower head. The shower head needs to be removed to access the light bulb, but many people try to change the bulb without doing this first.
Fourth, they drop the old bulb. This can cause it to shatter and leave glass scattered around the shower area. Dropping the new bulb is also possible, resulting in wasted time and money.
Finally, they forget to reinstall the shower head or secure it properly. This leaves the shower vulnerable to water damage and can lead to mold growth.
With these tips in mind, changing a shower light bulb doesn’t have to be a stressful experience. Just be sure to take your time, follow directions carefully, and you’ll be done in no time!
Frequently Asked Questions
How Do You Remove a Shower Light Bulb Cover?
Shower light bulbs come in a variety of shapes and sizes, so it can be difficult to remove the cover. If you have a standard light bulb, you can use a Phillips head screwdriver to unscrew the light bulb. If you have a brighter light bulb, you may need to use a special tool to remove the cover.
Do You Need a Special Light Bulb for a Shower?
Yes, a showerhead light bulb typically needs a special lightbulb in order to work properly. The standard incandescent lightbulb used in most homes is not designed to be used in a shower, and may not provide enough brightness or heat to properly wash your body. Special showerhead light bulbs are available that are specifically designed for use in showers, and are typically more efficient and brighter than standard lightbulbs. They also tend to generate more heat, which can help to melt any ice or snow on your skin and make washing easier and more enjoyable.
What Kind of Light Bulbs Are Used in Showers?
There are a number of different types of light bulbs used in showers, including halogen, compact fluorescent, and LED. Halogen bulbs are the most common type, and they produce a warm, yellow light that is perfect for general illumination. Compact fluorescent bulbs are similar to halogen bulbs in terms of their brightness and lifespan, but they offer a better price-to-performance ratio and are often preferred for use in bathrooms because of their energy efficiency. LED light bulbs are becoming more popular due to their long lifespan, low energy consumption, and minimal heat output. They are also becoming increasingly available in showerheads, which makes them ideal for brighter environments.
Are Led Lights Safe in Shower?
There is some debate over whether or not LED lights are safe in a shower, as the light may be directed directly into the eyes. Some experts believe that this could potentially cause damage to the eyes, while others maintain that there is no evidence to support this claim. If you are concerned about the safety of LED lights in a shower, it may be best to avoid using them altogether or to use them in a shielded light fixture.
Conclusion
A burned-out shower light bulb can be not only an unpleasant surprise but also dangerous. Luckily, changing a shower light bulb is relatively easy, and most people can do it themselves with just a few tools.
With this step-by-step guide, you can easily change your own shower light bulb in no time! Thanks for reading our post about how to change shower light bulb.