
As LED technology continues to develop, it’s no surprise that more and more people are looking to install LED lights in their homes. LEDs offer a wide range of benefits, from energy savings to lifetime durability. But many people feel intimidated by the idea of installing LED lights themselves.
In this blog post, we’ll walk you through the basics of how to do a DIY on LED lights. Then, we’ll help you determine what LED light is right for your home and show you how easy it is to install them! So read on and start saving money and enjoying brighter lighting!
Summary: If you’re looking to spruce up your home with some new LED lights, but don’t know how to do a DIY, this guide will help! First, gather all the materials you need: a light bulb, wire cutters, a drill, and a screwdriver. Next, remove the old light bulb from the fixture and unscrew the base. Remove the wires and connector from the old light bulb and screw them onto the new one. Make sure the connections are tight, then replace the fixture and cover it with the old light cover. Finally, turn on the new light and enjoy your new look!
What is DIY on LED Lights?
Do-it-yourself, or DIY, projects are those that you can complete yourself without the need for professional help. This might include anything from bunging up a hole in your wall to painting your kitchen cupboards. There are a few different types of DIY projects that you can tackle regarding LED lights.
For example, you might want to replace the traditional lightbulbs in your home with LED bulbs. This is a relatively simple project that anyone can do, and it can save you money on your energy bills in the long run. Alternatively, you might want to install some LED strip lights under your kitchen cabinets.
This is a bit more of a challenging project, but it can transform the look of your kitchen. Whichever type of project you choose, make sure you do your research beforehand to know what you’re doing. You can easily give your home a fresh new look with LED lights with a little time and effort.
Why Should You DIY on Led Lights?
Installing LED lights yourself can be a fun and satisfying way to get in touch with your creative and technical abilities. Home improvement projects can be a great way to try out new skills and hone existing ones.
Working with LED lights means that you can control the look and feel of your lighting system. You can experiment with different arrangements and shapes until you find a design that perfectly suits your needs.
DIY LED lights can help you save money by not having to pay for a contractor to install them. They can be used in your home or business, and will help make the space look better. So start your next project today!
Things You’ll Need
- 1×4 pine boards
- LED lights
- Drill
- Wire cutters
- Electrical tape
- Nails or screws
- Hammer or screwdriver
How to Do a Diy on Led Lights Step by Step Guide
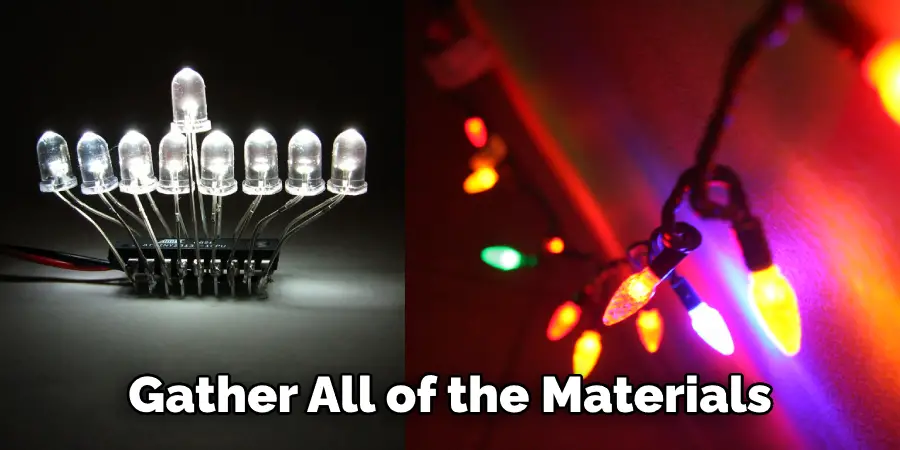
Step 1: Gather All Material
To start a DIY project with LED lights, first gather all the necessary materials. This usually includes an assortment of different colored LEDs, wire, soldering tools and supplies, and any other components that are specific to your project.
Step 2: Create a Design
You will need some materials and then you will make a design. You can do this by drawing your idea on paper, or using a computer program. If you use a computer program, you need to make sure it will work with your software.
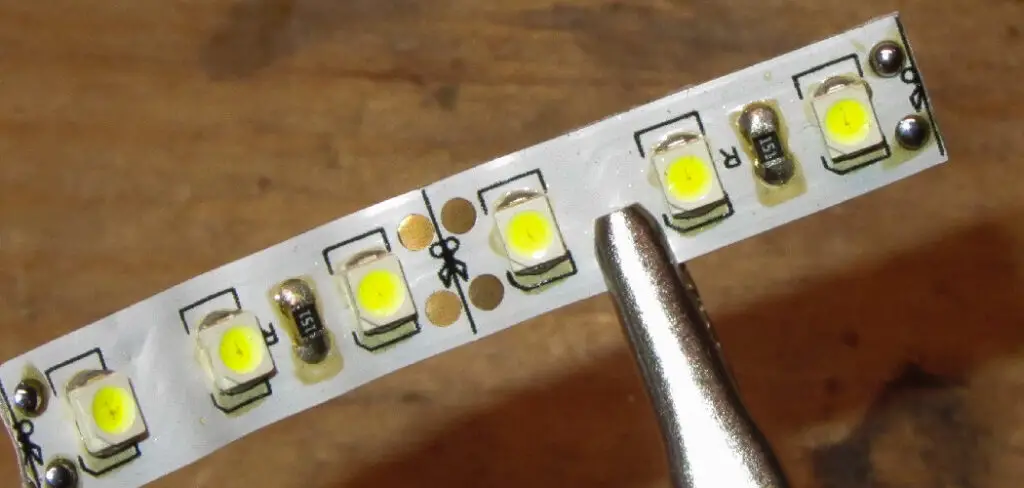
Step 3: Solder the Components
Once you have a design and all of your materials, the next step is to start soldering the components together. Whether using a premade LED strip or designing your circuit board, this is essential in creating your project. You may also need to add other elements, such as mounting hardware or a power source, depending on the specifics of your DIY project.
Step 4: Test and Troubleshoot
Once you have finished soldering all of your components together, it is important to test and troubleshoot your design before moving on to the next step. This can be done by connecting your LED circuit to a power source and testing each element to ensure it is functioning properly. Again, if you encounter any problems, it is important to identify and correct them before moving on.
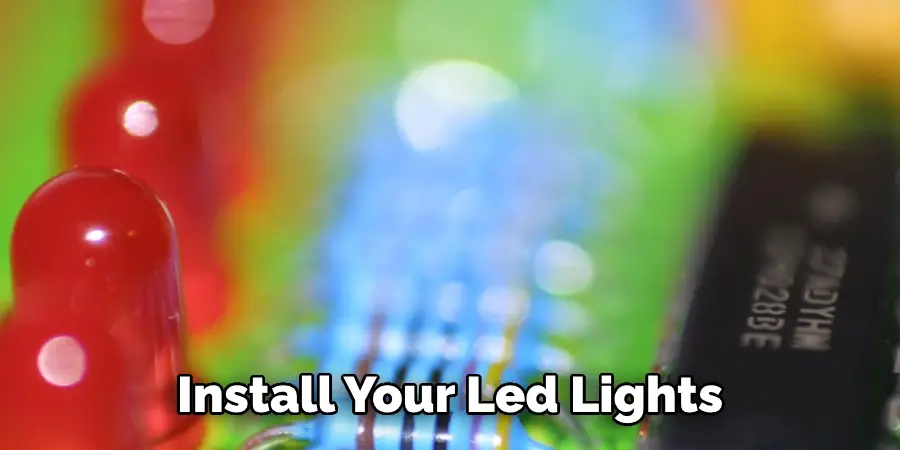
Step 5: Install Your Led Lights
The final step in completing your DIY project is to install your led lights. This can be done by following the instructions included with your specific product or by consulting with a professional for help with installation. Regardless, it is important to take your time and carefully follow all of the steps to ensure that your led lights are functioning properly once they are installed.
Whether you are looking to create custom lighting for your home or want to add some flair to your next project, a DIY on led lights is a great way to get started. With a little creativity and some basic soldering skills, you can create a variety of different projects that are both unique and stylish.
So, what are you waiting for? Get started today and see what you can create! Then, keep reading for more information about how to do a diy on led lights.
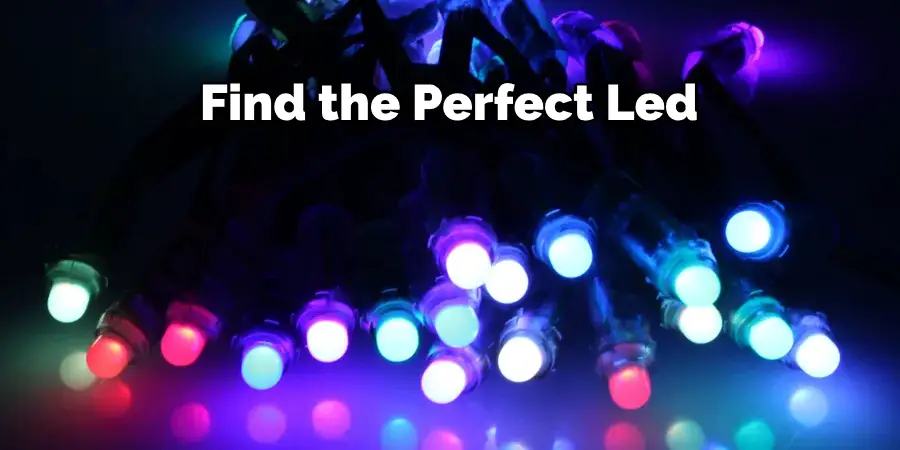
How to Choose the Right Led Light for Your DIY Project
When it comes to choosing the right LED lights for your DIY project, there are a few key factors that you should consider. The first is the type of lighting that you need. Depending on whether you are working indoors or outdoors and what you are using the lights for, you may want to opt for spotlights, floodlights, downlights, or other lights.
A second factor to consider is the design and appearance of the lights. While many generic LEDs come in shades of white, yellow, and blue, there are also many vibrant options available in various colors, which can add an eye-catching aesthetic to any space.
And finally, it is important to choose LEDs that are energy-efficient and long-lasting to get the best value from your purchase. Therefore, you will be well equipped to select high-quality LED lights for any DIY project with these factors in mind.
How to Choose the Right Led Light for Your Home and Office
LED lighting has become increasingly popular in recent years as it is more energy-efficient than traditional incandescent bulbs. However, when choosing the right LED light for your home or business, there are a few things you need to keep in mind.
First, consider the intensity of the light. LEDs are available in various brightness levels, so make sure you choose one that is appropriate for the space you plan to use it in.
Second, think about the color temperature of the light. Warm white LEDs are best for creating a cozy atmosphere, while cool white LEDs are better for task lighting.
Finally, consider the size and shape of the light. LED lights come in various shapes and sizes, so make sure you pick one that will fit in the space you have available.
By keeping these factors in mind, you can be sure to find the perfect LED light for your needs. If you want to know more about how to do a diy on led lights, keep reading.
How to Maintain Led Lights
Maintaining your LED lights is important to keep them working properly and lasting long. Here are some tips on how to maintain your LED lights:
- Check the manufacturer’s instructions. This is the best way to know how to maintain your LED lights properly.
- Keep them clean. Dust and dirt can build up on the lenses and cause the light to be less bright. Use a soft cloth to wipe them down regularly.
- Be careful when handling them. Don’t drop or bang them around, as this can damage the delicate internals.
By following these simple tips, you can keep your LED lights in good shape for many years to come.
Frequently Asked Question
How Do You Put Led Lights in Diy Mode?
To put your LED lights into the DIY mode, you will need to hold down the button on the back of the light strip for about three seconds. Once the lights are in DIY mode, you can use the remote control to change the color and brightness of the LED lights.
Do Led Lights Work on Colored Walls?
The answer to this question depends on the type of LED light used. Most LED lights work well on colored walls, but a few types can cause a light bleed-through effect. In order to avoid this, it is best to use LED lights that are specifically designed for use with colored walls.
What Color Should My Room Be?
Rooms come in all different colors and shades. Before you do a DIY on led lights, it is important to decide your room’s color. You may want to consult with a professional to help you choose the right shade. Once you have decided on a color, you can begin to do your DIY on led lights.
Is Purple Light Healthy?
As with any new technology, there is a lot of misinformation about LED lights’ health risks and benefits. For example, some people claim that purple light is healthier than other colors, but no scientific evidence supports this claim. All LED lights have the potential to be healthy or harmful, depending on how they are used.

Conclusion
So, there you have it! A simple guide on how to do a diy on led lights. If you follow these steps, you’ll be able to create beautiful and long-lasting LED light fixtures for your home. So, have fun with it, and show us your finished product!