
If you want to make your LED lights two different colors, there is a way to do it. In this article, I will show you how to make your led lights two different colors. This is a straightforward project, and it doesn’t take long to complete. So, if you’re looking for a way to add some extra style to your home, this is the project for you. Let’s get started!
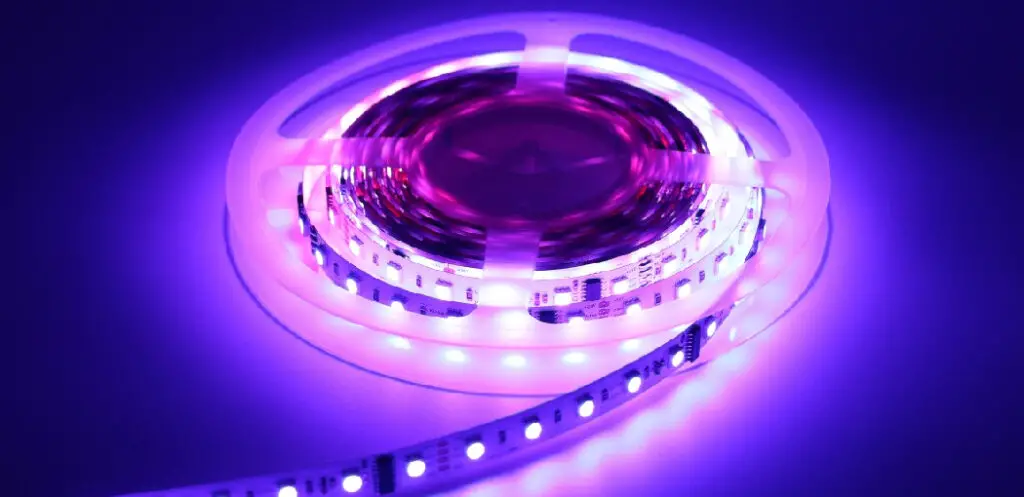
Led lights are becoming more and more popular every day. They’re great for the environment because they use less energy than other light sources. People are using them in many different places, including their homes. So if you need some way to decorate your home or patio, this is a great option. You can find led lights at most big box hardware stores these days.
Summary: First, connect the black wire to the negative terminal of the battery and the red wire to the positive terminal. Then, connect the white wire to the middle terminal. Finally, connect the other end of the white wire to one of the LED lights.
Tools and Materials:
- Philips Screw Driver
- Wire Cutters/Strippers
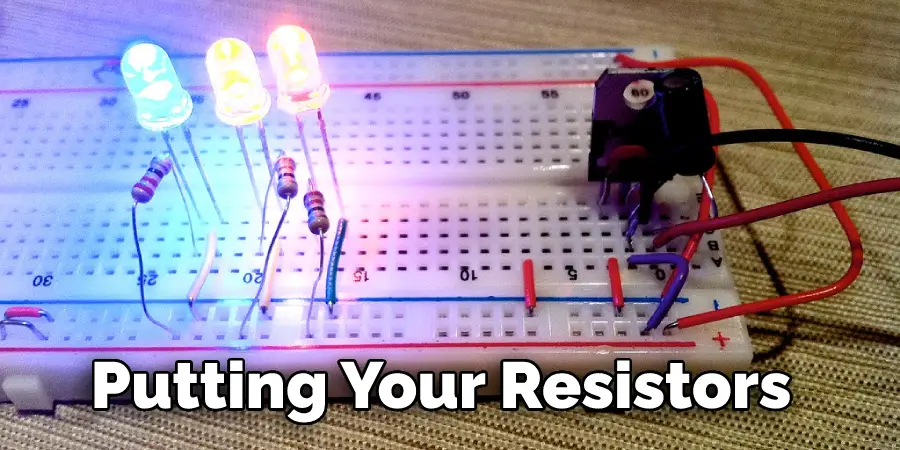
- 2 Resistors (one of them should be a variable resistor)
- Electrical Tape
- Soldering Iron
A Step by Step Guide on How to Make Your Led Lights Two Different Colors
Step 1: Splitting the Two Different Colors
If you have never worked with resistors before or are unsure whether this will work, I would suggest buying a variable resistor. Variable resistors will allow you to choose how many Ohms there are between either of the wires. (The bigger the number after the “Ω,” the more resistance.) If you have an extra working light with one color set as your primary color and another as your secondary color, one side of each may be positive or negative. This is because most lights require 12V to power them up, whereas LEDs use anywhere between 1-3 volts.
Step 2: Resistance
When putting together this guide, I decided to keep one of the resistors constant and have the other resistor as a variable resistor. How much resistance you will need depends on how many volts your lights are using. In my situation, I am going off of 12V, so if you use a different voltage, it is recommended that you do a little bit of research on Ohm’s Law so that you don’t burn out your LEDs.
To calculate the resistance you will need for each LED, you must look at the number after “LED” in its product name and add two zeros to it. This is the number of Ohms that should go between either wire on an LED. Let’s take our red LED from above as an example.
Our red LED says it needs 2 volts and has a minimum resistance of 20 Ohms. This means we will need to add two zeros to 20, so we should have 200 as the number of ohms between either one. This is a crucial step in how to make your led lights two different colors.
Step 3: How Many LEDs Will You Use?
So now that you know how much resistance each LED needs, I suggest putting your resistors (if you haven’t already) between the positive and negative wires on both lights. If the resistor blows out, both lights go out instead of leaving one color lit up or making it look like only half of the light is turned on. When working with resistors and electricity, never assume things and always be safe. If you are using only one resistor, I would suggest using a variable resistor to make sure the resistance is low enough to light up both LEDs and not just one.
It is helpful to have an extra wire coming out of your first LED and going into your second LED. This way, if you want to add more than two colors, later on, all you have to do is tape off or cut off this extra wire and solder in a new color instead of having to put together an entirely new circuit for each different color.
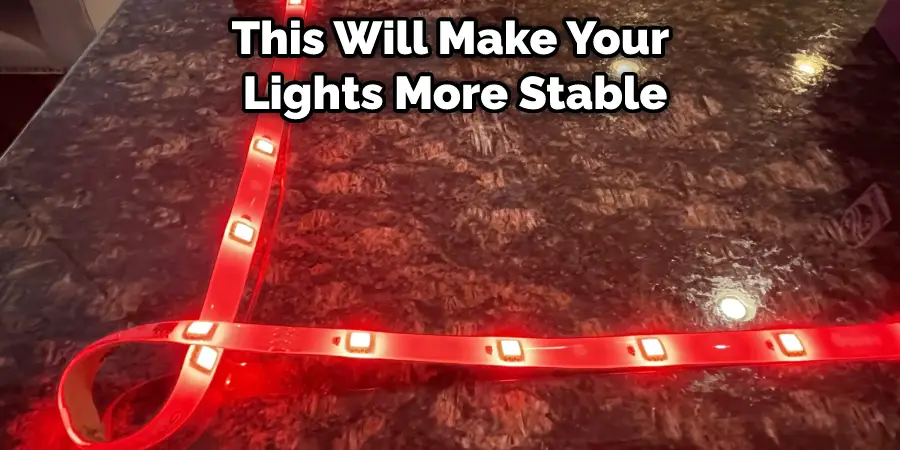
Step 4: Connect Them
It is best to use as little solder as possible when connecting two LED wires together. Do this by soldering the positive wire of one LED to the negative wire of another LED. Then do the same for both LEDs on the other end. This will make your lights more stable and easier to set up.
When soldering, make sure that soldering iron does not touch any metal to avoid any possible shocks or fires. It is always good to be careful when handling hot soldering iron, as it may cause injury.
Step 5: Adjust the LEDs
This activity is about making your LED lights two different colors. You will need a variable resistor and it might be helpful to attach the opposing end of either one of your LEDs to anything metal for it to stay in place while you are adjusting it.
Once both wires are attached to metal, adjust your variable resistor until it is at the desired resistance. You can do this by turning the nut on top of either part or twisting both little bars next to each other if you have a cheaper version. (The reason for doing this is so that when you take off the wire connecting them, they don’t fly apart)
Step 5: Power
Now, if you have two working light fixtures measuring 12 volts each, you need one variable resistor to be lit up independently, which means turning on one color won’t turn off the other color. If you only have one fixture, though, things get more complicated.
If your LED needs 12 volts to operate, I would suggest using a variable resistor so that you can adjust how many volts each color gets individually. This way, if one color becomes brighter than the other due to low batteries, you can fix this problem instead of having to continue cranking down the resistance for both colors to compensate, which means that if one color becomes brighter than it’s supposed to be then both colors will become dimmer because there is less voltage going through them.
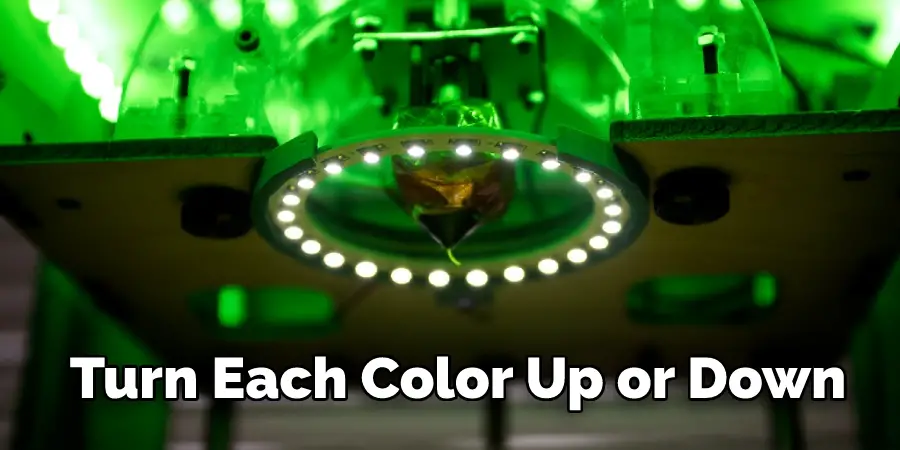
Step 6: Brightness
The last thing you have to do is turn each color up or down so that they are both the same brightness. Then, if one light starts brighter than the other, all you have to do is reduce how much voltage it gets by turning your variable resistor in a clockwise direction.
This way, less voltage will go through it, and that LED will become dimmer. How bright each color should depend on what you think looks good. If anything, remember that if one color seems too promising, something is probably wrong with either one of your resistors or even the batteries themselves so check everything before trying again!
You may read also – How to Fix Led Strip Lights Different Colors
Frequently Asked Questions
Why Is the Led Light Strip Stuck on One Color?
One possibility is that there may be something blocking the light from flowing freely down the strip. This could include debris or dust particles, which can interfere with the LED lights and cause them to stay in one color.
Another potential issue is that one of the wires within the strip might be damaged or severed, causing it to malfunction and stick on just one color. In order for this problem to be fixed, you will need to replace eitherthe entire lightstrip or at least one of its cables.
What Colors Can Rgb Led Not Make?
RGB LEDs use three primary colors (red, yellow, blue) to create all the other colors that we see in electronic displays. These lights aren’t able to produce either red or green because they operate at frequencies too high for these particular light waves.
Can You Make Leds Black?

Some tips that might help include using a high-quality product that has been formulated specifically for this purpose, applying it evenly over your entire car or truck bodywork, and waiting at least 24 hours before driving in order to allow the solution to fully penetrate.
Conclusion:
You can get creative with the colors of your LED lights by using a color wheel. Whether you want to create rotating combinations of two, three, or more colors in one fixture, use different colored bulbs on separate institutions, go for it! The world is your oyster when it comes to this fun and easy way to update the look of any space. If you’ve been looking at all these ideas but don’t know where to start, we have some great tips that will help you choose the best lighting solution for your needs. In addition, we hope you find this article on how to make your led lights two different colors helpful.
Check Related Article: How to Remove Led Lights Without Peeling Paint