If you’ve ever owned a set of LED lights, then you know that they can be pretty tricky to fix when one or more of the bulbs goes out. But what do you do if the light is two different colors! This article will show you how to fix LED lights that are two different colors using a few simple steps. So please read on for tips and tricks on how to get your LED lights back to their former glory!
One great way to add a pop of color to your room is with LED lights. But if one of the bulbs goes out, it can be a hassle to replace every single one in the strand. Plus, LED lights tend to burn out more often than traditional holiday lights. However, replacing all the dark LEDs with new ones is an easy fix for dimmed white or colored LED lights.

Tools and Materials
- Soldering iron
- Wire cutters/strippers
- Diagonal cutters
- Electrical tape (or liquid electrical tape)
- Pliers, Philips head screwdriver
A Detailed Guide on How to Fix Led Lights That Are Two Different Colors
Step 1: Determine the Problem
Before beginning repairs, it is essential to determine which end of the circuit has an issue. This can be done by turning on your headlights and rotating the lights with the high beams. If one side turns out to be brighter than the other, you know that something is wrong with that side of the circuit.
Note: If both sides are dimmer than usual, you will need to replace both halogen bulbs for safety reasons. Please find How to Replace Your Headlights Bulbs before continuing on your journey!
Step 2: Fixing the Negative Side of the Circuit
The negative side is the side that receives power when you turn on your high beams. If there is an issue with this side of the circuit, it can be repaired by soldering two wires together and running them underneath electrical tape until the connection is secure.
You will need to take off both headlights to access where each wire runs underneath the car. Wearing gloves is always a good idea when working with metal or electricity.
If there is a problem with the wires in a circuit, one way to fix it is to solder a new piece of wire onto the end of the broken wire. The new wire should be long enough to reach underneath the car. Then, cover the new wire with electrical tape.
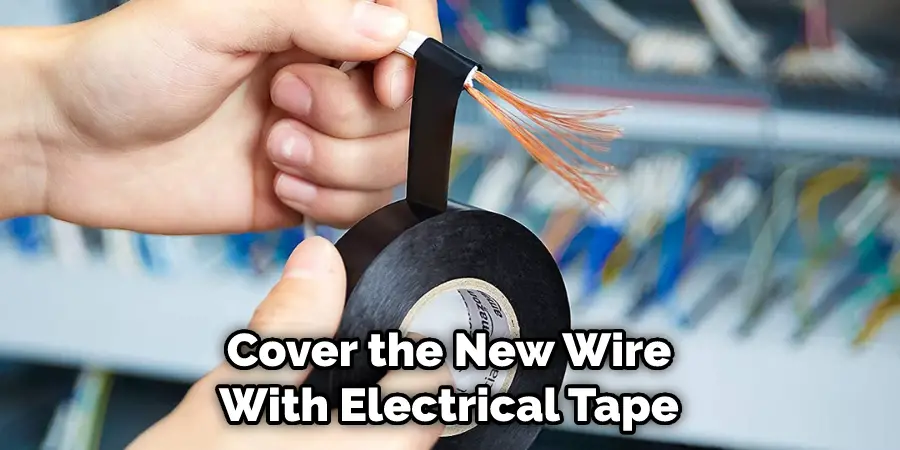
Then, once you have one end of each new piece of wire soldered onto both old pieces, twist the two together until the solder is secure. Finally, cover your joint in electrical or liquid electrical tape; you can buy this at most auto parts stores if you do not have any around your house!
Step 3: Fixing the Positive Side of the Circuit
Fixing the positive side of the circuit works pretty much the same way. You will need to solder one wire onto a black and red wire and run it underneath electrical tape until the connection is secure. Again, you will be able to know if the connection is solid by using a voltmeter or multimeter.
Once your new piece of wire has been soldered on both old wires, twist them together while ensuring they are long enough to reach the new wire. Then, run this unique piece of wire under the car and secure it underneath electrical tape before finally covering your new solder joint with electrical tape or liquid electrical tape.
Step 4: Installing Your New LED Lights
Once you have soldered both sides of the circuit, it is time to install your new LED headlights.
Begin by gently disconnecting each wire running underneath the car and separating them from their respective lights. Be very careful with any screws around the headlight as they are not challenging to strip! You will then need to remove your old bulbs (which can be done by simply pulling them out) before installing your new LEDs.
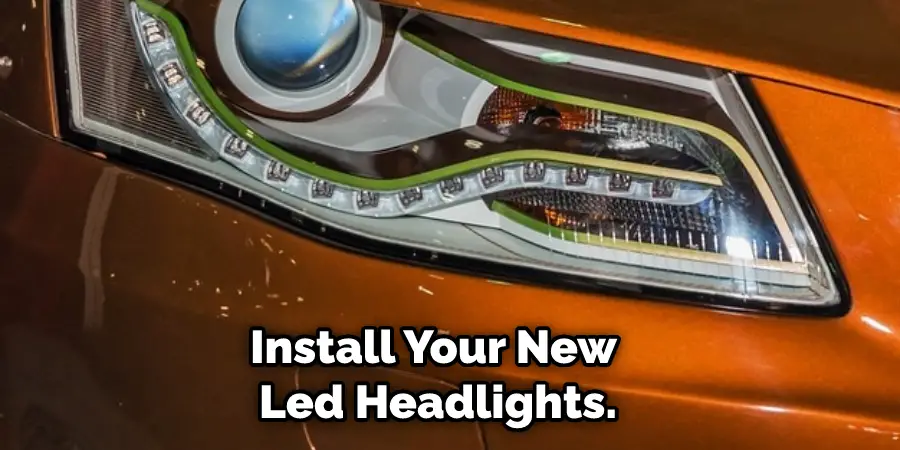
Be sure that you choose an LED set that matches the wattage of your original halogen bulbs—this information should be printed on a sticker inside of the box. Please visit How Do I Identify My Car’s Headlights? for help! Once you have installed the LEDs, run the positive and negative new pieces of wire underneath your car and solder them to both LED lights before running them underneath electrical tape or liquid electrical tape until the connection is secure.
Finally, connect each wire back up to its respective headlight (negative goes on black and positive goes on red) and twist them beneath the car.
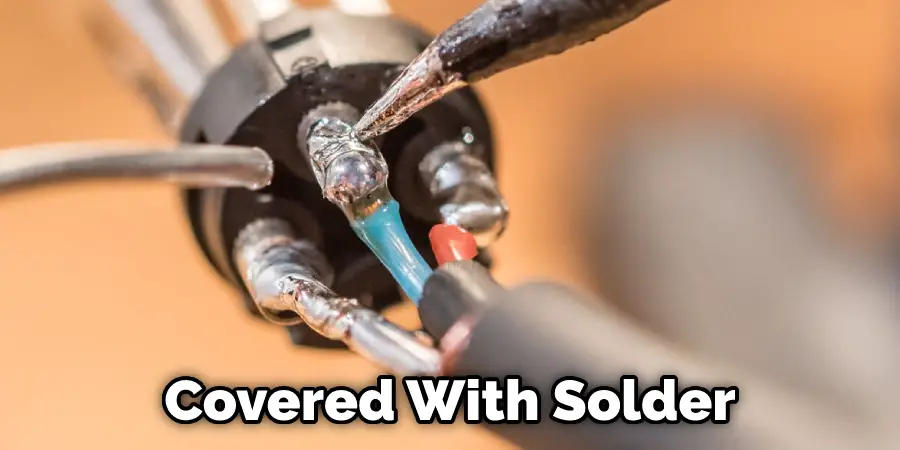
Step 5: Solder New Connection
Start by heating your soldering iron and tinning it with a little bit of solder. Once that’s done, then heat the end of your bare wire (the one that was cut) and dip it into some more solder. The goal is to get as much solder as possible on the end of your bare wire (and not actually inside the wire itself). This step is essential when using electrical tape because, without enough exposed copper wire, there will be no way for electricity to flow through!
Stick it into your new after getting the wire covered with solder. Ensure that the longer leg of the LED (the anode) goes into the wire with more exposed copper and that the shorter leg of the LED (the cathode) goes in the side with less exposed copper.
All you need to do is connect everything back up and secure it down so there aren’t any loose wires. Again, we recommend using some liquid electrical tape for this process.
Note: Don’t ever let two kinds of metal touch together when soldering! This means making sure your bare wire isn’t touching any other item while soldering onto a new connection. If they feel then electricity will travel through them instead of where you want it to go!
Step 6: Finishing Up/Testing Your Job
After finished soldering on both sides, double-check that everything is secure. You can do this by turning your headlights on high beams again and using a small screwdriver or pliers to tug lightly on both ends of the wires. Furthermore, if everything is secure, this should not cause your LED to flicker or turn off.
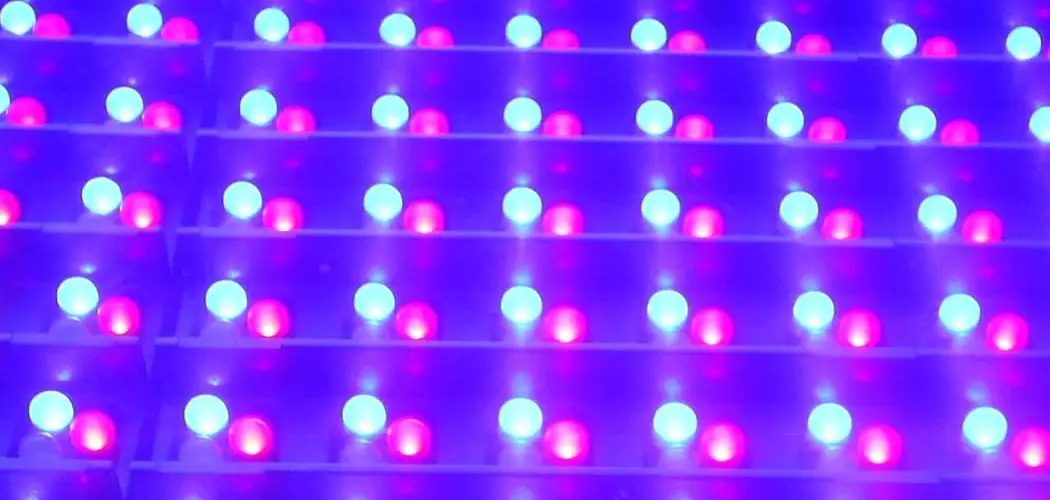
Now you have a headlight that looks brand new again! This only works if you have a single-colored LED. If you have one that flashes different colors, there was a bad connection somewhere along the line, which caused the circuit breaker to trip and the LED light bulb to stop working correctly.
You Can Check It Out to: Take Off Led Lights From Wall
Why Are Half of My Led Lights Not Working
Led lights are commonly used in holiday lighting because they are so bright, but it is important to note that they come in different colors. So when you turn on your string of lights and half of them don’t work, the problem could be due to several things. Sometimes this happens when there is a break in one of the lamps or an open wire somewhere along the strand of lights. The easiest way to fix this problem is by following these instructions:
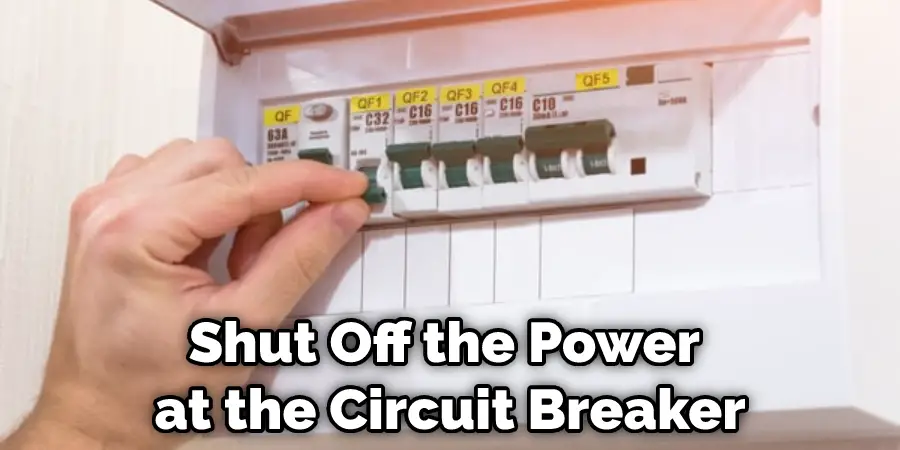
First, shut off the power at the circuit breaker (or fuse box). Then, if you still have half working and half not working, look for places where two or more lamps are joined together with tape instead of wires. This tape is used for color coding and is usually black or white. If the tape has been broken, you will need to cut off both lamps and replace them with new ones.
Most led lights come in sets of 50, so if you have a longer strand, it would be easiest to open up one end of your string and see how the lamp ends are connected by wire or tape (it is essential not to touch any of these wires while they are life).
You Can Check It Out to: Restick Led Lights
Frequently Asked Questions
Can Led Lights Be Repaired?
There are various types of LED lights that can be repaired, but it is important to do your research before attempting any repairs. Some lights may not be repairable, while others may require specific tools or knowledge in order to fix them.
Additionally, some elements (such as the PCB) might need to be replaced entirely if they are damaged. It’s always best to contact the manufacturer for more information on whether or not a particular light can be repaired.
What Causes Led Lights to Fail?
A lot of people wonder what causes LED lights to fail. The short answer is that there is no one-size-fits-all answer, as the cause of any LED light failure will likely depend on the specific model and type of LED light, as well as the environment in which it is used. However, some common causes of LED light failure include overheating, moisture accumulation, and improper installation.
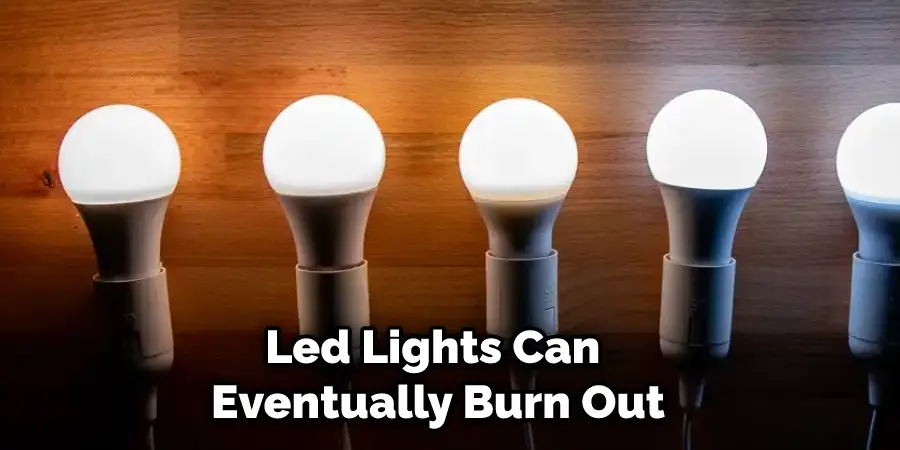
Do Led Lights Burn Out?
There are some concerns that when LED lights are continuously used, they can eventually start to burn out. This is due to the fact that LEDs emit a certain type of light that takes less energy to produce than other types of light, which may result in them being turned on unnecessarily or too frequently. In extreme cases, this could lead to the device overheating and even failure.
So, if you’re using an LED light regularly, it’s important to make sure you’re using it within its recommended range and occasionally checking the battery level. If there are any signs of problems with the device, be sure to take action immediately!
What Happens if You Put Too Much Power Into an Led?
Yes, LED lights can eventually burn out. This is because LEDs are designed to generate a high amount of light for a short period of time in order to achieve the desired effect. Over time, this intense exposure to light can cause the LEDs to wear down and become less effective. In extreme cases, they may even fail completely.
However, there are ways to prevent or mitigate this problem by taking care of your LED lights properly. For example, make sure that you clean them regularly using an anti-static spray or dust cloth and avoid direct sunlight exposure (which will further damage the devices).
Conclusion
If you’re in the market for a new set of LED lights, we recommend looking at our post on how to fix led lights that are two different colors. There are many things to be aware of when purchasing LED lights. While this article is meant to help inform you on what to look out for, we strongly recommend testing various options and visiting local hardware or automotive store that carries different brands and types of LEDs.