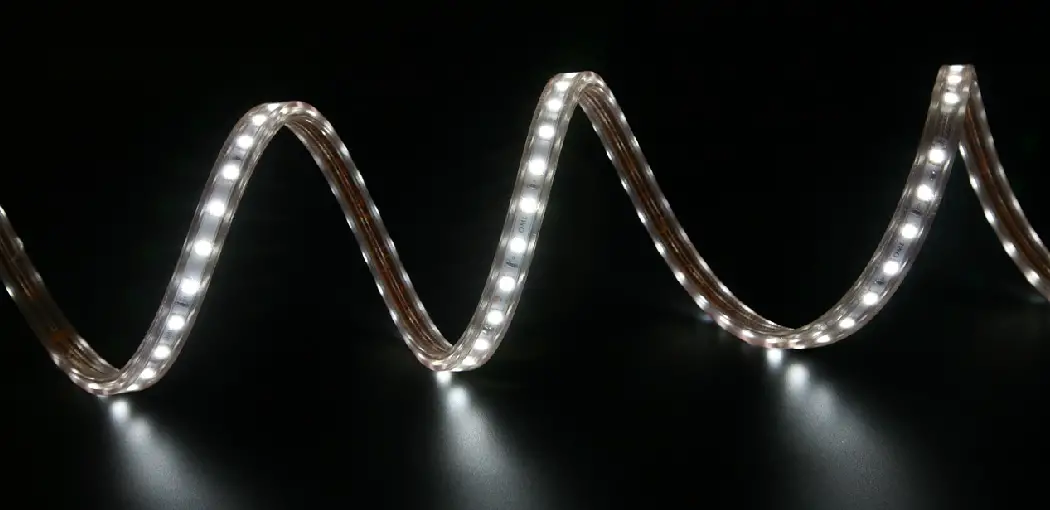
Christmas is just around the corner, so it’s time to start decking out your house with festive decorations! Consider installing LED strip lights if you’re looking for a quick and easy way to add some extra holiday cheer. LED strip lights are a great way to brighten up any room, and they can be easily customized to fit your specific needs.
However, your LED strip lights could quickly deteriorate and lose their brightness if you’re not careful. In this article, we’ll show you how to preserve your LED strip lights to last for years to come. Maintaining led light is easy and costs very little money. With a bit of maintenance, your lights should keep their shine for years without needing replacement. Read on for more.
Summary: Preserving LED strip lights is easy with the right precautions. First, make sure to store them properly. When storing LED strip lights, keep them in a cool and dry place. Avoid direct sunlight and high humidity levels. Finally, be sure to clean and maintain the lights regularly to keep them running smoothly.
***
Tools and Materials:
- Flathead screwdriver
- A clear container large enough to accommodate the LED strips you want to preserve
- Resistance wire (optional)
- A DC power supply capable of providing 9 volts, at least two amps (optional)
- Safety glasses for eye protection.
A Detailed Guide on How to Preserve Led Strip Lights
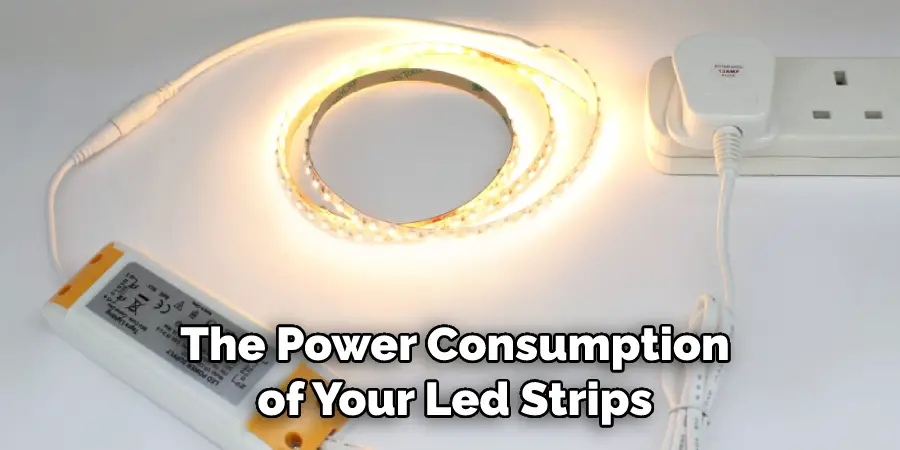
Step 1: Determine the Power Consumption of the Strips You Want to Preserve
The first thing you need to do is determine the power consumption of your LED strips. LED strip lights typically have a rating for voltage and current/amperage, which you’ll need to know to complete this article. The voltage is typically 12V, but can also be 24V. Current/amperage for the LEDs on the strip is listed in amps per meter.
To find the wattage consumed by an LED strip, multiply the length of the strip by the number of LEDs, then multiply that number by the efficiency rating of the LEDs. If the strip has separate color channels, each color will have its own efficiency rating.
This means that if you have a 5m roll of LED strips that are rated 12V at 0.3A/2.4W per meter, the entire strip would consume about 9 watts if it was turned on. However, it would be even less if the efficiency rating was 1.25, which is the most common rating for commercially available LED strips today.
Step 2: Prepare Your Container and Tear Down Any Old or Worn-out Strips Inside It.
Once you have determined the total wattage, you will preserve, remove the LED strips from their respective locations and place them into your container. You can use any clear container–something like a large jar with a wide opening would work well. But make sure to note how much room is left in it before adding your strips because you don’t want them touching when you put your lid on!
Also, make sure to wear safety glasses for this step, as it’s impossible to predict if there are any hanging LEDs or other components that could fall out while handling the old strip(s). If so, they could cause injury to yourself or others, so it’s better to be safe than sorry.
At this point, you might find that the entire strip is no longer working–this is where your DC power supply comes in. You can use a car battery, 9V battery, AC adapter with DC output (the port often labeled “output” or has a light inside it somewhere), etc., but make sure not to exceed 9 volts and two amps!
Step 3: Test Each Pixel on the Strip and Identify Faulty Ones.
Once you have a DC power supply, first plug it into the end of your strip that has a male connector- this is where you will plug your pixels in. Do NOT plug it directly into the female AC power adapter! You don’t need to turn it on yet, but make sure all of your lights are working before continuing–if there’s no light emitting from any pixel, go ahead and bridge those with your resistance wire (see How to Fix Failed Pixels ).
Once you have positively identified that every single one of the pixels along with the strip work as expected, turn off your DC power supply and disconnect it from the strip. If you plugged a multimeter into the other end of each corresponding channel to measure how much voltage is going through them, make sure to turn the power off after testing each one!
Step 4: Prepare Your Resistance Wire and Prepare for Led Preservation.
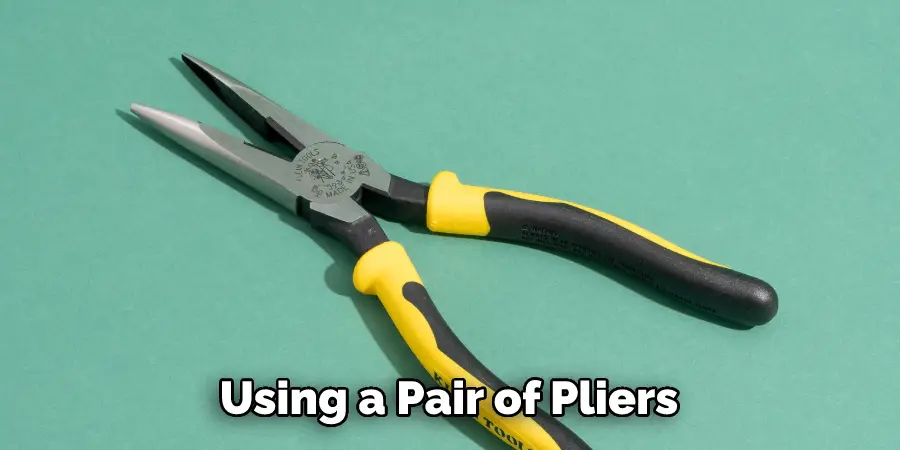
Next, use a pair of pliers to break away a small piece of your resistance wire. In most cases, this will be either 22 or 24 gauge; if it’s not labeled on the outside, then you can assume that it’s 22 gauge by default and strip about 1cm (or maybe 2mm) of insulation from the end using your cutters/pliers/knife until you can see the copper inside.
Once stripped, place this onto your first pixel and connect either side of your first channel to this first pixel with your flathead screwdriver. Make sure to test each pixel with your multimeter after making this connection!
Once the first channel has been confirmed to be good, strip another 1cm from the insulation on your resistance wire and place it between the other side of that same pixel and the next corresponding one. Go through every pixel in your row and bridge them across one by one until you reach the end of your strip.
Step 5: Find Out How Many Amps Are Running Through Each Row/channel/pixel.
At this point, you should have a good idea as to exactly how many amps are going through each pixel. So grab your multimeter and place it into “Resistance” mode, then touch the “+” probe to the metal connector at the end of your strip and flip your power switch.
You want to measure just how much voltage is running through every single channel on your strip so take note of how many amps correspond with which starting/ending pixels along that same channel–this will be important information once you get to connecting those pixels, so make sure not to skip this step!
In some cases, you may find that there is little/no resistance between two or more pixels, meaning that they can’t be bridged anymore. When this is the case, you can try to bridge them together using a pair of pliers, but this will likely create another defective pixel, which you’ll have to test for.
Step 6: Connect All of Your Pixels With a Resistance Wire.
Now that you know how many amps are running through each pixel on your strip, it’s time to connect them all back together again! Take out one piece of resistance wire for every single pixel left on your strip and separate them into channels by color (if applicable).
You then want to take one piece of resistance wire and place it between two corresponding pixels in any given channel until every last pixel has been bridged again–remember, each channel should correspond with just 1-3 amps, so it’s easy to figure out the size of resistance wire you need for this based on how many pixels are in your strip!
Once every pixel has been reconnected again, flip the DC power supply back on and ensure they’re all still working. If not, then go ahead and bridge them with pliers when appropriate. You should only have one faulty pixel when preserving LED strips–if it has more than that, then there was likely something wrong with that specific section of the strip before you started messing around with it!
These steps will help in how to preserve led strip lights. Just keep in mind that because the LEDs themselves will be pulling less current than before, any faulty pixels (and resistors) may not light up when powered on. This is normal and won’t affect the performance of your strip at all!
Precautions:
-Do not plug in or turn off led strip lights when they are still plugged in. Doing this will cause damage to your circuit board.
-Do not use your led strip lights underwater or in high moisture. High humidity and dampness can cause damage to your circuit board.
-Store the led strip lights in a cool, dry place if you won’t be using them for a long time. Please do not put them next to heating appliances such as an air conditioner or heater.
-Do not bend uncoiled strips; this may damage the internal copper wire connections and shorten the life of your led strip lights.
-Be sure that you unplug the light strips before attempting any maintenance.
-Avoid fiddling with any switches or connectors unless you are sure they are unplugged. This may lead to electric shocks and burns, especially if the led strip light is connected to an outlet instead of a power supply box.
-Be sure that you unplug the light strips before attempting any maintenance.
You may read also How to Make the Color Black With Led Strip Lights
Frequently Asked Questions
Can Led Strips Catch Fire?
Make sure to keep your Led Strip away from flammable materials like paper and plastics, and never leave them unattended. Additionally, avoid direct contact with the strip itself – if it does come into contact with skin or eyes, rinse immediately with plenty of water for protection.
Why Do Led Lights Keep Falling?
As a result, over time these cells will corrode and fall out of the light. If this happens while the light is in use, it can result in a number of problems, including decreased light output, flickering, and even smoke production.
There are a few ways to combat this issue. One is to make sure that all your lights are treated with a water-repelling coating. This will help to prevent water from entering the light system and causing damage. You can also try using LED lights that are designed for indoor use – these tend to be more water resistant and have longer life spans. Finally, make sure to keep your lights clean and free from dust and debris – this will help to prevent corrosion from happening in the first place.
Conclusion:
We hope you have learned how to preserve led strip lights.LED strip lights are a fantastic way to add vibrant, colorful lighting without the need for expensive fixtures. However, if you don’t take care of your LEDs properly, they can quickly become dull and worn out! Therefore, we have outlined some simple steps on how to keep them looking new.