If you’re looking to start growing plants indoors, one of the most important things you’ll need is a grow light. Unfortunately, grow lights can be expensive, so you’ll want to ensure you’re using them in the best way possible. In this blog post, we’ll show you how to hang grow lights from ceiling for maximum results. Read on for tips and tricks.
Summary: In order to hang grow lights from the ceiling, you first need to measure the distance between the light fixtures and the ceiling joists. You then need to cut a piece of wood that is the same length as the distance between the light fixtures and the joists, and then drill a hole in the center of the board. Next, screw the light fixture to the board using the appropriate screws. Finally, hang the board on the joists using the screws that were already installed.
What Causes Plant Need for Grow Lights?
Grow lights are essential for plants that are not getting enough sunlight. If you live in an area with long winters or short days, your plants may not be getting enough sunlight to grow properly. Grow lights provide the extra light that your plants need to grow, ensuring that they can thrive even in less than ideal conditions.
Grow lights can also be used to help plants that require a lot of light to grow. For example, some plants need 12 hours of light per day in order to grow properly. If you can’t give them that much sunlight, you’ll need to supplement with grow lights.
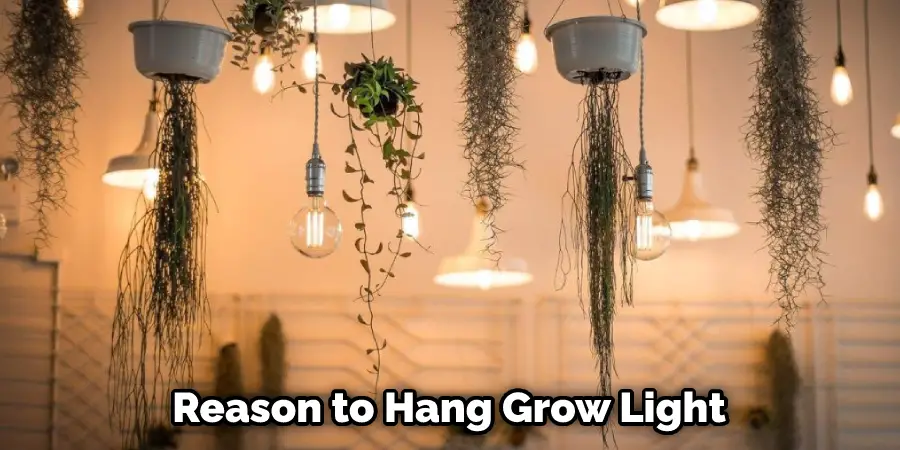
One of the main reasons to use grow lights is to provide extra light for your plants during the flowering and fruiting stages. This is when your plants need the most light in order to produce blooms and fruit. Some plants prefer to grow under lights. If you’re having trouble getting your plants to grow, no matter what you do, try using grow lights and see if that makes a difference.
Why It’s Important to Hang Grow Lights Correctly
Now that you know why you might need to grow lights let’s discuss why it’s important to hang them correctly. Grow lights come in all shapes and sizes, and each one must be hung in a specific way to work properly. If you don’t hang your grow light correctly, it won’t provide enough light for your plants, and they won’t grow properly. Additionally, if you hang your grow light too close to your plants, it can actually scorch them. So, it’s important to find the right balance.
Another reason to hang your grow light correctly is to get the most coverage possible. If your grow light isn’t hung evenly, you’ll end up with areas that are getting more light than others, which can lead to uneven growth. If you hang your grow light correctly, you’ll be able to provide even light coverage for your plants, leading to more consistent growth.
Step by Step How to Hang Grow Lights From Ceiling
1. Unboxing Your Grow Light
The first thing you need to do with your new grow light is to unbox it and take a look at the instructions. Each grow light is different, so be sure to follow the specific instructions for your light.
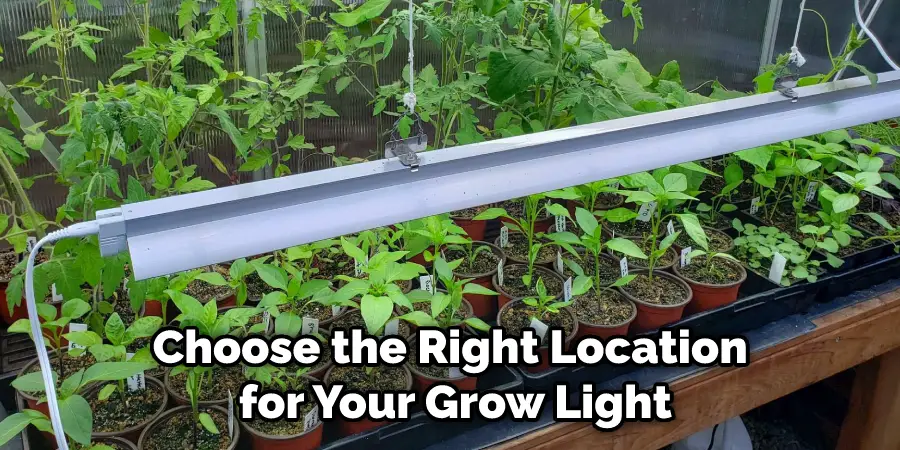
2. Choose the Right Location
The next step is to choose the right location for your grow light. You’ll want to find a spot where your plants will get the lightest possible. If you’re growing plants that need a lot of light, you might need to put the light on a timer so that it’s only on for part of the day.
3. Find the Right Spot to Hang Your Grow Light
Once you’ve found the right location, it’s time to find the right spot to hang your grow light. You’ll want to make sure the light is high enough so that it won’t scorch your plants but low enough so that it will provide even light coverage. Find a spot where you can use a hook or nail to hang the light.
4. Gather Your Materials
Now that you know where to hang your grow light, it’s time to gather your materials. You’ll need something to hang the light with, like a hook or a nail. You’ll also need something to secure the light, like string or wire. If you’re using a hook, you might also need a hammer. Now that you have all of your materials, it’s time to get started. Hang your grow light from the hook or nail. Make sure that the light is secure and won’t fall. Once the light is in place, use the string or wire to secure it.
5. Drill Holes (If Needed)
If you’re using nails to hang your grow light, you’ll need to drill some pilot holes first. This will make it easier to get the nails into the wall and will prevent the wall from cracking. To drill a pilot hole, first, find the center of the area where you’re going to hang the light. Then, drill a hole into the wall using a drill bit that’s slightly smaller than your nail.

6. Hang Your Grow Light
Once your materials are gathered and your holes drilled, it’s time to hang your grow light. First, take the light and position it where you want it to go. Make sure that it is high enough off the ground that your plants will not be touching it and that it is positioned in a way that will evenly distribute light to all of your plants.
7. Using Zip Ties
Now, it’s time to attach your grow light to the beam using zip ties. You will need to loop the zip tie around the grow light and the beam and then pull it tight. Ensure the zip tie is not too tight, as you don’t want to damage your grow light. You will need to repeat this process for each grow light you attach to the beam.
8. Plug in the Grow Light
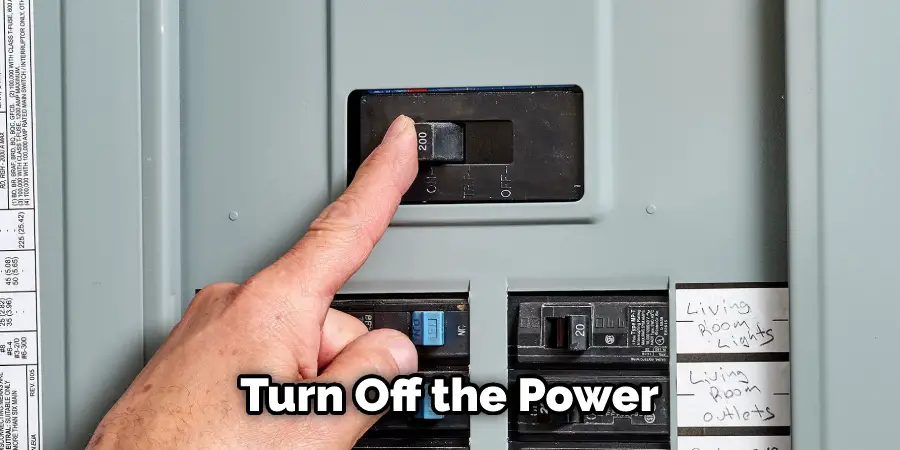
Now that your grow light is hung, it’s time to plug it in. Make sure that you plug the light into an outlet that is not being used by anything else. First, turn off the power to the outlet. Then, plug in the grow light and turn it on. Check the fuse box to ensure the power is still on if the light doesn’t turn on.
9. Position the Grow Light
Now that your grow light is plugged in, it’s time to position it. You’ll want to make sure that the light is pointing down at your plants and that it is not too close to the leaves. You can adjust the height of the light by moving the beam up or down. If you need to, you can also adjust the angle of the light by moving the beam from side to side.
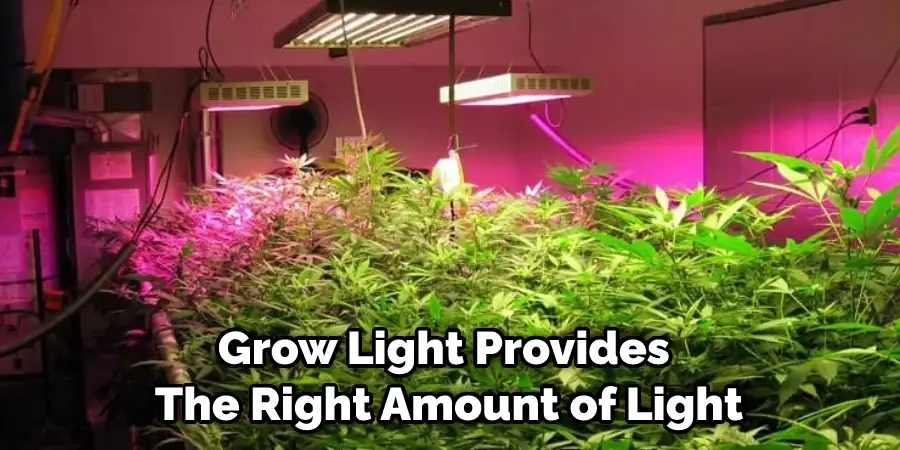
10. Using a Light Meter
If you want to ensure that your grow light provides the right amount of light, you can use a light meter. Light meters are available at most hardware stores, and they’re relatively inexpensive. To use a light meter, hold it up to the light and take a reading. The reading should be in the range of 30-60lux. If it’s not, you can adjust the light accordingly.
How Much Does It Cost to Hang Grow Lights From Ceiling
The cost of hanging grow lights from the ceiling will depend on the type of light you purchase and the number of lights you need. Grow lights can range in price from $30-$200, and you will need one light for every 2-3 plants. Additionally, you will need to purchase a hook or nail to hang the light, as well as wire or string to secure it. Therefore, the total cost of hanging grows lights from the ceiling will be between $50-$300.
Tips and Warnings on How to Hang Grow Lights From Ceiling
Tips:
1. Use a grow light hanger that is adjustable. This will allow you to keep the light at the right distance from your plants as they grow.
2. Use a hanger to support your grow lights’ weight.
3. Use a timer to automate your grow light schedule. This will help ensure your plants get the right amount of light each day.
4. Make sure your grow lights are pointing in the right direction. For example, you want the light to shine directly on the leaves of your plants.
5. Keep an eye on your plants to make sure they’re not getting too much or too little light.
Warnings:
1. Be careful when handling grows lights. They can get hot and cause burns.
2. Don’t leave your grow lights on for 24 hours a day. Plants need darkness to grow, so give them at least 12 hours of darkness each day.
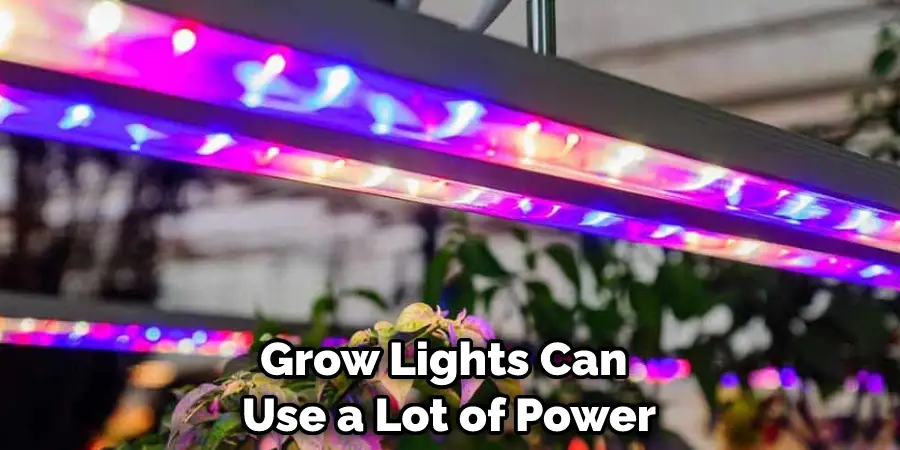
3. Keep an eye on your electricity bill. Grow lights can use a lot of power, so you may see an increase in your bill if you’re not careful.
4. Do not hang your grow lights from thin cords or wires. They could break and fall, damaging your plants or starting a fire.
5. Be careful not to trip over your grow lights or cords. They could get tangled and cause you to fall.
You Can Check It Out To Use Red and Blue Grow Lights
Frequently Asked Questions
Can You Put a Grow Light in a Regular Light Fixture?
Yes, you can place a grow light in a regular light fixture. However, be sure to purchase a special grow light fixture that is specifically designed for Growing plants.
What Do You Hang a Grow Light With?
To hang a grow light, you will need a power cord, end connector(s), and mounting bracket.
The best way to mount your light is by using an adjustable hanger or clip system. This allows you to position the light in any direction without having to constantly re-hang it. There are also magnetic mounts that can be attached directly to the wall.
What Color Grow Light is Best?
There really is no best color for grow light – it all depends on the particular needs of your plants. If you’re looking for a general guide, yellow is typically a good choice for growing plants indoors, while blue and red are better for plants that are placed outdoors. Some other popular options include a mixture of both or using green grow lights to help plants grow faster and healthier.
As always, it’s important to get specific advice from a professional before making any decisions about your grow light needs. We hope this helps!
Do Grow Lights Use a Lot of Electricity?
Yes, Grow Lights use a lot of electricity. But this doesn’t have to be a negative thing. By using grow lights correctly, you can actually save money on your energy bill while helping to increase the yield of your plants!
When it comes to power consumption, grow lights fall into two main categories: CFLs and HPS bulbs. A CFL bulb uses about 80% less energy than an HPS bulb and lasts about 10 times as long. This makes them ideal for regular use in small spaces or when you need quick light replacement intervals (such as during flowering).
HPS bulbs are more powerful and last up to 20 times longer than CFLs, but they also require more space because they emit larger amounts of light. If you’re looking for maximum yields from your plants, then opting for an HPS bulb might be the best option for you. However, keep in mind that these lamps are typically quite expensive so make sure that economic considerations are taken into account before making any final decisions.
Conclusion
So, now that you know how to hang grow lights from ceiling, it’s time to start your indoor garden! By following these simple steps and using our tips, you’ll be able to create a thriving garden in no time. Remember to experiment with different light setups and plant combinations to find what works best for you and your space. And most importantly, have fun gardening. Thanks for reading!