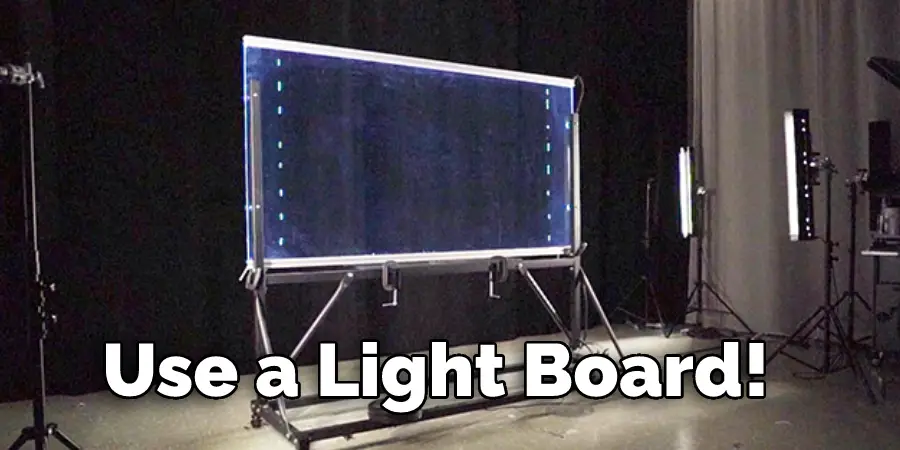
If you’re an artist, animator, or even someone who likes to play around with images and video, you need to know about light boards. They’re a great way to create animations and videos using nothing more than a whiteboard and some lights. In this tutorial, we’ll show you how to use a light board and walk you through the basics of using it. So what are you waiting for? Let’s get started!

There are a few reasons you might want to use a light board. First, they’re great for creating animations and videos. You can create stop motion animations or even just simple videos with a light board. Second, they’re a great way to create presentations. If you need to give a presentation and don’t want to use PowerPoint or another software, a light board is a great option. Finally, they’re also great for drawing and sketching. If you’re going to do some quick sketches or drawings, a light board is a perfect tool.
Things You’ll Need:
A light board is a tool that helps you create images or videos. To use a light board, you’ll need a whiteboard and some lights. The whiteboard should be at least as large as the image or video you want to create. The lights should be placed at each corner of the whiteboard. You’ll also need an image or video as your template.
How To Use A Light Board Step by Step Guide
Step 1: Materials
Like with anything, you need the right tools for the job. In this case, those tools are as follows:
You will need a light board to clamp onto a surface near a plug, a laptop or computer to connect to your light board, and a program to change lighting effects on certain channels, such as DMX-512 (DMXking, Dmx-ctrl, etc.). You can also use a fancy lighting console for this, but how are you going to afford one of those? There are also free alternatives on the internet.
Step 2: Clamp it Somewhere
You can attach clamps that come with most light boards to anything, from tables to light stands. However, this limits your ability to take the board with you, and it’s not as easy to transport as a laptop and a small program.
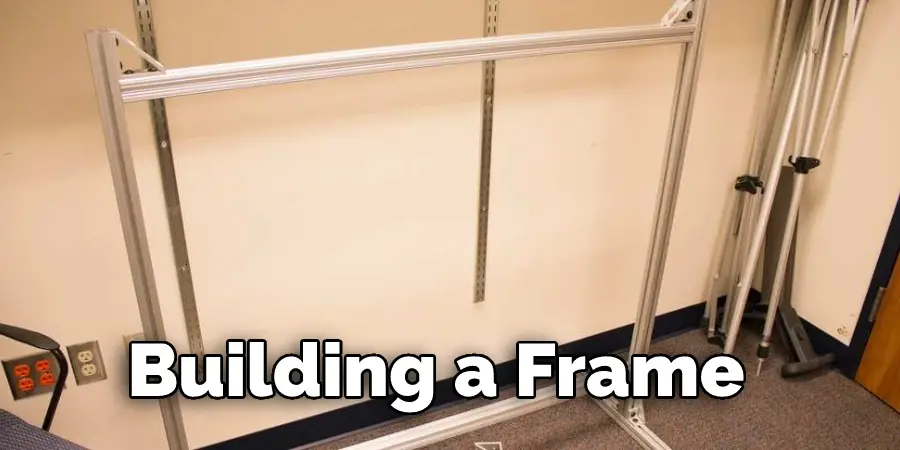
Step 3: Building the Frame
This person is saying that it is fun to build a frame for a light board, but it takes time and patience. They recommend watching a Youtube video on building a frame so that you don’t make any mistakes. You can use different materials to build the frame, depending on what you want it to look like.
Step 4: The Build
Now it’s time to make your light board. You will need some wood, a drill, and some PVC piping. Cut the wood to the size you want, and drill holes in the center of each piece. Make sure the holes are the same distance apart, or your light board will be lopsided. If you are using PVC piping, glue the pieces together.
Step 5: Putting It All Together
This is the part where you put your woodworking skills to the test. Make sure everything fits together snugly before you glue or seal it. If you’re using wood, you can paint or varnish it to make it look nice. I used a grey primer then spray-painted the rest.
Step 6: Order of Assembly:
You will want to wire up all the lights before putting everything together to make sure their orientation is how it should be. Now, sell your wires coming from the frame to the individual light boards. In my case, I soldered a 4-wire phone cable to each board because my frame was only two separate boards. If you are using more than two boards, you might want to use something like JST PH (2.5mm pitch) or order cables that will fit how you need them to.
Step 7: Wiring It Up
Things can get complicated, but if you are lucky, your light board might work right out of the box. The pins on the light board should correspond to how your frame is set up, so plug them into the connection that looks like how you built it on your laptop. If there are some numbers on the light board, it might tell you what order to put them in (e.g., 1-8). So you can put them how you think they should go, but if it doesn’t work, then put them how the numbers say to. After that, plug in your wire and enjoy how awesomely bright your light board is, thanks to all this hard work!
Step 8: Put It All Together
Now, it’s time to see how everything fits together. Again, make adjustments if needed before gluing/sealing everything together. If you are using wood as I did, you can make some nice designs on how the light boards fit onto your frame and how it all looks in general. Keep reading for more information about how to use a light board.
Step 9: Camera/ Program/ Etc:
In order to see what you are projecting, you can use a webcam and MCPatcher. If your program does not have a black background option, you can create one by taking a screenshot of a plain-looking picture with some nice solid colors. Then, you can open the picture in MSPaint and go to Colors>Brightness/Contrast. Adjust the brightness and contrast until you get the desired look, then crop the edges down so there are only solid colors. Save the picture as a new file, and you’re finished!
Step 9: Success!
To get the best projection from your light board, position it carefully and make minor adjustments as needed.
This tutorial can help you project images with patterns onto a board. If your program doesn’t have a black background feature, you can create one based on what is described in the tutorial. If you enjoyed the tutorial and would like to see more like it, leave feedback on how to improve it. Have fun!
Frequently Asked Question
Can I Use a Light Board for Night Photography?
Yes, you can use a light board for night photography. However, to achieve the best results, you will need to use a tripod and take some test shots to determine the right exposure time and aperture.
What Is a Light Board and How Does It Work?

A lightboard is a transparent surface that allows light to pass through it. It is used to create a soft, even light perfect for portrait photography. To use a light board, you will need to place your subject in front of it and take a picture from the other side. You can also use a light board to create backlighting effects.
How Can I Use a Light Board to Help Me with My Photography?
There are a few different ways to use a light board to help you with your photography. A light board can create soft, even light for portraits. You can also use a light board to create backlighting effects. To achieve the best results, you need to use a tripod and take some test shots to determine the right exposure time and aperture.
How Do You Attach the Lights to The Frame of The Light Board?
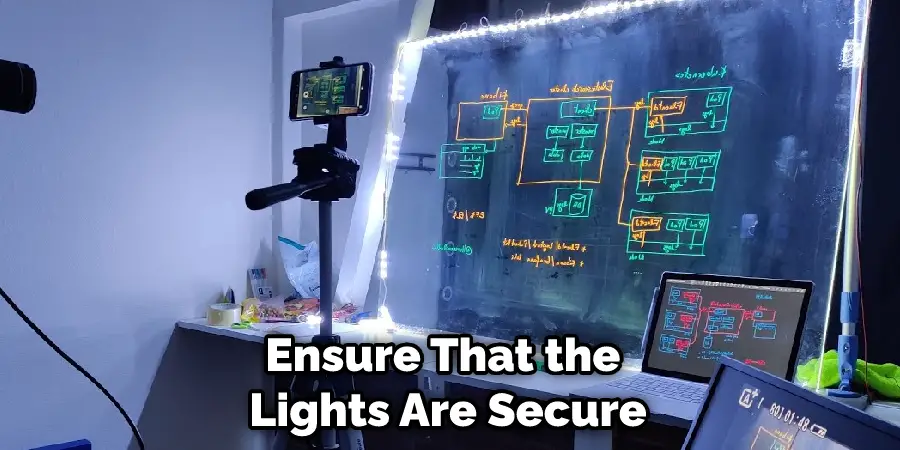
The lights can be attached to the frame of the light board in a few different ways. You can use metal clamps to attach the lights to the frame or gaffer tape to attach them. It is important to ensure that the lights are secure not to fall off during use.
Do you have to write backward on a lightboard?
No, you don’t have to write backward on a lightboard. However, if you do, the text will be reversed when it is projected.
You may read also How to Fix Gap Around Light Switch
Conclusion Paragraph:
A light board can be a powerful way to capture your audience’s attention and create an engaging presentation. By following these tips, you’ll be able to create an effective lightboard presentation that will keep your audience engaged and informed. Want to learn more? Check out our other posts on creating presentations with light boards, or contact us for more information. Thanks for reading our post about how to use a light board.