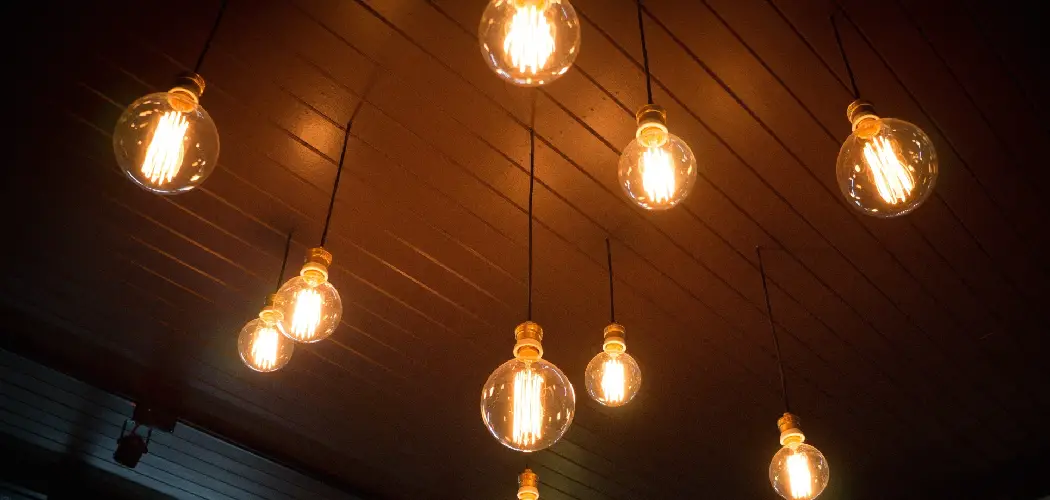
Are you looking for an easy way to brighten up your garage? If so, look no further than hanging lights!
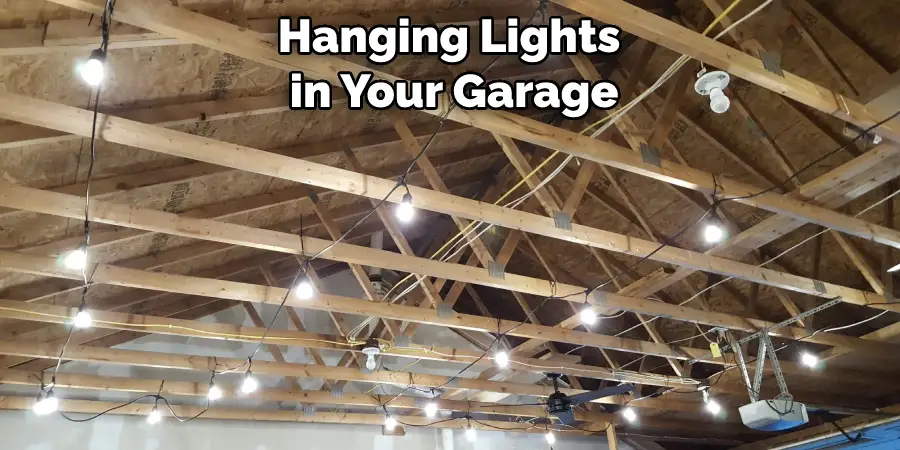
It’s that time of year again! Now that the weather is colder, it’s time to start thinking about how you will get your home ready for the winter. One of the most important tasks is ensuring your garage is properly lit. Here are some tips on how to hang lights in your garage.

The garage is the perfect place to hang string lights. Not only do they look great, but they also help to keep your garage in order by providing extra lighting. In this post, we’ll show you how to hang lights in garage. Keep reading to learn more!
Why Should You Hang Lights in Garage?
There are a few key reasons why you should hang lights in your garage. First, string lights are an easy way to create a warm, inviting atmosphere in your garage. They also help brighten up the space and make it easier to see your tools and supplies.
Additionally, hanging lights can improve the safety of your garage by providing extra illumination and reducing the risk of accidents.
Overall, hanging lights in your garage is a great way to prepare for the winter and create a space you will love coming home to. So start shopping for string lights today and hang them in your garage!
What Will You Need?
Before you start hanging lights in your garage, there are a few key tools and supplies that you will need. These include:
- A ladder or sturdy step stool
- String lights
- Zip ties or hooks
- Wire cutters/strippers (optional)
With these tools in hand, you are ready to start hanging lights in your garage!
10 Easy Steps on How to Hang Lights in Garage
Step 1: Measure the Distance
Before you start hanging lights in your garage, measuring how much space you have from the ceiling to the floor is important. This will help you determine how many lights you need and how long your string should be. Be careful not to go too high or risk the lights bumping into your car.
Step 2: Determine Where to Hang Your Lights
Once you have measured how much space you have, it’s time to start thinking about where you want to hang your lights. This can be anywhere in your garage that is convenient for you, but it’s best to hang them in an area that is free from clutter. You can also consider hanging your lights on a wall directly above a table or workbench.
Step 3: Select Your Lights
Once you’ve determined how many lights you need and where they will be placed, the next step is to select your string lights. There are many different options available, so be sure to choose one that fits the style of your garage. Some popular choices include bright white string lights or even colored string lights for a fun, festive look.
Step 4: Attach Your Strings
Now that you have your lights selected and ready to go, it’s time to start attaching them to your garage. Many string lights come with hooks or clips to help you easily attach them to your garage. Alternatively, you can use zip ties to fasten the strings in place and secure them tightly.
Step 5: Trim Your Strings
Once your lights are securely attached, the next step is to trim any excess string from the lights. You can do this by carefully cutting off the extra string length using a pair of wire cutters or strippers. Be sure to keep in mind how much space you have between your ceiling and floor when trimming your string lights.
Step 6: Test Your Lights
Before putting away all of your tools, it’s important to ensure everything is working properly. This means testing your lights to ensure that they turn on and off, dimming or changing colors if you have selected a multi-functional string.
Step 7: Hang Your Lights
Now that you’ve tested your lights and ensured that everything is working properly, it’s time to hang them in your garage! Depending on how many strings of lights you need and how high up from the floor they will be hanging, you can either use a ladder or step stool to get into place. Be sure to take care when climbing up onto tall surfaces, and readjust any wires or other items that could create a hazard.
Step 8: Add Additional Decorations
Once your lights are all hung up in your garage, you might want to consider adding some additional decorations to help make the space feel cozier and more inviting. This could include simple items like candles, holiday-themed decor, or even fun extras like a small Christmas tree!
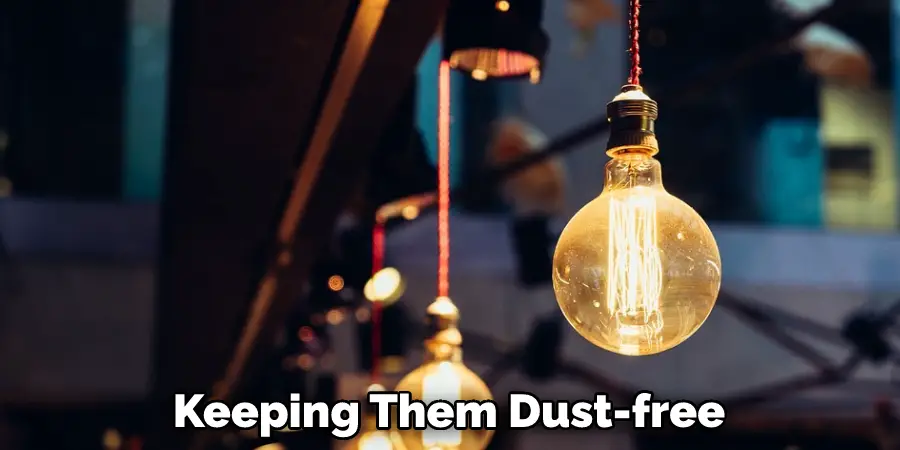
Step 9: Maintain Your Lights
To ensure that your lights continue to look beautiful for years to come, it’s important to take care of them properly. This means keeping them dust-free, clearing away any clutter that could obstruct the light beams, and changing the bulbs every few months or so.
Step 10: Enjoy Your Beautiful Garage!
And with that, you’ve successfully hung your string lights in your garage! Sit back and enjoy how beautiful and festive your space looks all season long. And don’t forget to invite friends over to admire your handiwork! It’s sure to be the talk of the town.
Follow these steps, and you’ll be able to hang lights in your garage in no time easily. Whether you’re looking to create a festive holiday display or simply add some extra lighting to your space, these simple tips will help make it easy and straightforward. Happy decorating!
5 Additional Tips and Tricks
1. Make sure to carefully plan out how you want your lights to be positioned before you start hanging them. This will help ensure that they are evenly spaced and look aesthetically pleasing once they’re in place.
2. If you have multiple people working on the project, consider using a ladder or other tool to make it easier to reach high garage areas where you need to hang lights.
3. Determine how much weight each light fixture can hold before adding any additional decorations, such as garlands or ornaments. This will help prevent any damage from occurring to your lights during the hanging process.
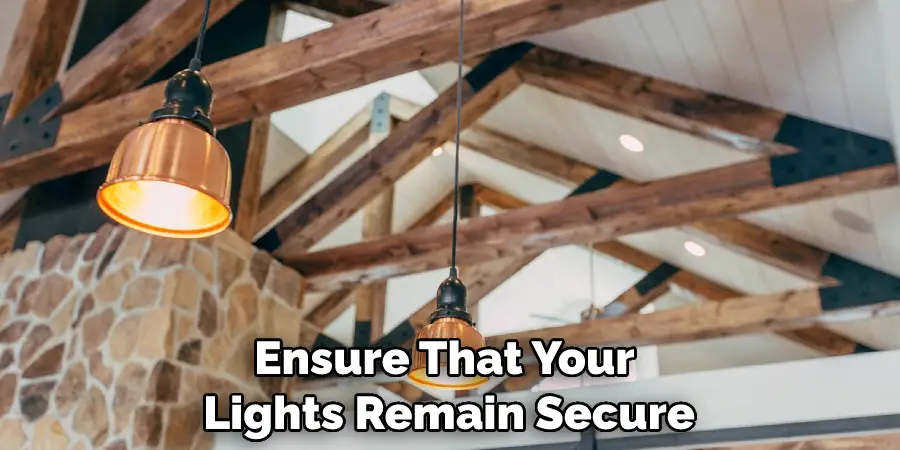
4. To ensure that your lights remain secure and functional for years to come, invest in some quality hardware, like hooks and clips specifically designed for Christmas lights.
5. If you have a lot of space to cover and are looking for a more high-tech solution, consider installing some automated lighting systems that can be controlled remotely via your smartphone or another electronic device.
Whatever method you choose, with careful planning and attention to detail, you should be able to easily and successfully hang lights in your garage this holiday season!
5 Precautions You Can Take
1. Before you start, ensure that your garage is clear of any obstructions and that there are enough outlets to accommodate all the lights you intend to install.
2. Use heavy-duty extension cords if necessary, and be sure to secure them firmly using electrical tape or zip ties.
3. Invest in high-quality light fixtures that are designed specifically for use in garages. These will typically include sealed glass covers or other protective features that help keep moisture out and prevent rusting.
4. When choosing how to hang your lights, consider how much space you have between the ceiling joists – small spaces may require certain types of hanging mechanisms, while larger spaces may allow for more flexibility in your choices.
5. Finally, always be sure to follow all safety precautions when working with electricity. This includes wearing protective gear like rubber gloves and eye protection and carefully reading the instructions that come with your light fixtures before you begin.

Taking these precautions will help ensure that your garage lights are securely and safely installed, providing you with years of bright, functional lighting. Good luck!
Frequently Asked Questions
What is the Best Way to Hang String Lights?
There are many ways to hang string lights, but the best way to determine is what type of light you are wanting to hang and how much space you have. One popular method is to drill small holes in the ceiling and thread the light through them. Another option is to attach the light directly to the wall using screws or nails.
Do You Stick Led Lights on Wall or Ceiling?
Sticking LED lights on the wall or ceiling can be a fun and creative way to add a touch of light and color to your home. However, there are a few things to keep in mind when choosing where to place your lights:
- When placing LED lights on the wall, it is important to account for the height of the fixture and the amount of light it will produce. tall fixtures that emit a large amount of light may not look as good if they are placed low on the wall, while smaller fixtures may look better at higher locations.
- It is also important to consider the location of your electrical outlets and cables. If your lights will be plugged into an outlet near the wall, be sure to plan for enough clearance so that you won’t have to reach up high to turn them off or on.
- When hanging LED lights from the ceiling, be sure to choose fixtures that are compatible with the structural integrity of the ceiling. Many times, ceiling lights are mounted using screws or hooks, which can damage drywall or other wall coverings if they are not installed correctly. Before installing your lights, be sure to consult with a professional contractor or homeowner’s insurance representative to ensure that your installation will meet your specific needs and specifications.
Why Wont My Leds Stick to the Wall?
There are a few reasons why your Leds might not be sticking to the wall. One possibility is that the adhesive on the back of the Leds may not be strong enough. If this is the case, you may need to apply a stronger adhesive to the back of the Leds or use a different type of Leds. Another possible reason is that the surface onto which the Leds are being applied may not be smooth and free from debris or cracks. If this is the case, you may need to sand down the surface or apply another type of adhesive. Finally, it may be necessary to adjust the alignment of the Leds if they are not properly centering themselves on the wall. If any of these solutions do not work, you may need to replace the Leds.
Can You Hang String Lights Without Cable?
Yes, it is possible to hang string lights without cable. String lights can be easily hung using a wire hanger or a string loop, and they will remain upright even if the wire hanger or string loop becomes disconnected. To hang string lights without cable, simply connect the ends of the wire hanger or string loop to the lightbulbs and pull up on the wire hanger or string loop until the lightbulbs are in line with the desired spot.
Conclusion
Hanging lights in your garage is a simple and easy way to brighten up the space. You can use hooks, hangers, or nails to hang the lights from the ceiling. Be sure to measure the area before purchasing the lights, so you know how many you need.
Now that you know how to hang lights in your garage, it’s time to start! This project is easy and relatively inexpensive, but it will greatly impact the look and feel of your space. You can transform your garage from a dark and dreary storage area into a bright and inviting workspace with a few well-placed lights.
Hopefully, the article on how to hang lights in garage has been helpful and informative. So turn on some tunes, gather your supplies, and get ready to add some personality to your garage!